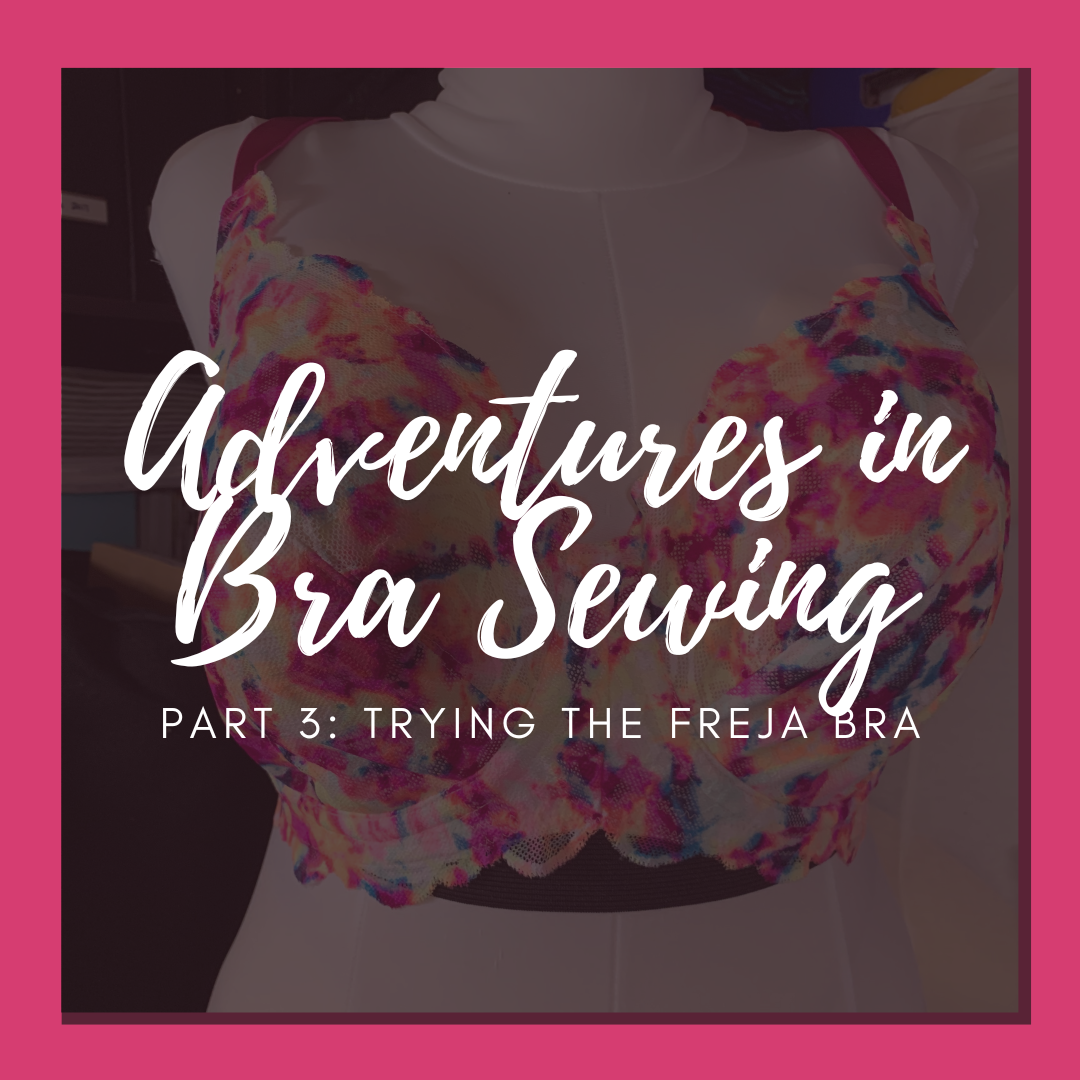
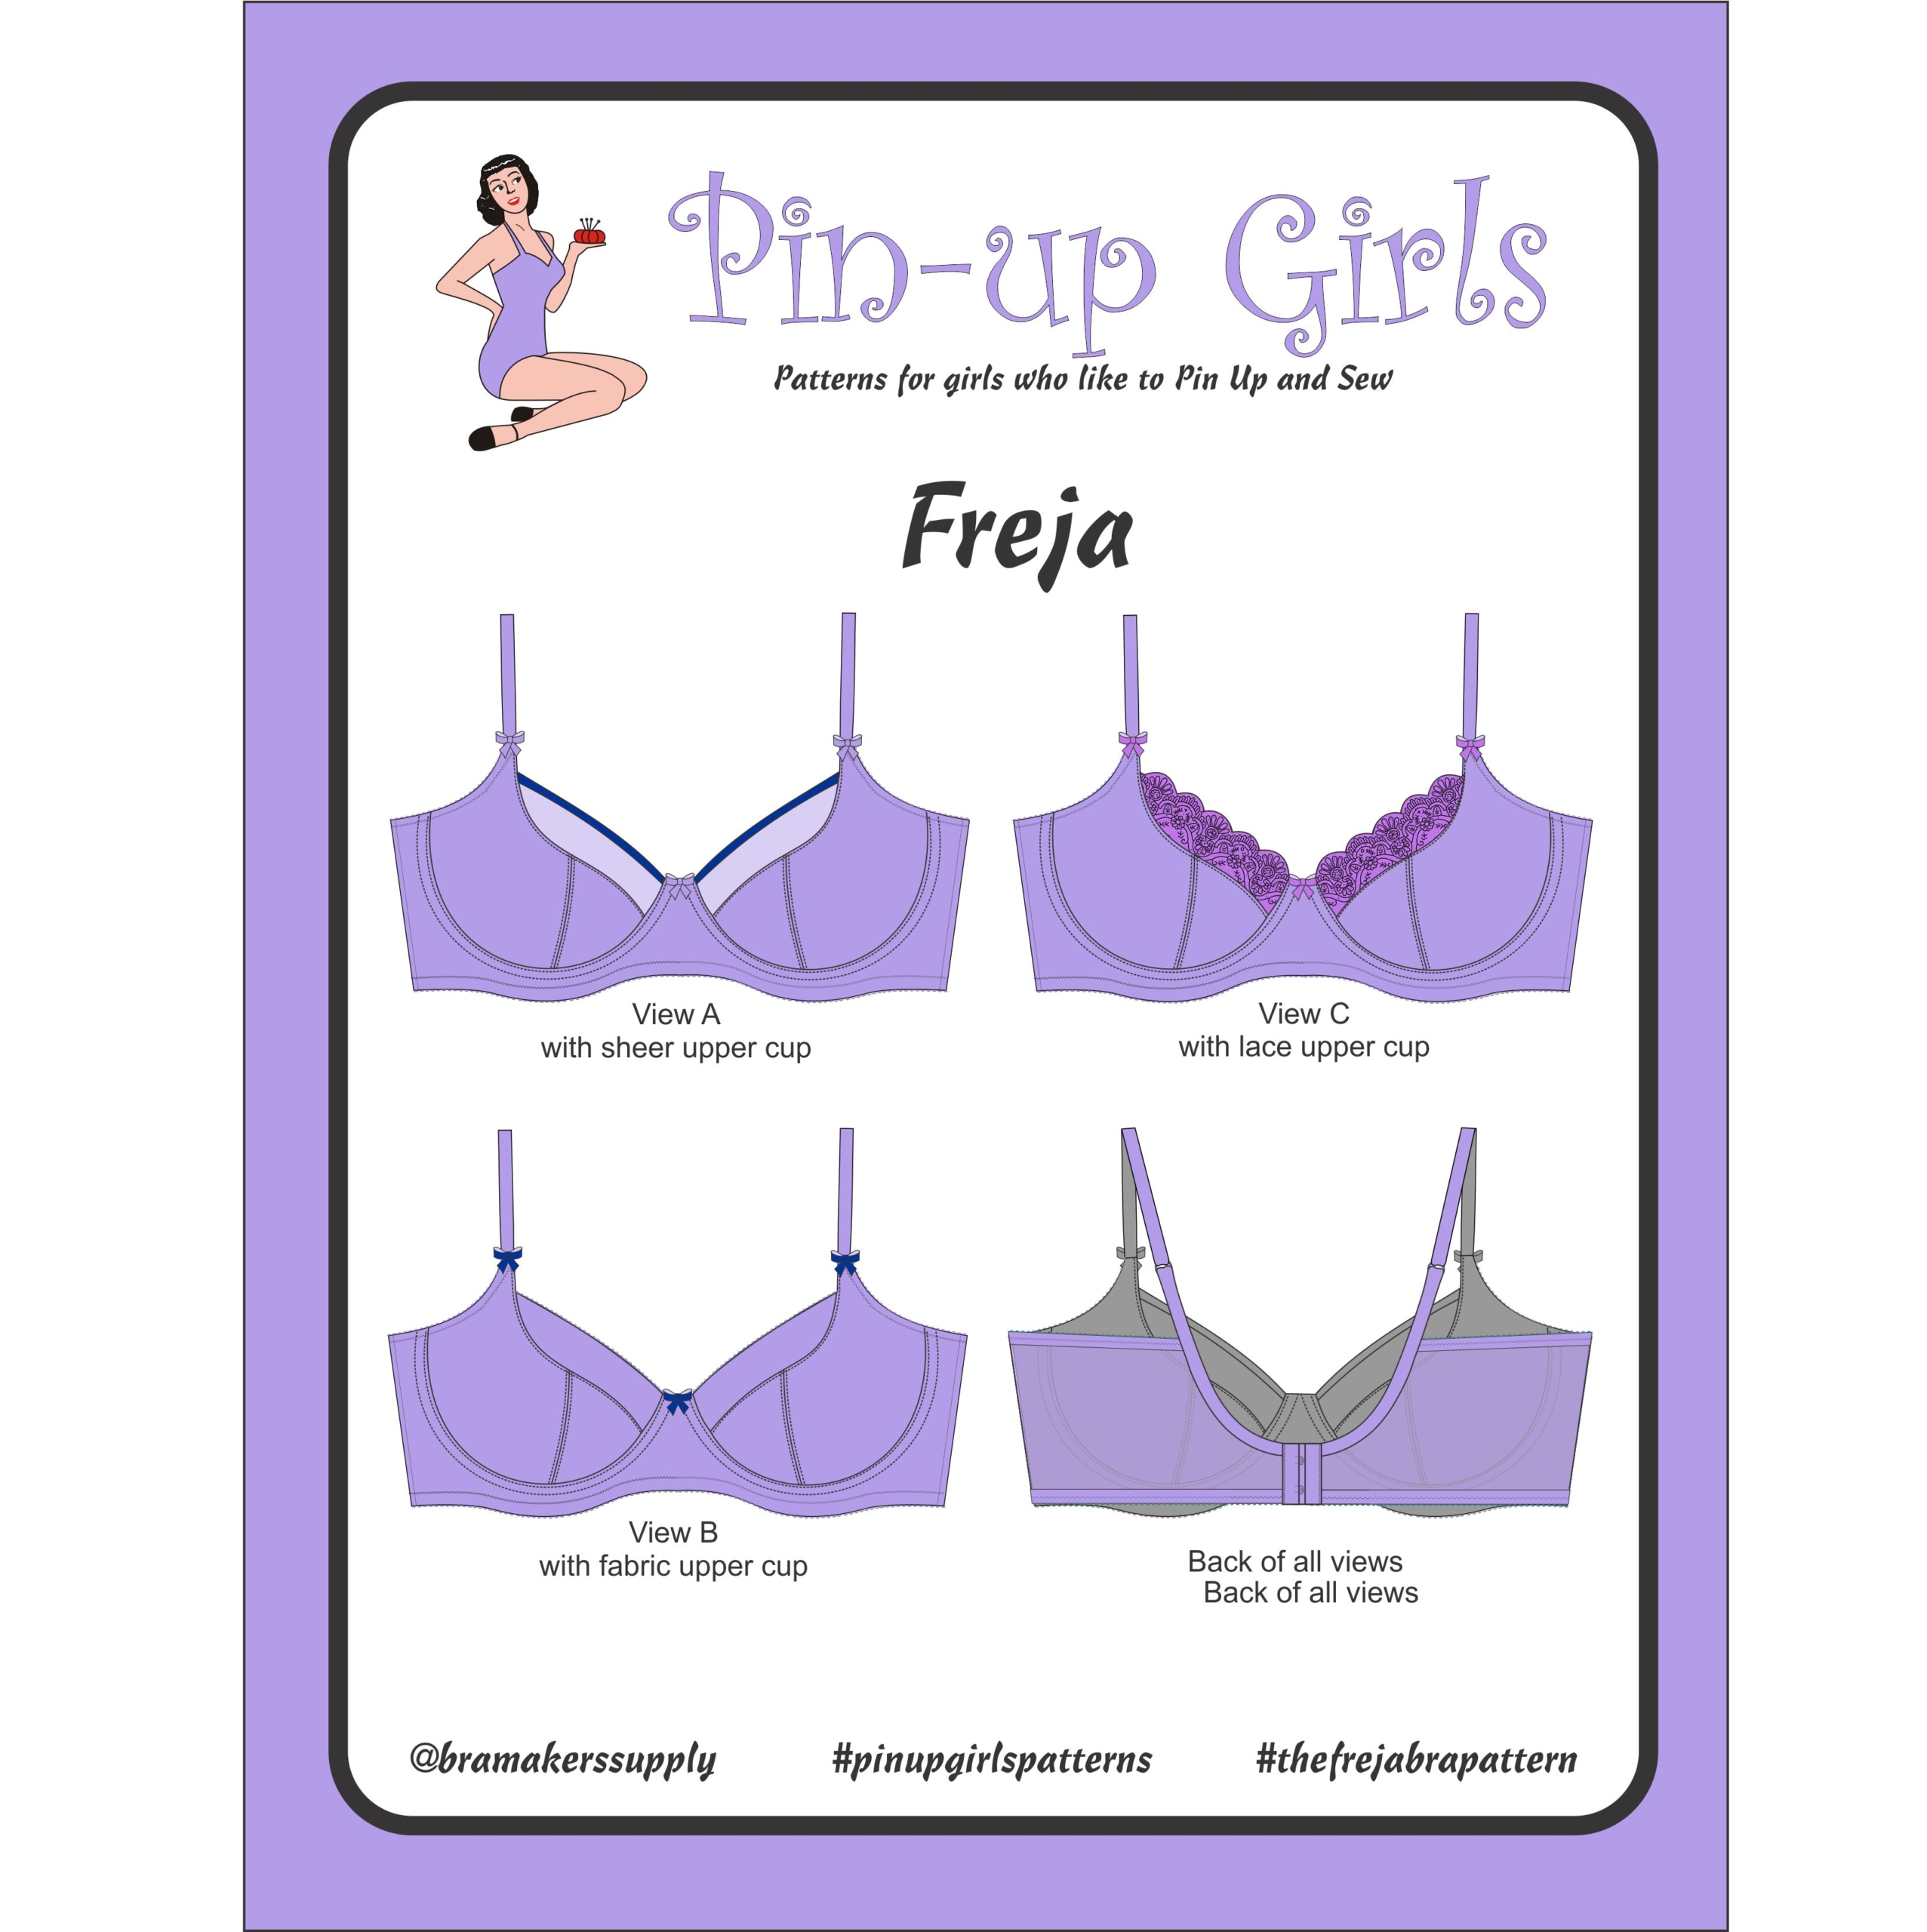
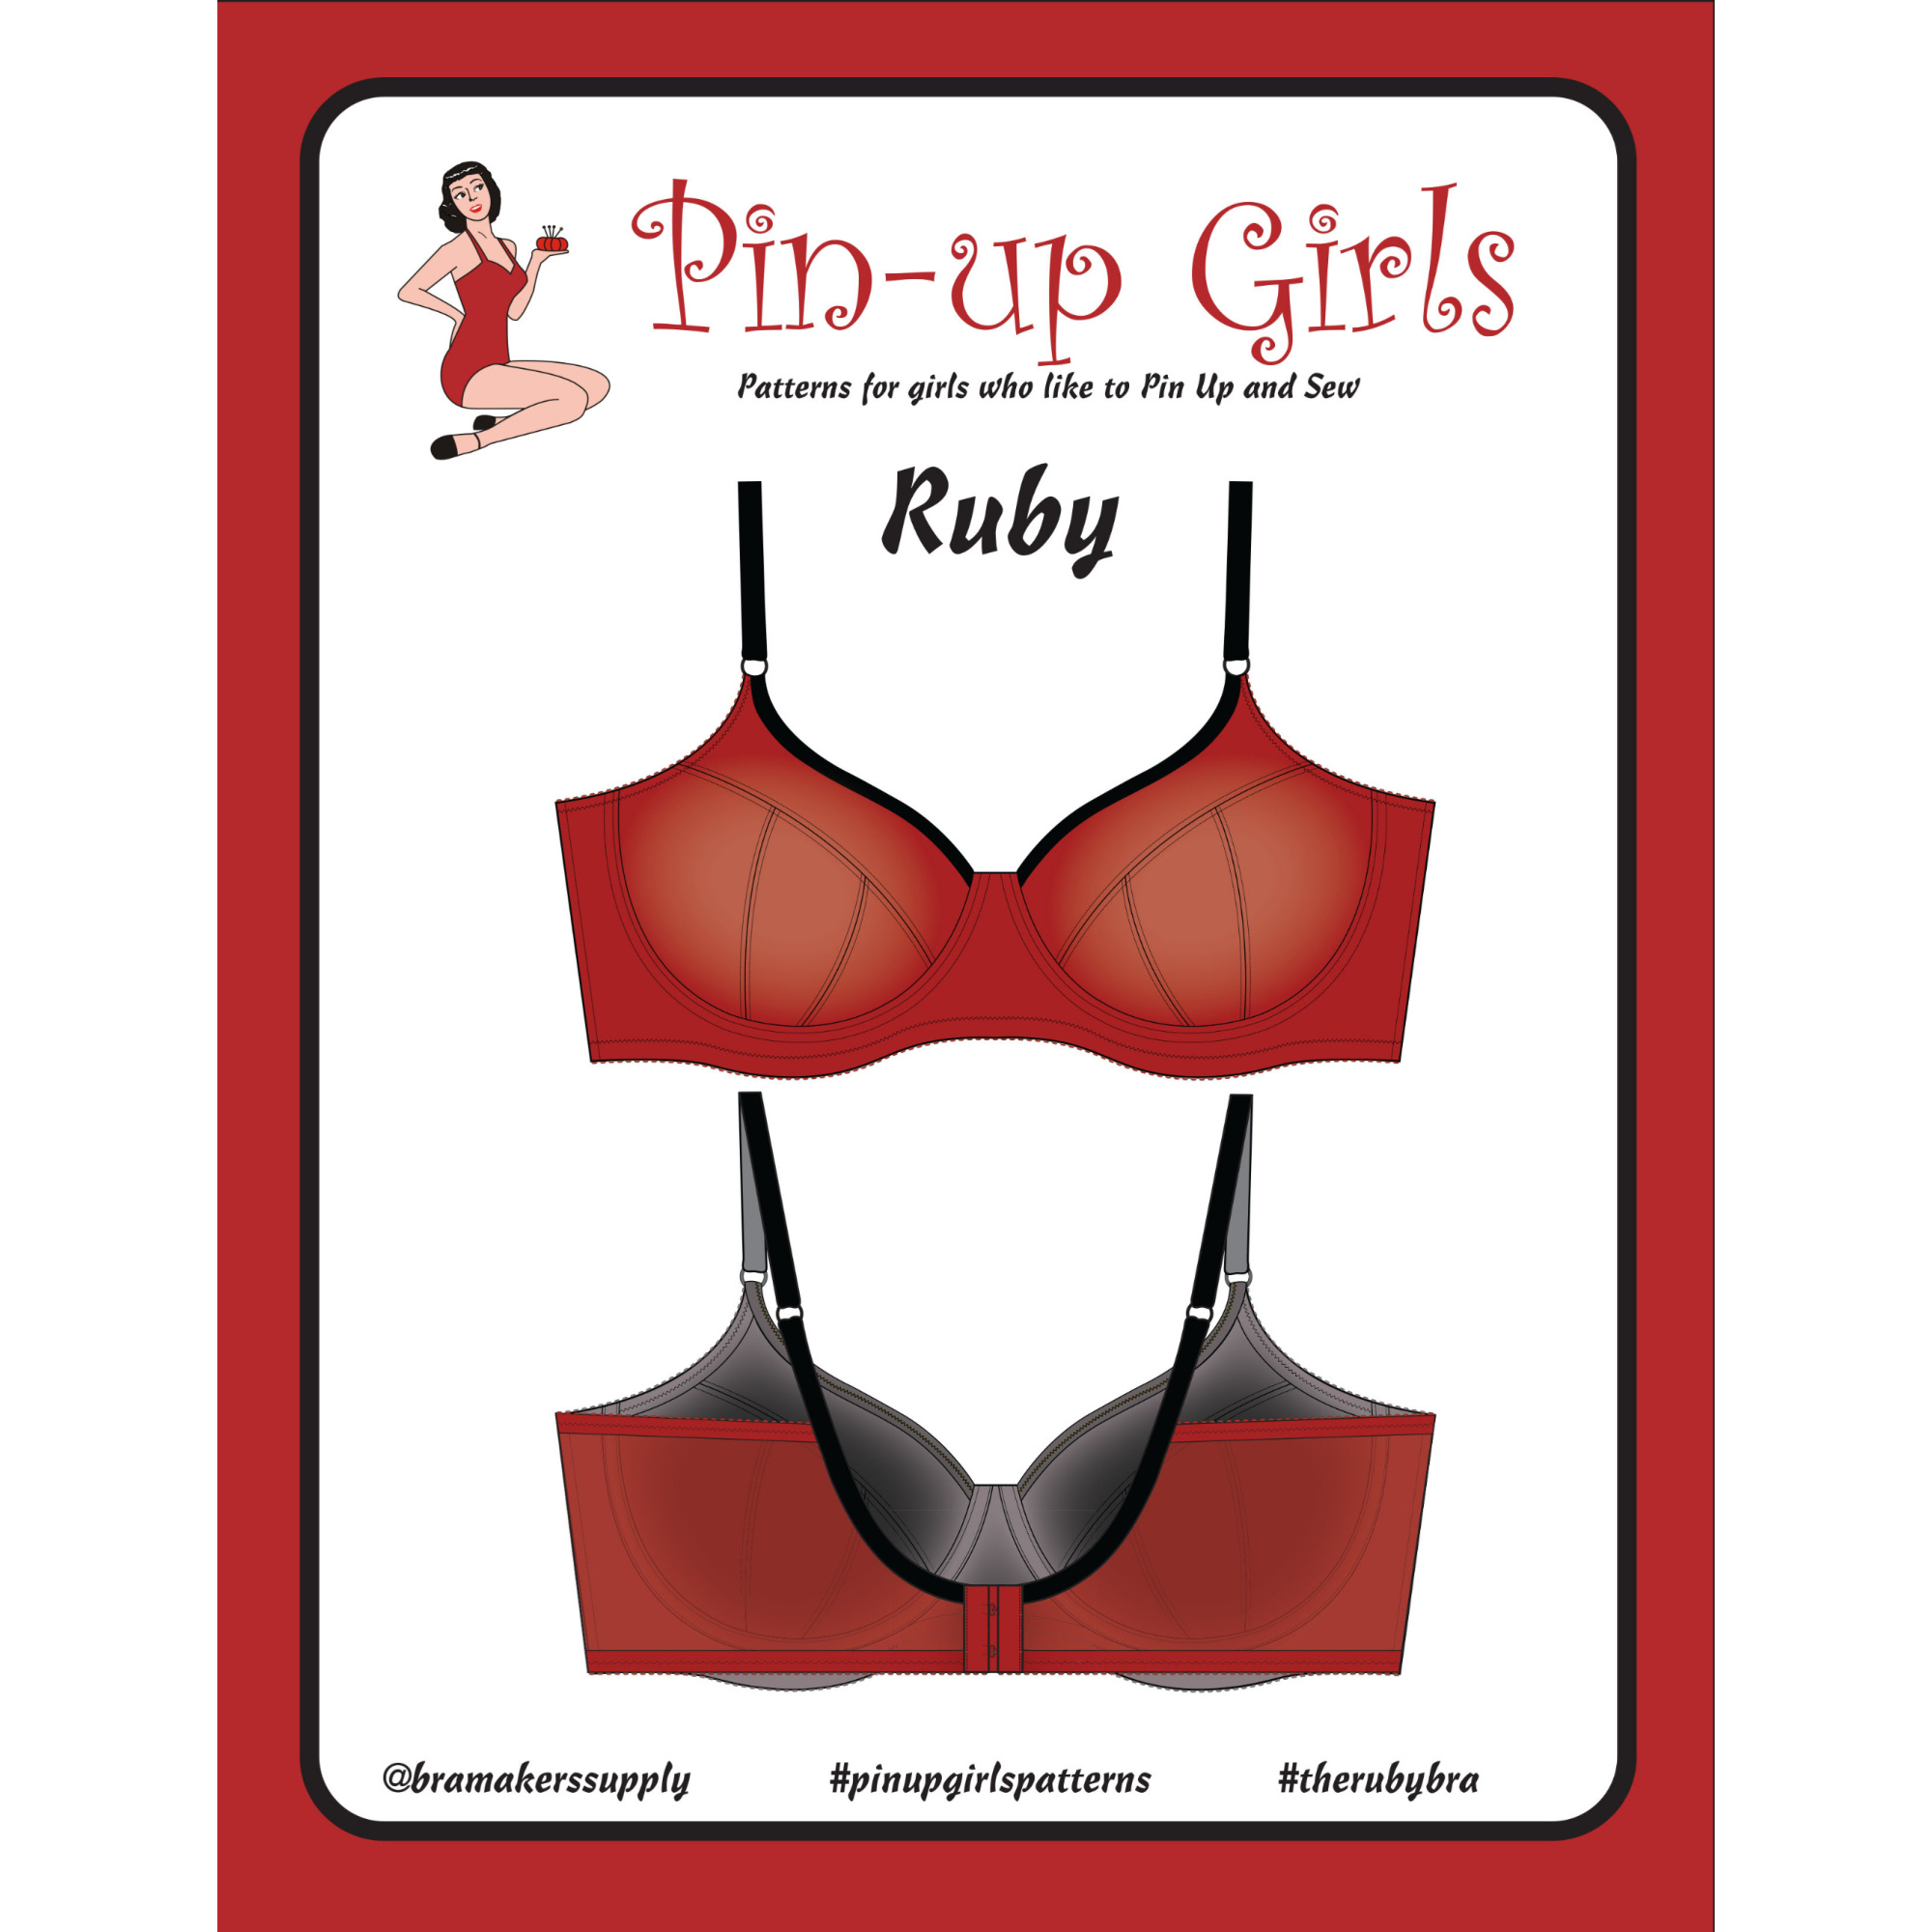
In an unexpected burst of energy I have completed my third bra! Over the holidays my sister and I did a pattern swap – we traced off and traded each other the sizes we needed so that we would both have a copy of the Ruby Bra and a copy of the Freja bra patterns. I’m sure the sewing community can debate the ethics of this, but we are family, so I don’t feel bad about it, especially since we each bought several patterns to begin with. Anyway, I’ve been re-watching some of the more advanced video tutorials on adding interesting design variations to the bra patterns, and I thought that many of these techniques would be easier using the Freja as a starting point, not least because the cup has many fewer pieces.
From the initial pattern my sister gave me, I preemptively made most of the same changes I had made to the Ruby Bra after my second version, at least to the band and bridge. I didn’t make any changes to the cups for this round because I wanted to see how the different cup styles impacted the fit. The fit changes I made were to add 1/4″ wedge to the front bridge, to narrow the back band by 1/2″ and to move the back strap placement inwards by 3/8″ to help the strap placement. I will say that this is the best fitting band yet! I think it really is close to perfect, and it is so comfortable. The wires sit in a much better way on the body now that the band fit is tweaked, and the back hooks are finally able to be worn on the loosest setting and tightened over time as the elastic stretches out.
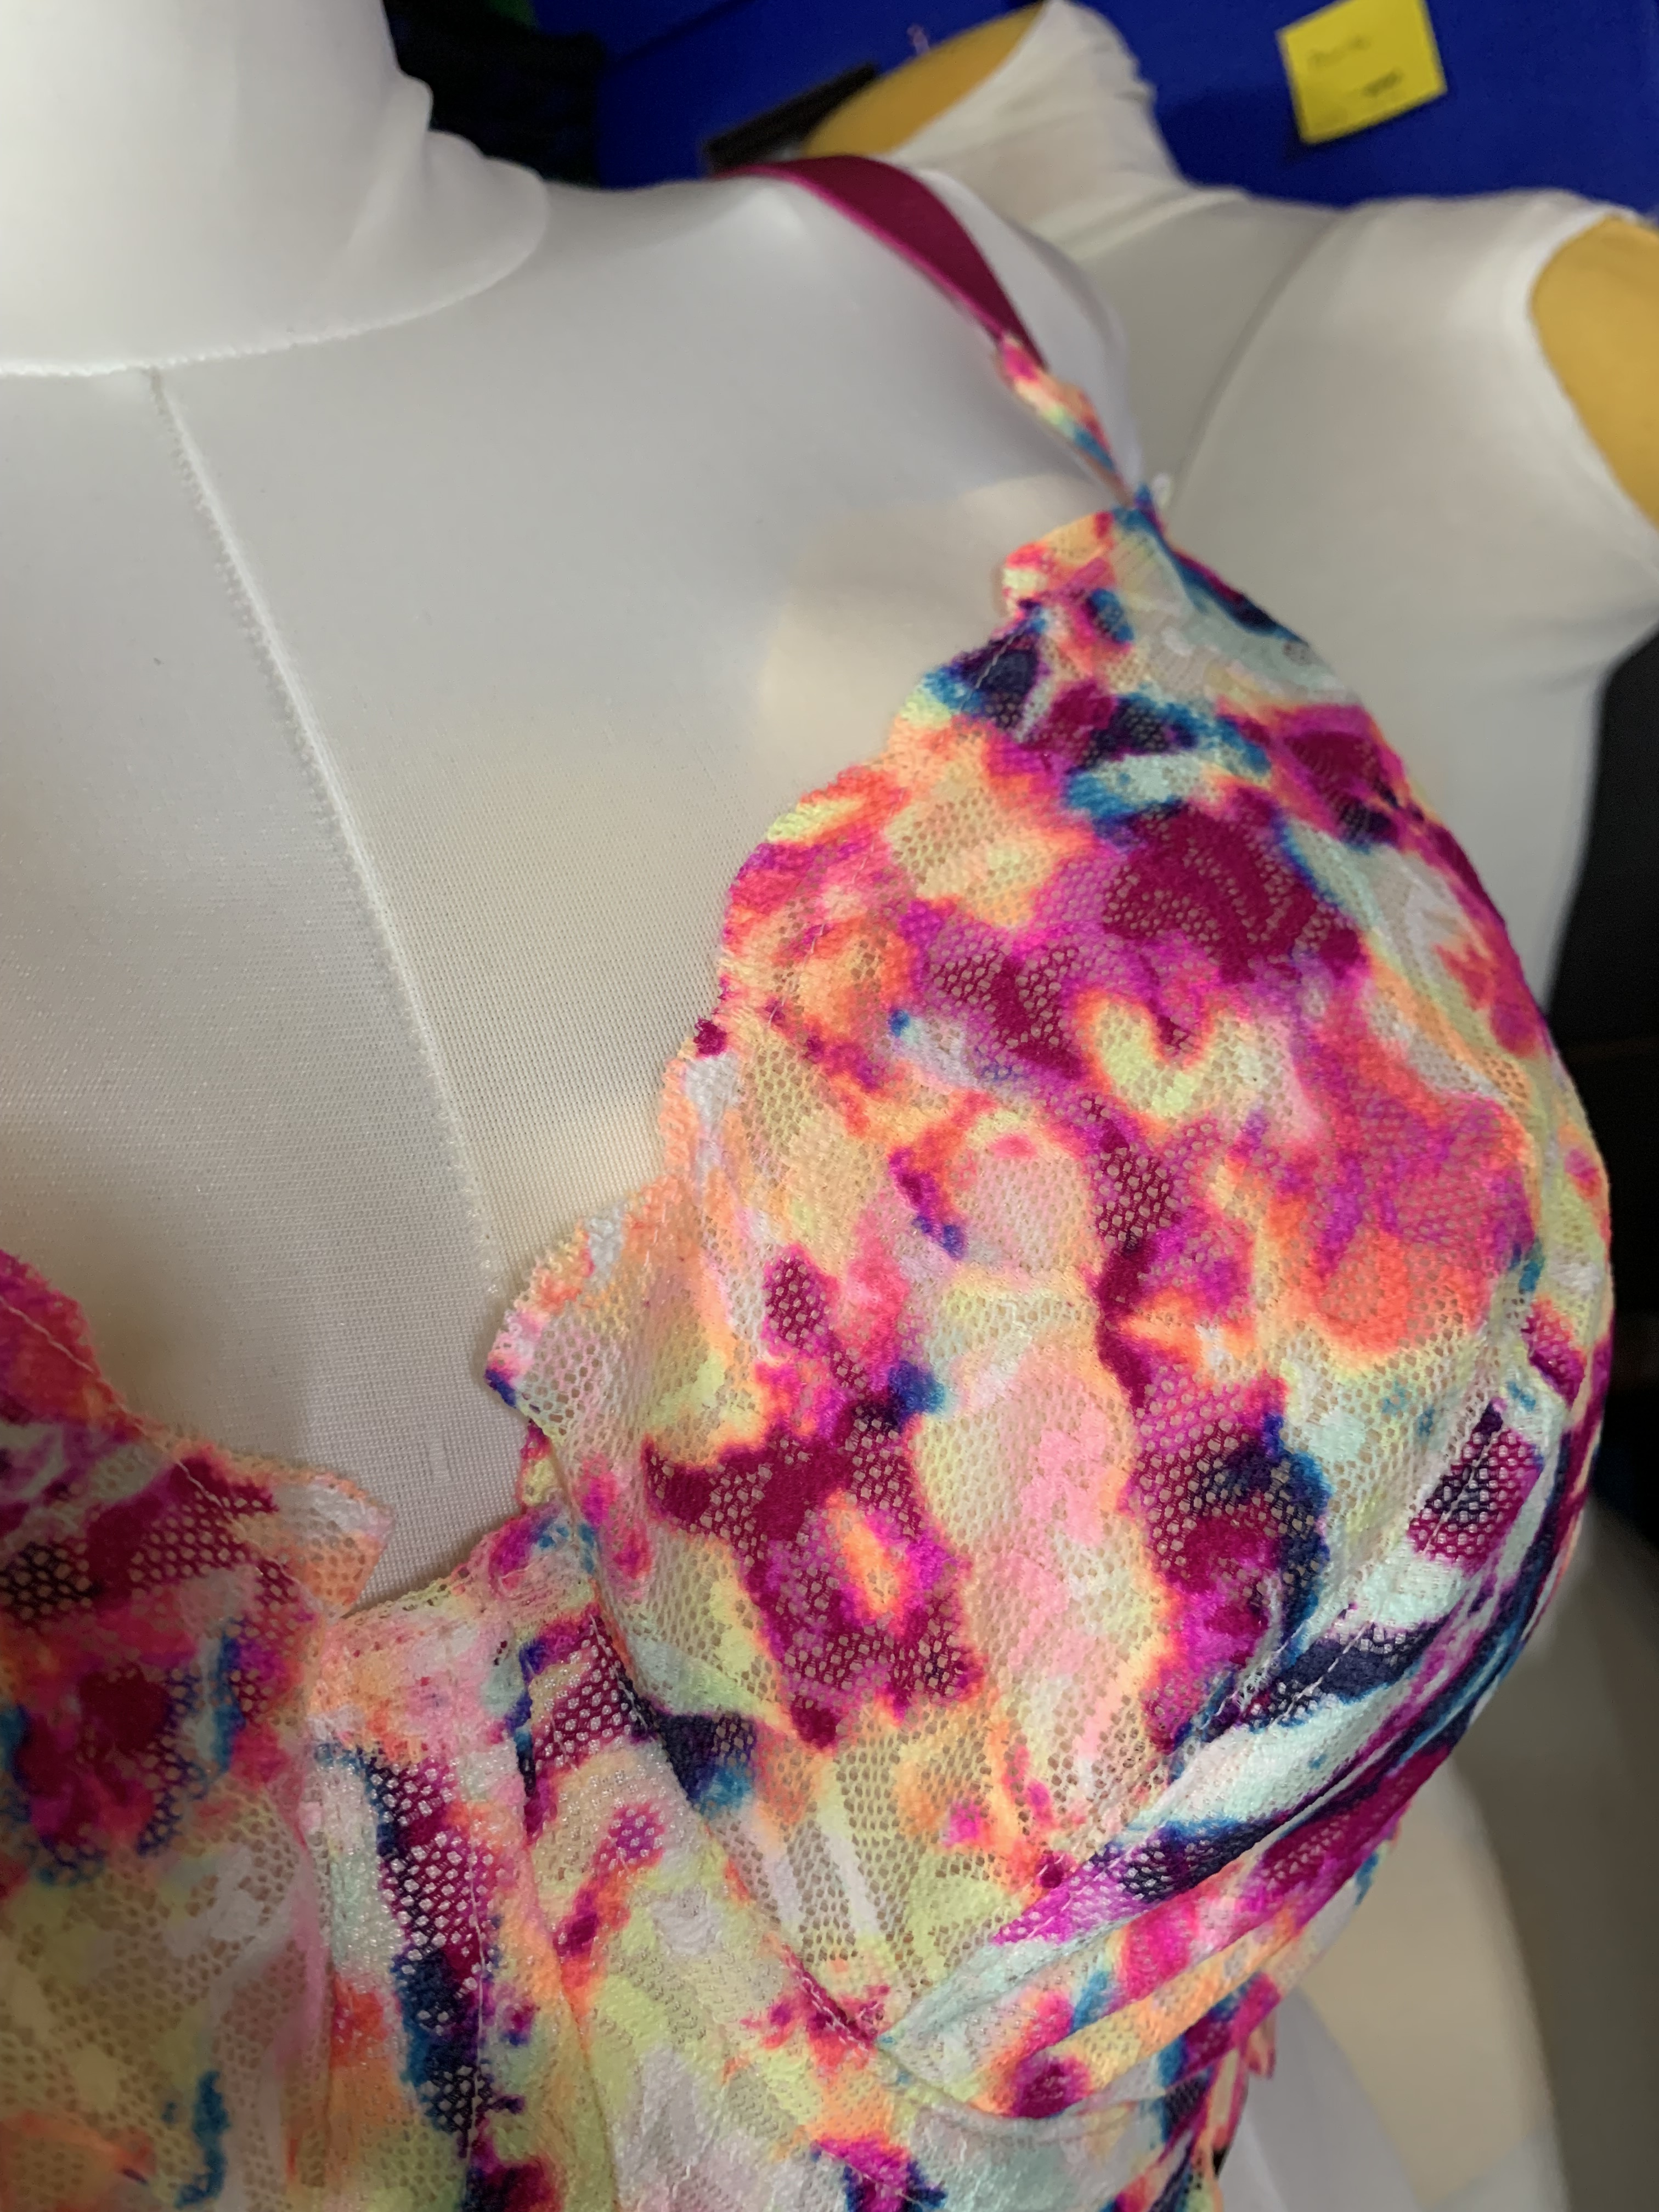
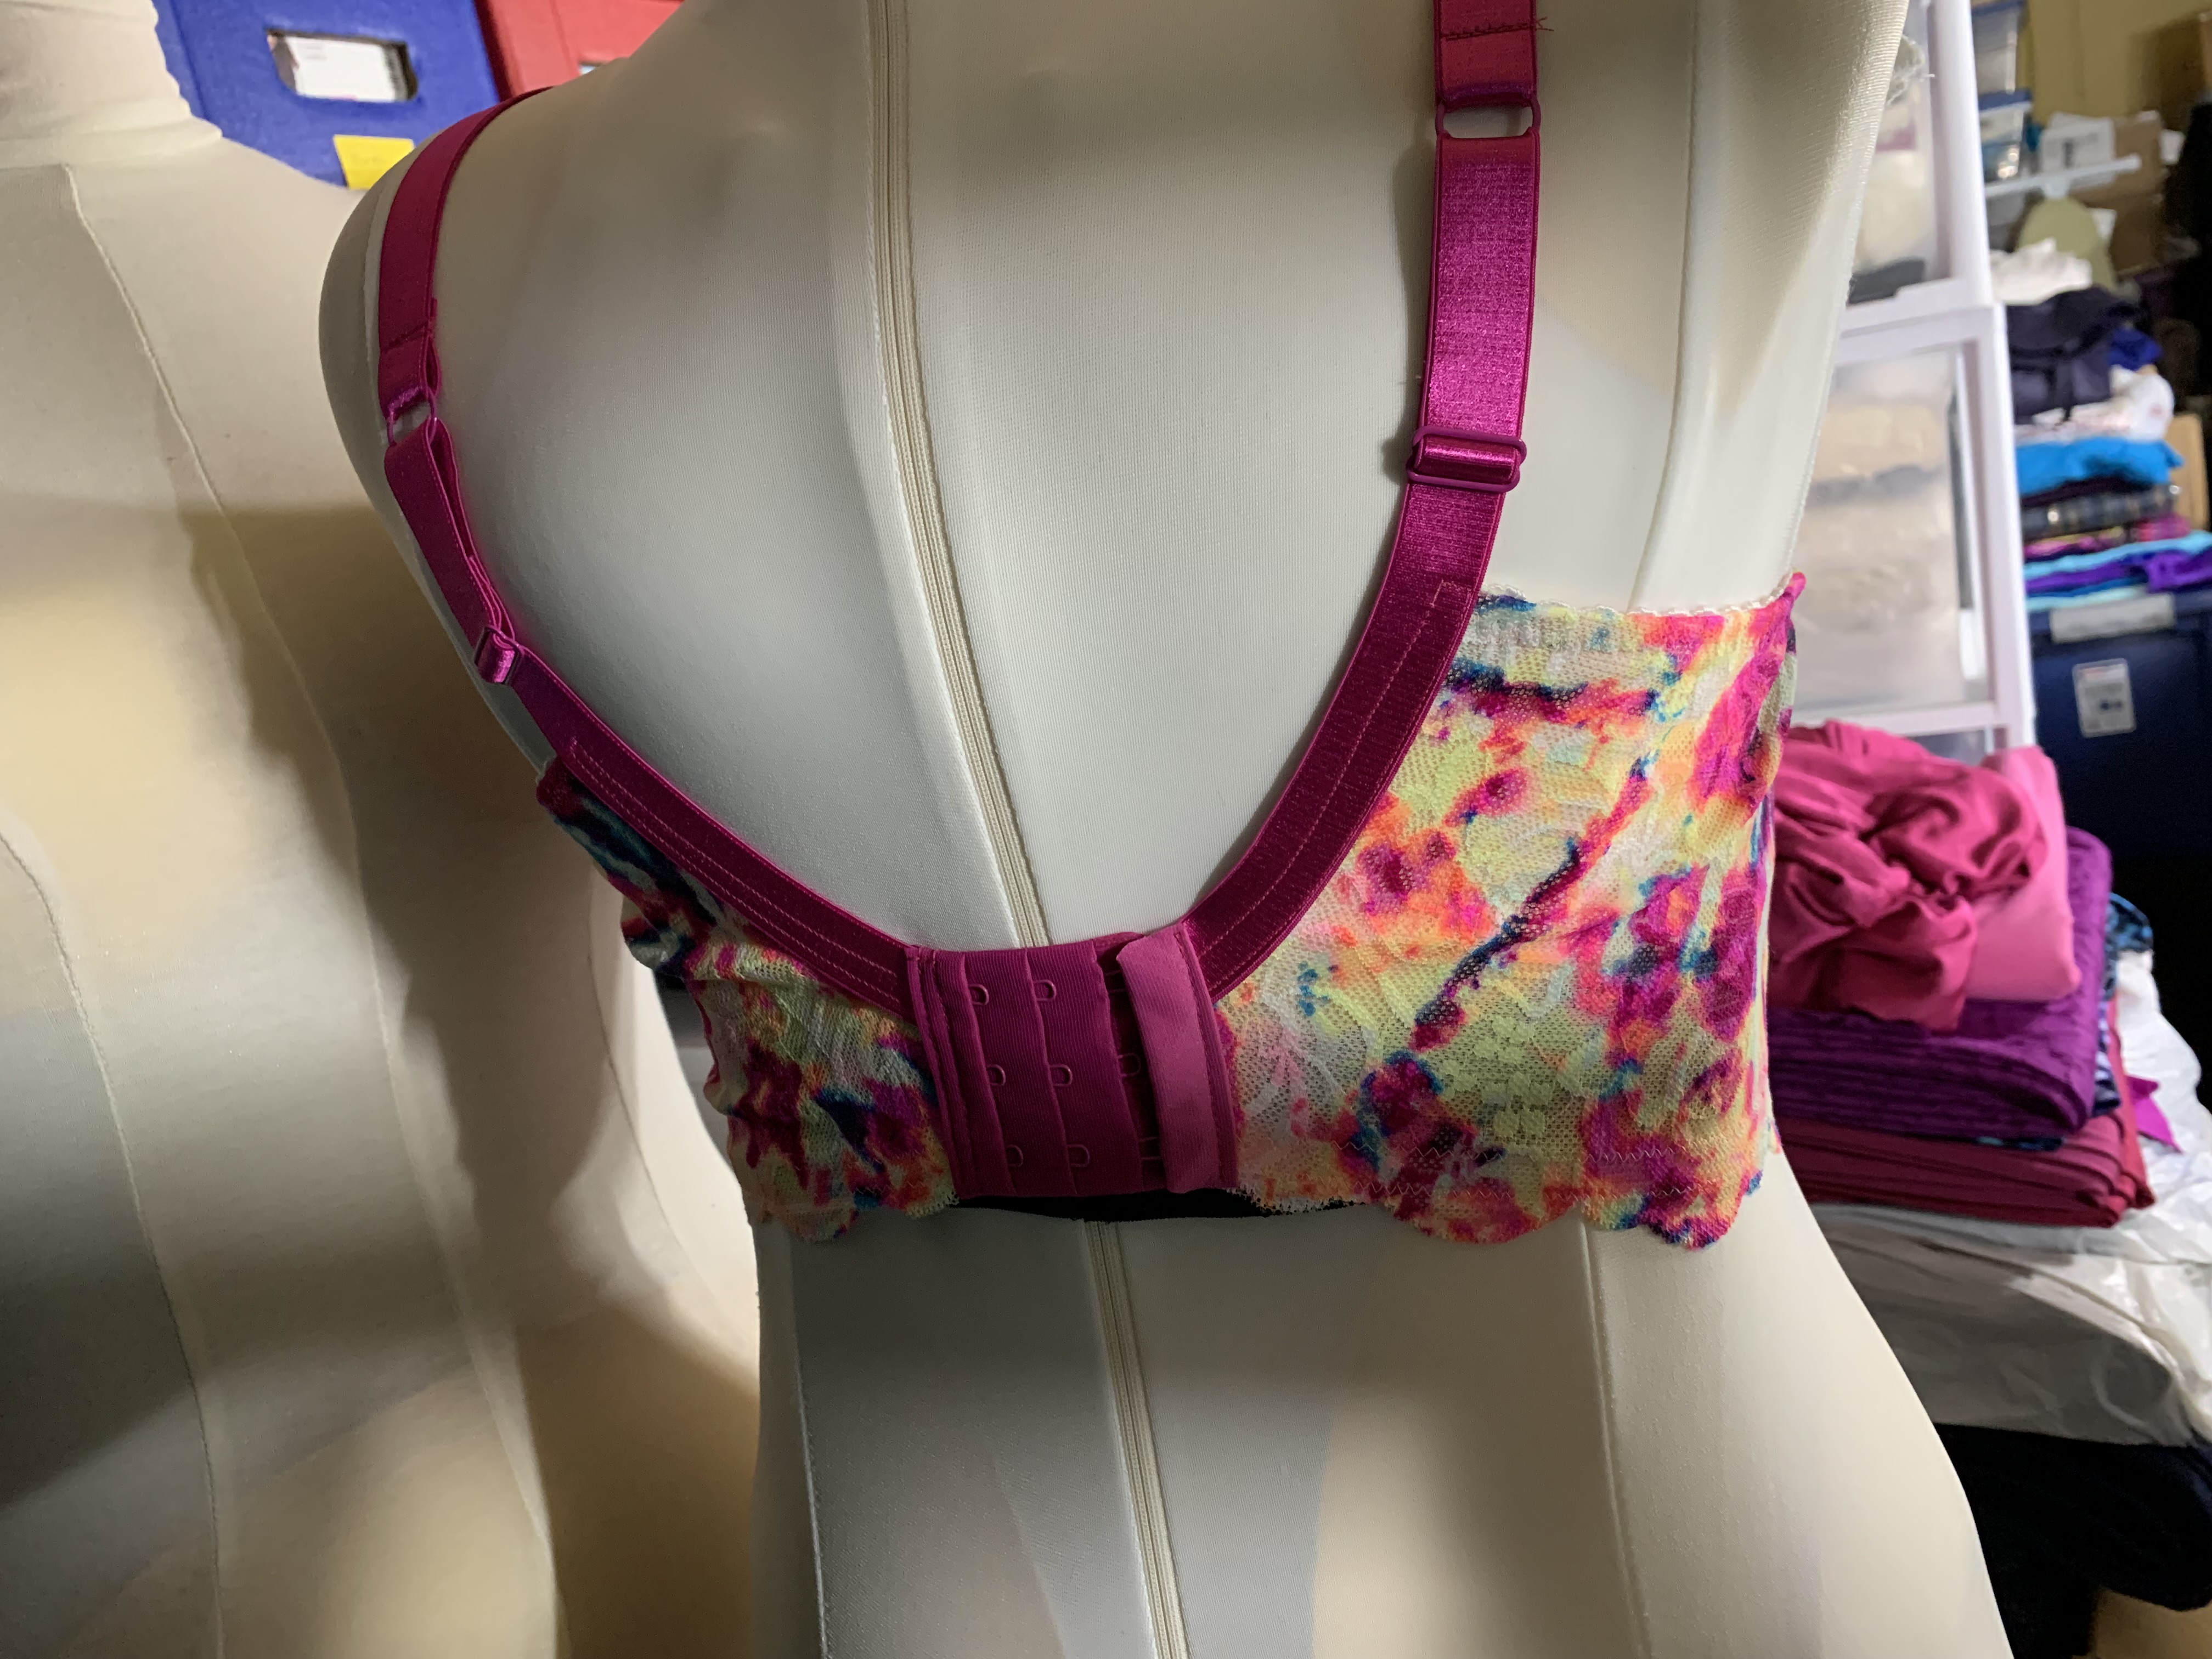
The other changes I made to this version were to attempt new styles with lace. In the video tutorials, Beverly Johnson shows how to make a lace on the front band, or on a back or partial band, but she does not actually make a continuous lace band. So I sort of hybridized the techniques and came up with my own pattern to do a fully single piece lace band, with just a seam in the center front for mirroring purposes. I basically re-drafted the band with a straight lower edge to match the LoPoL (Low Point of Lace) and made it long enough to cover the front and back bands. Then, because the lace isn’t particularly sturdy, I also made pattern pieces to line it with duoplex in the front and mesh for the back bands. I think it turned out super well! I also shortened the strap attachment point on the front to accommodate the lace scallops, and added a lace wedge piece to continue the lace motif up to the strap line. The rest of the pattern is as drafted; the Freja actually comes with a pattern option to have a lace topped cup, so I didn’t have to repattern any of the cup pieces for this project.
Because I was testing lace placements for the first time, I decided to use a wild tie-dye lace print. I honestly couldn’t decide if I loved it or hated it when I got it, but the colors were so bright they just sort of called to me. Frankly, I still can’t decide if I love it or hate it, but I am very happy I used this to make a first lace bra variation because I was able to learn a lot without stressing too much about using up precious, expensive, or super beautiful lace. There has been a lot of talk on the internet about “dopamine dressing” lately, and if these colors don’t get the dopamine flowing I don’t know what does. I’m not sure if what I ended up with would be considered conventionally beautiful in lingerie land (honestly, it might end up on the sales rack if it were RTW), but I do think it is fun!
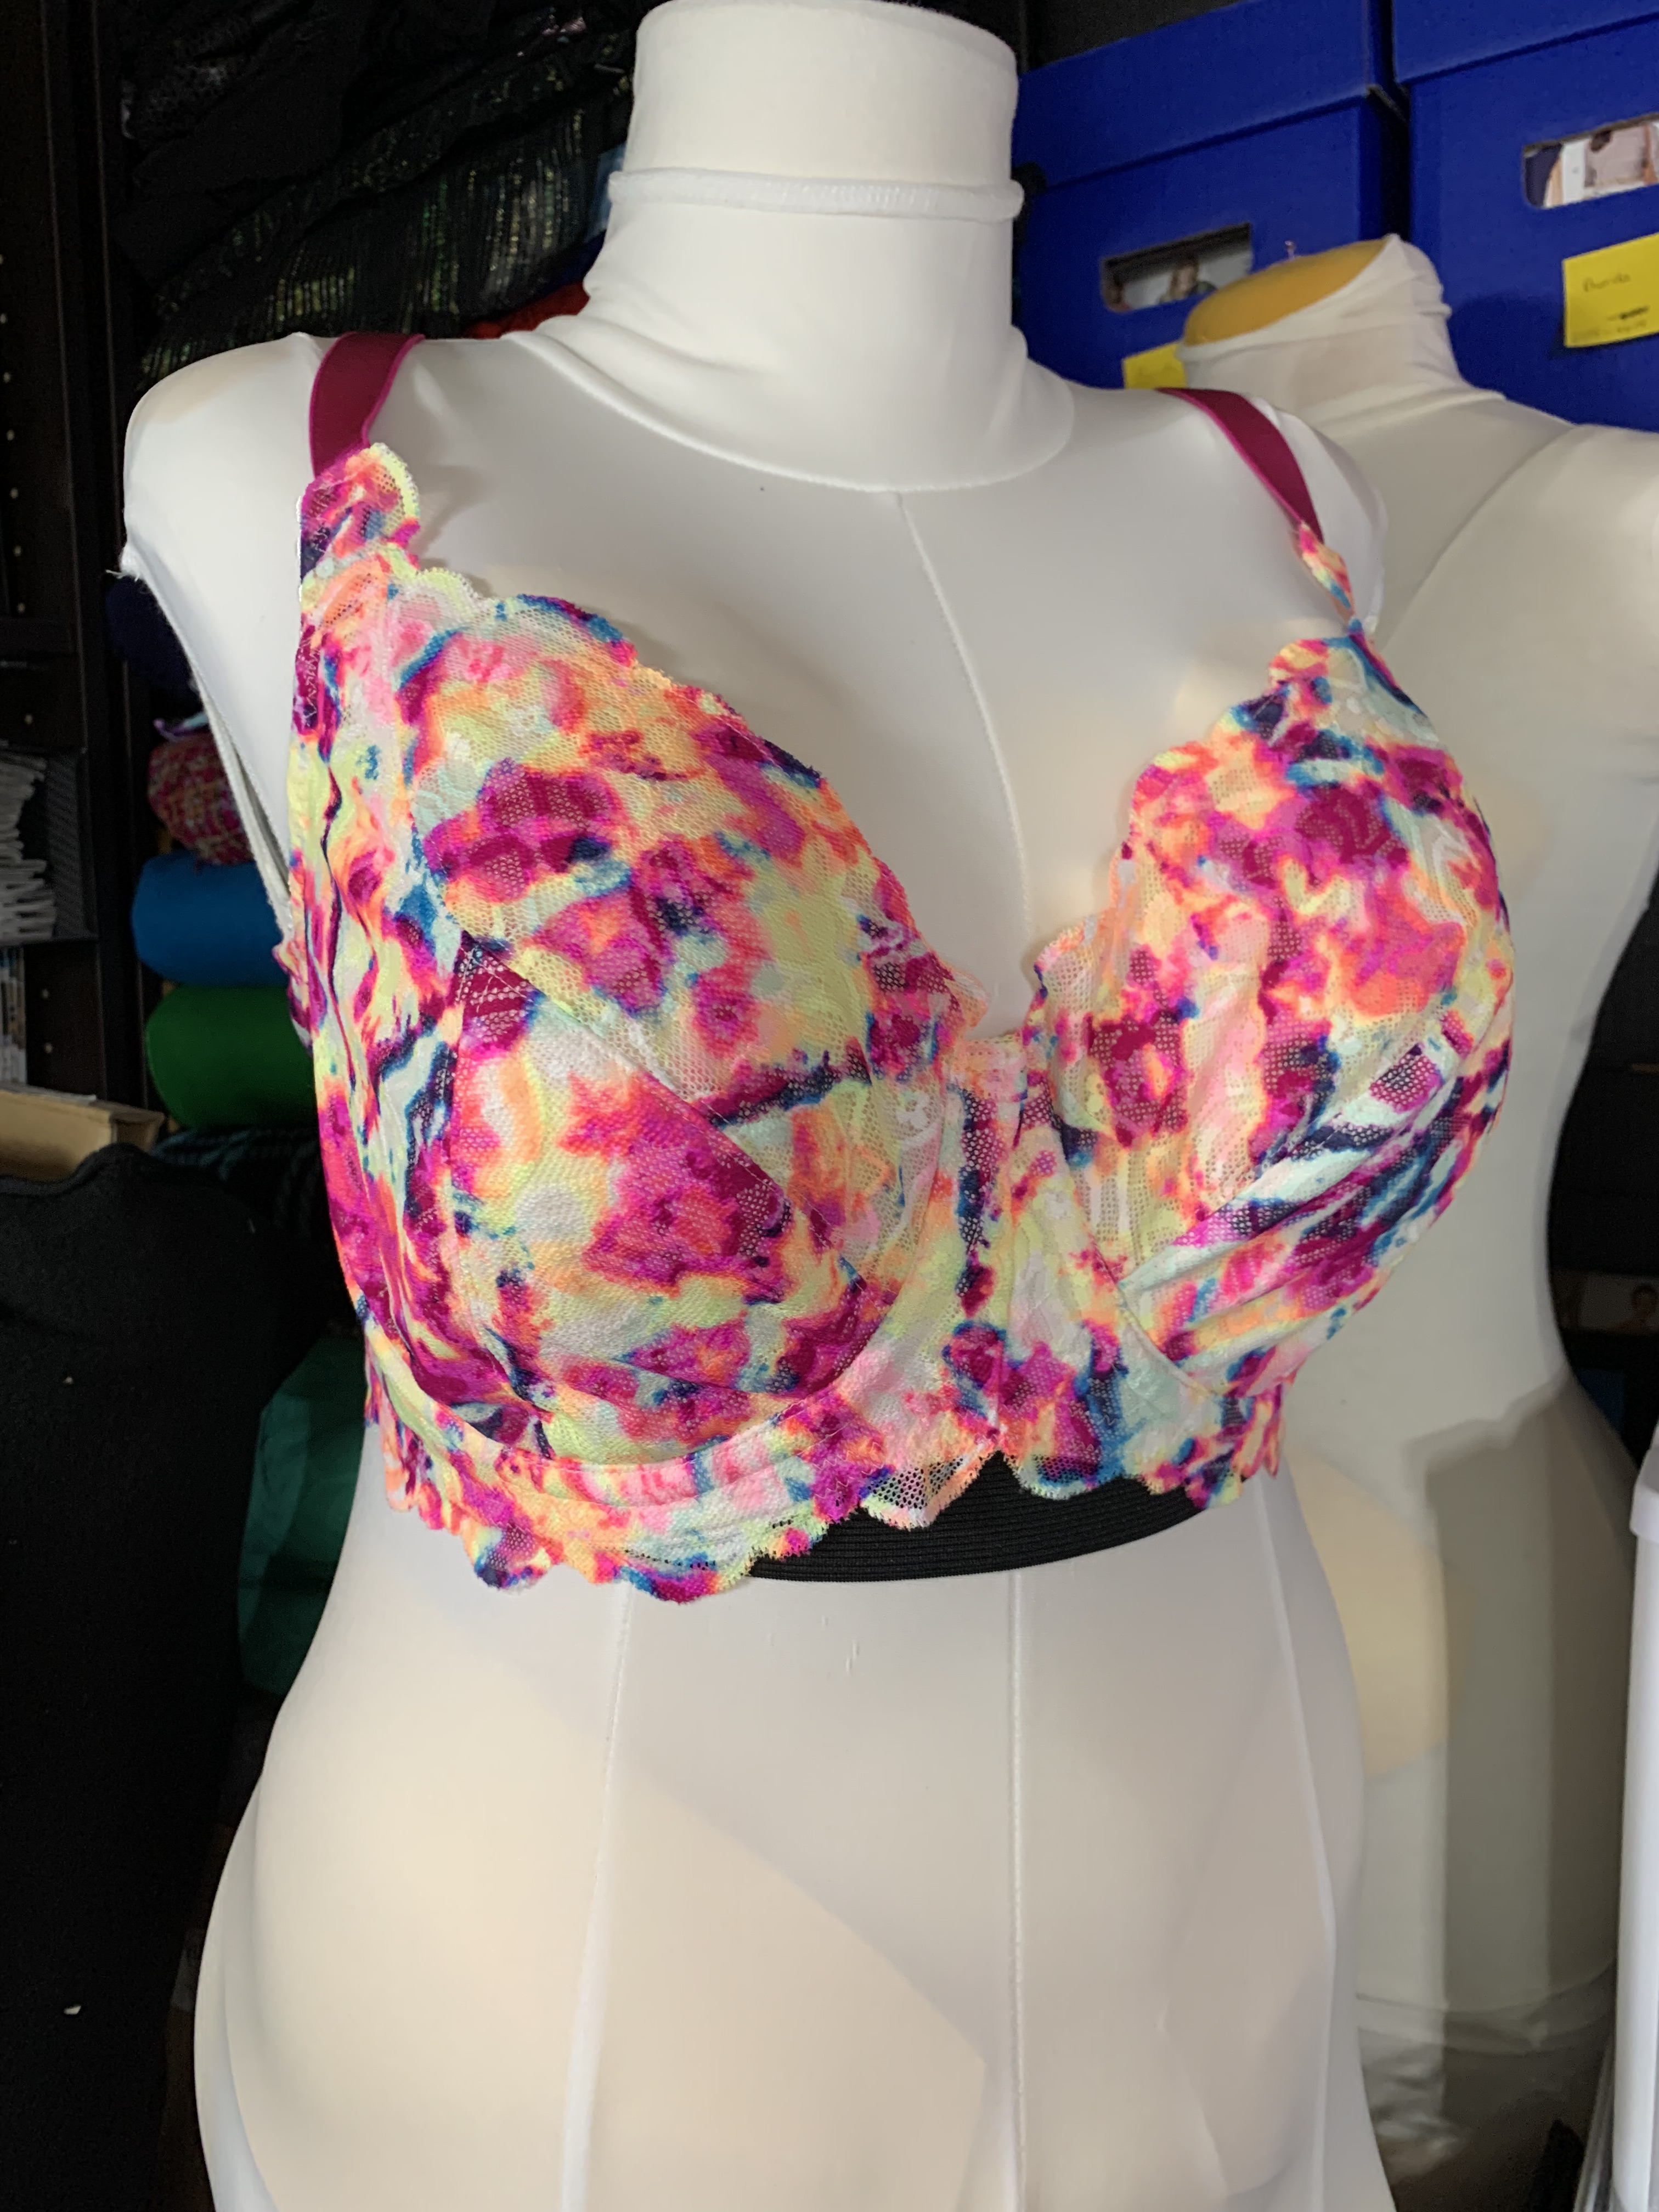

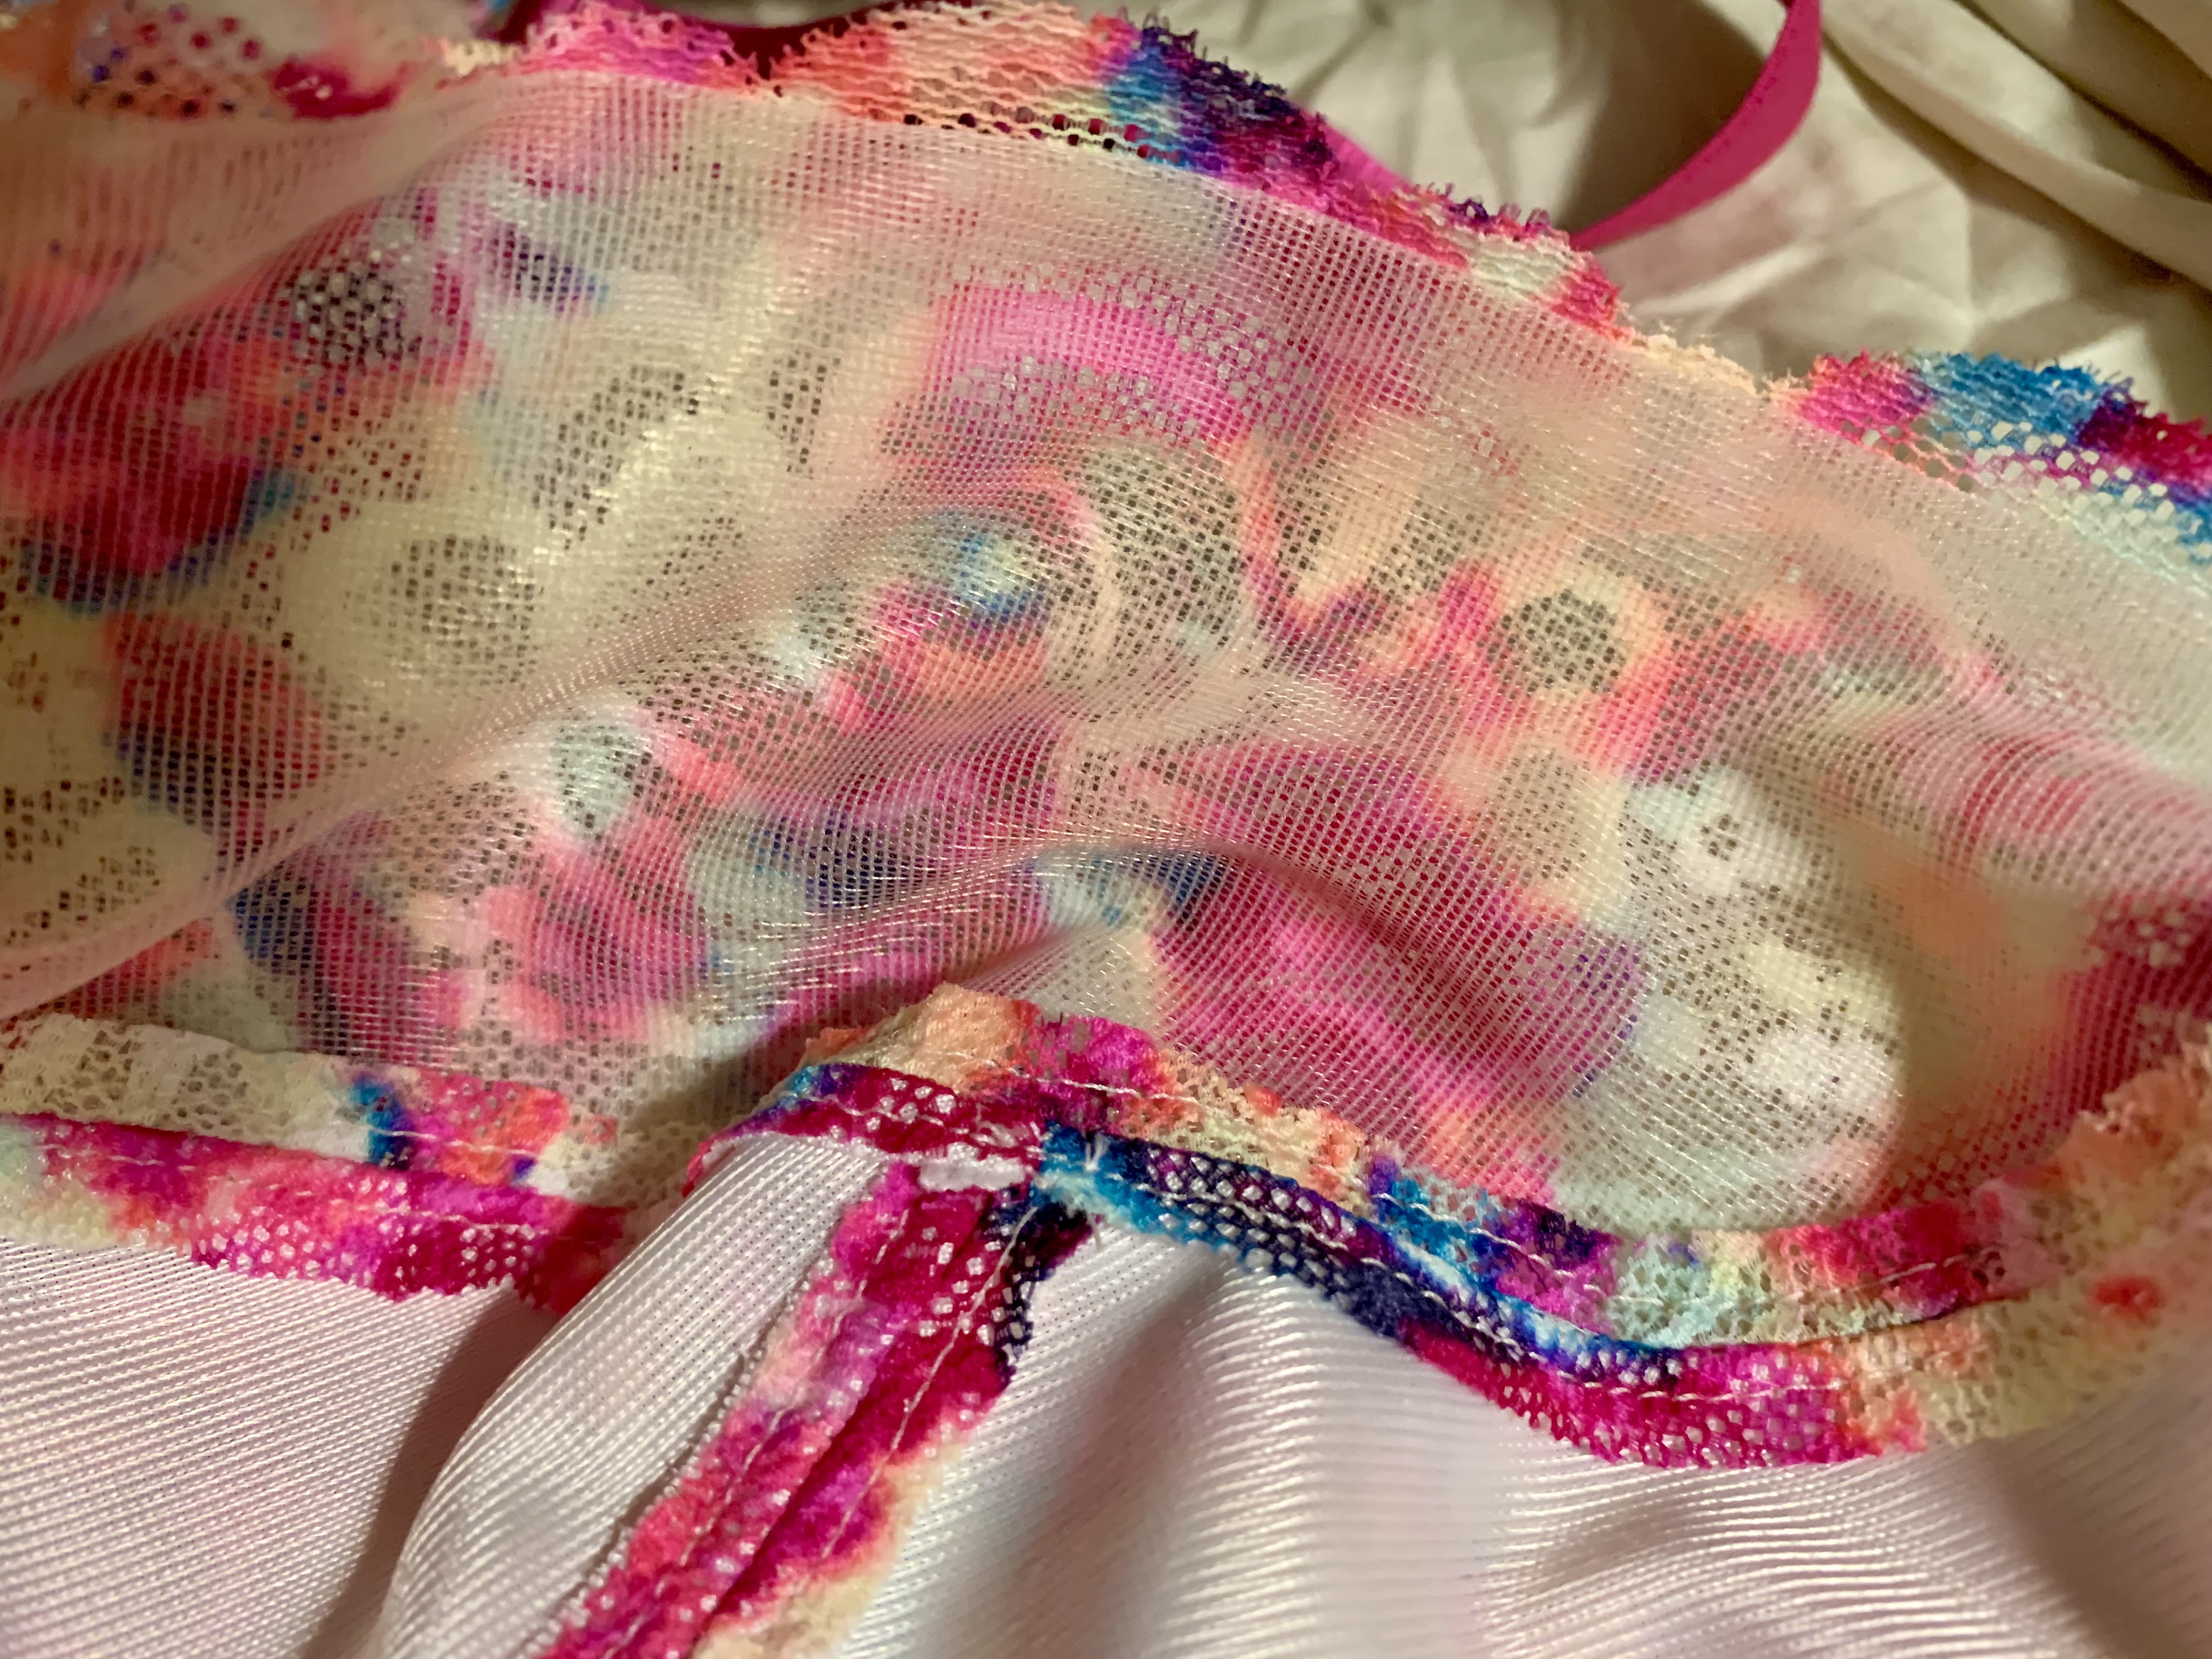
I am particularly happy with the mirroring of lace motifs at the center front, as well as the lace motif along the upper cups. The wild print does hide the style lines a bit, but I think that’s ok.
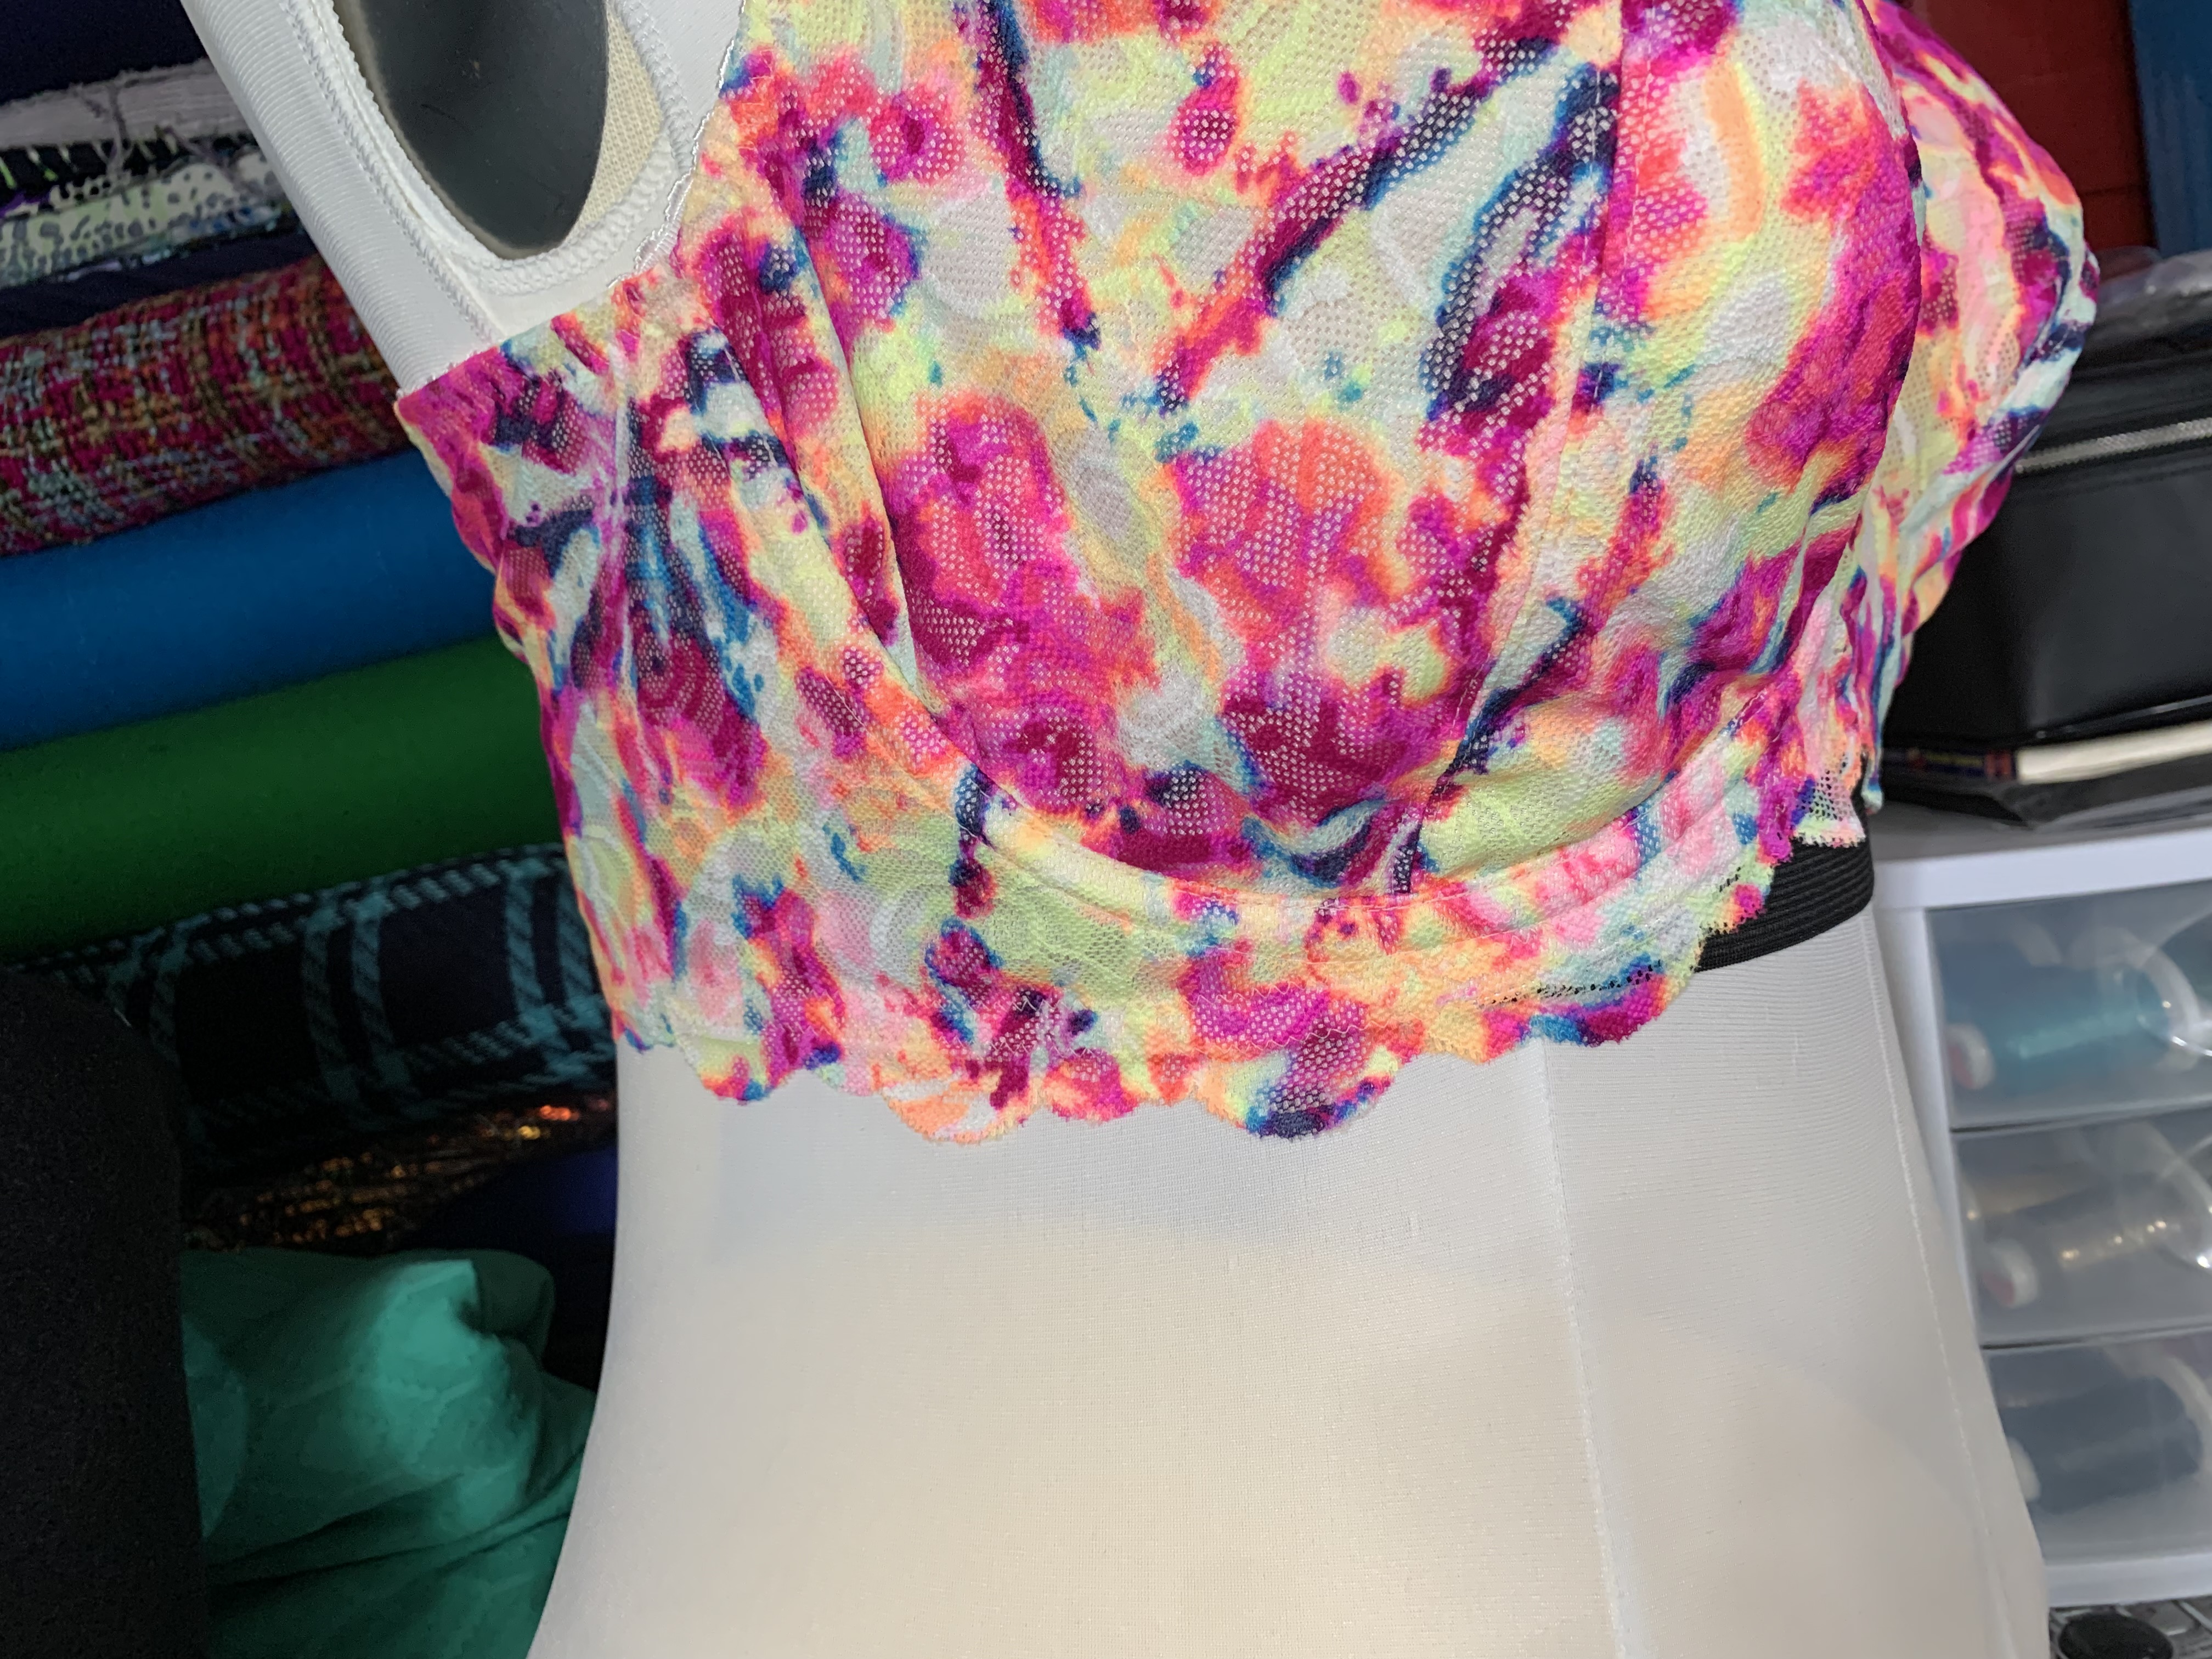

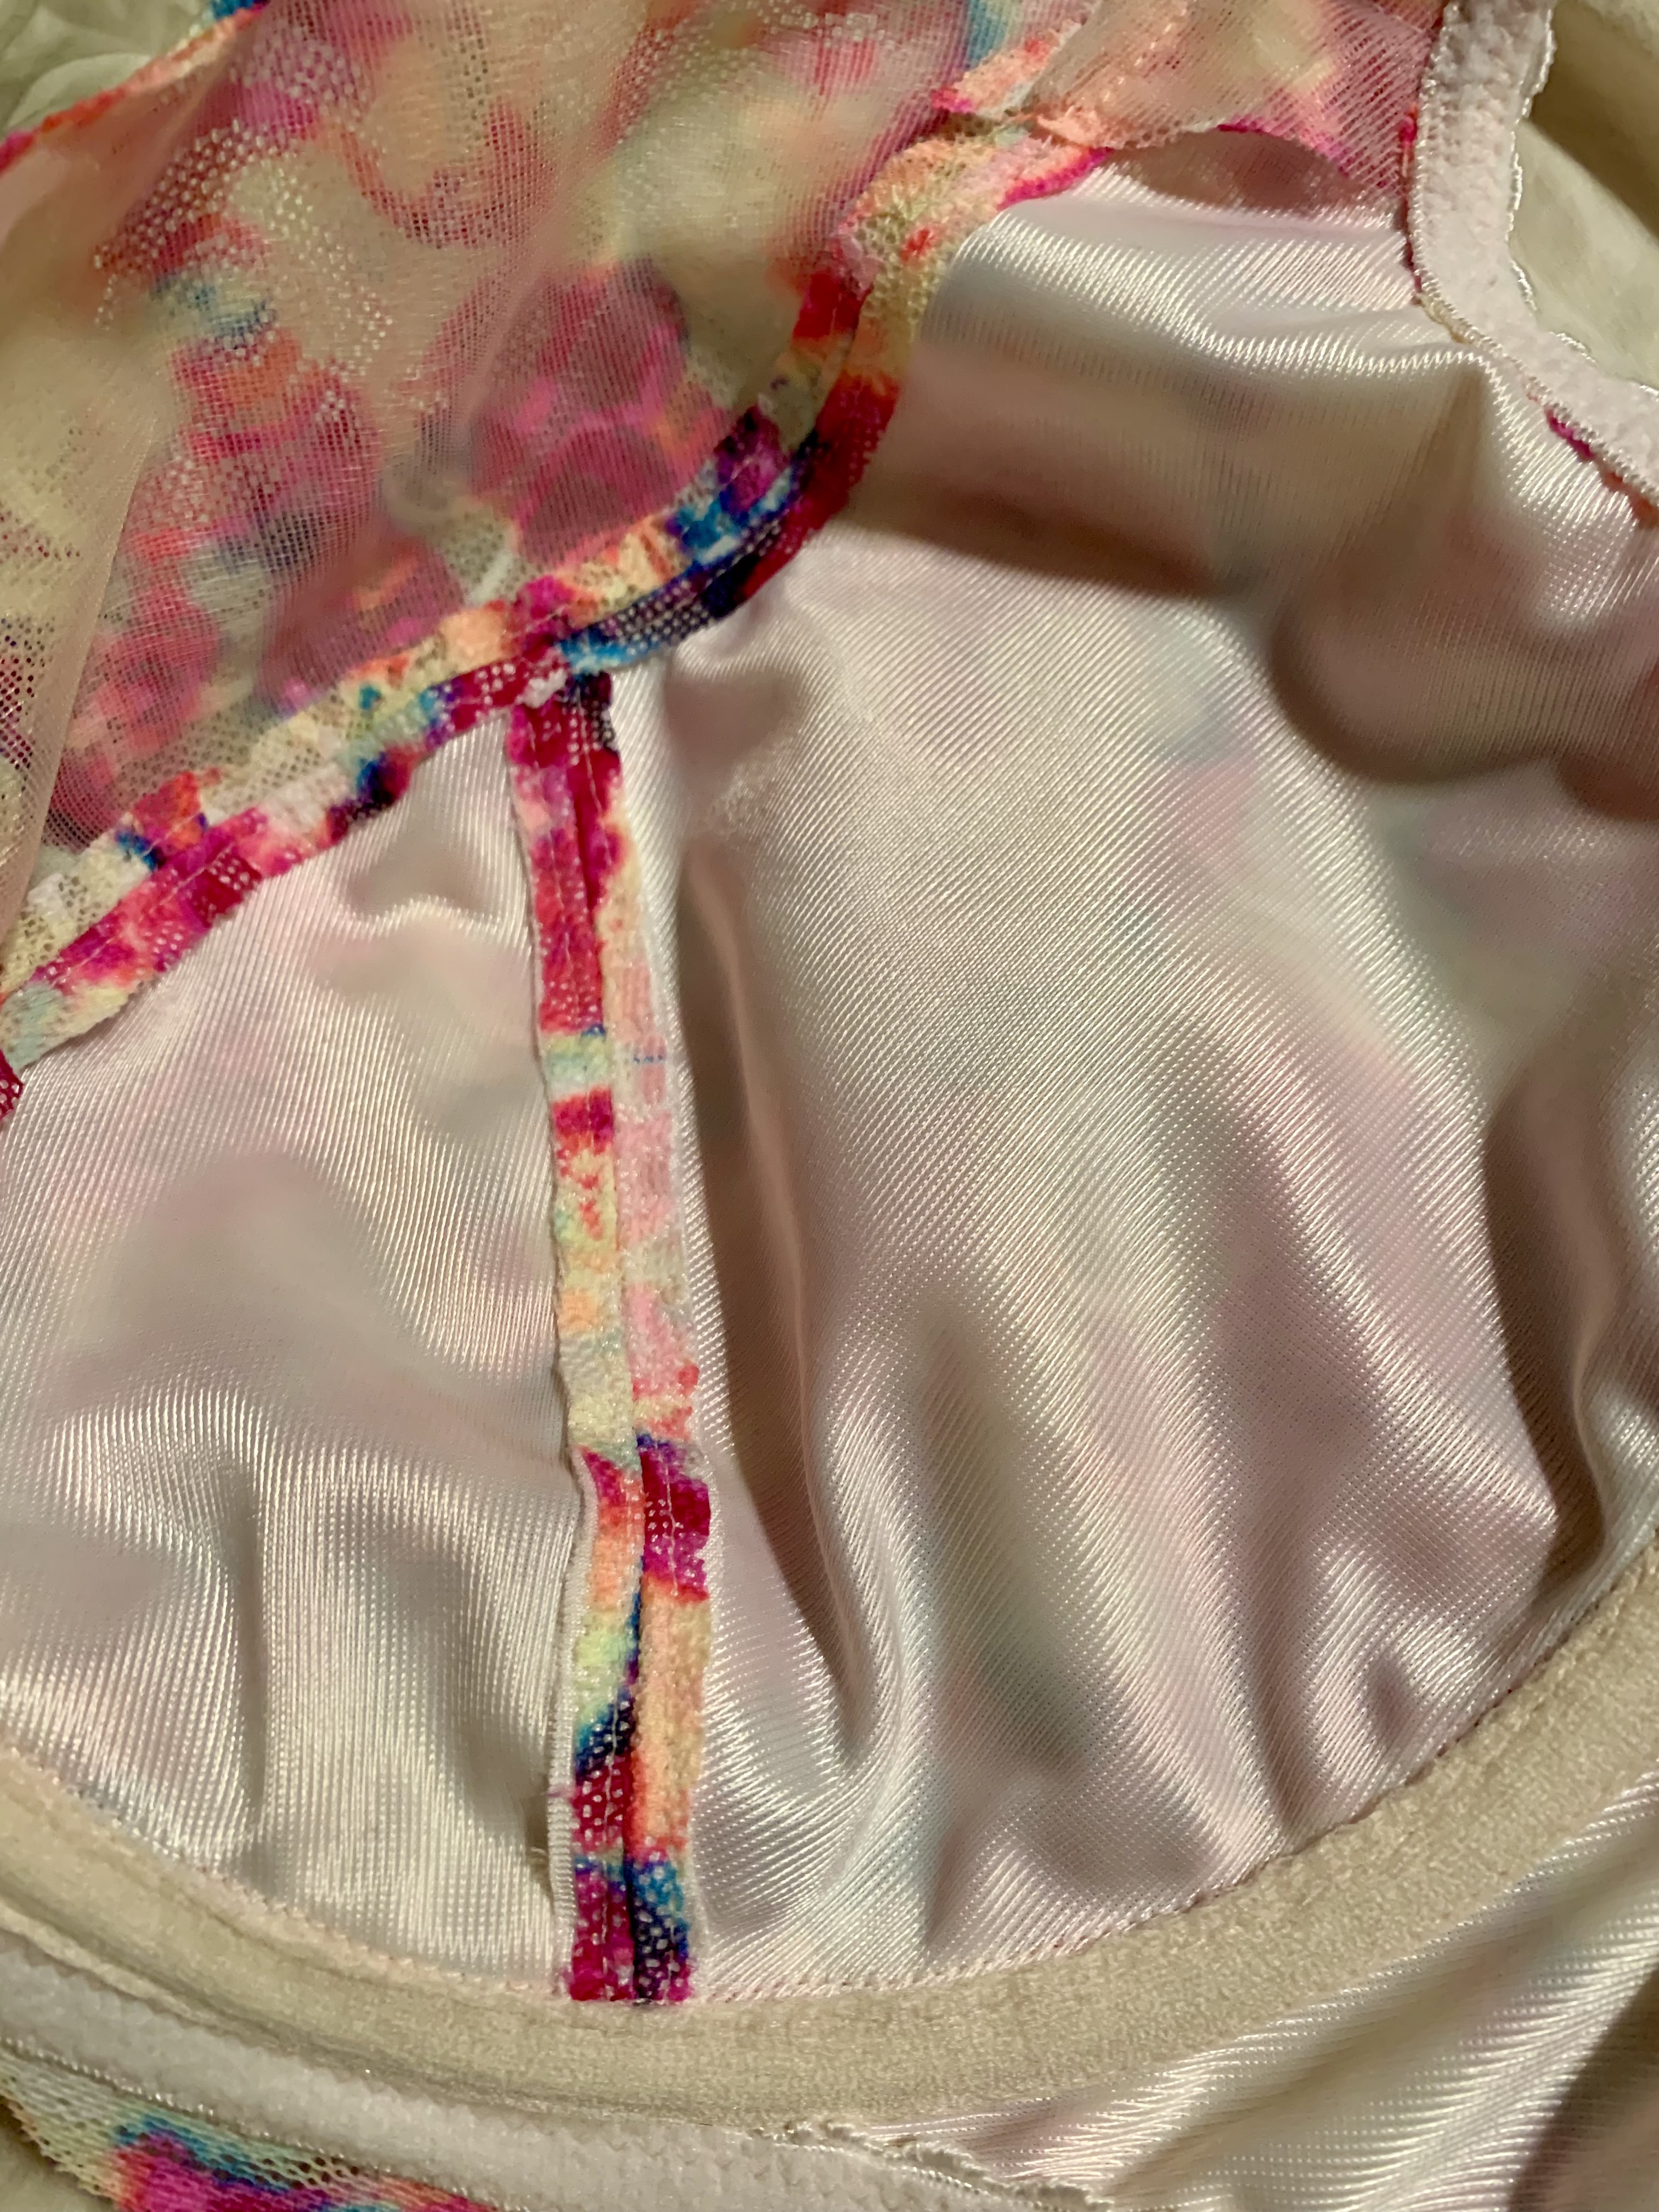
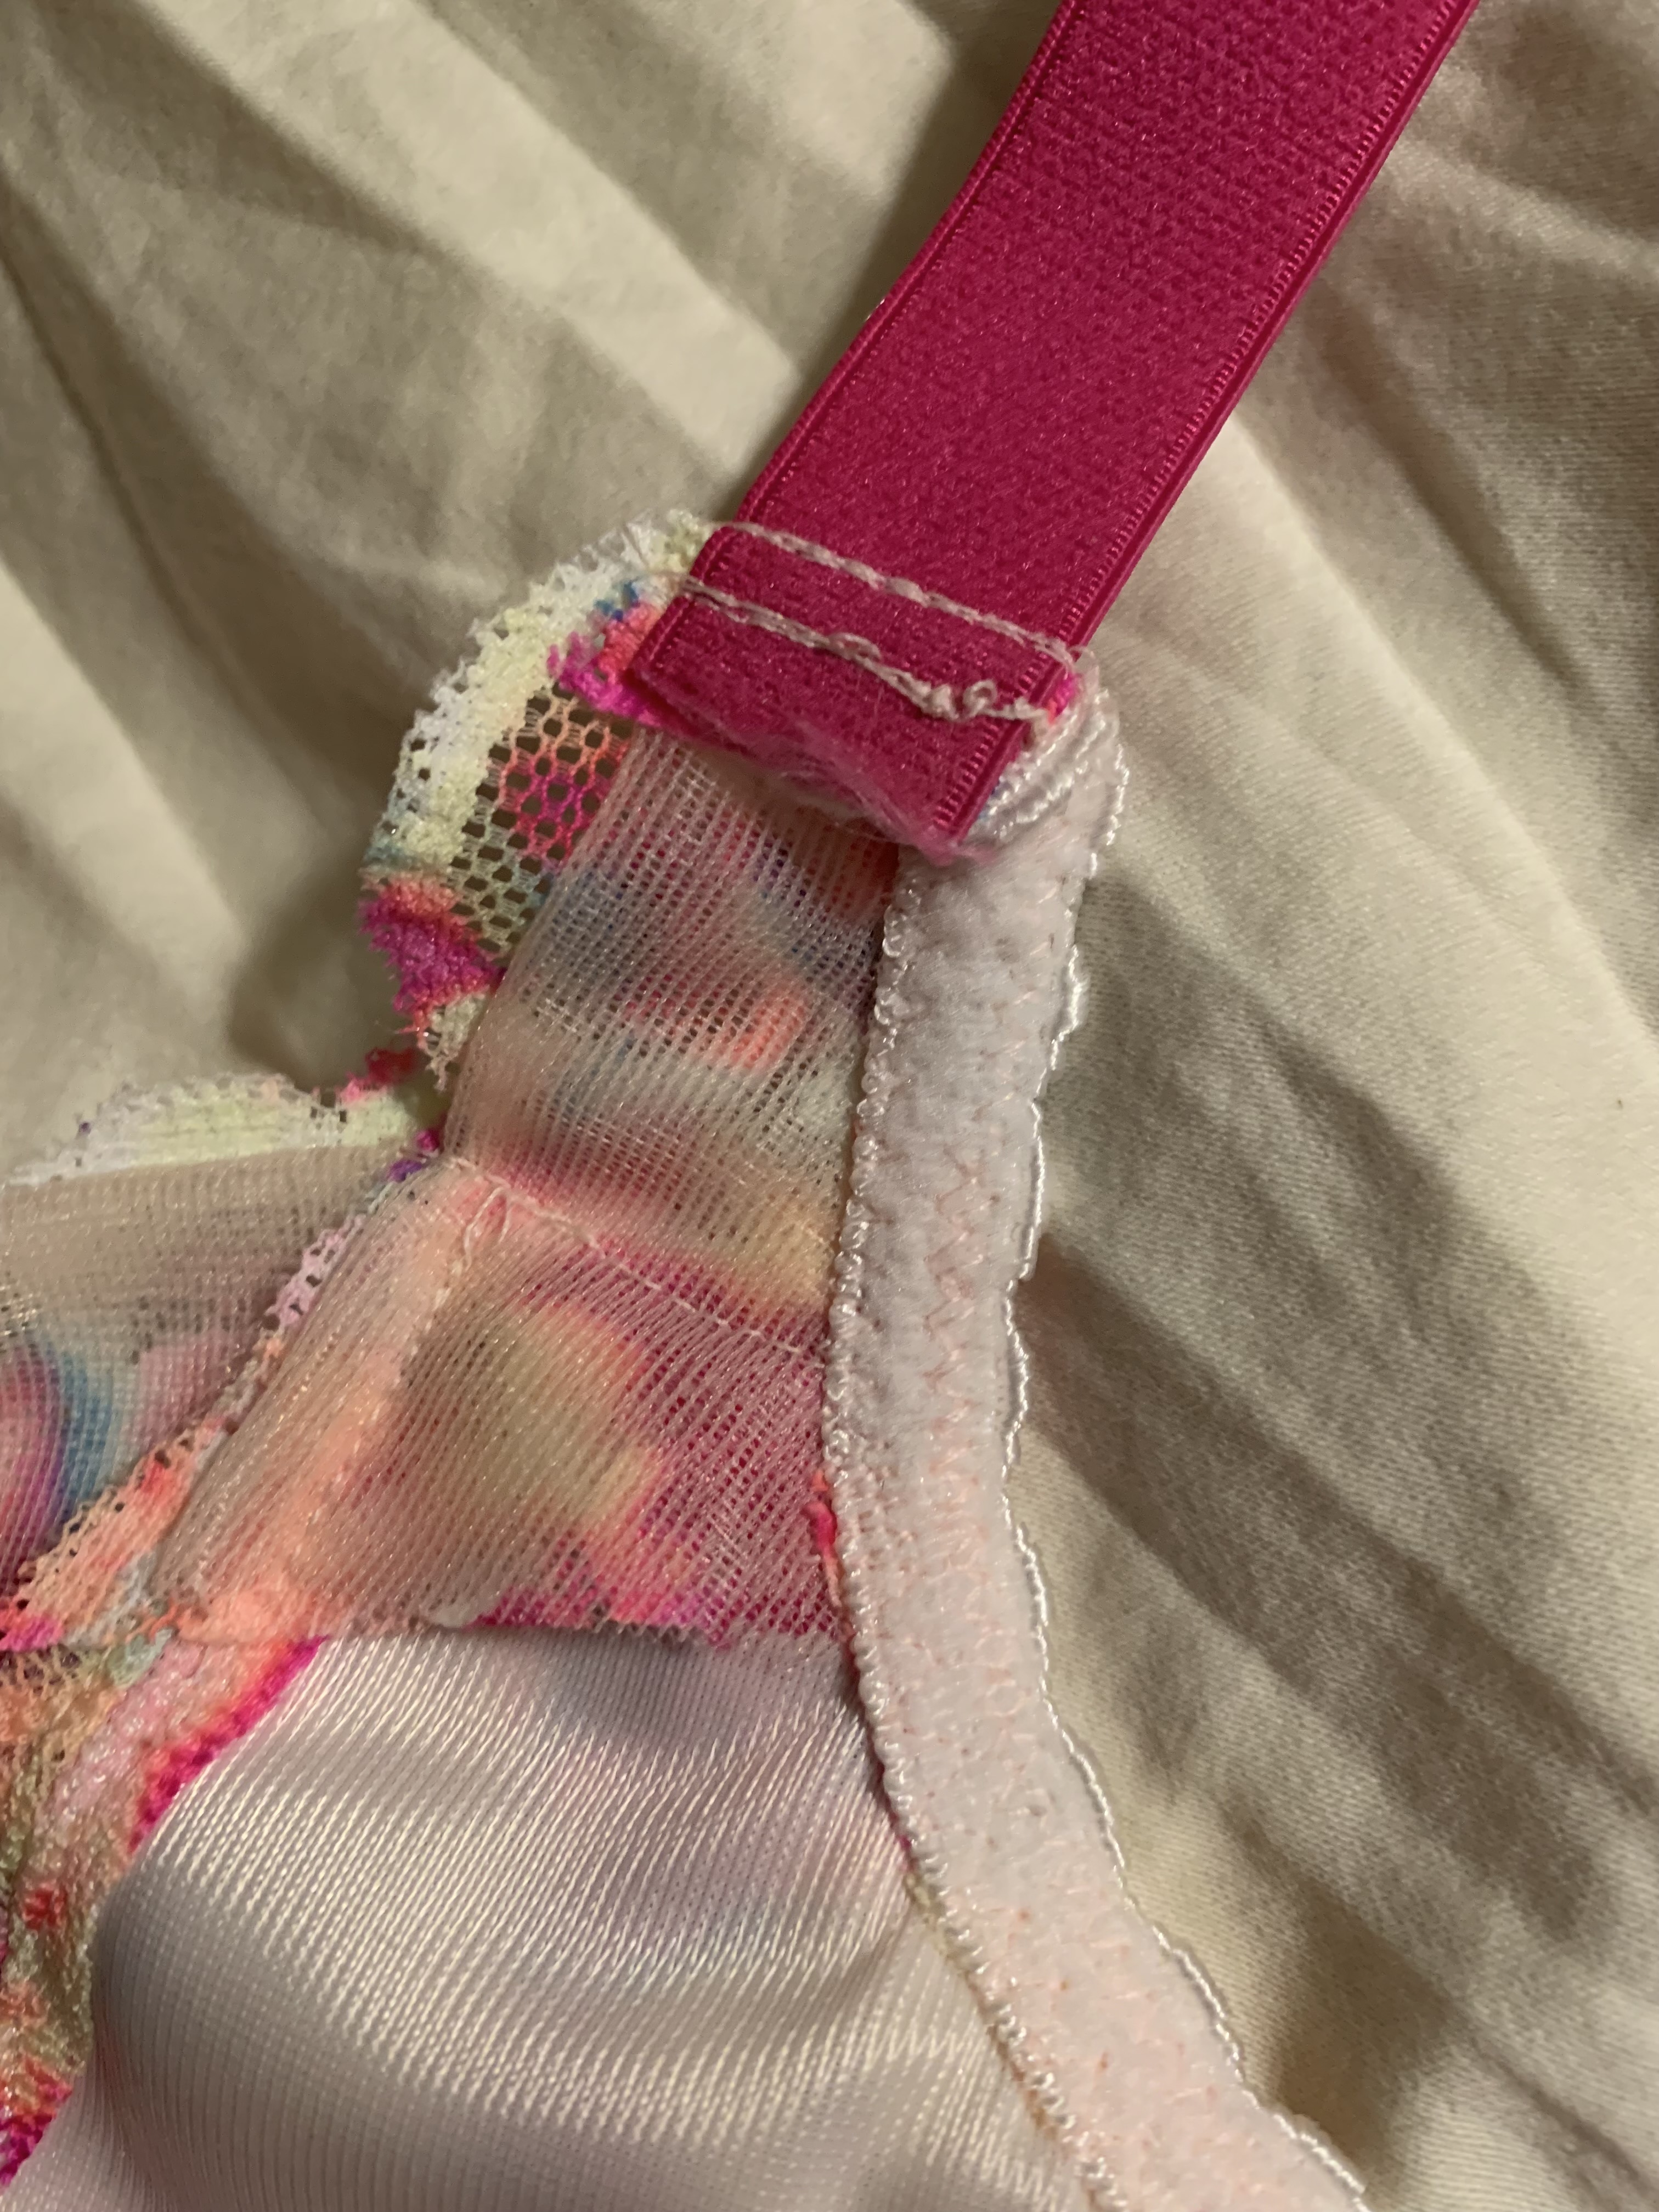
To finish off the lace edge at the top I used the stitch and flip method with sheer cup lining. The lower cups I lined with duoplex for added support and coverage. I think this turned out well and gave a nice finish to the top of the cup. I used a double folded sheer cup lining piece to add support to the strap extension, and I was lazy and just used bra strap elastic for the front and back straps. Should I probably have made matching fabrics straps? Probably, but here we are.
This is the firs bra I have made without foam. While I do have to admit that I am pleasantly surprised with how much I don’t hate not having the foam, I also have to be honest with myself and admit that if I want to make bras I’m actually going to want to wear, I should just make the foam cups because I just feel more comfortable having the added foam as part of the structural support. I like sewing the foam, so that’s fine, but it does add a significant cost to the overall price of the bra, relatively speaking when compared to the price to build without the foam. I still think that I’m able to sew a bra with foam for about 2/3 of the price of my current brand of RTW bras. If you want to factor in the time cost then I’m not really coming out ahead, but I do think I’m getting a better fitting end result and I actually enjoy the sewing process so I don’t think it’s really a fair argument either way. Since I am planning to use foam for most foreseeable future projects, I am actually super curious at this point to see if I can get a smooth looking foam cup from cut and sew foam and using a stretch cover to get a really seamless look. I know for a truly seamless bra I need to use pre-formed foam cups, but the sizing options seem to be limited and with supply chain issues as they are, well, it would be good to consider alternatives.
Anyway, a few interesting things to note as a comparison of the patterns. After making this bra, I definitely need to take a dart in the upper cup, the same as I did on the Ruby. I will say that the fit of the drafts between the different Pin-up Girls Bra styles is remarkably consistent, so if you’ve had to make alterations to one bra style and you get a second, plan on making the same alterations for fit. The bands themselves are similar but they aren’t totally interchangeable; in direct comparison the length of the wire line is slightly different to accommodate the different cup styles. So I wouldn’t just use bands interchangeably without looking at pattern differences first. My alterations were simple so I thought it worth the time to make them on both patterns, especially since I also needed to re-draft the Freja band to accommodate lace. Knowing the patterns are so similar is actually very helpful for the future though in case I decide there are any other pattern styles I want to add to the collection. Also of note: I actually ended up using different wire sizes between the Ruby and the Freja. I’ve been using a size 46WL in the Ruby, but I went up to a 48WL in the Freja (good thing I got a wire size tester kit!). Interestingly, I feel like from the illustration I would guess that the Freja had less coverage, but in actuality I think it has more. It is possible the 48 could fit in the Ruby as the 46 has a bit of extra space, but I feel like it was just too long to fit on my first bra, which is why I’ve been using the 46’s. It’s definitely something to test in my next bra though, in case I’ve been needing longer wires all along!
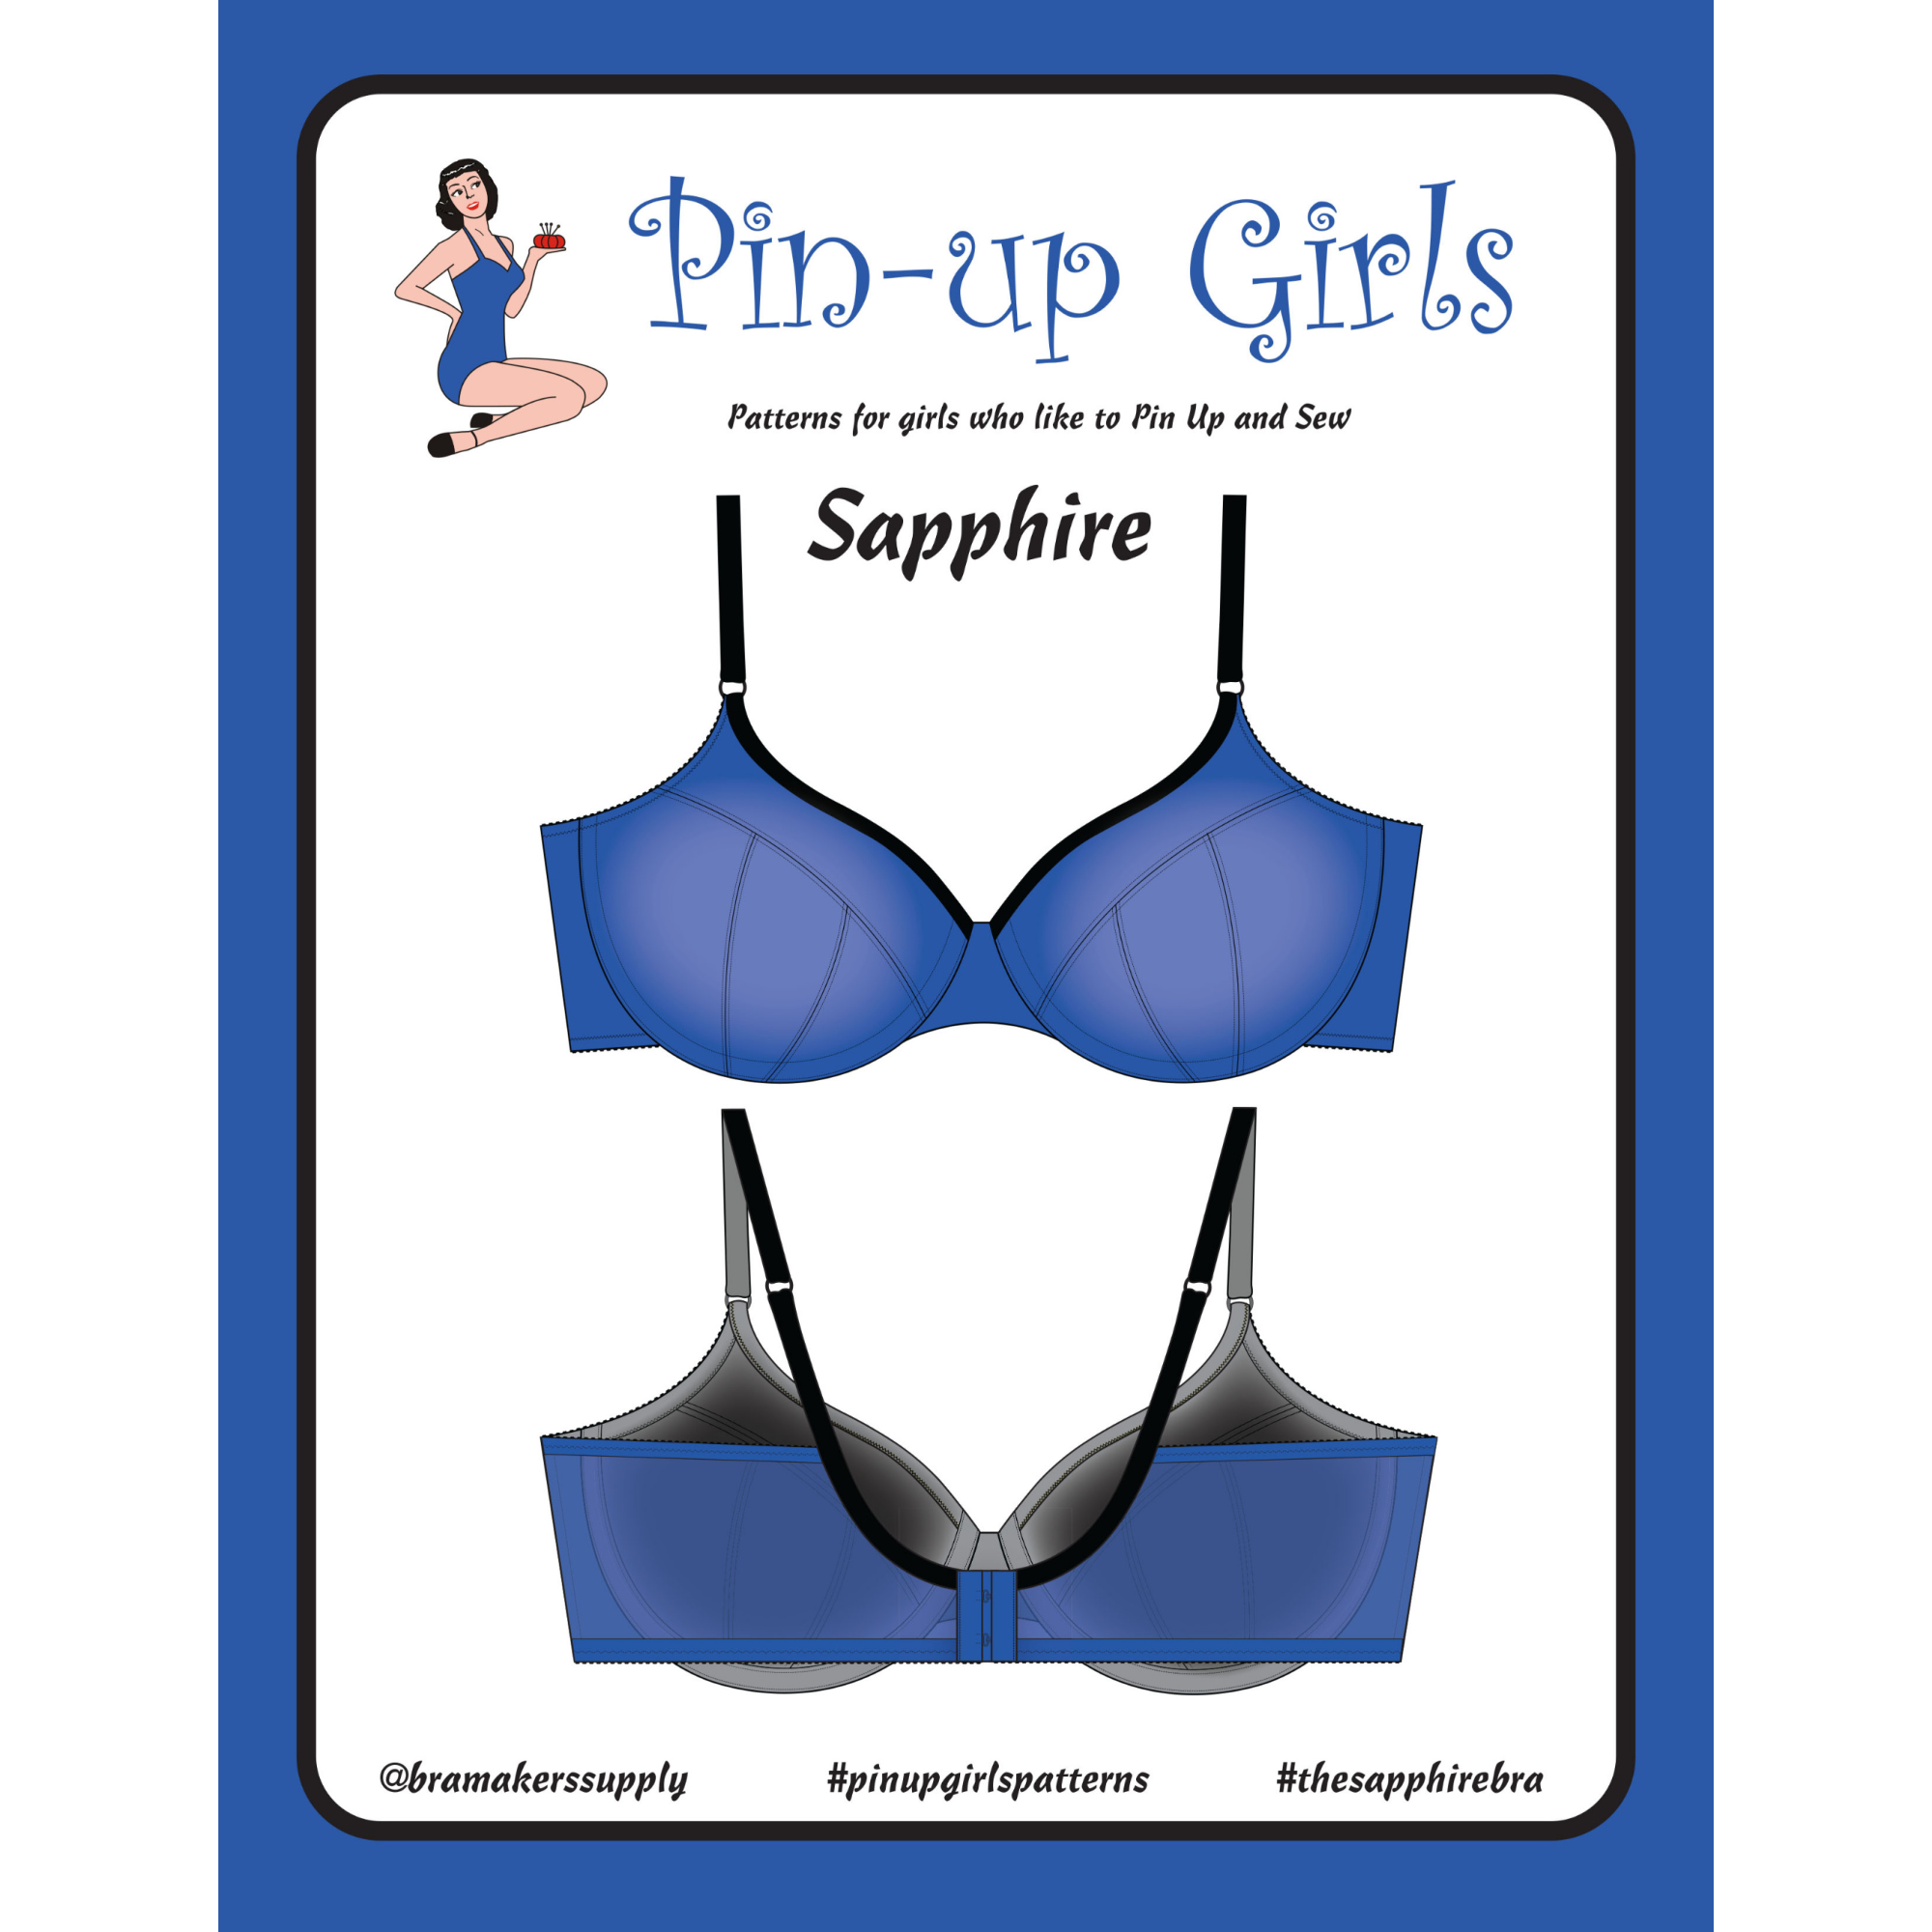
So, now that I have 2 different styles of pretty decently fitting bras, what’s next? Well, I have a lot of ideas and I also now have a lot of fun fabrics. I think I’m going to try my hand at drafting a partial band bra for the Ruby, and altering that pattern to work with lace on the cups and band. Basically, I’m going to be following the tutorials to turn the Ruby into a Sapphire…

I feel like it could be another debate in the sewing community if the time to re-draft is worth the money saved not buying a second pattern, but I actually sort of enjoy the drafting process, so I’d rather take the time to learn how to do the procedure, especially since I have the fit worked out for the most part already. If I like how that looks I’ll also take the time to turn the Freja into a Frida and make the partial band draft adjustment for that pattern. I’ve already made my own foam pattern for the Freja, but I still need to do some adjustment for the cup covers on that pattern. (Honestly, I think I might need to also do a bit of a re-draft for the Ruby. The cup covers fit, but if you are using a rigid cover fabric like duoplex it does lead a bit to cup crushing if you aren’t super careful, and I’d like to avoid that in the future if I could…). I feel like once I have full and partial band fits worked out for each pattern the sky’s the limit, really. So that’s my plan for the next few projects I think. I certainly have enough styles I want to make and enough fun fabrics I want to sew with that I should be able to keep myself entertained with the bra sewing adventures for some time. I’m looking forward to have something of a bra pattern library where I can just decide what I want the result to look like and pull out pieces and start making, but for right now I’m still very much enjoying the journey to get there.

I didn’t enjoy bra sewing previously (I don’t have the patience to do all the muslins necessary to get the right fit for my oddly shaped chesticles), but you are inspiring me to try again, now that I know more about fitting. Also, re: the lace, I probably would have bought it and had similar feelings about it. 🤣 I think i like it, but yet, I don’t know that I would wear it. I have a few pieces like that in my stash.
LikeLiked by 1 person
Also, I didn’t realize I had oddly shaped boobs until I tried making (and even just fitting into RTW) bras. 🤷♀️ They look normal to me and everyone else that’s ever seen them! 🤣
LikeLiked by 1 person
One thing that I didn’t realize until I did pattern tweaks was about the vertical alignment of the body tissue… apparently mine are splayed and this is why I have to make an adjustment to the front bridge? Who knew… But it makes a world of difference!
LikeLike
I bought other lace that I love, so having something that I liked it but it’s not “the precious” was really great for this project. Also – there are some really great fitting tutorials on YouTube that show how to make test fit bands with dual layers of muslin fabric to get a basic test fit (or cardstock or other materials) which I didn’t try BUT I think would be good if you feel like you need to do lots of tweaks to get a good fit to the band before going all in on a hopefully wearable project.
LikeLike
I’m enjoying reading your adventures in Bra Sewing Land, and bra #3 is beaut! I think it is definitely worth it to keep refining the fit and style with each bra to move closer to the ultimate pattern.
LikeLiked by 1 person
Wow this is super cool and has really made me dare to think I might try to make one.
I think I might watch the video tutorials first to get an idea of what exactly I need to buy. Can you get a kit for these bras as the only ones I have seen in the UK are for small cup sizes which I think is a cop out as I actually have a a large HH cup?
I have no idea where you would get bra making stuff from here.
What a brilliant and inspiring project. I love your process and reasoning.
Thanks
Alison x
LikeLike
I did a quick search for “Bra Making Supplies United Kingdom” and I found a few potential resources that might help you:
(1) Fit2Sew – https://fit2sew.co.uk/product-category/bra-making-kits/
This looks like the equivalent of Bra Makers Supply in Canada and Gigi’s in the US. They have similar kits to what I’ve been using on my first couple of bras, and also what my sister has been using (https://fit2sew.co.uk/product/custom-bra-making-kit/#duoplex). I will say that I’m not sure how much fabric you will get in the cuts from Fit2Sew (possibly partial yards vs partial meters and all of that), but I will say that the similar kits I’ve gotten from Gigi’s have included enough duoplex (front band and cup) fabric for me to pretty easily make 2 bras from larger sizes, and enough mesh band material to easily make more than 2 sets of bands. My sister thinks she can get about 3 bras per cut of fabric in the kit. I would say that my size on the patterns in slightly smaller than a 36 band, 5.25″ cup (about an F-ish sized cup I think?) and my sister is in the smaller size ranges, but I would think that the kit would have enough to definitely make at least 1 very large sized bra. Of course, if you are able to make more than 1 from the kit fabrics, you will still need to get extra elastic and hooks and eyes, etc., as the findings kits only come with enough findings for 1 bra. Depending on the desired bra style, you may also want to look at something with foam options; personally, I find that I prefer the support of the foam bras (being on the slightly larger size of the patterns), but it looks like Fit2Sew might have some foam kits available too! If you don’t know where to start, this might be a good place because I think the kits can be an easy way to get everything you need to get started, and it looks like their kit options work with most of the Pin-up Girls patterns if you wanted to use those patterns as a base (plus, they carry those patterns, which have a pretty decent size range and it looks like they are currently having a sale!).
(2) Bratastic Fabrics – https://www.bratasticfabrics.co.uk/kits-1/kits
Also looks like they have kits, and a bit fancier than Fit2Sew. Honestly, I was really glad to have just simple basic fabrics for my first bra, but having somewhere to get kits for fancier options might be fun for future endeavors. It also looks like some of their kits come with small or large size options, but if not they do specify how much fabric comes in the kits. Alternatively, you could just buy fabric and all the components separately to make sure you have enough fabric.
(3) Sewing Chest – https://www.sewingchest.co.uk/bra-lingerie-making
This site isn’t the easiest to navigate (for me) but it looks like they have some interesting fabrics, supplies, and some unique kits. Also looks like they might have clearance bargains sometimes, so it could be a good place to look for a deal in the UK.
(4) This blog post (https://verykerryberry.blogspot.com/p/uk-bra-supply-shops.html) looks a bit older, but possibly might have some other good resources for bra making supplies.
(5) Etsy (specifically UK Etsy). There are lots of Etsy resources with bra making supplies; this can be good if you want to look for different items in different places.
Anyway, hope this helps! For sure if you want to try sewing a bra you should – it’s not as hard as it looks, and it’s really fun. I think if you are concerned about sizes I would probably look at either the Pin-up Girls line or the Cashmerette Willowdale pattern as a starting point; both of these have pretty extensive size ranges. I can only speak from experience with the Pin-up Girls patterns (which have worked really well for me, especially after making pattern adjustments), but I know the Willowdale is super popular as well. I’ve also seen that the Emerald Erin patterns are pretty popular, but I just wasn’t as interested in those styles as a starting point, personally. I do think that the Emerald Erin website probably has the most inclusive fabric and notions options if you are looking for skin-tone matching bra kits, but I’m not sure what their shipping policies are. If you want to try different colors then I think there are a lot more options available from the various websites. Granted, the lack of skin-tone inclusivity from many of these suppliers is definitely something to be discussed, but that’s a post for another day… Anyway, hope this helps and best of luck!
LikeLike
Thank you so much. I might just repurpose some wires from existing old bras that have worn out.
I can’t believe you went to all this trouble for me.
How did you get on with the Freja bra. To be honest, I haven’t seen your earlier projects although I have been reading your blog for more than a year. I don’t know how I missed it.
I am really interested so would love to see your bras on someone.
The problem quite often is the shape of your boots and what is comfortable for you. When I was younger mine were fuller higher up and I used to hate it but I don’t really need to pump them up and find that uncomfortable anyway.
I will keep reading your blogs to see more.
Thanks.
I am really excited.
A xx
LikeLiked by 1 person
To be honest, the fit of the Freja was pretty equivalent to the Ruby; the band was the most comfortable because I finally got the adjustments right to the patterns. However, I don’t know the last time I wore a non foam bra (elementary school?) so I really don’t like the feeling of the lack of support on the just fabric cups (even though it’s more supportive than I would have thought). I think if I adjusted the pattern to use/add foam cups I would really love the pattern though – it’s a great style and it was really easy to sew.
LikeLiked by 1 person
well i for one don’t like to (even though i tend to) think too much about money vs time.I feel it kills the joy sometimes.Especially when doing something this fun.However if i want a pattern draft that requires pleats ,take a money and set me free.lol
LikeLike