Since my recent posts on the distracted nature of my sewing plans and the follow-up in my November wrap-up post, I’ve done a bit more of a foray into the realm of bra sewing, and I’ve definitely got some thoughts on the process.

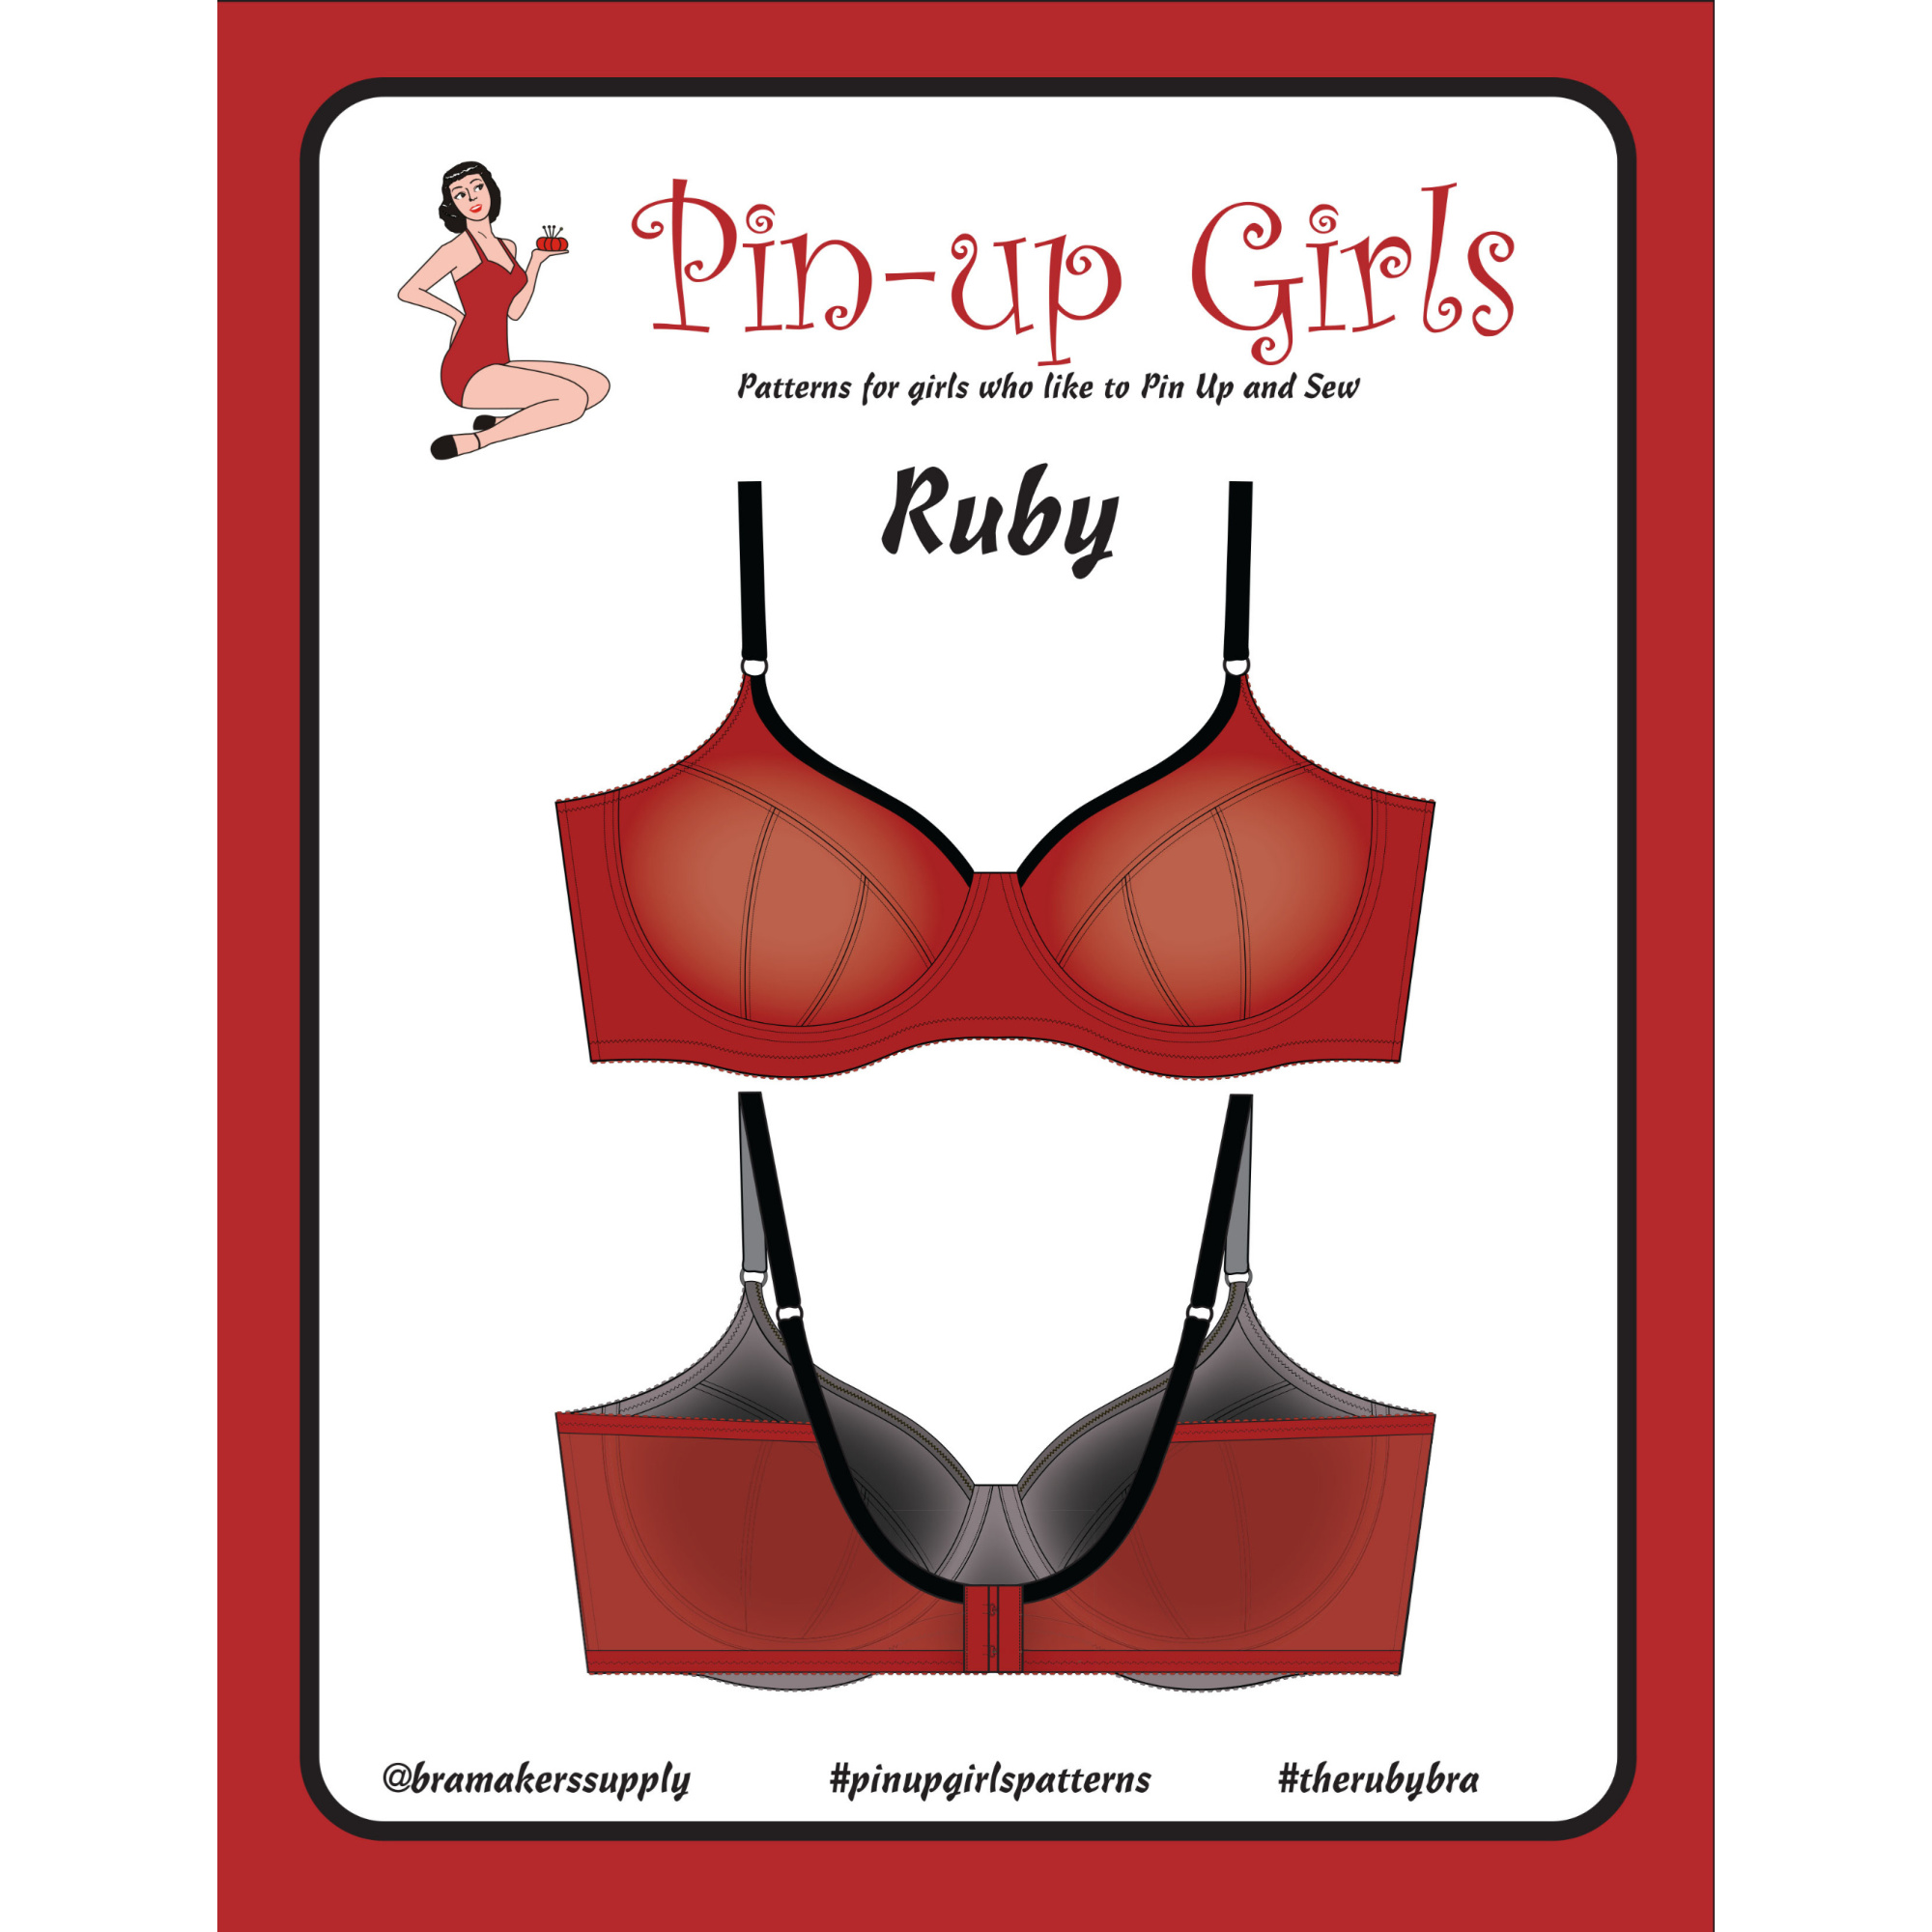
As a brief summary, I’m basically completing my trifecta of things I said I would never sew by doing a bit of a bra sew along with my sister. We are using different patterns because we have different needs an preferences; I’m starting with the Pin-up Girls Ruby Bra and my sister is making the Pin-up Girls Freja. We are using a combination of the bra instructions and the information found in the Craftsy course Sewing Bras: Construction & Fit by Beverly Johnson.

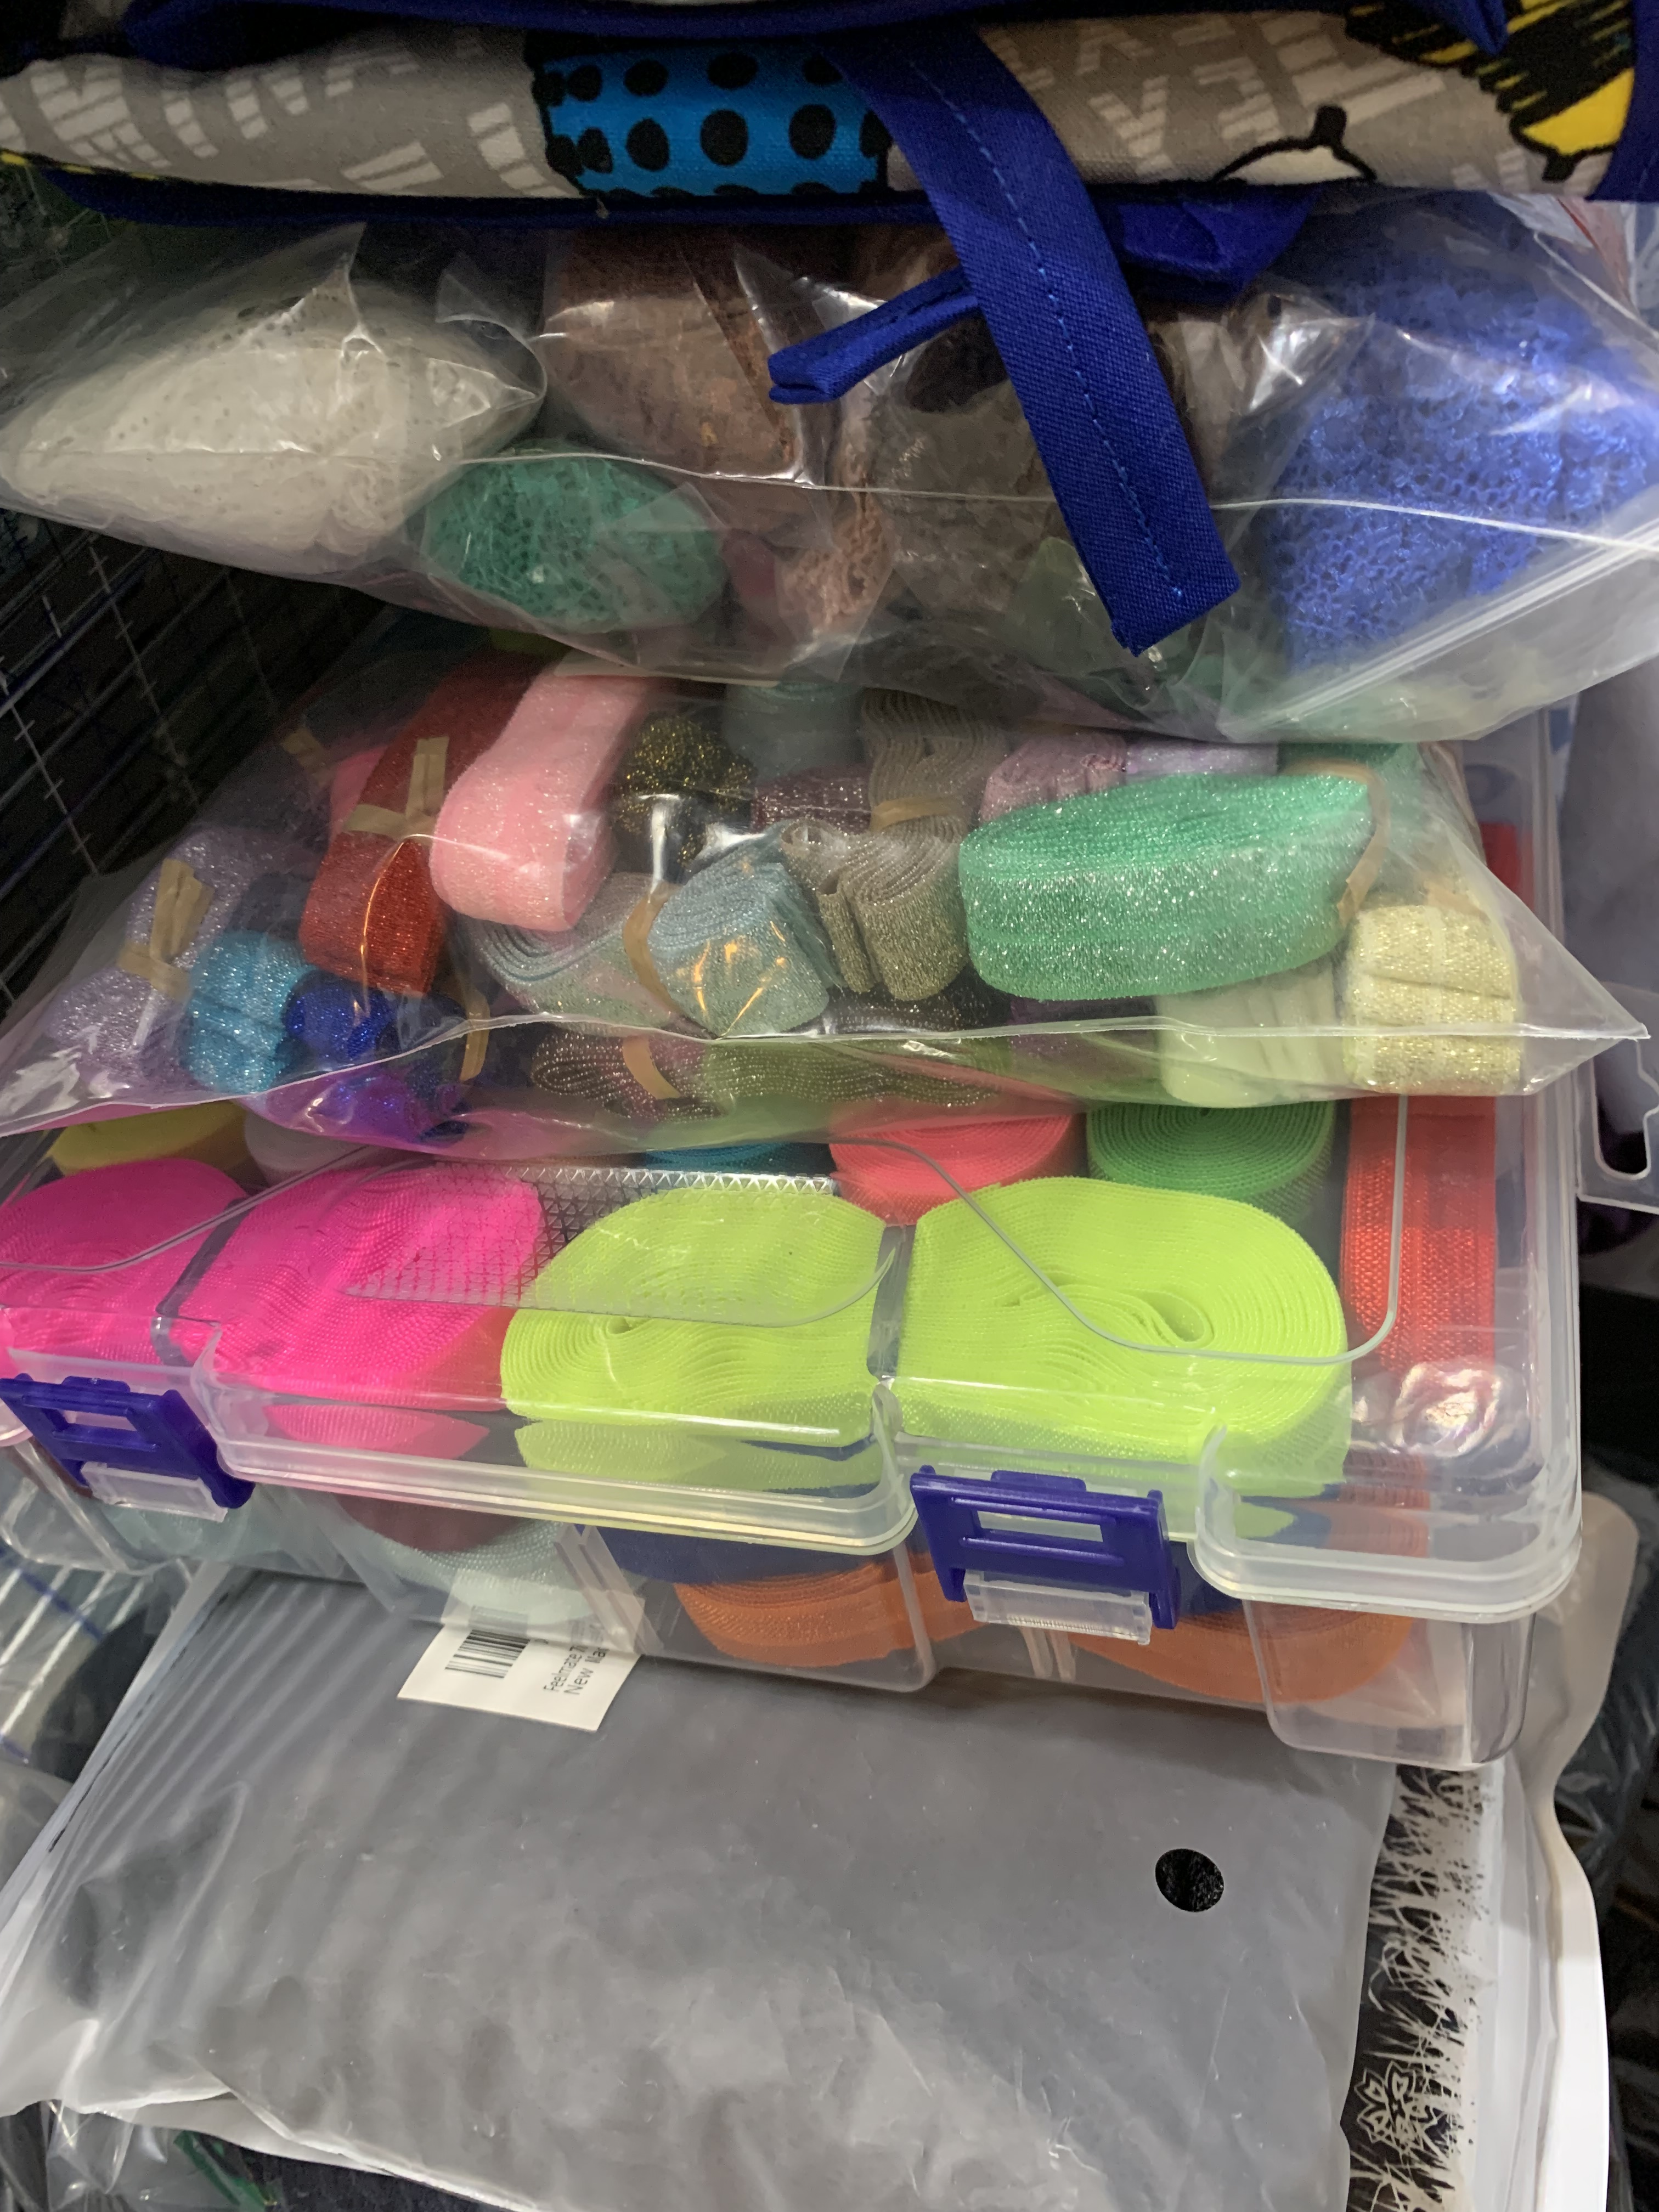
My sister and I ordered patterns and underwire test kits from Bra Makers Supply, and sewing kits from Gigi’s Bra Supply, mainly because we didn’t realize we could order everything from Gigi’s. If you are in the US I would recommend ordering from Gigi’s if possible; it’s the same materials as available from Bra Makers (for the most part), but with easier and quicker shipping. If you are in Canada, then Bra Makers Supply will likely be more efficient. I can’t really comment on international shipping to other countries as I didn’t have to wait for that. One thing I did notice though was that my first findings kit was missing a bit of fold over elastic (it seems to have just been an odd mis-packed package; my other kits did not have this problem) so I ordered a fold over elastic bundle from Amazon because at this point I was ready to get going (and I also wanted more options for use in underwear making in the other part of our sister sew-along).

One of the first hurdles of this project was figuring out what size to use. The patterns specify to measure your rib (under bust) measurements for the band and then to measure your cup depth (from the under bust to the bust apex) to determine your starting size. In the Craftsy course Beverly recommends measuring your upper bust to determine band size as it is less prone to change due to normal body fluctuations. My sister and I went with the video recommendation, but we both should have gone with out actual rib measurements. I started at a 38 band but I’m going down to a 36 for my second version, and my sister is going from a 36 to a 32. In this case where there is a discrepancy from the class and the pattern, case you definitely want to believe the pattern.
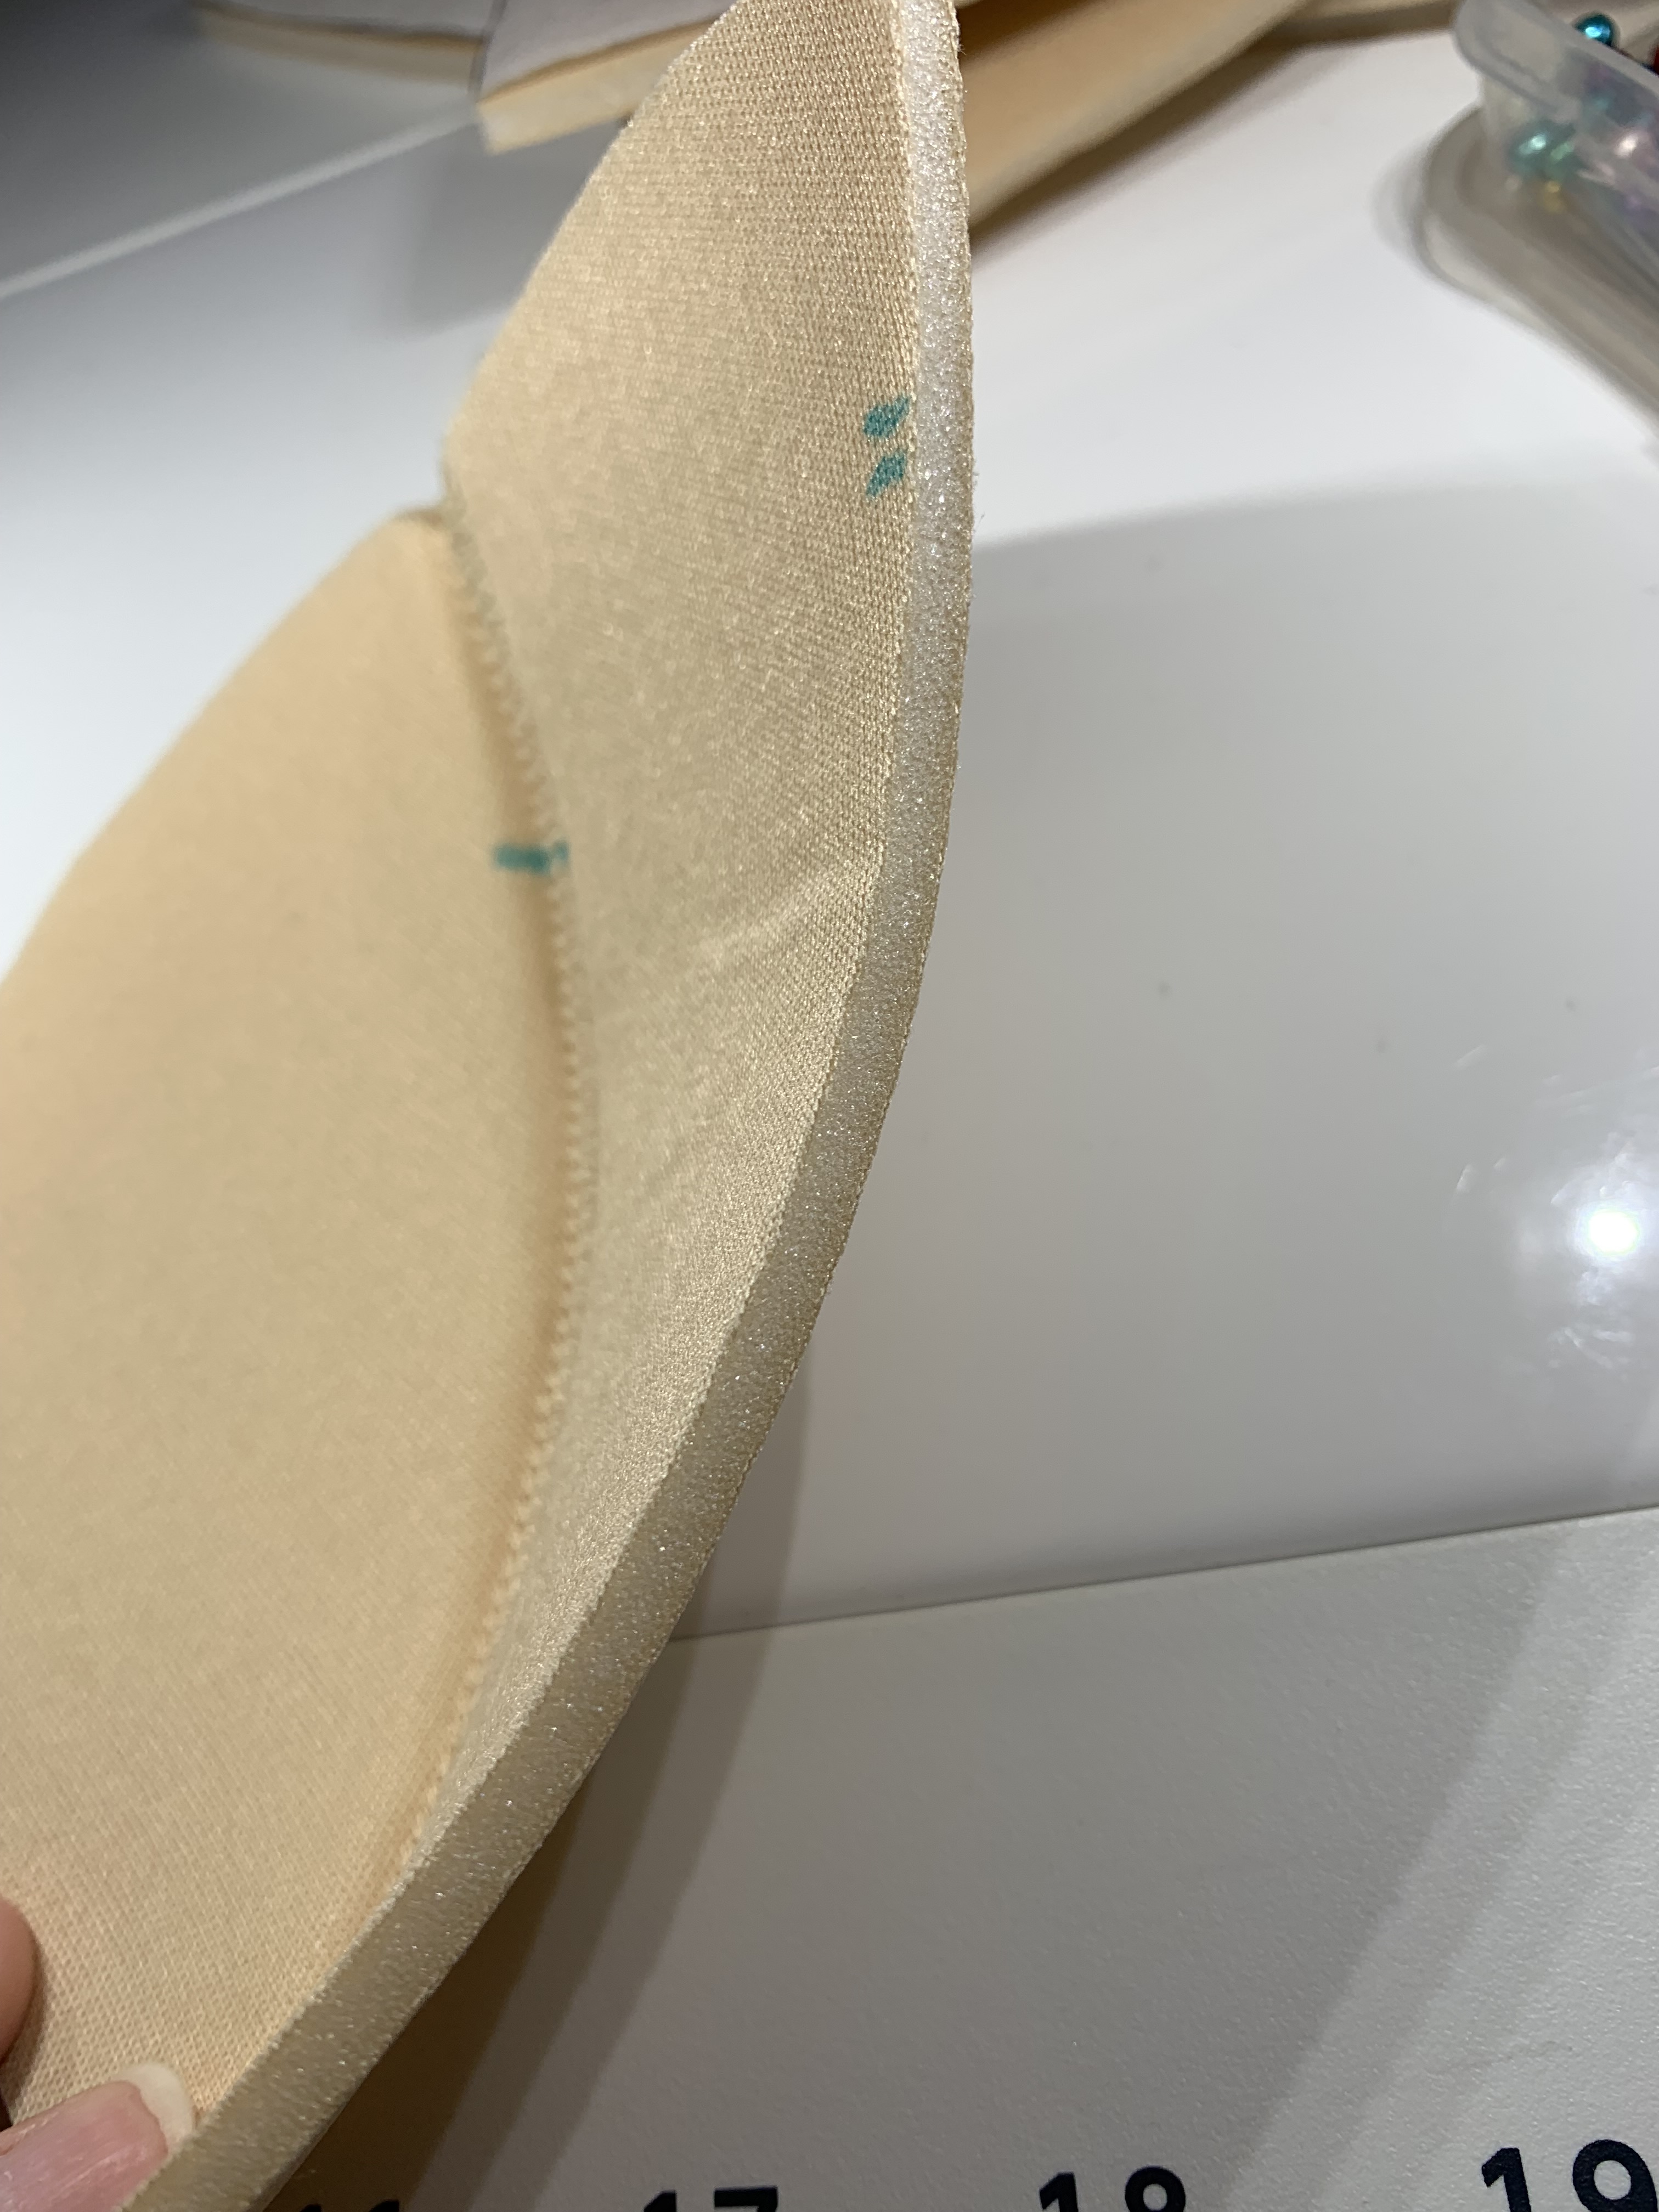
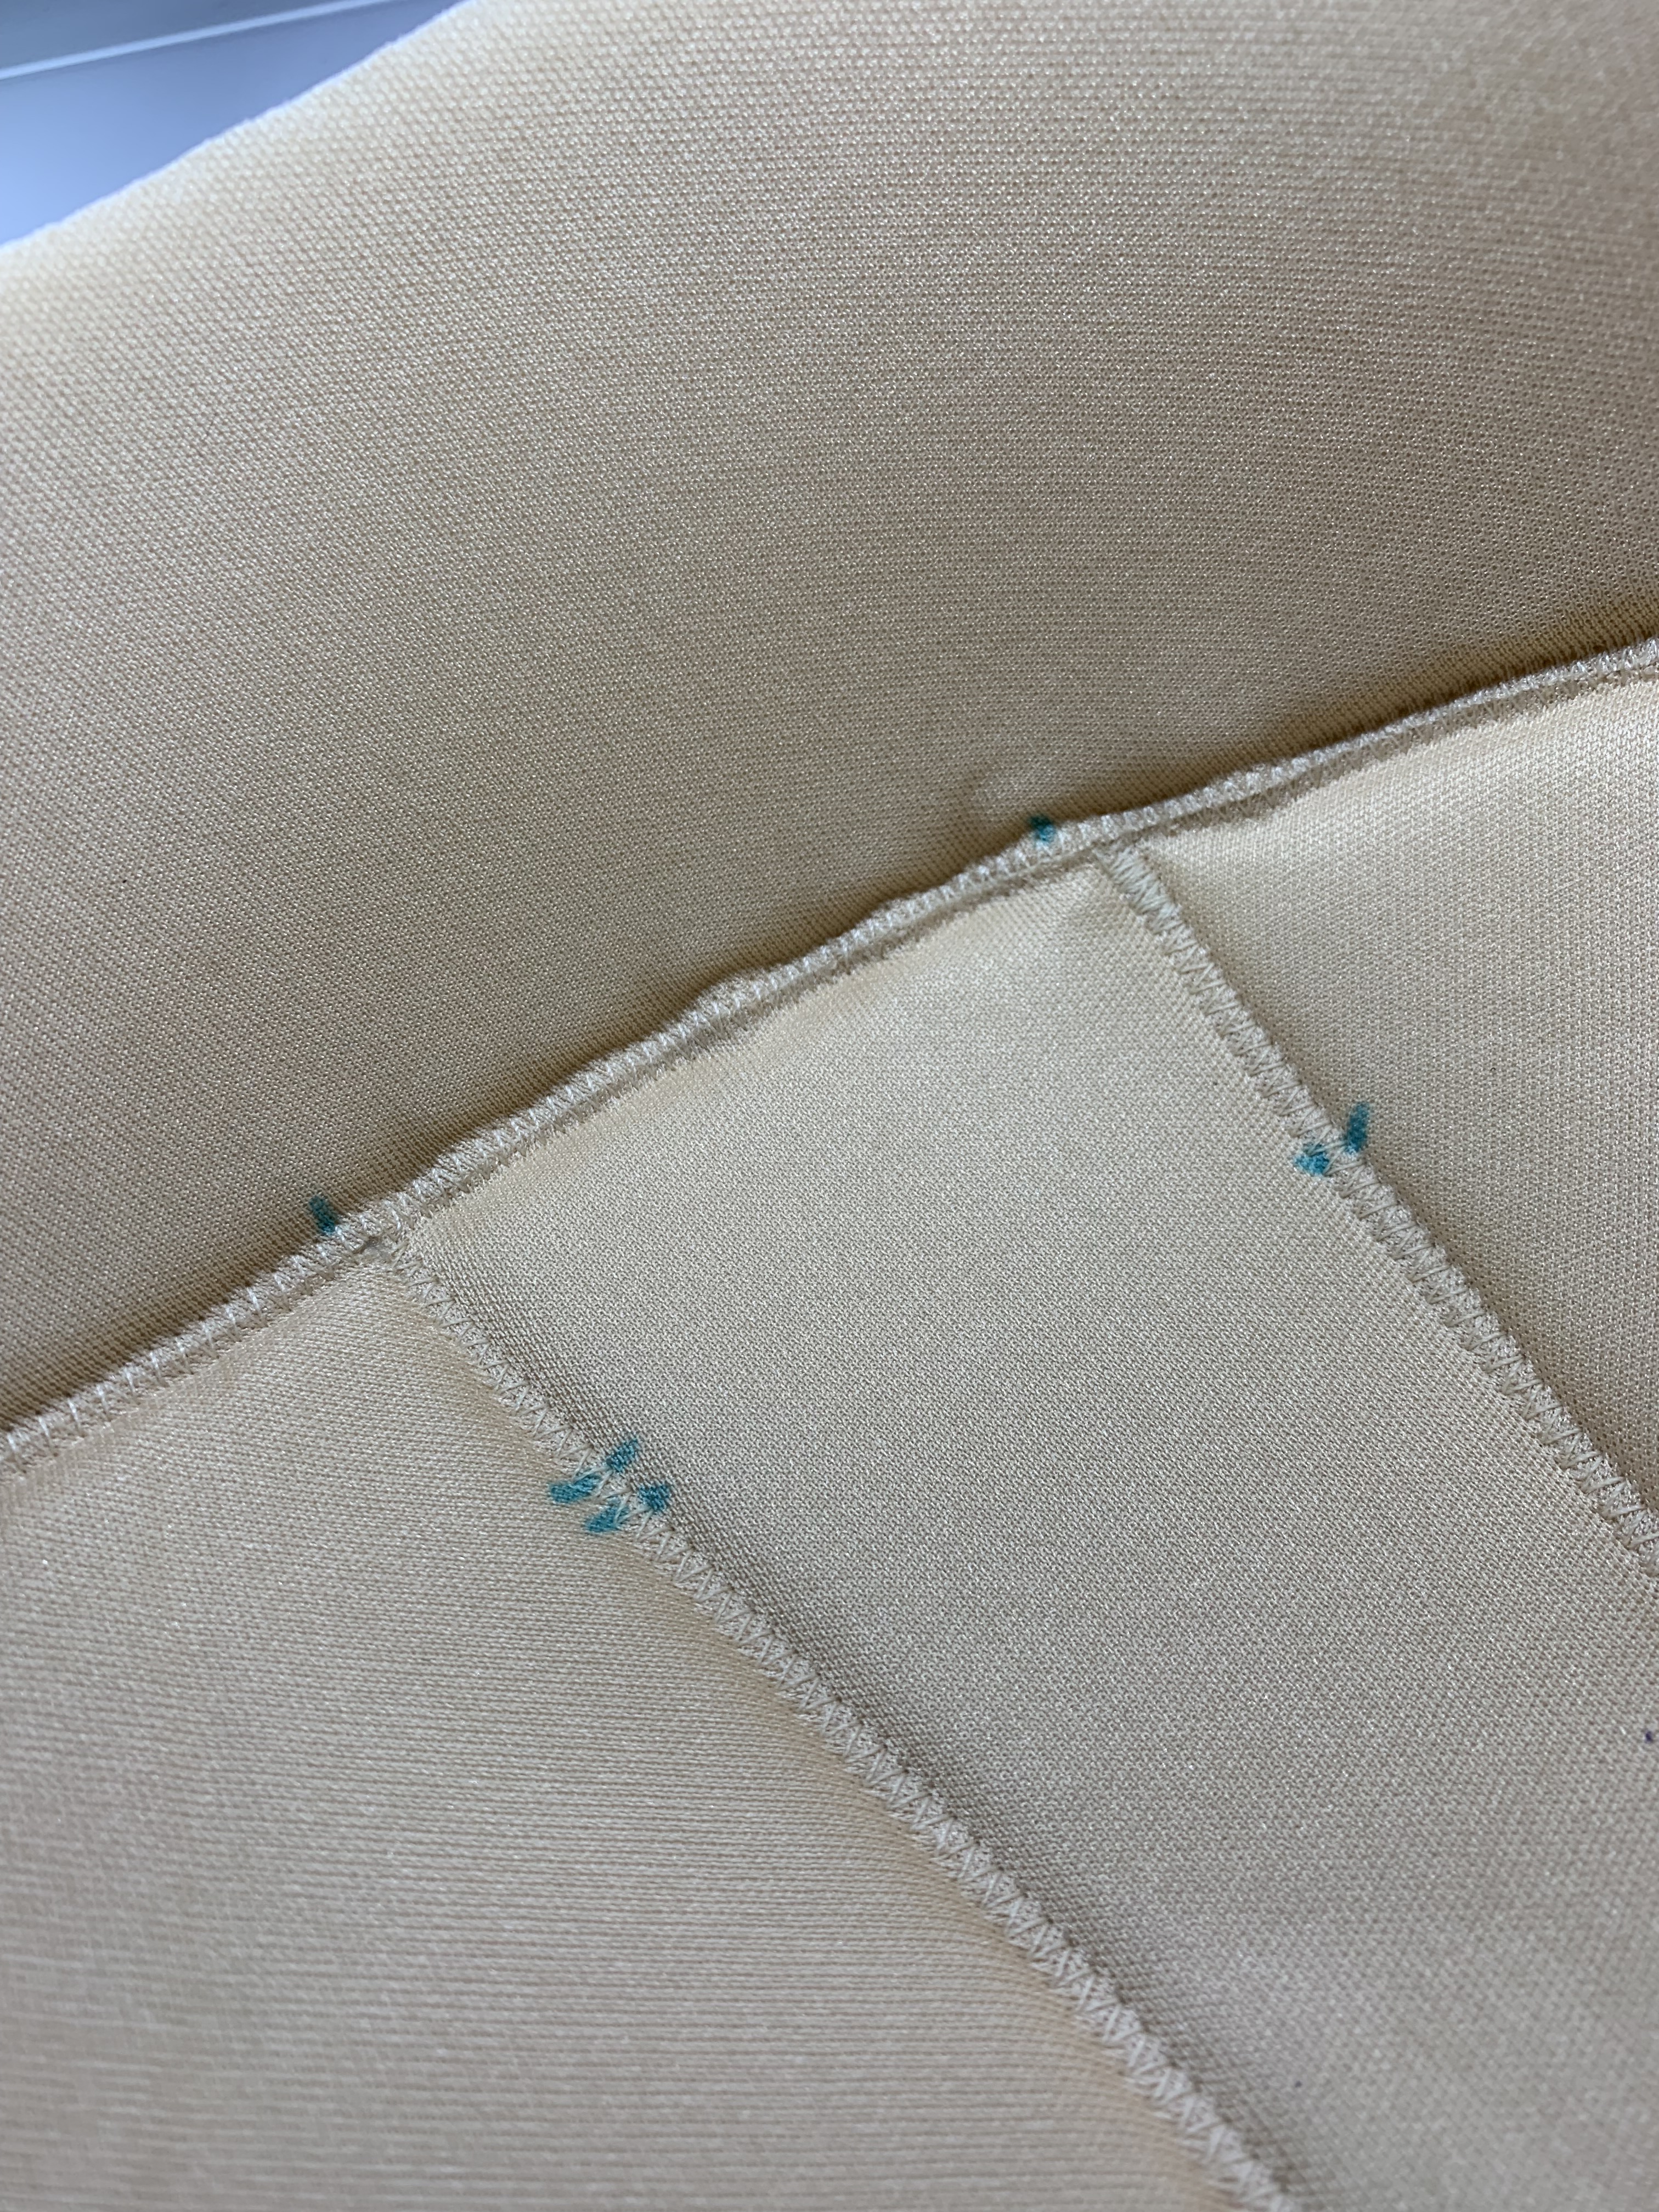
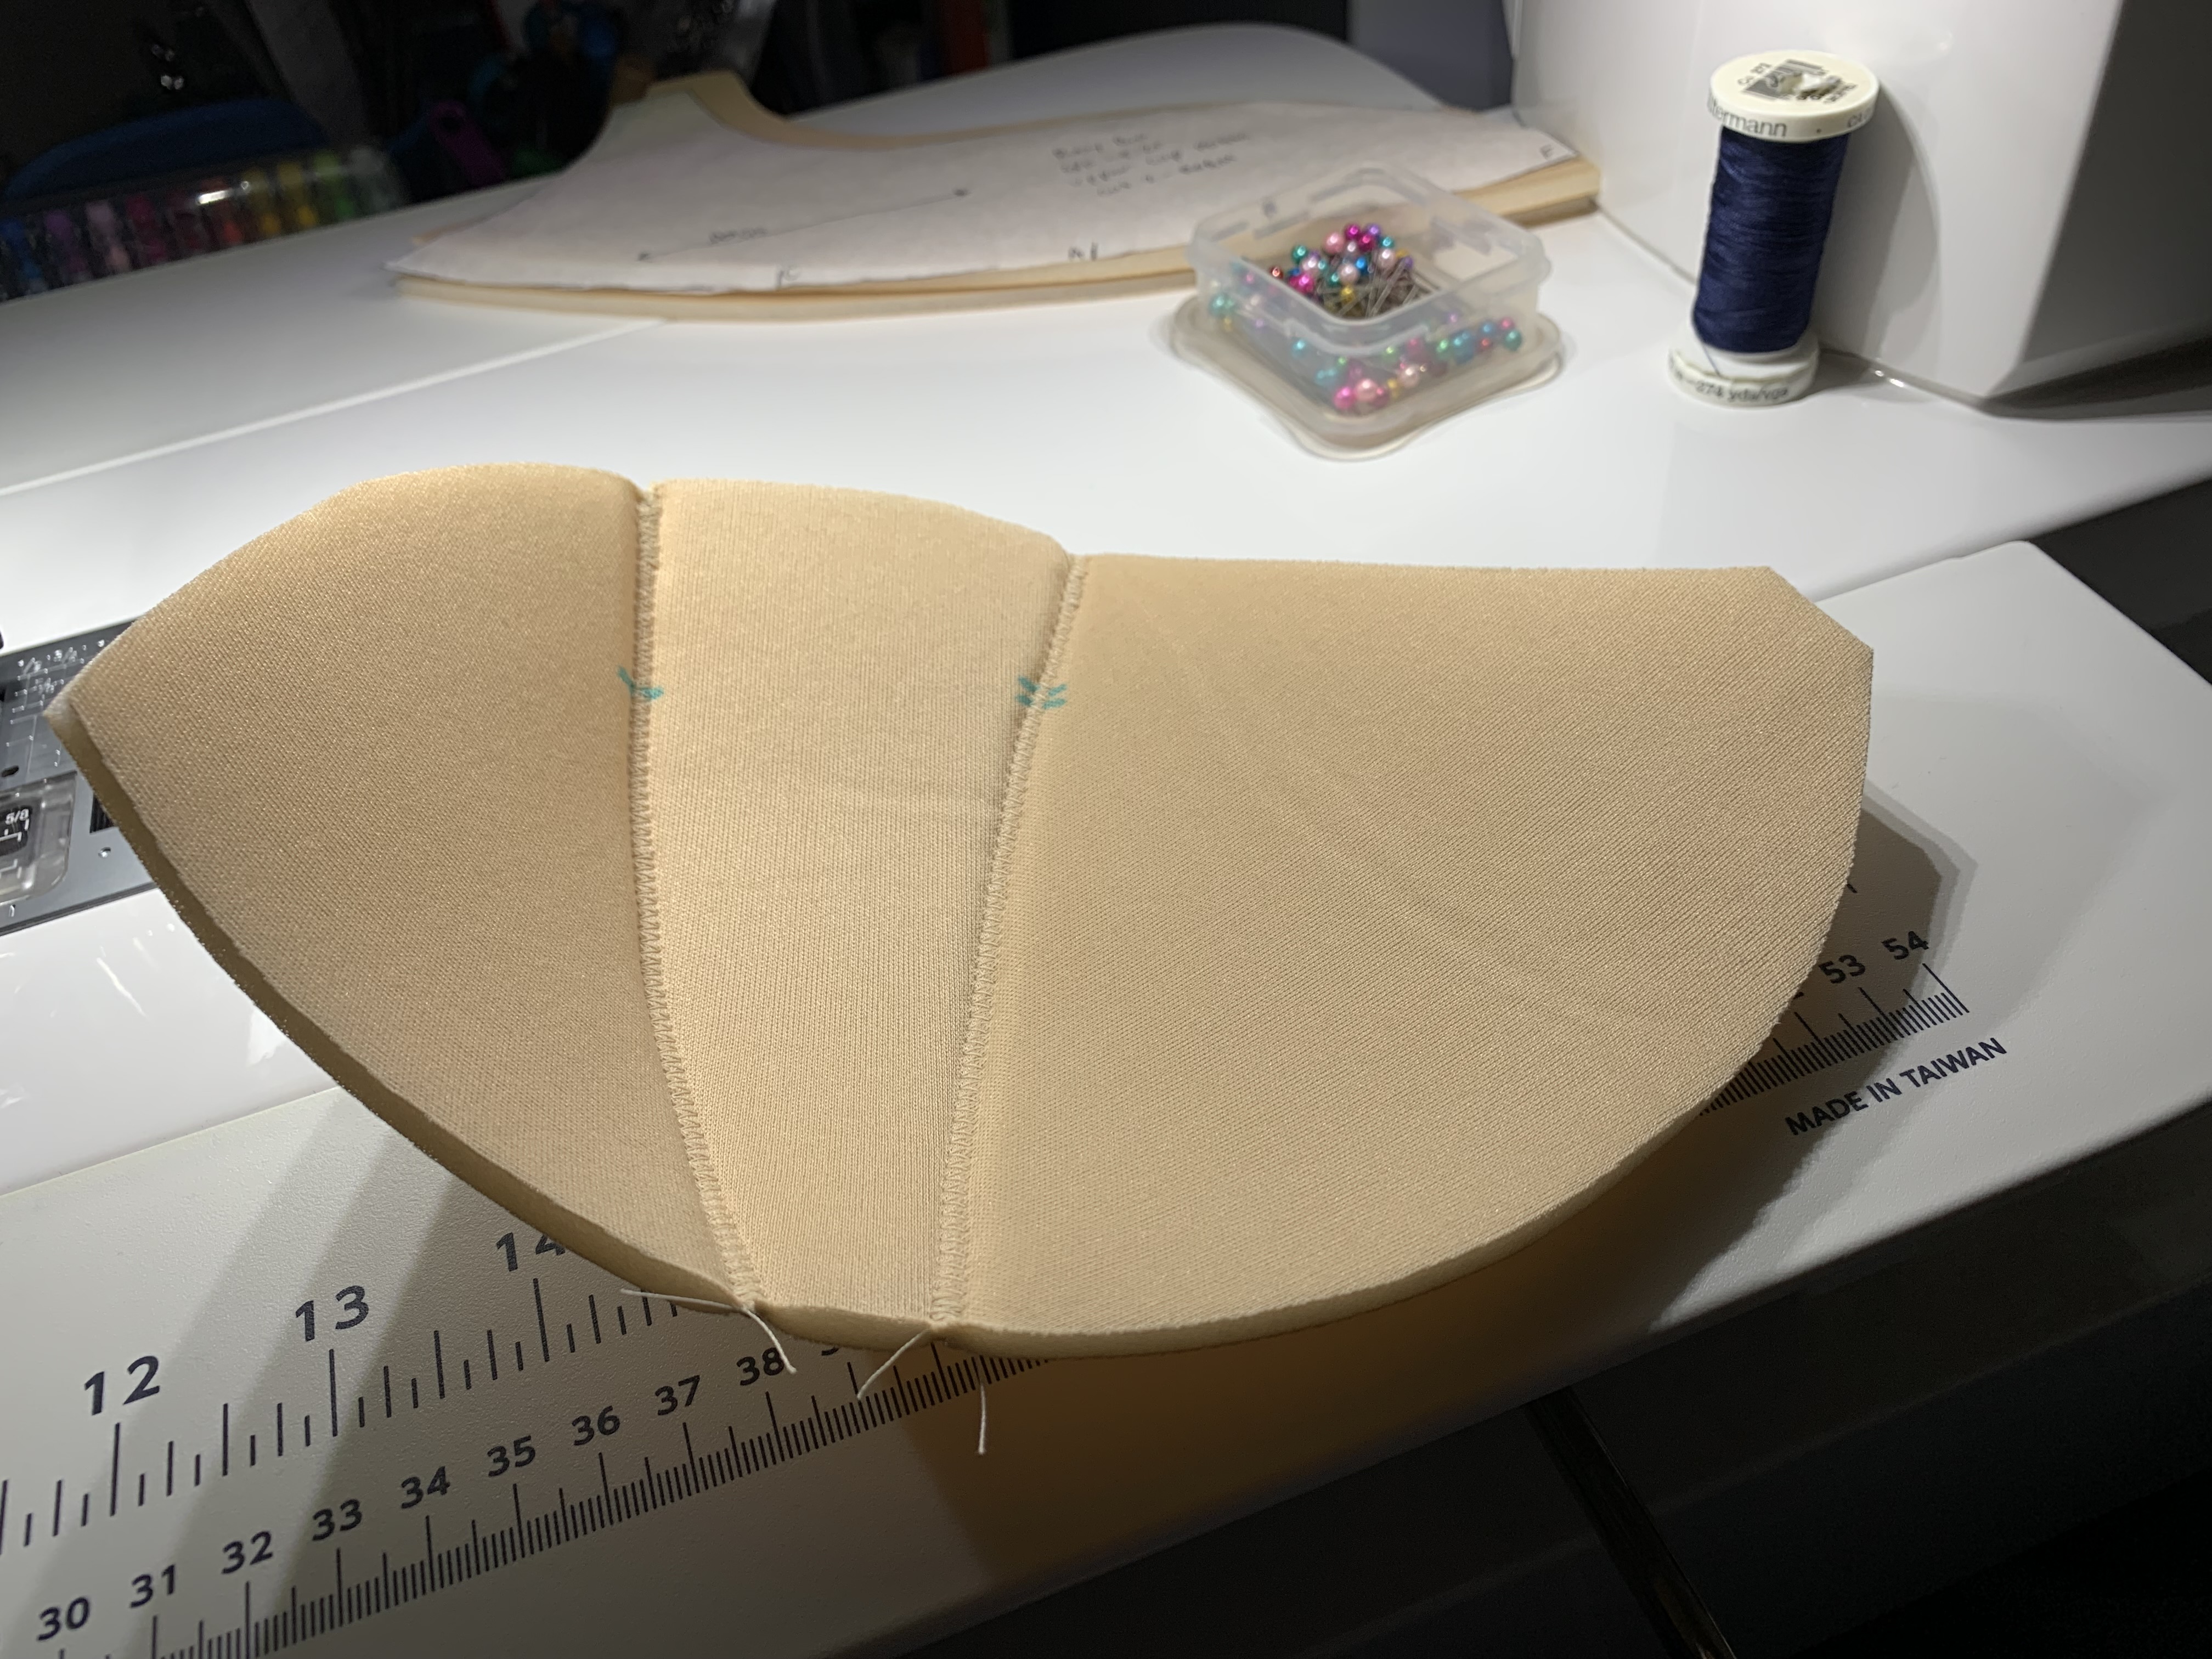
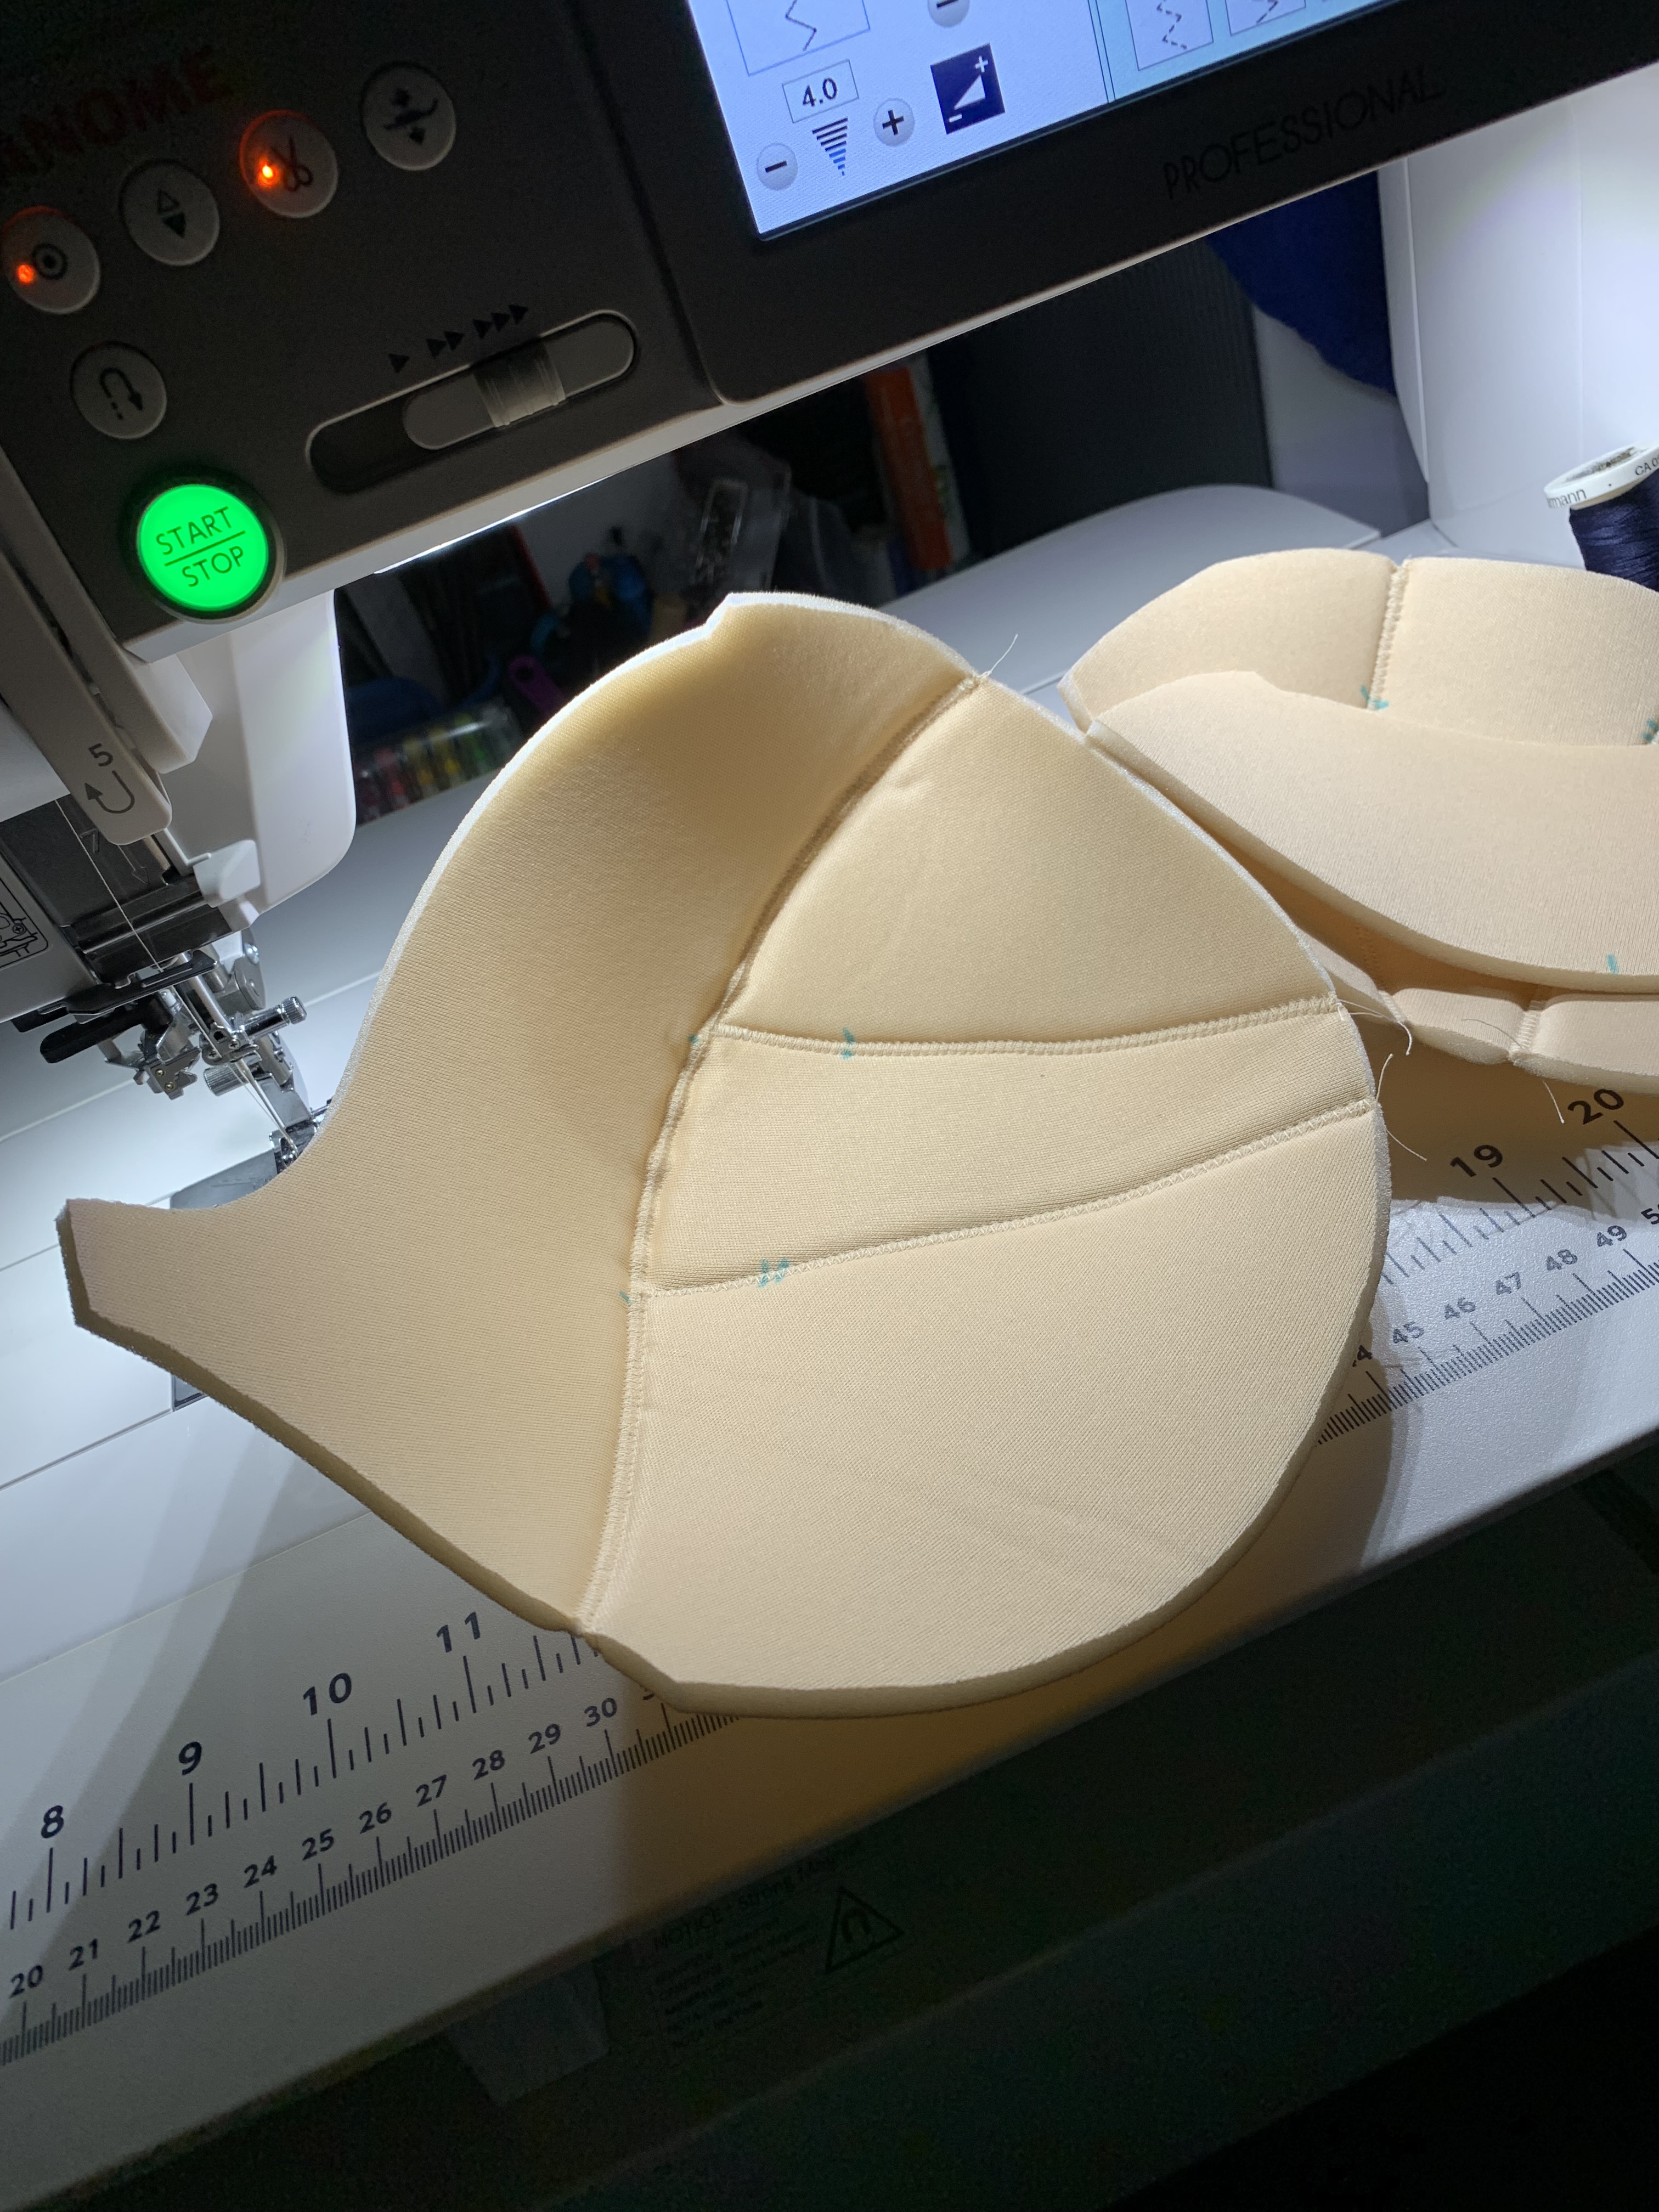
Even though I probably should have waited to use my “good” supplied until after testing this pattern, and possibly should have followed one of the many tutorials to make a “tester” band, I sort of decided to just go for it with the first version in the hopes that I would end up with a wearable bra. That, and I just sort of wanted to play with the cut-n-sew foam that I got because it was a new material and technique for me. I have to say I’m actually really happy I did because I think it resulted in a final bra I’m much more likely to wear. Also, I have to say, sewing foam is fun! There’s something magical about how it puffs up into shape, and the way you sort of just butt the edges together to attach it is really interesting. Also, the pattern pieces for this bra fit together perfectly – this may be one of the best drafted patterns I’ve ever used!
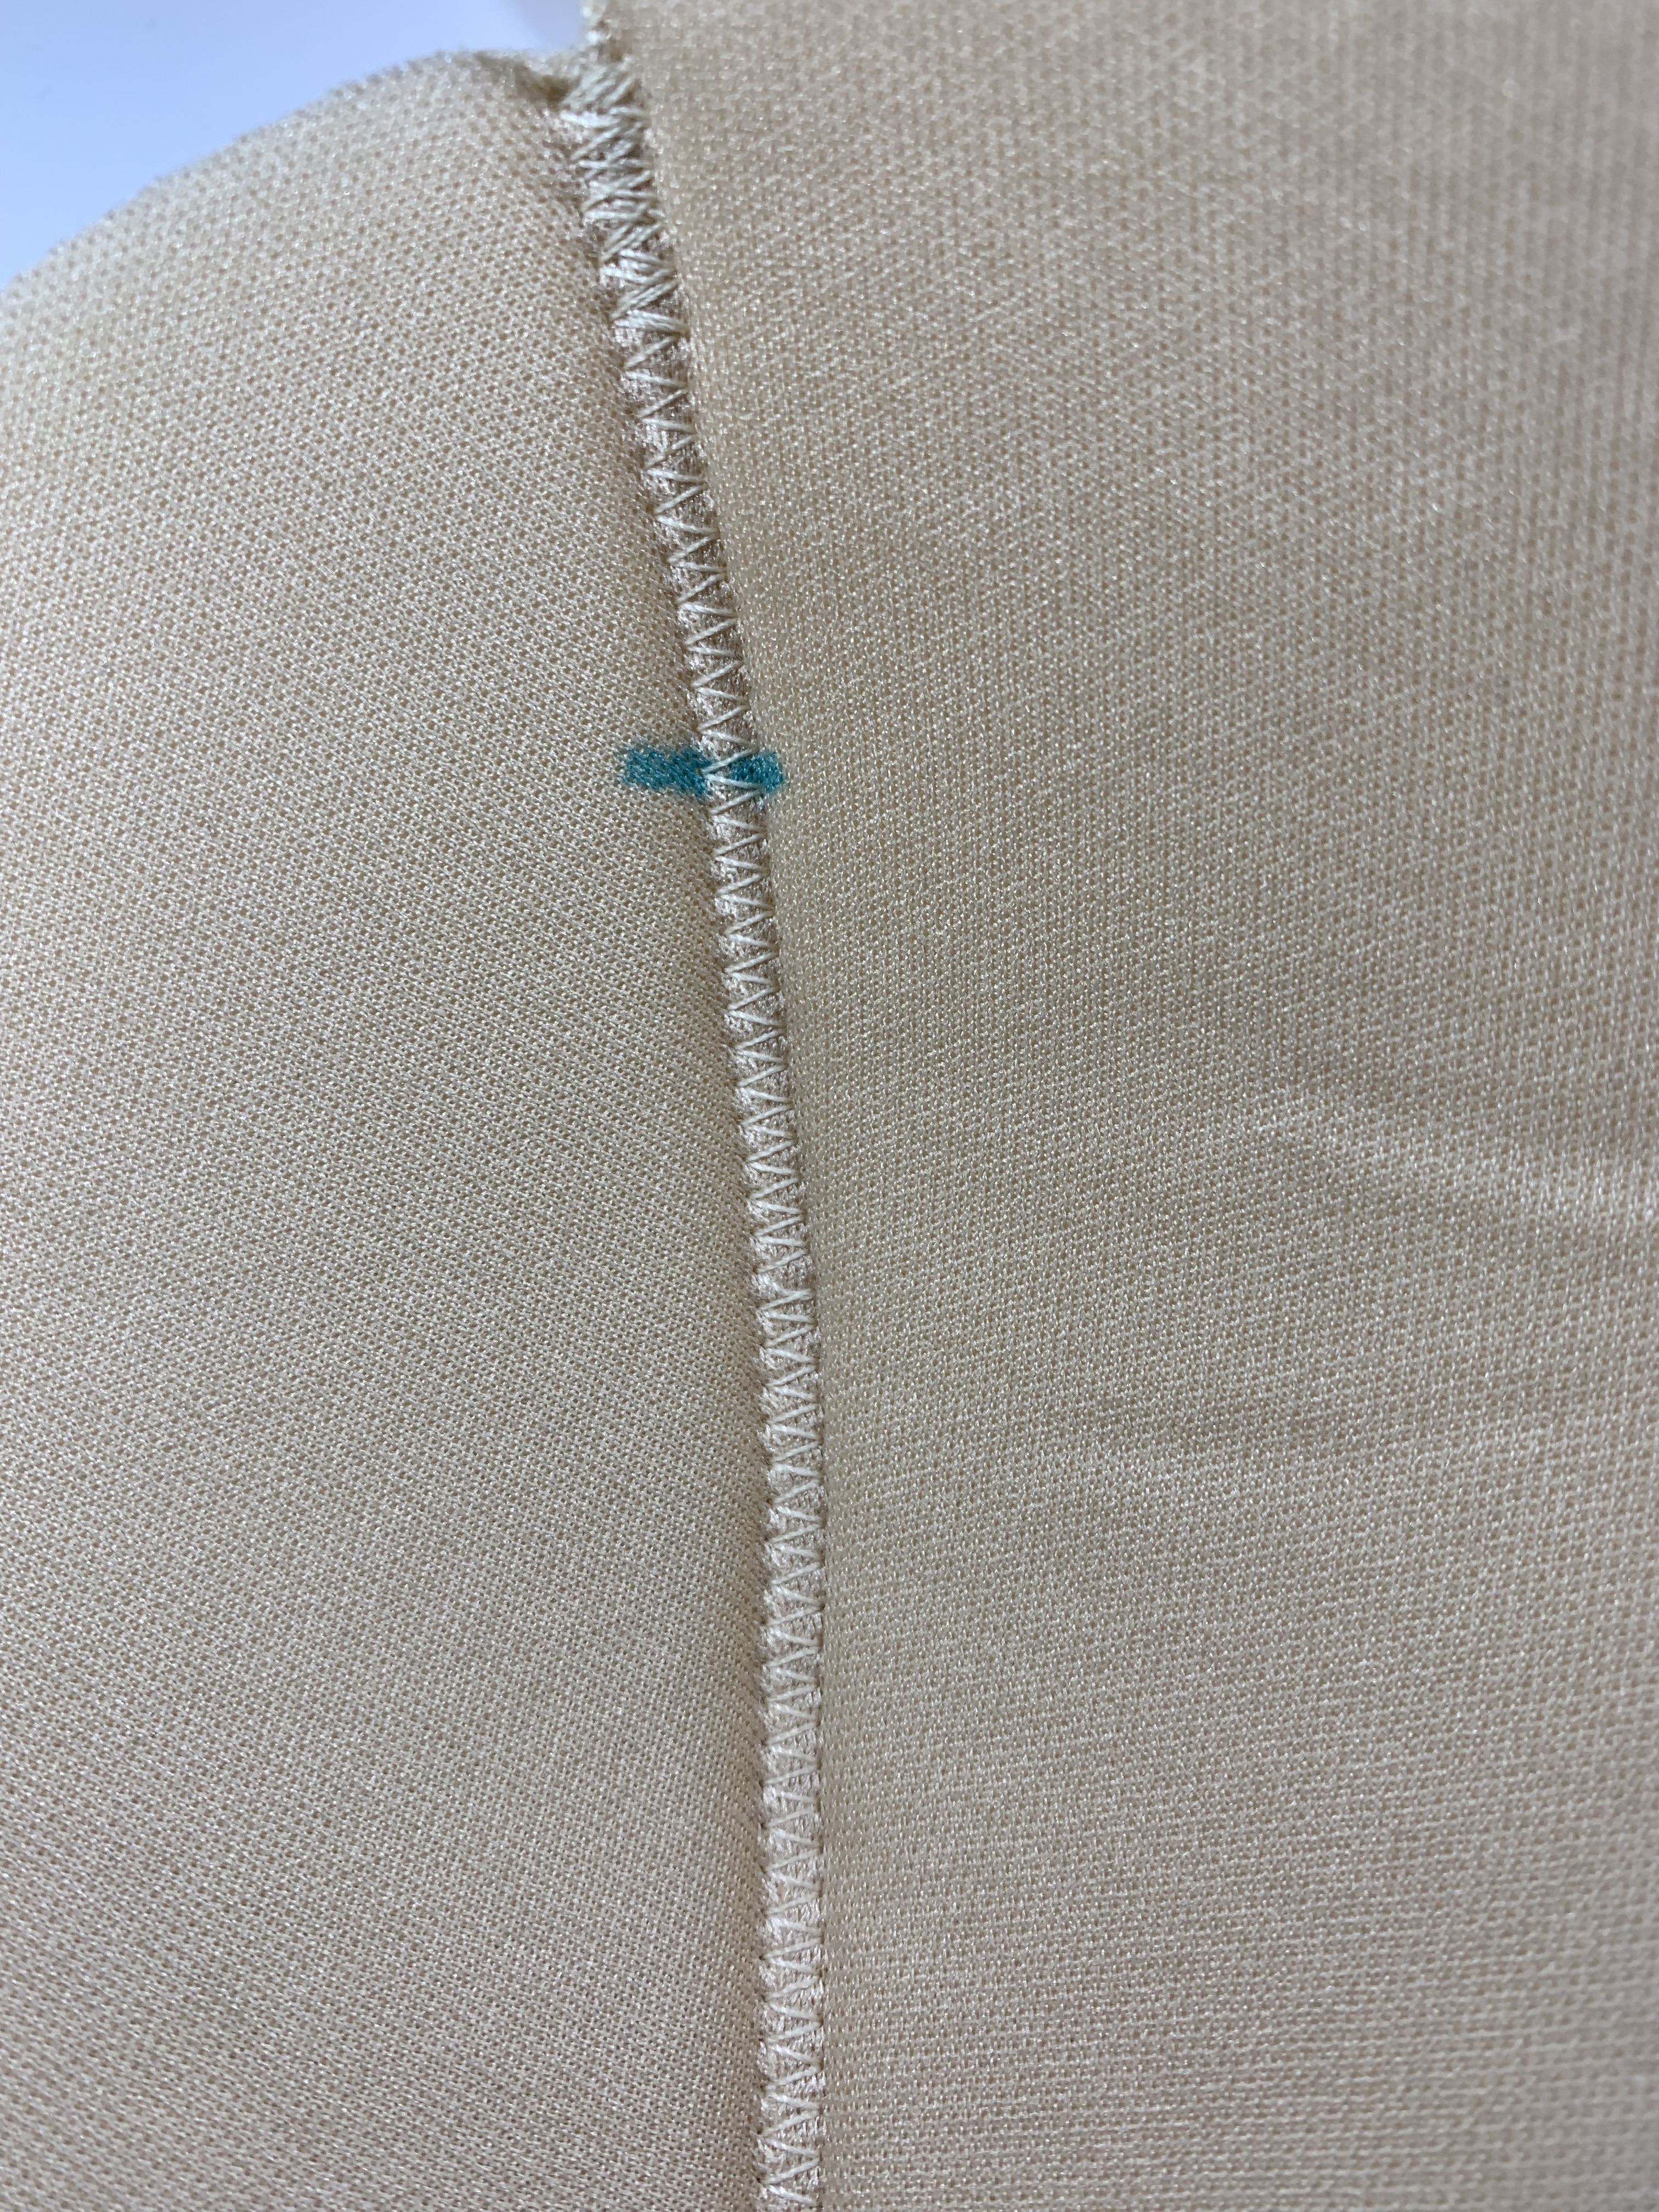

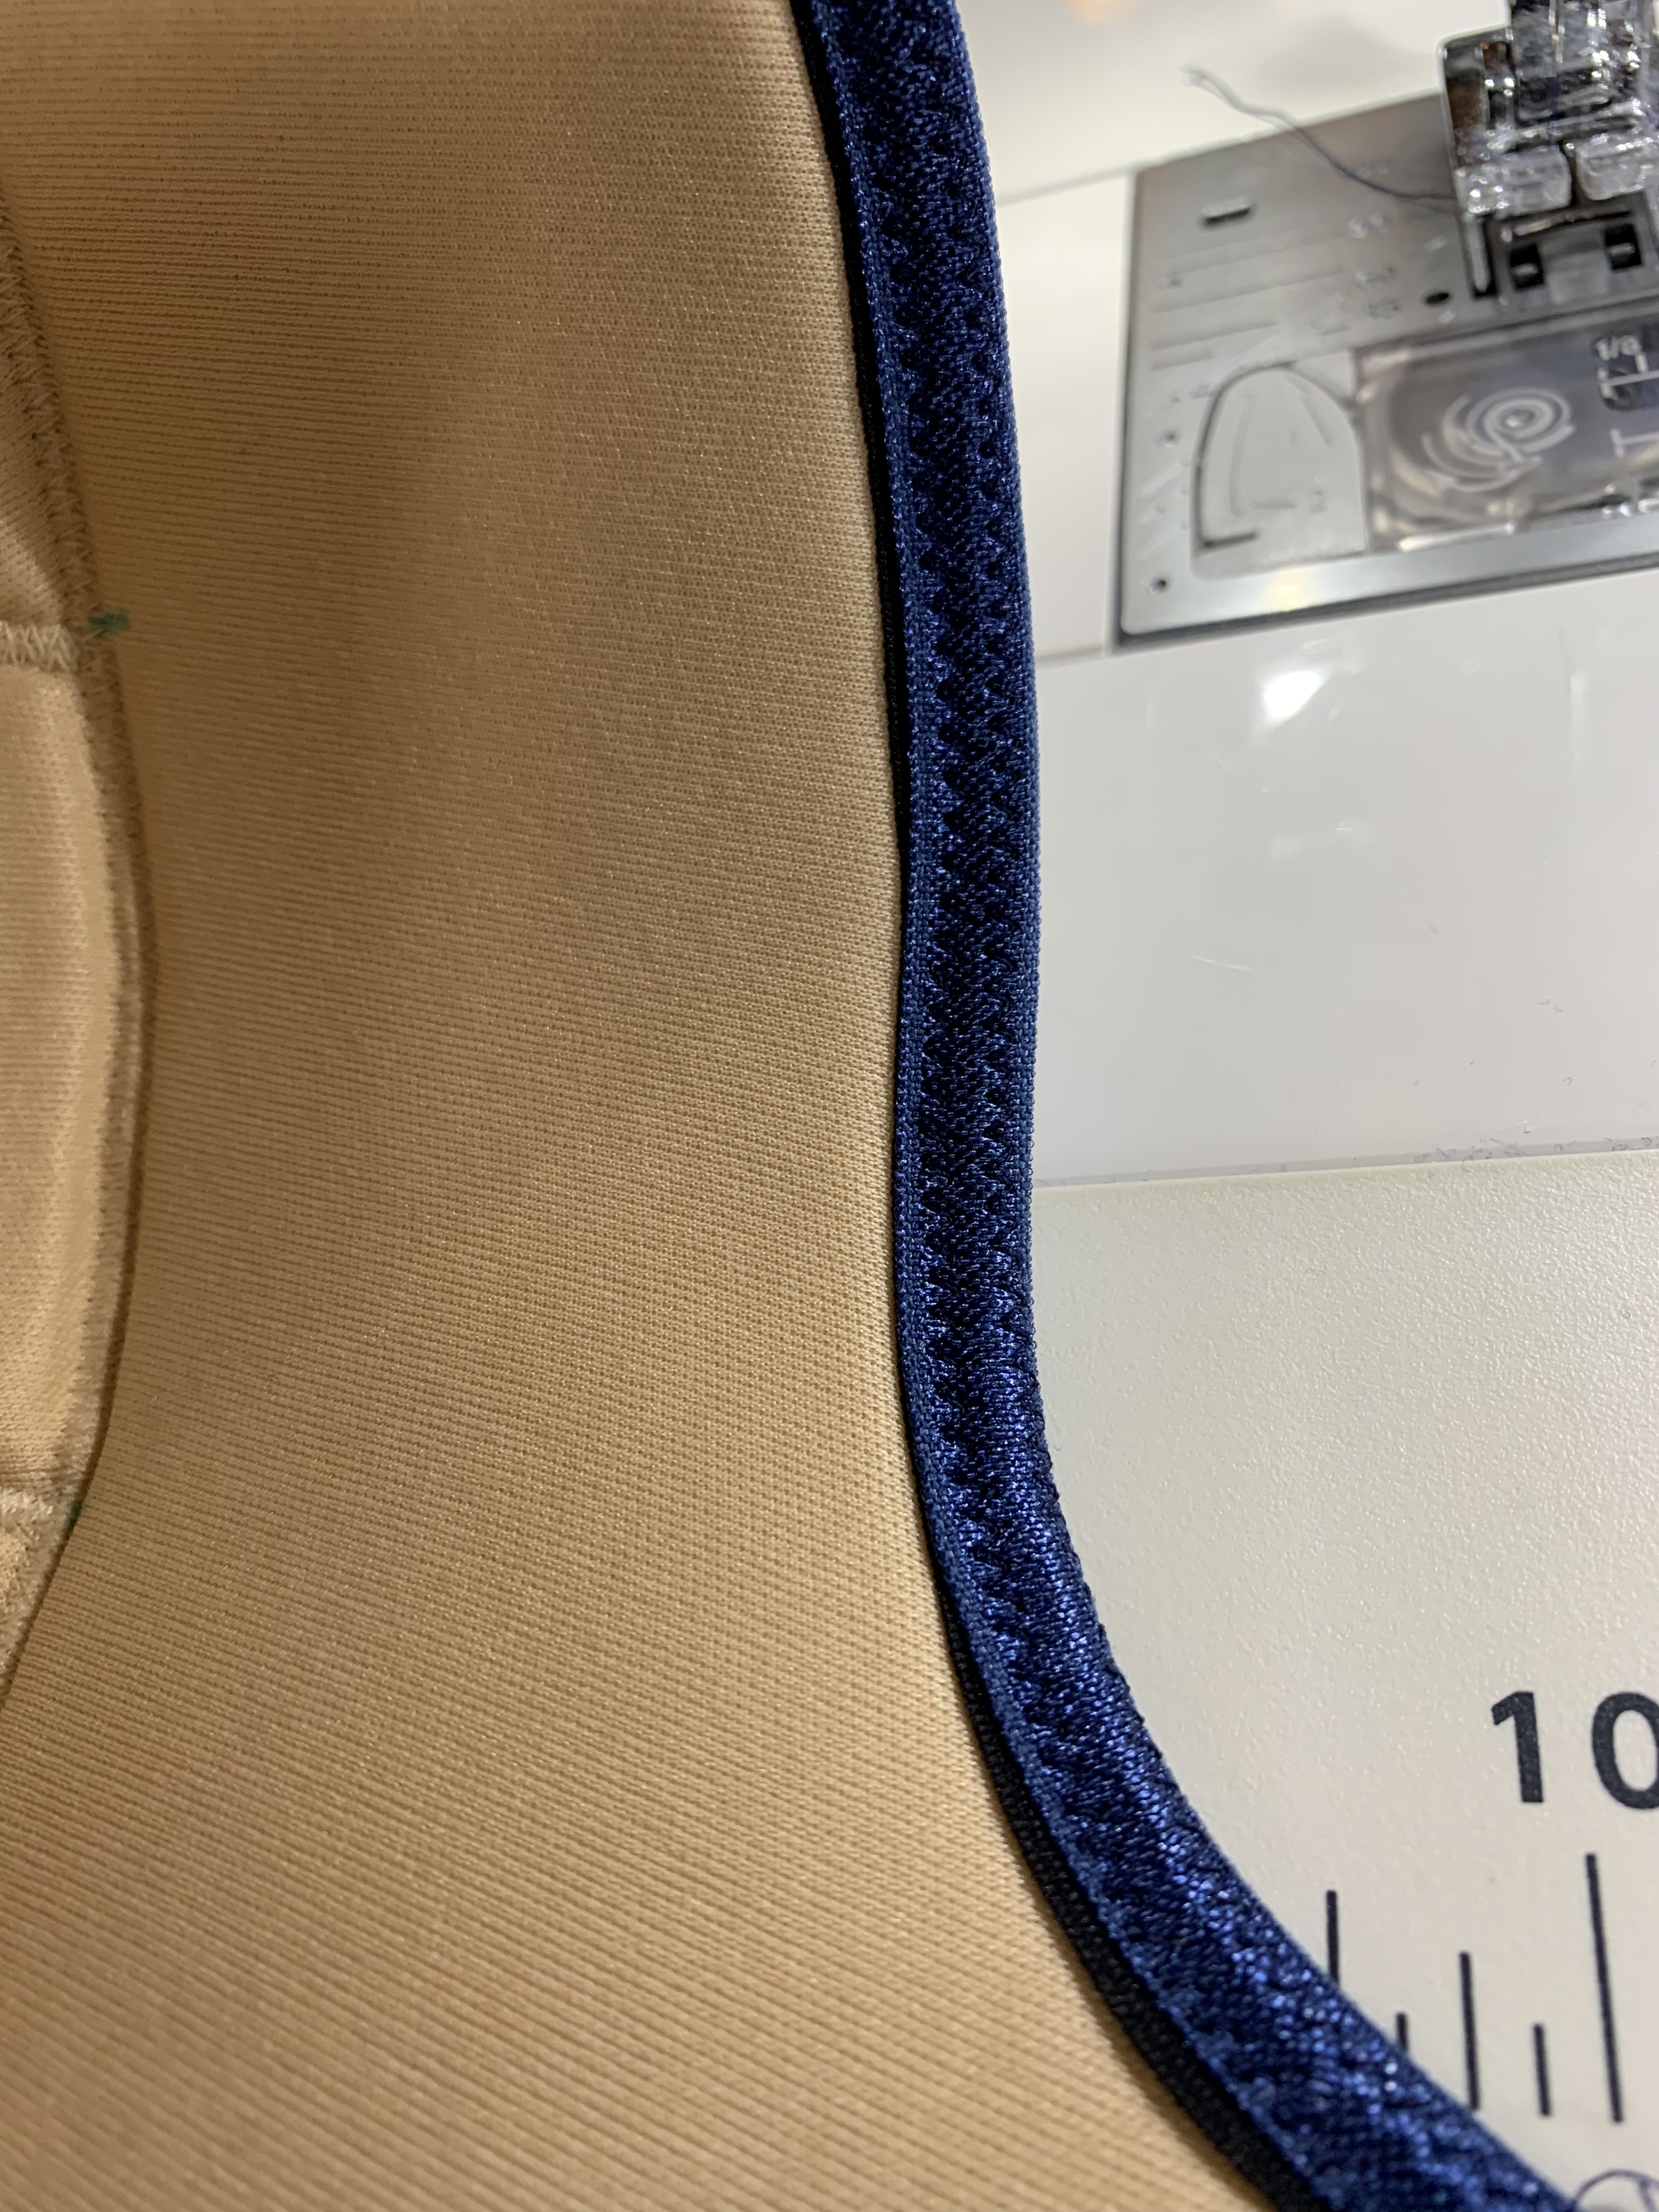
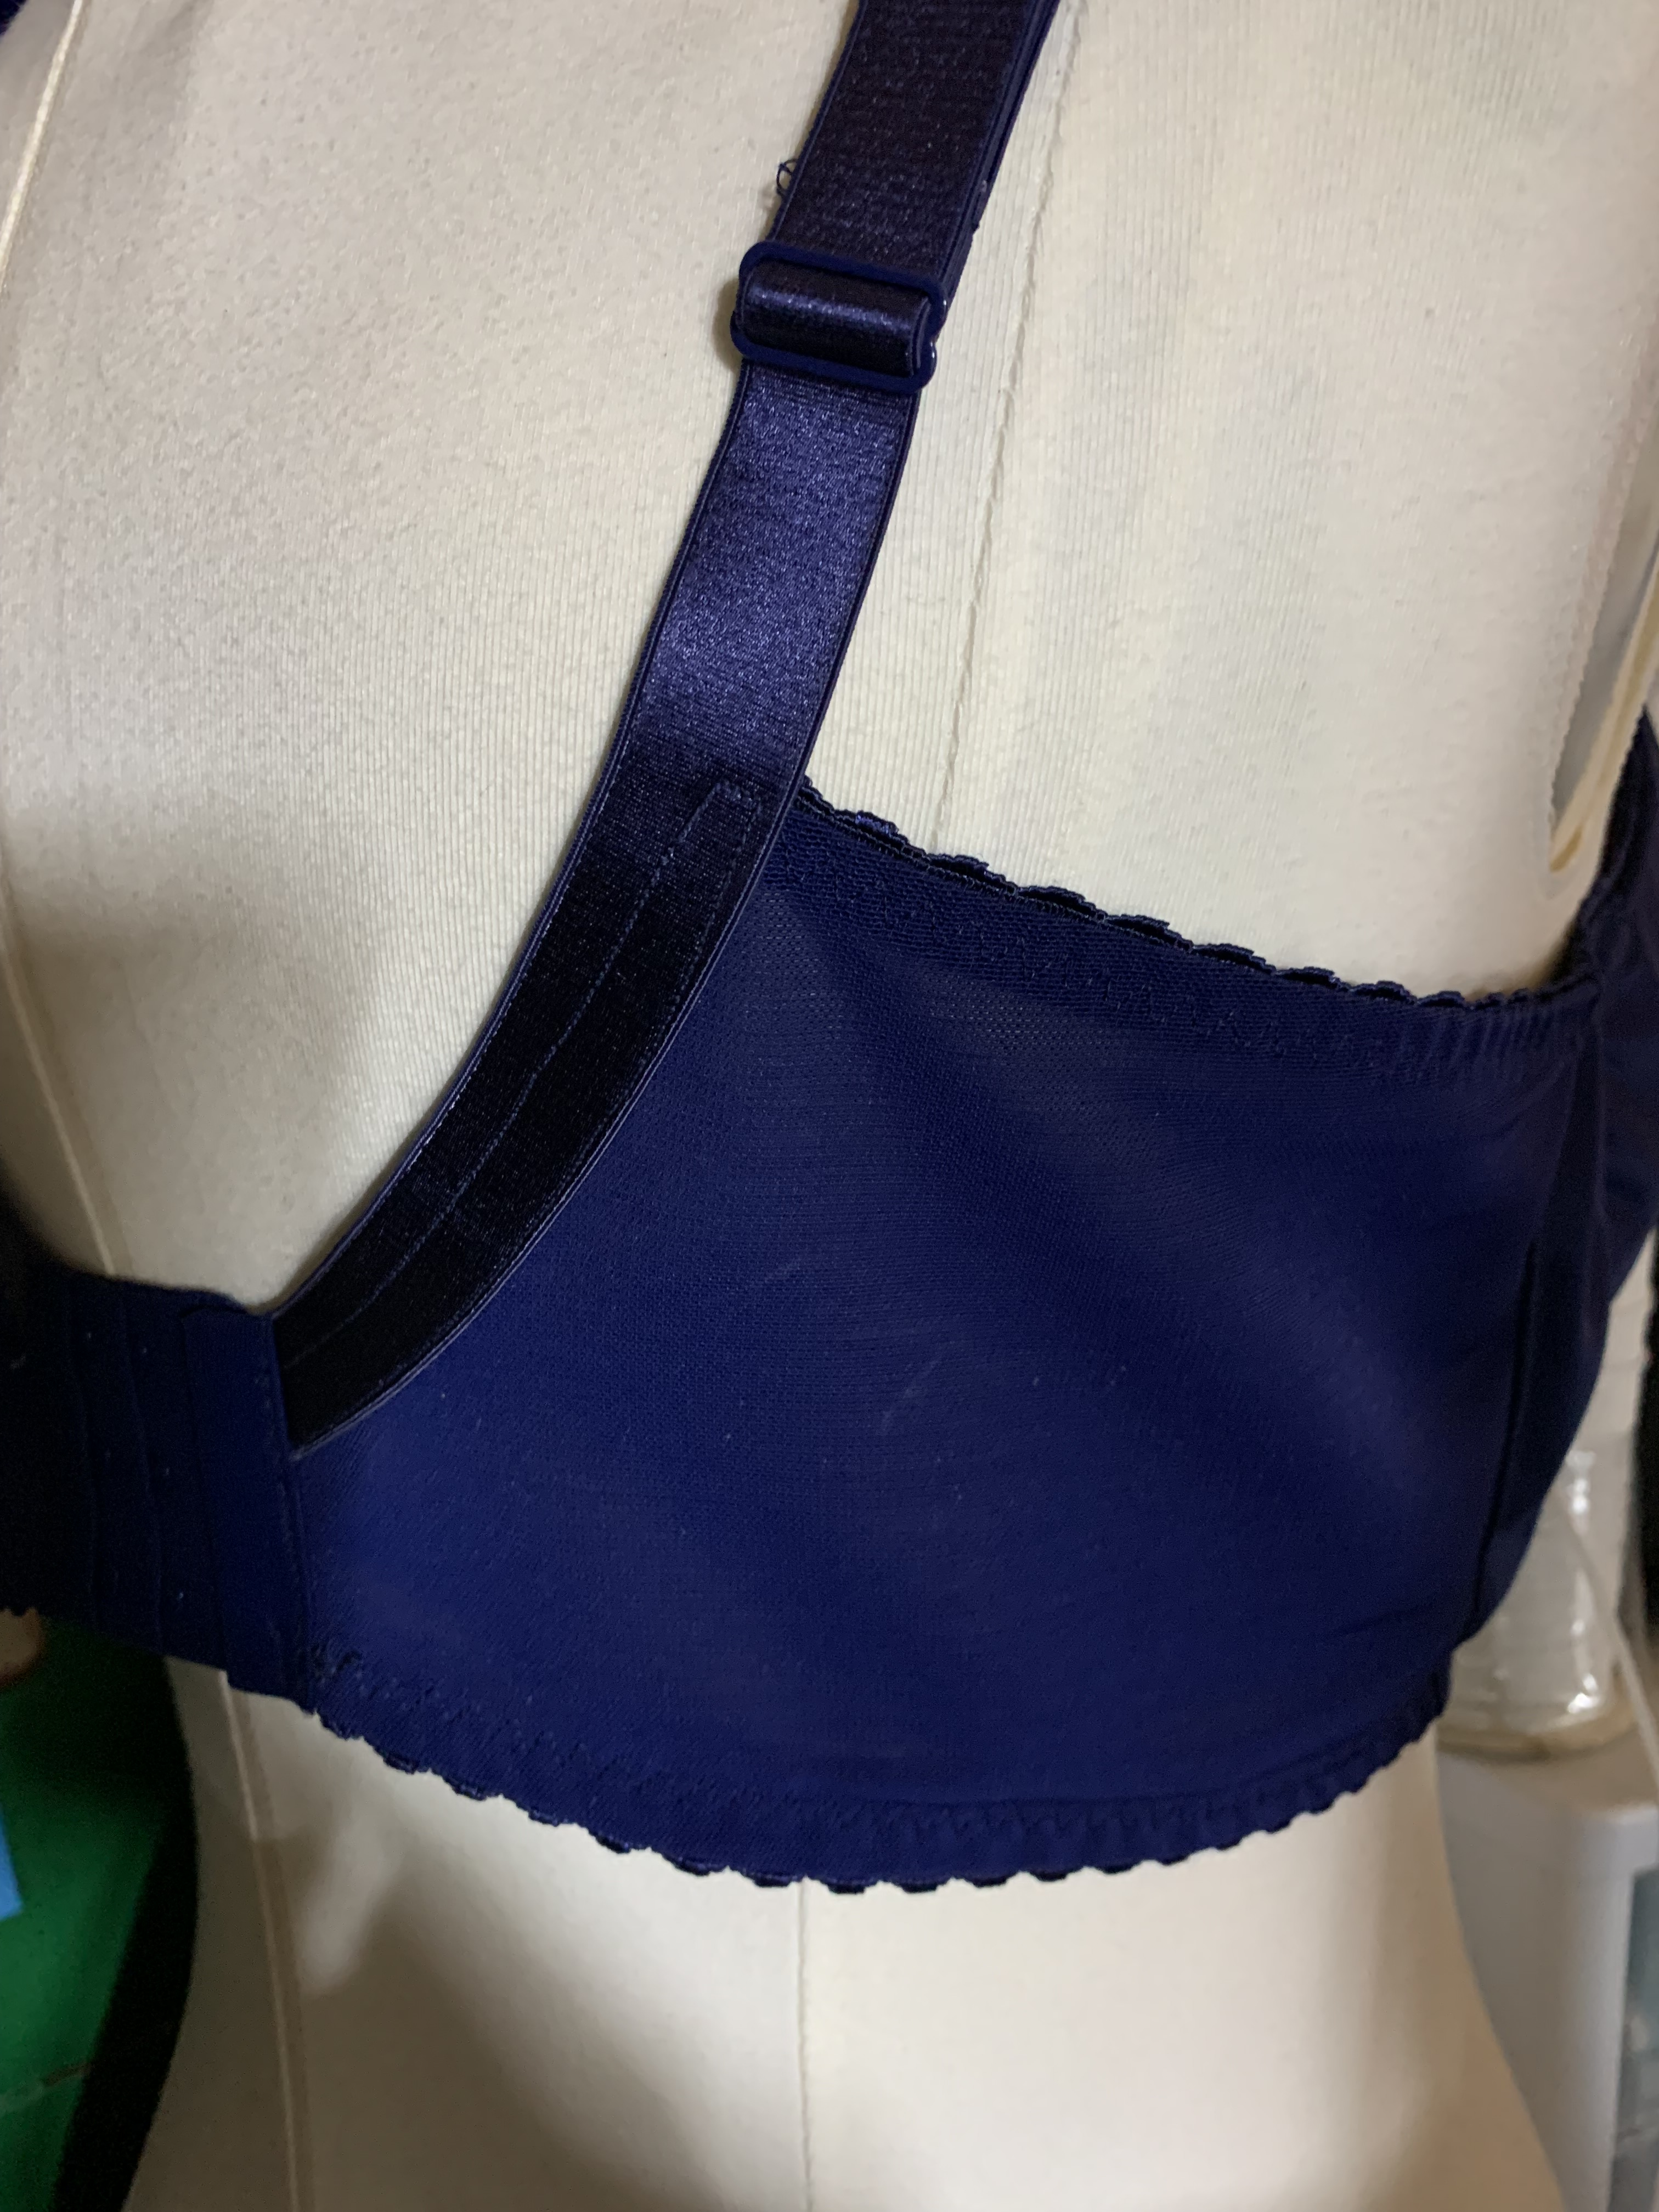
In terms of other new techniques, I also used fold over elastic for the first time! Crazy, I know. I’ve just always heard such bad things about it, and it was never something I really needed for sewing skating costumes, so I always largely ignored it. But no longer – I have become a fold over elastic convert – I mean, just look at how amazing the neck binding looks on this thing:

I will say that many of the other techniques for bra sewing weren’t that strange to me, as a lot of them line up with the skills of making skating costumes. It was a lot of new techniques my sister had to learn though, so we did spend a lot more time working through how to insert elastics, etc. than I probably would have if I was flying through it all on my own. I think this section of construction is where the Craftsy classes are definitely better than the pattern instructions; the class has lots of helpful tips for when, where, and how much tension to put on the elastic bits during construction which is just not part of the basic instructions.


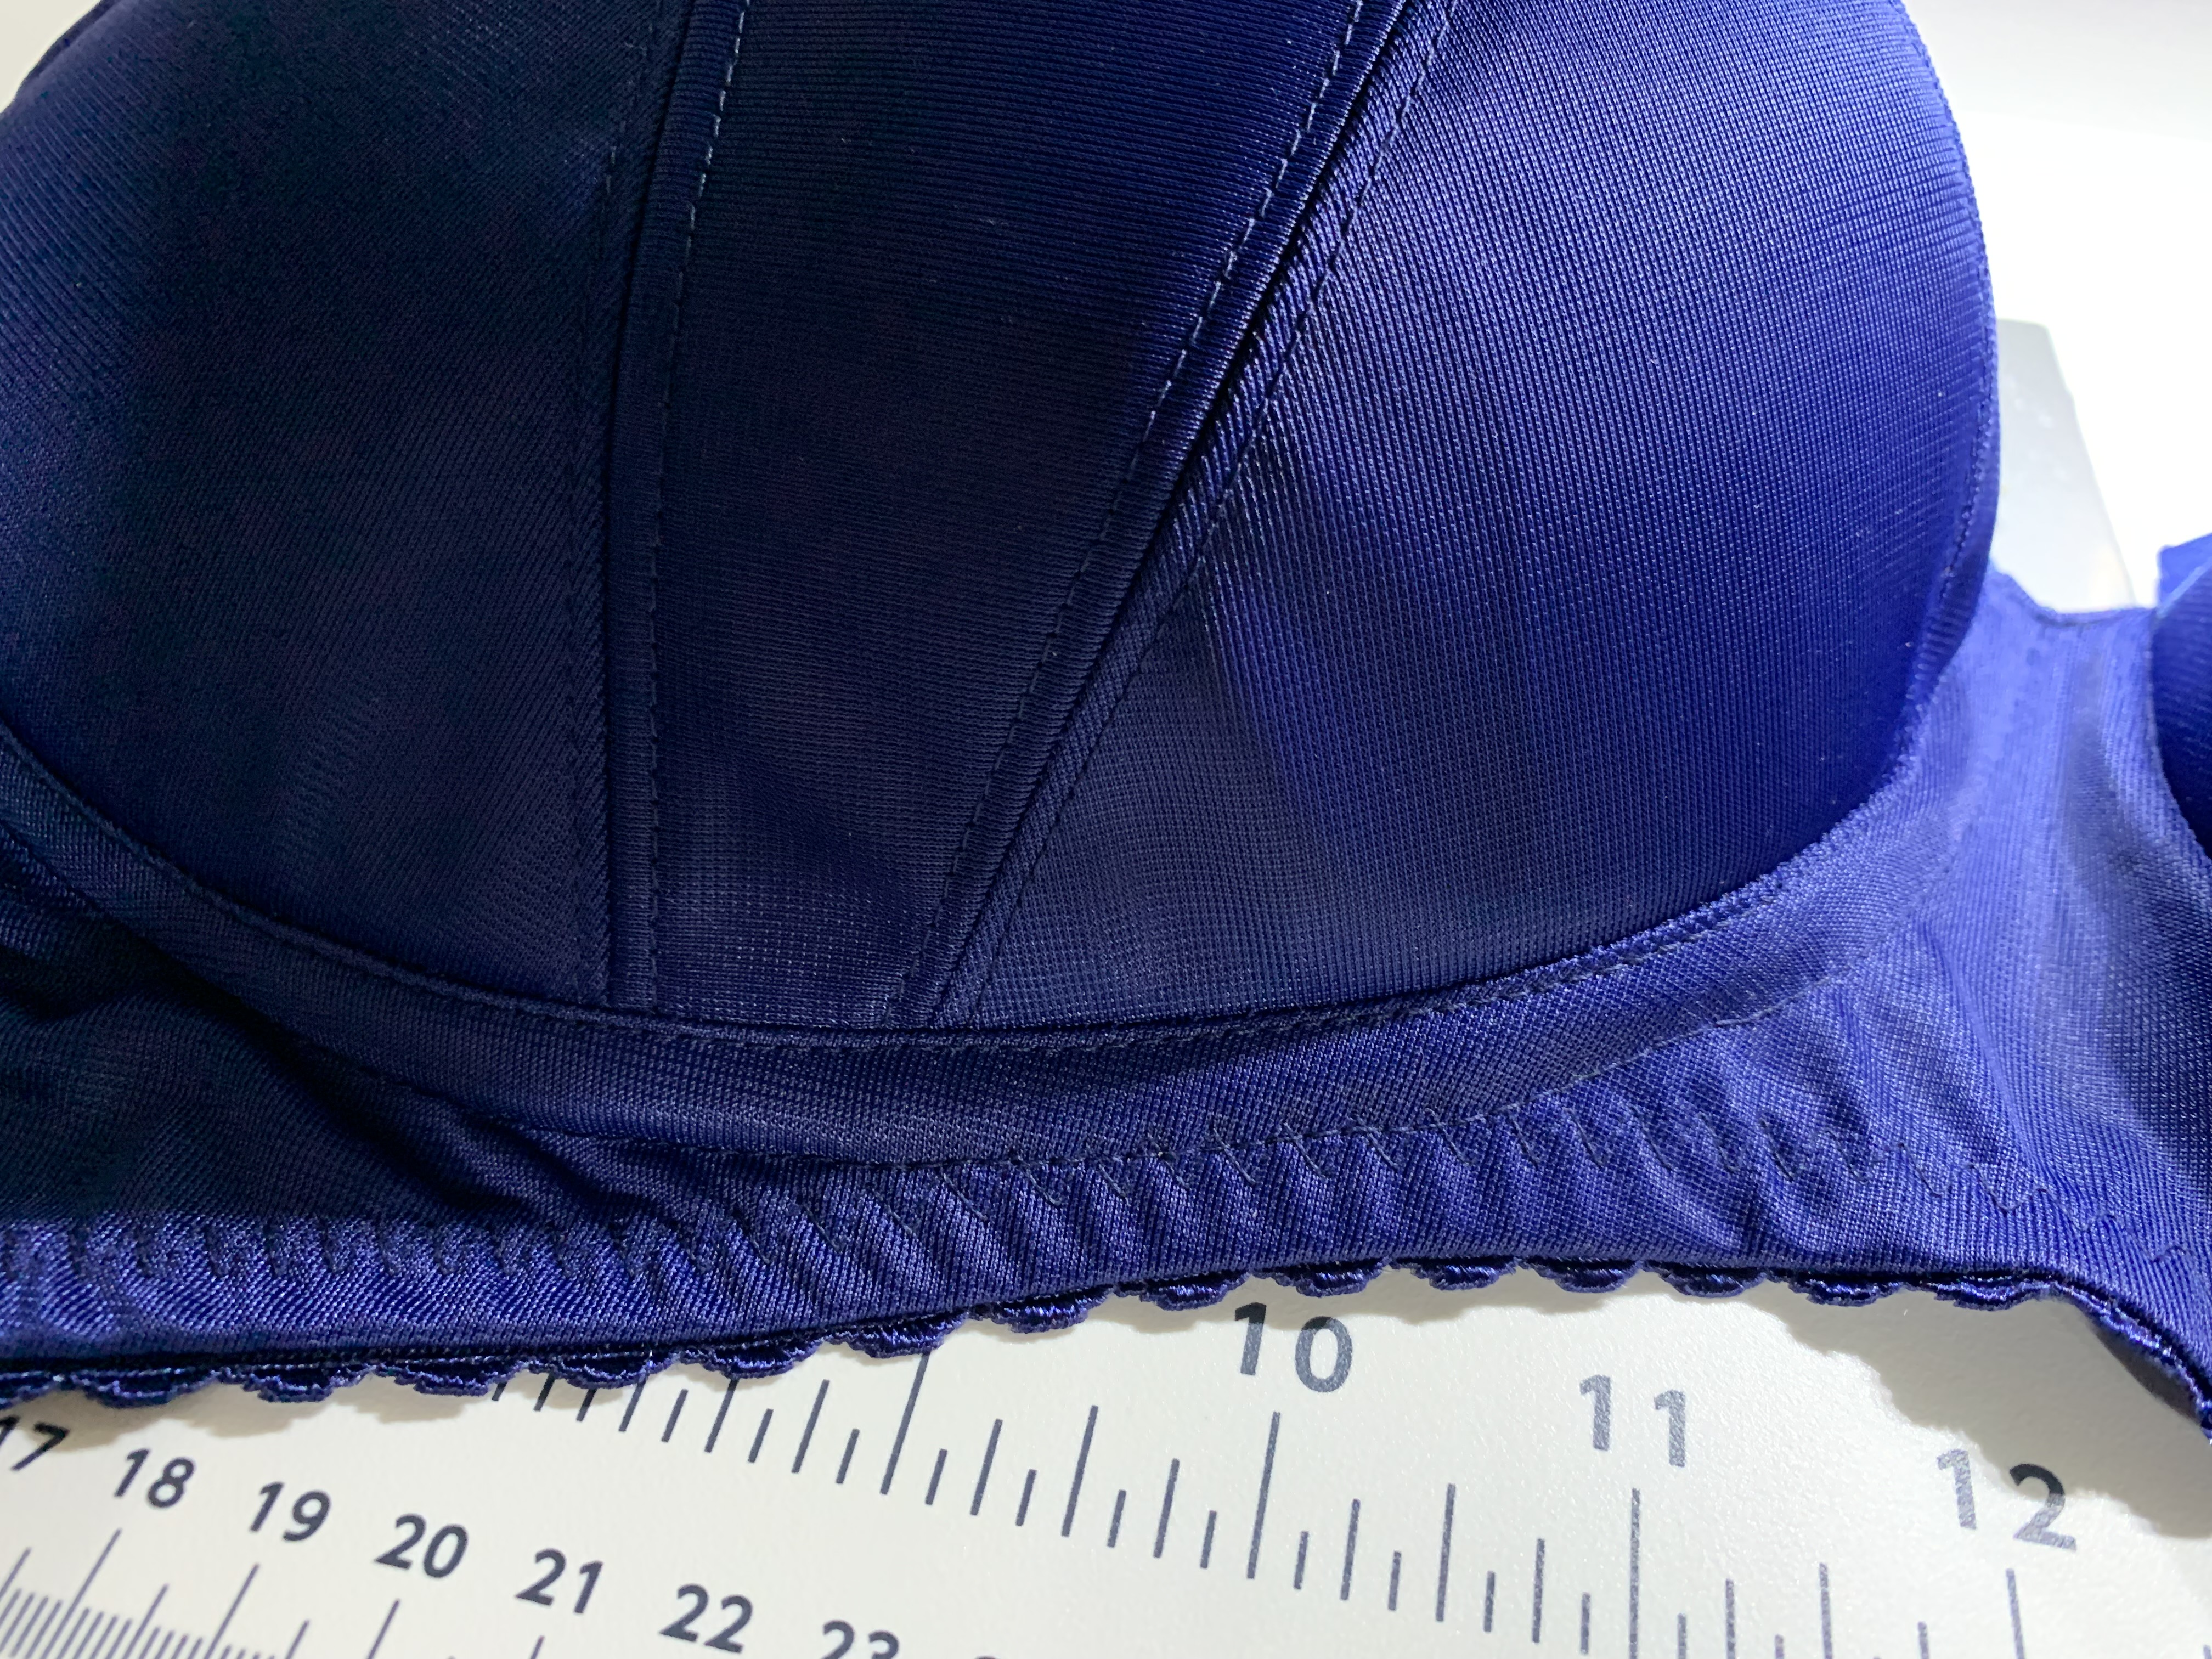
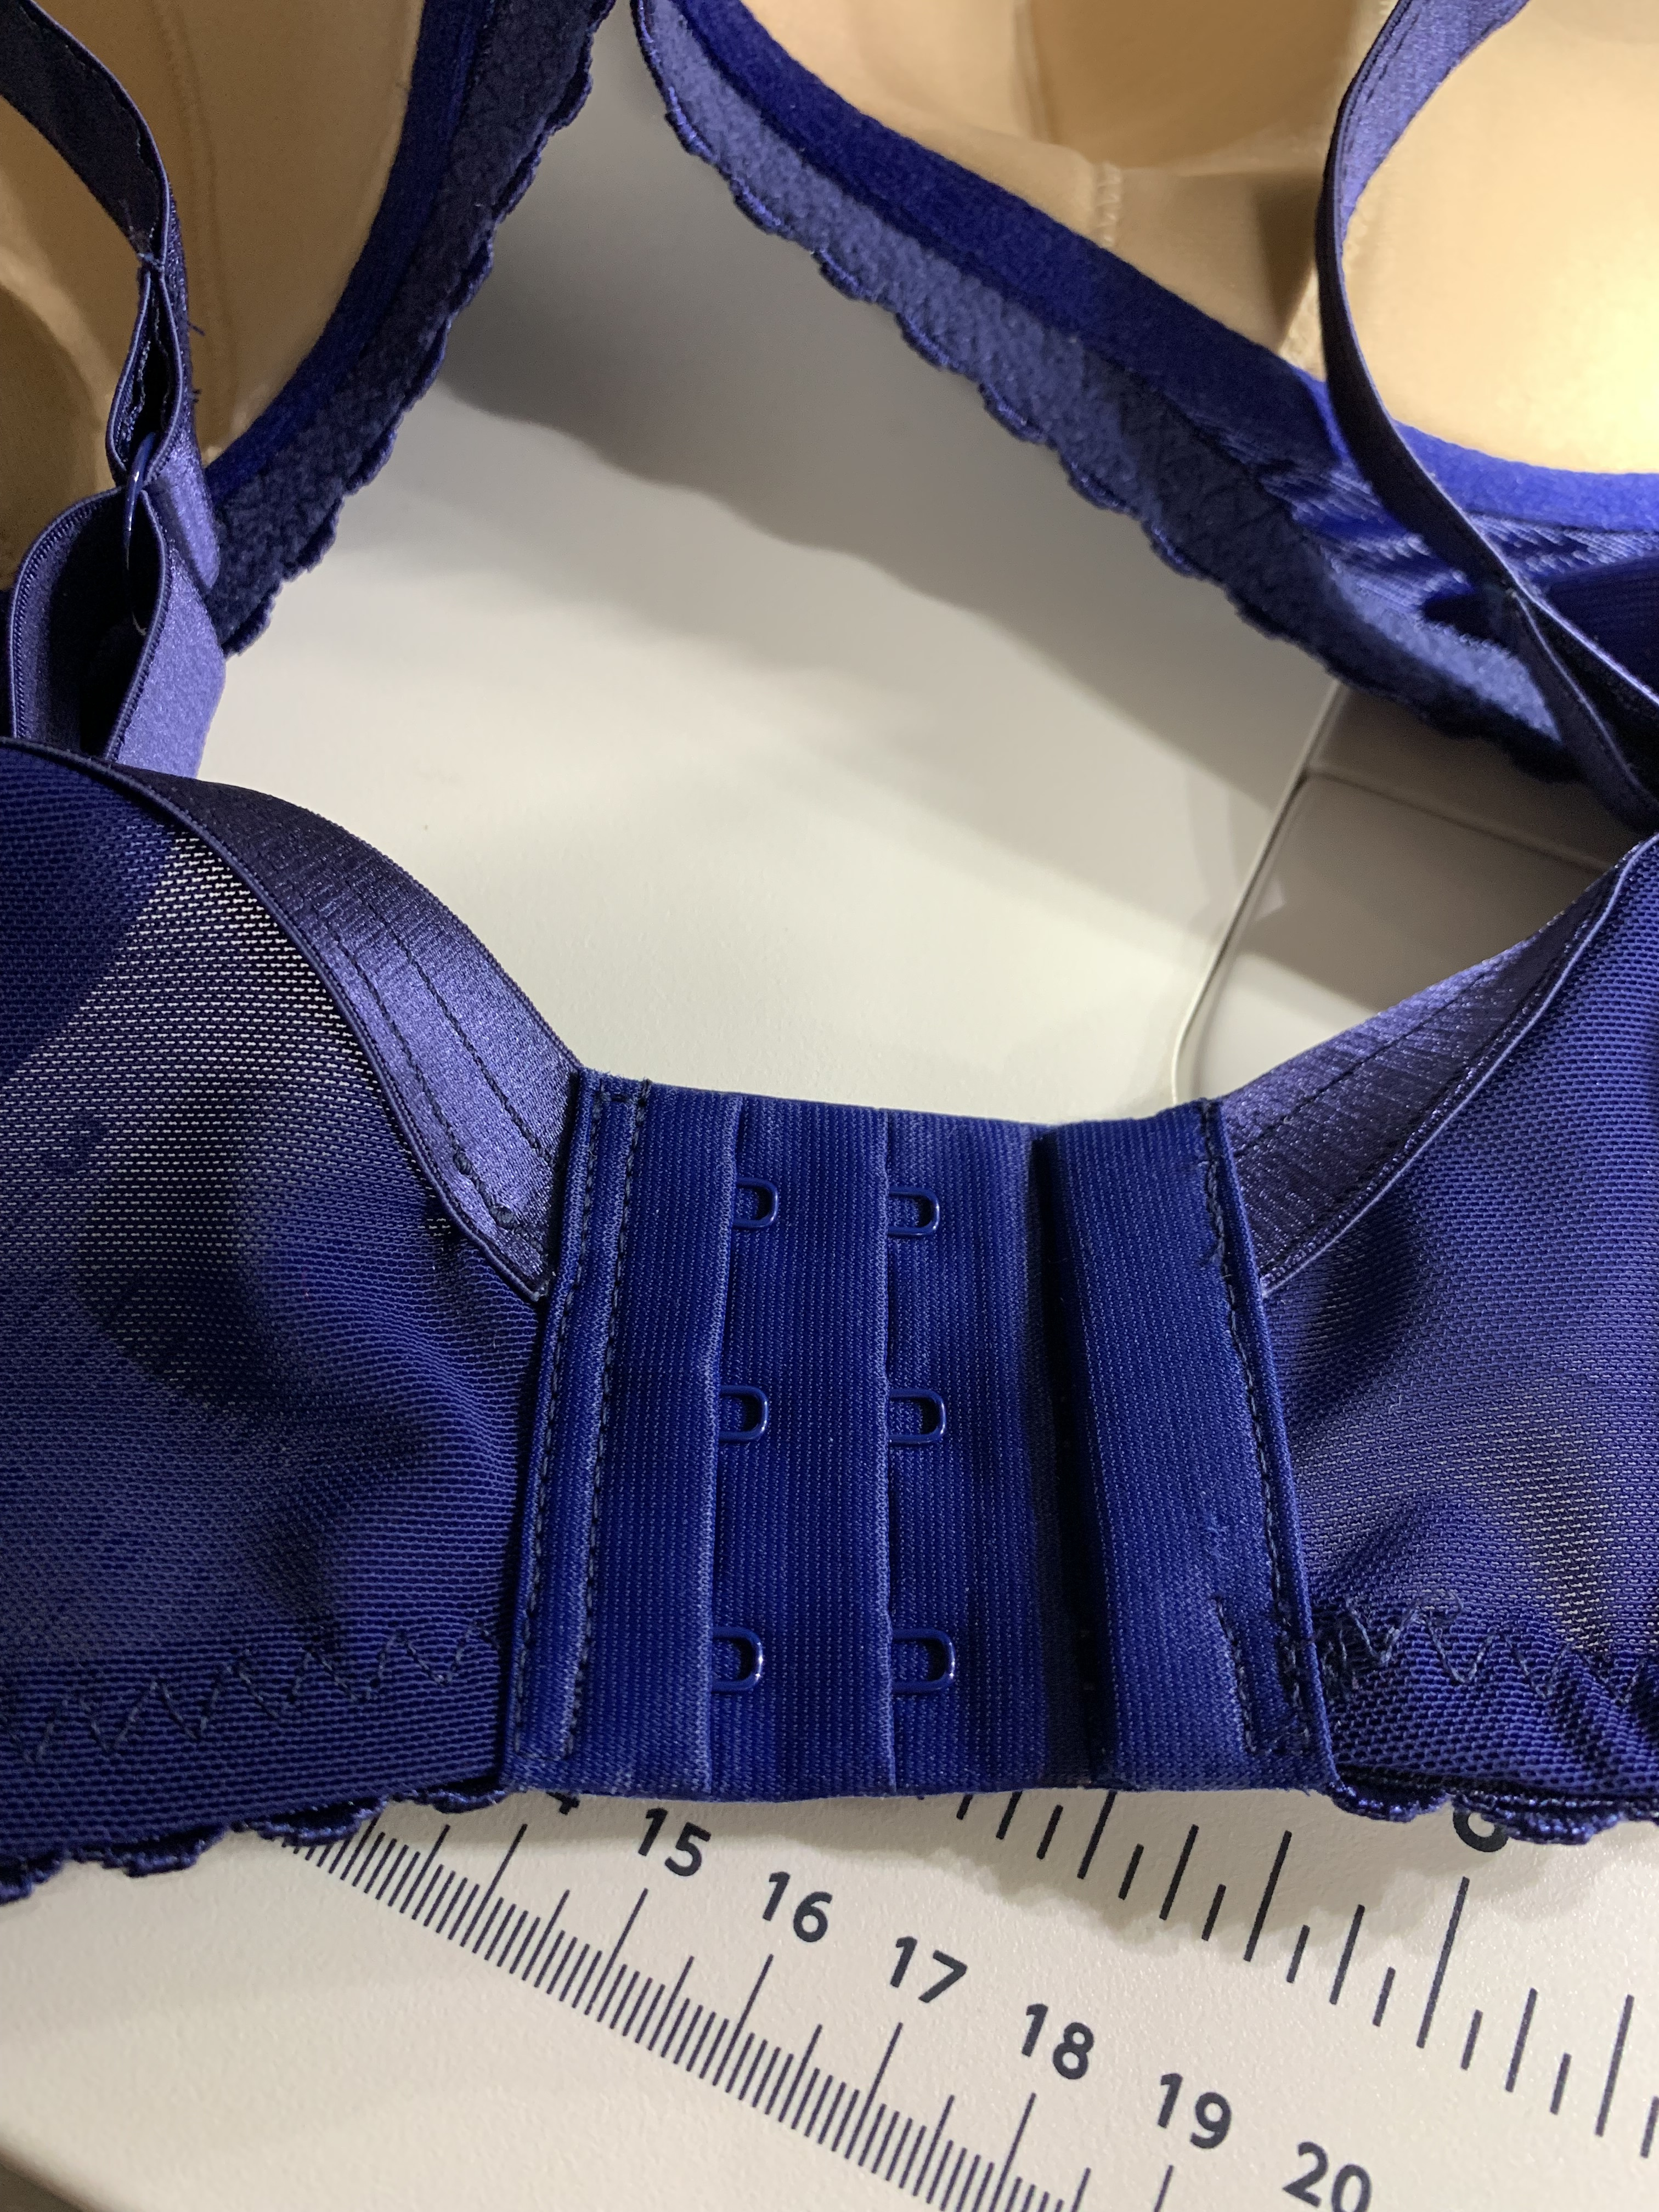
Another area of difference between the video course and the instructions is when to add the wire channeling. In the video she applies it before adding elastic; in the instructions it is after. In this case my sister and I followed the instruction order and it worked out just fine for us, so probably we will stick with that in the future. Adding the channeling was also a new technique for me, but I actually really enjoyed the precision sewing.

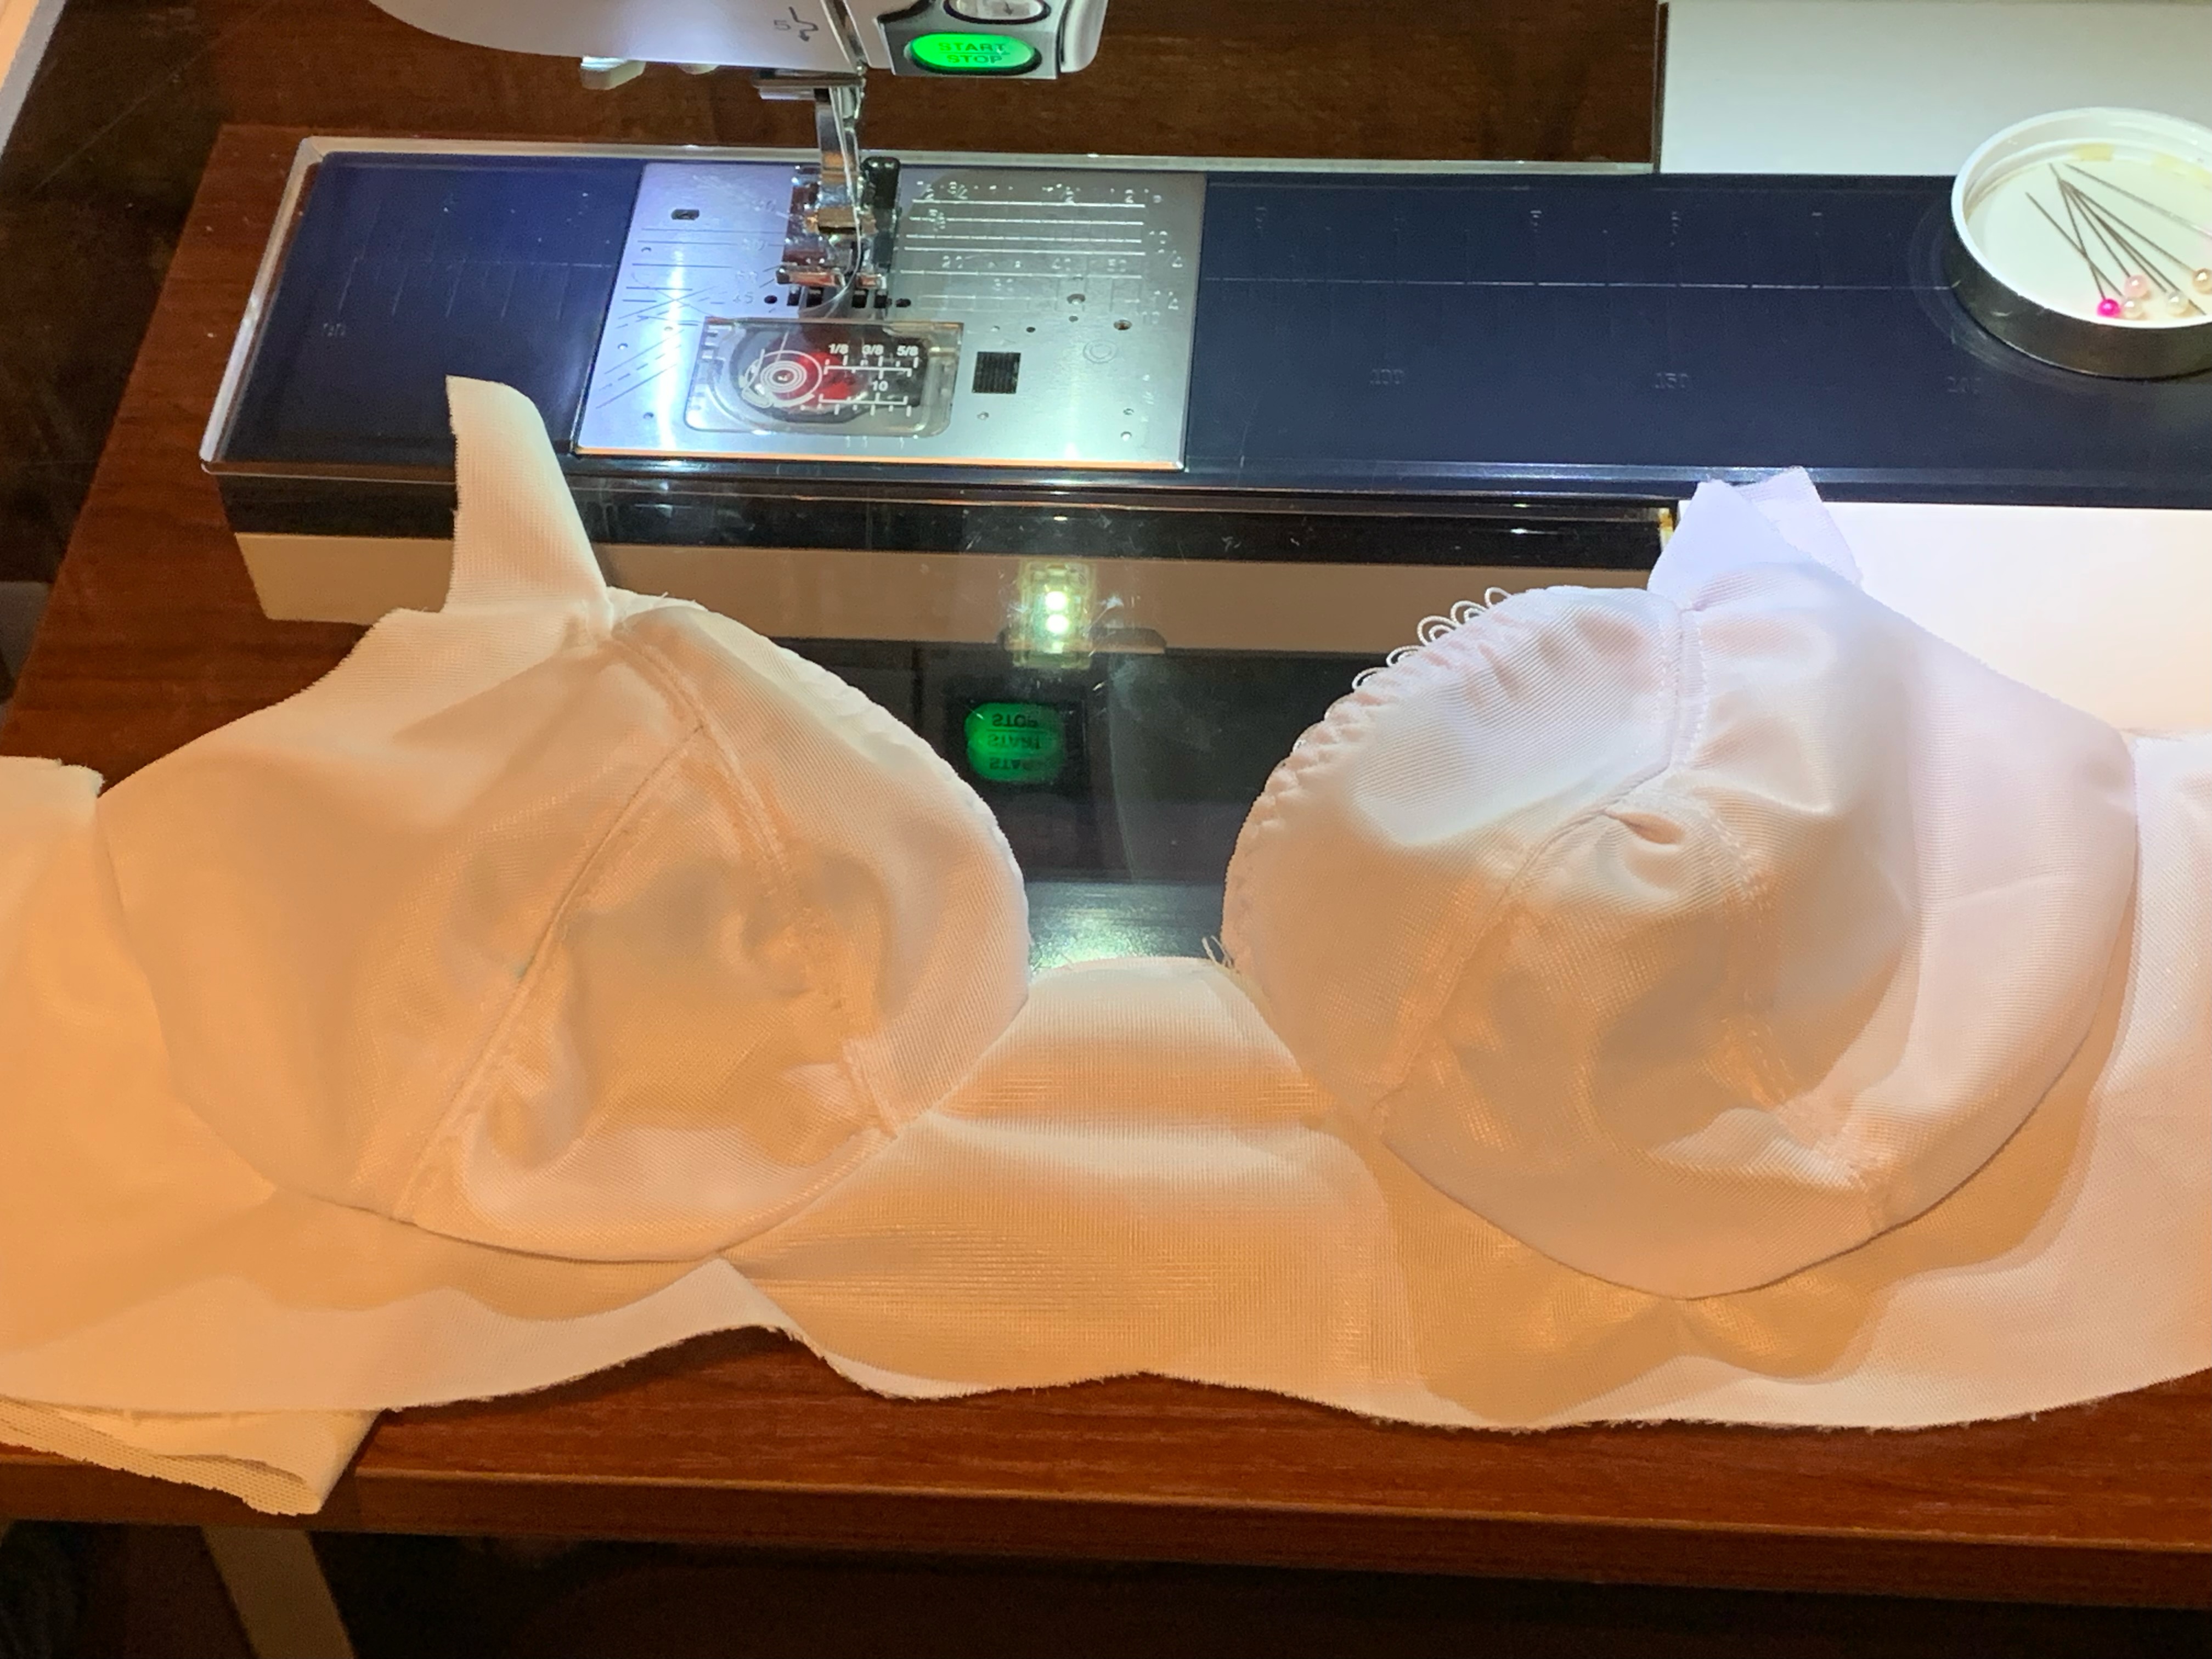
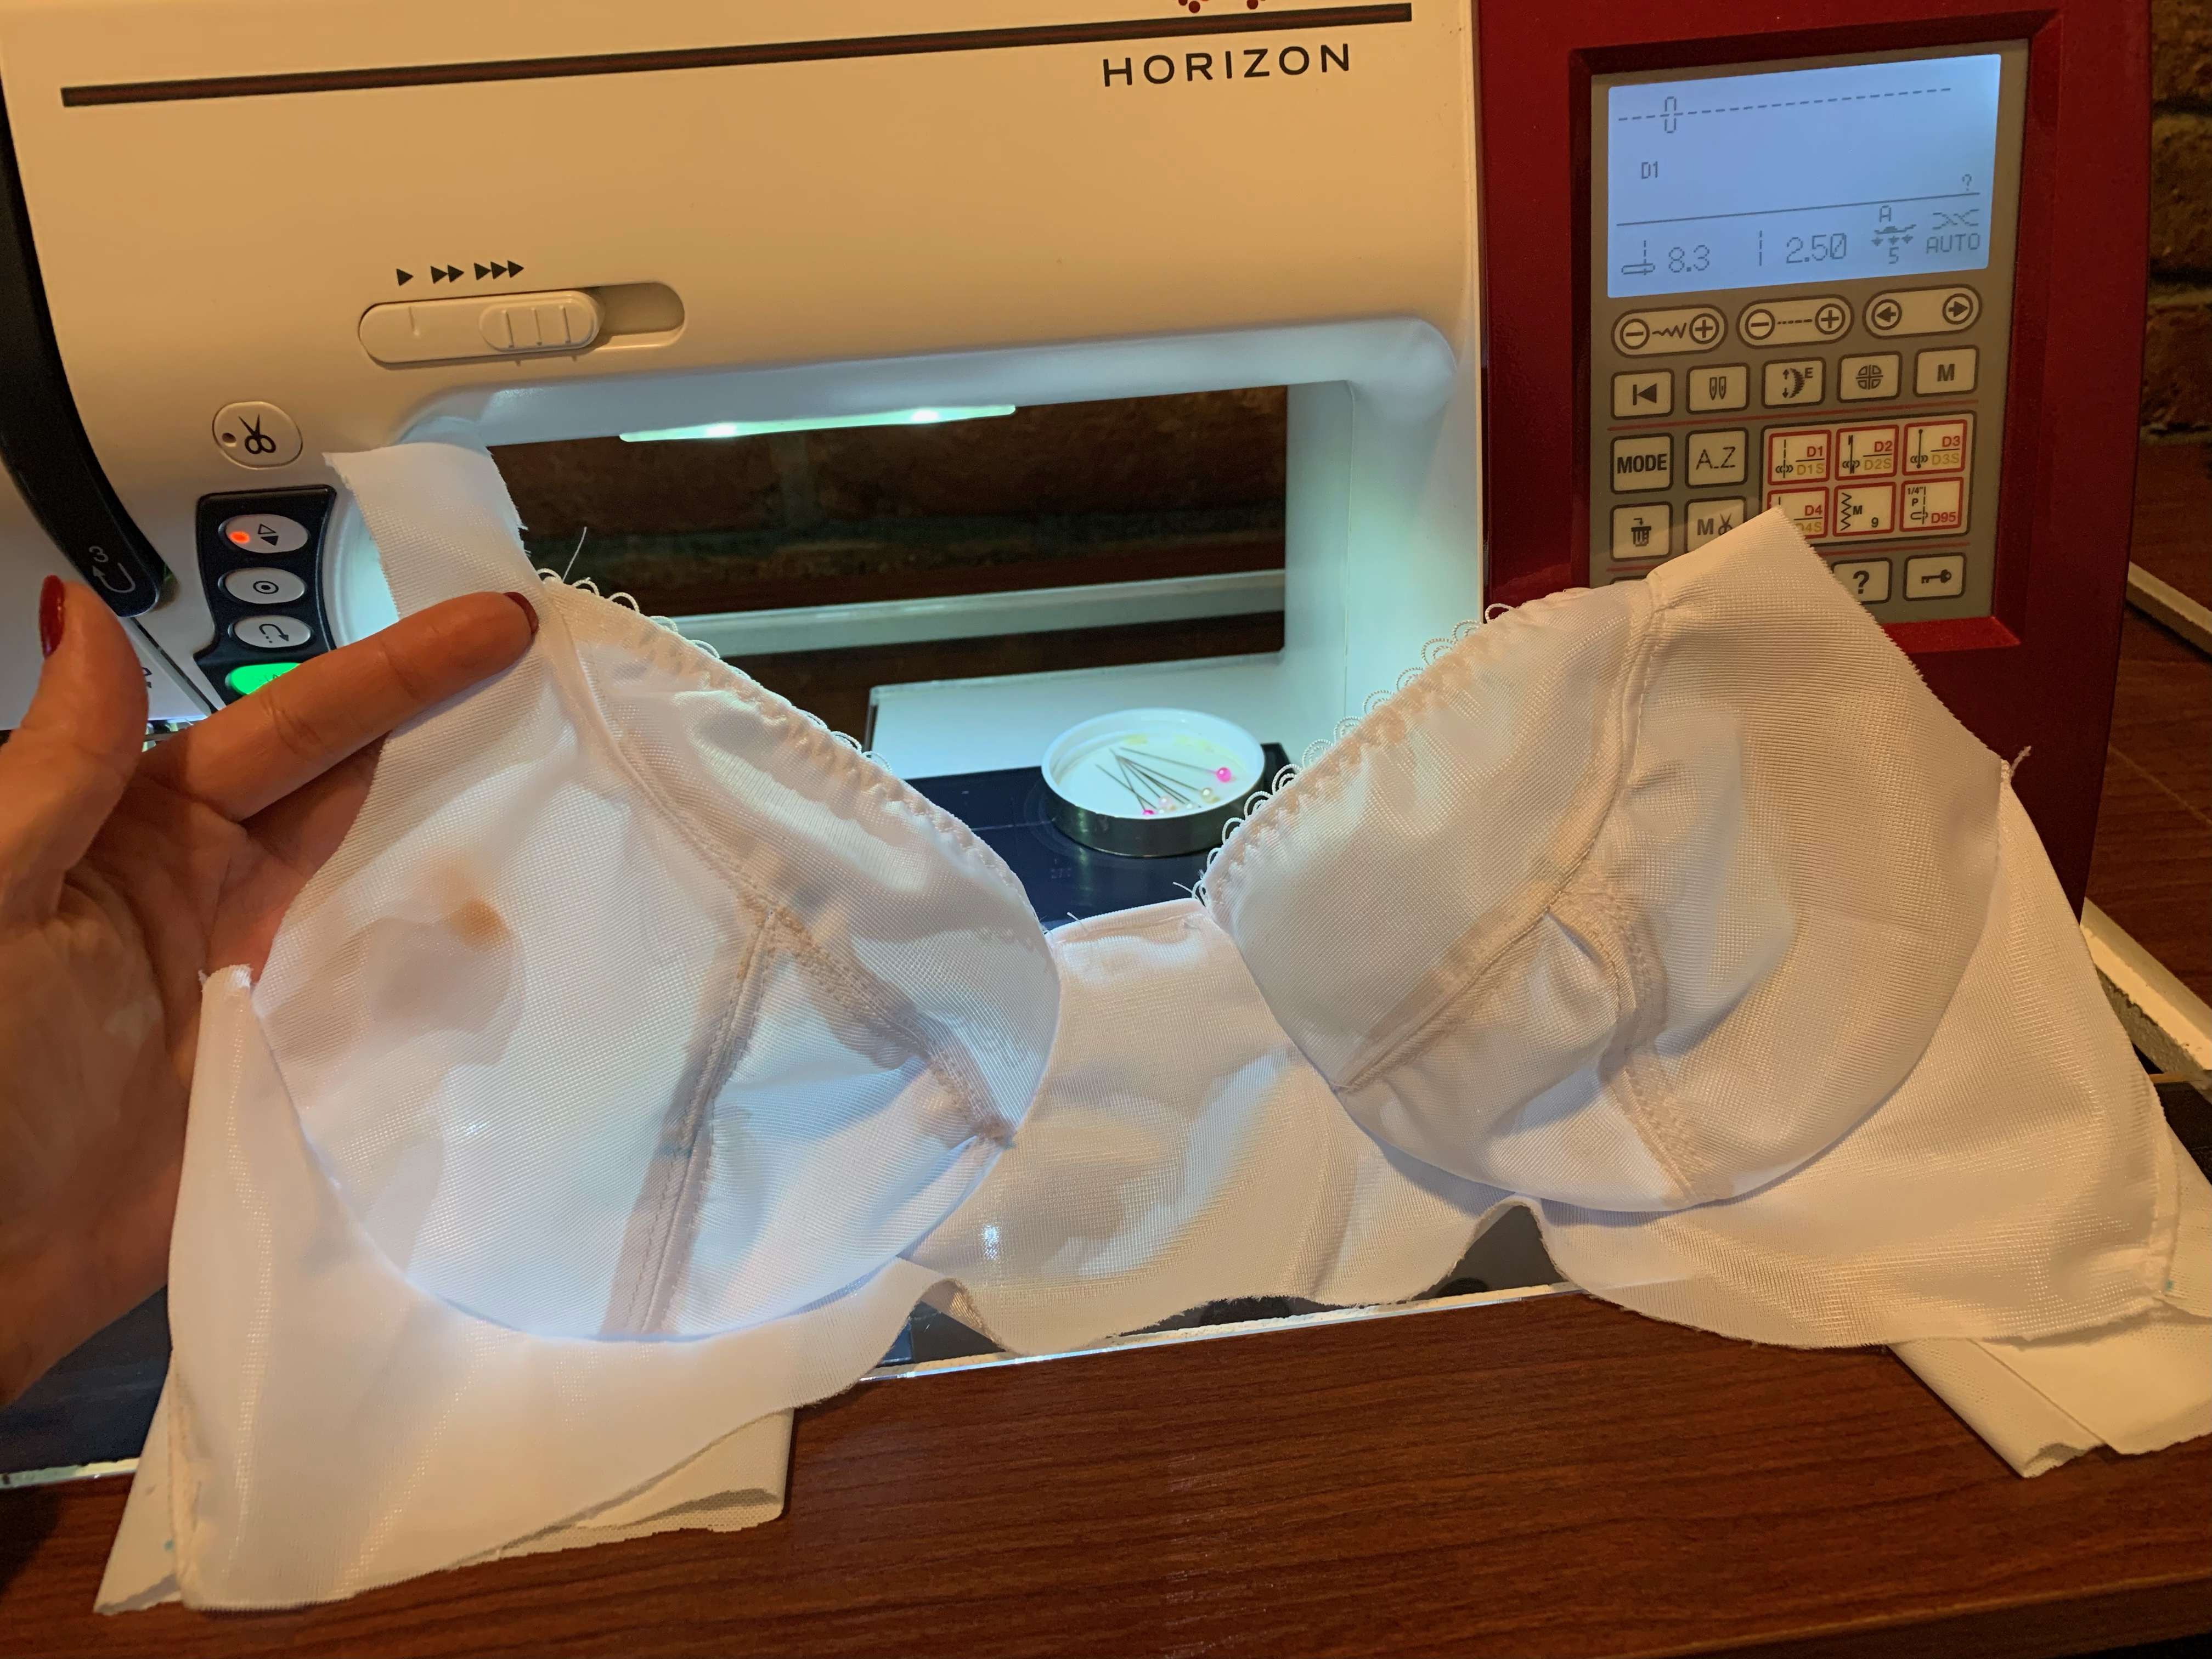
My sister also seemed to enjoy this project; she said she liked having something with small pieces that went together quickly even though it has so many different steps and techniques. Here are some images of her in-progress bra (made without foam):

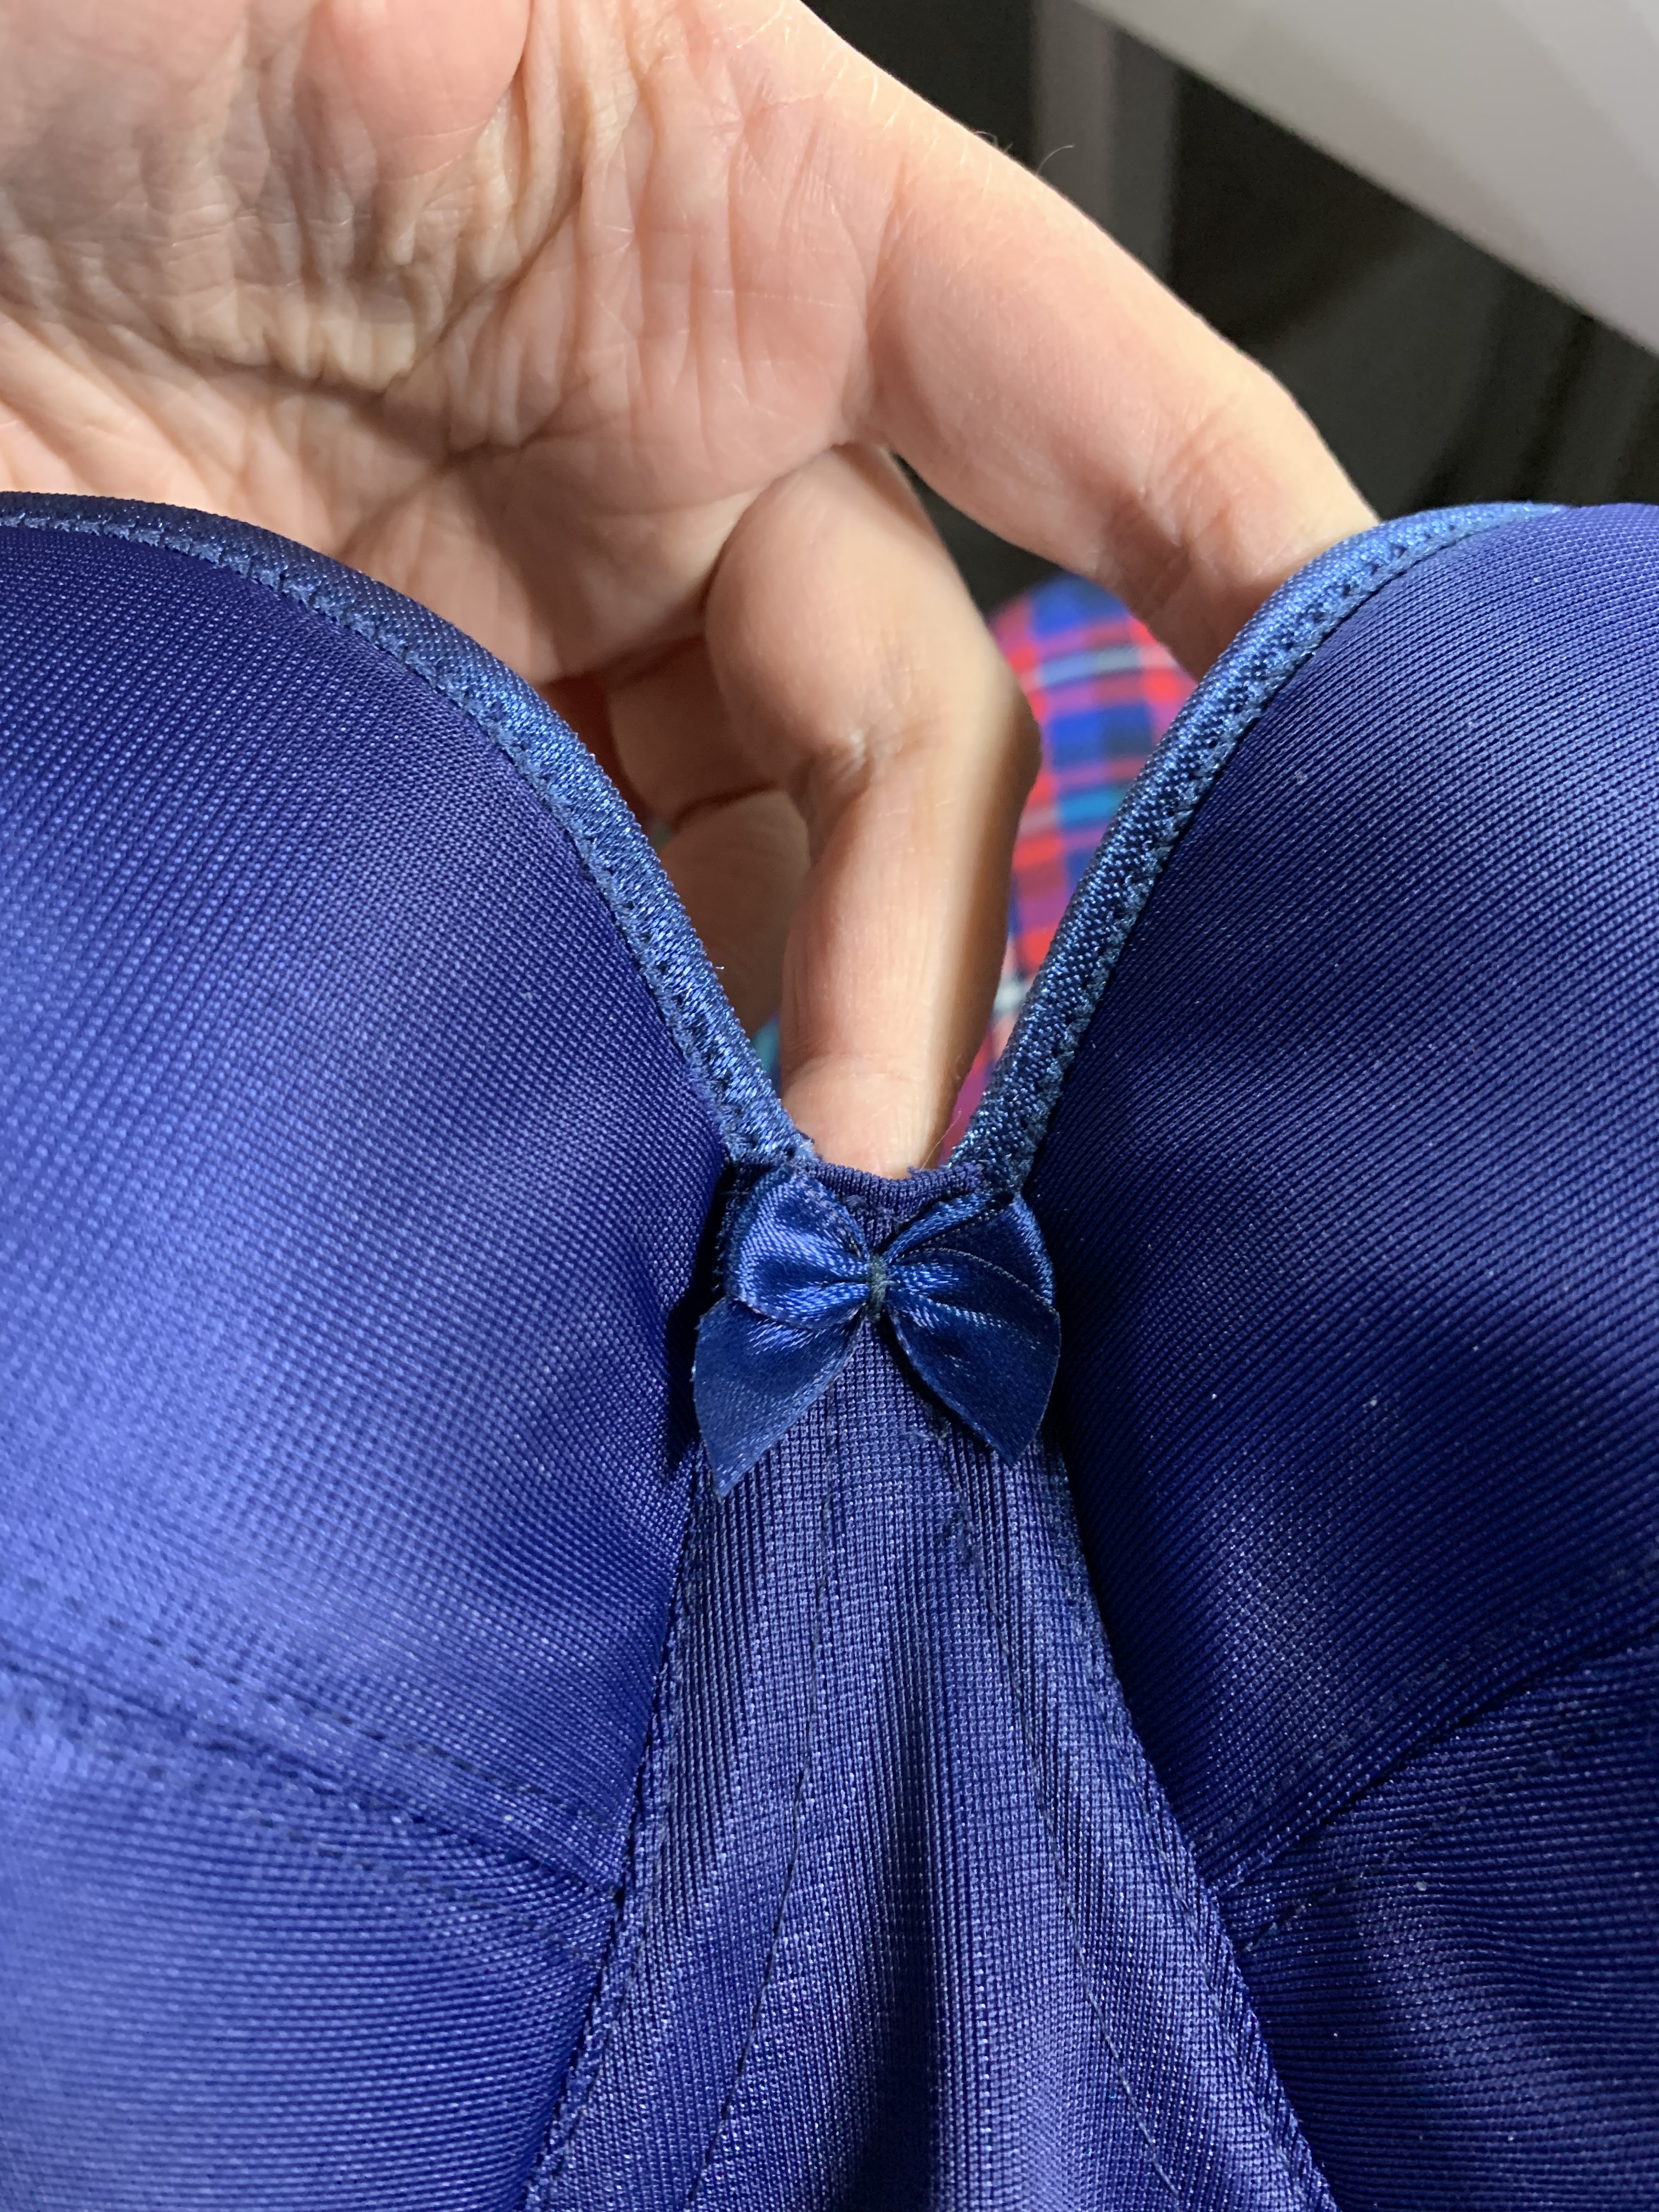
Overall the final finishing steps were pretty quick and everything really came together after we got through the part with the underwire channels. I even added the little bow to mine, despite historically ripping them off ones that I’d bought because it just wasn’t my vibe in the past:
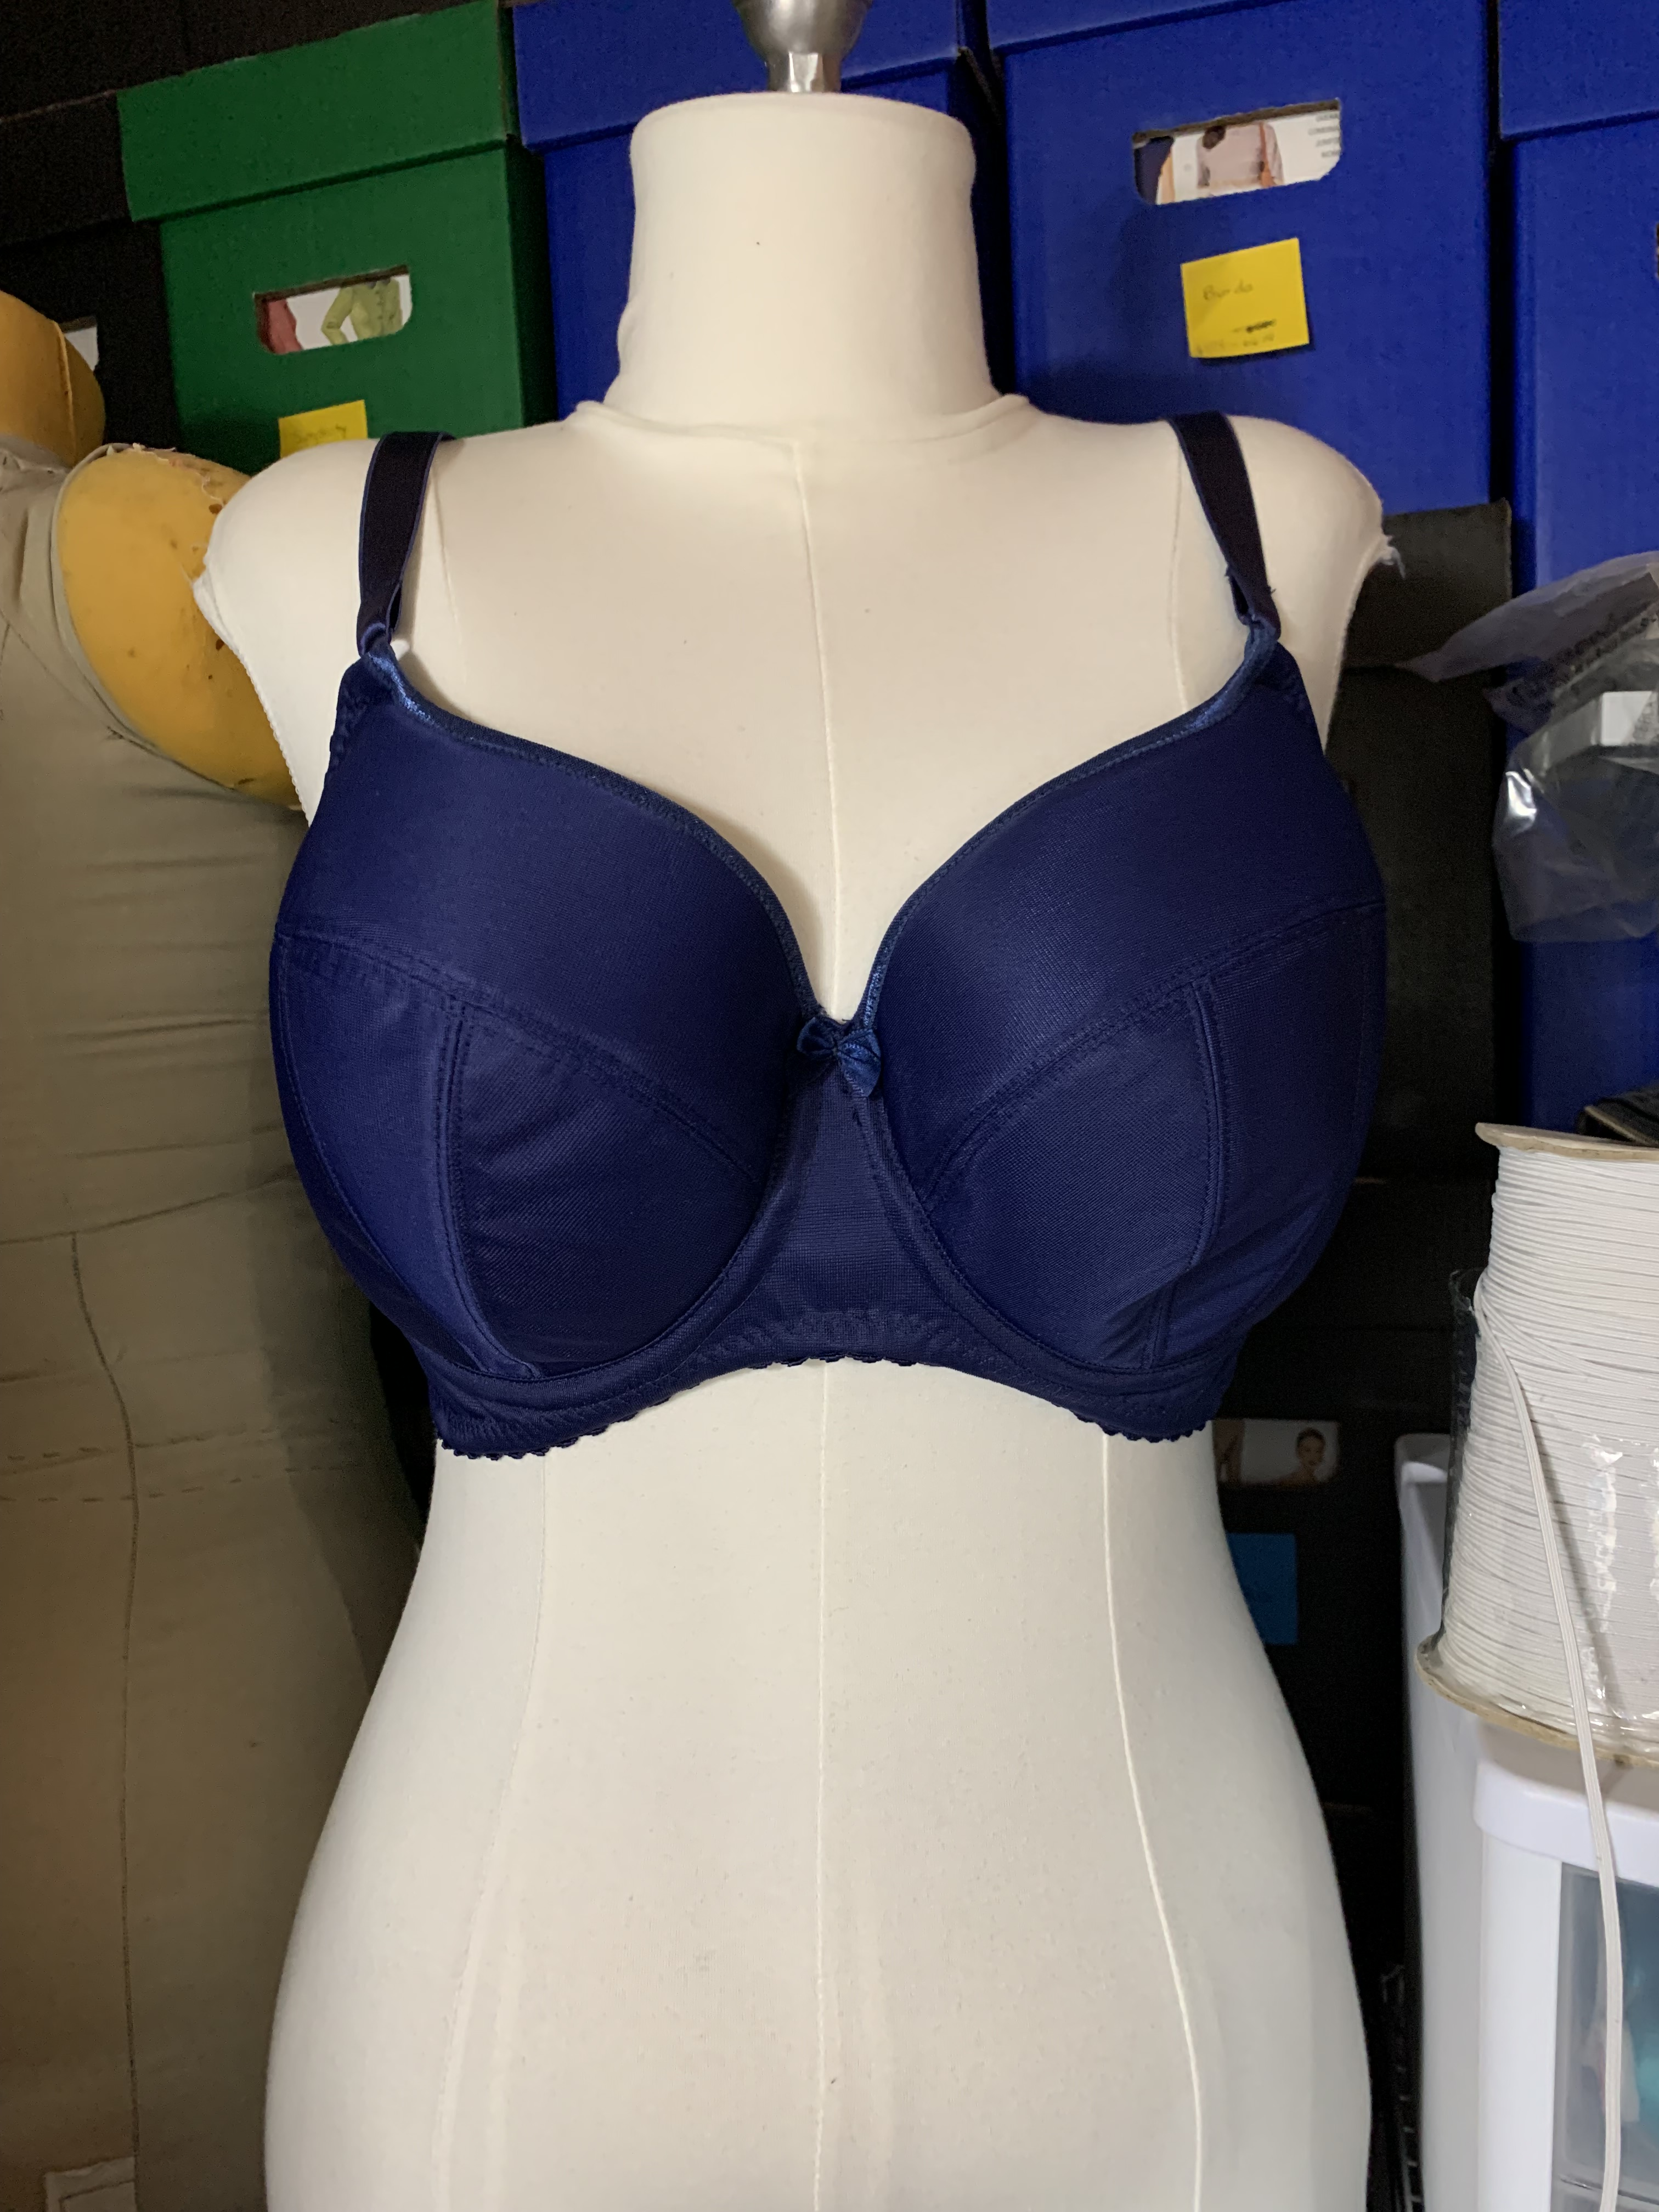
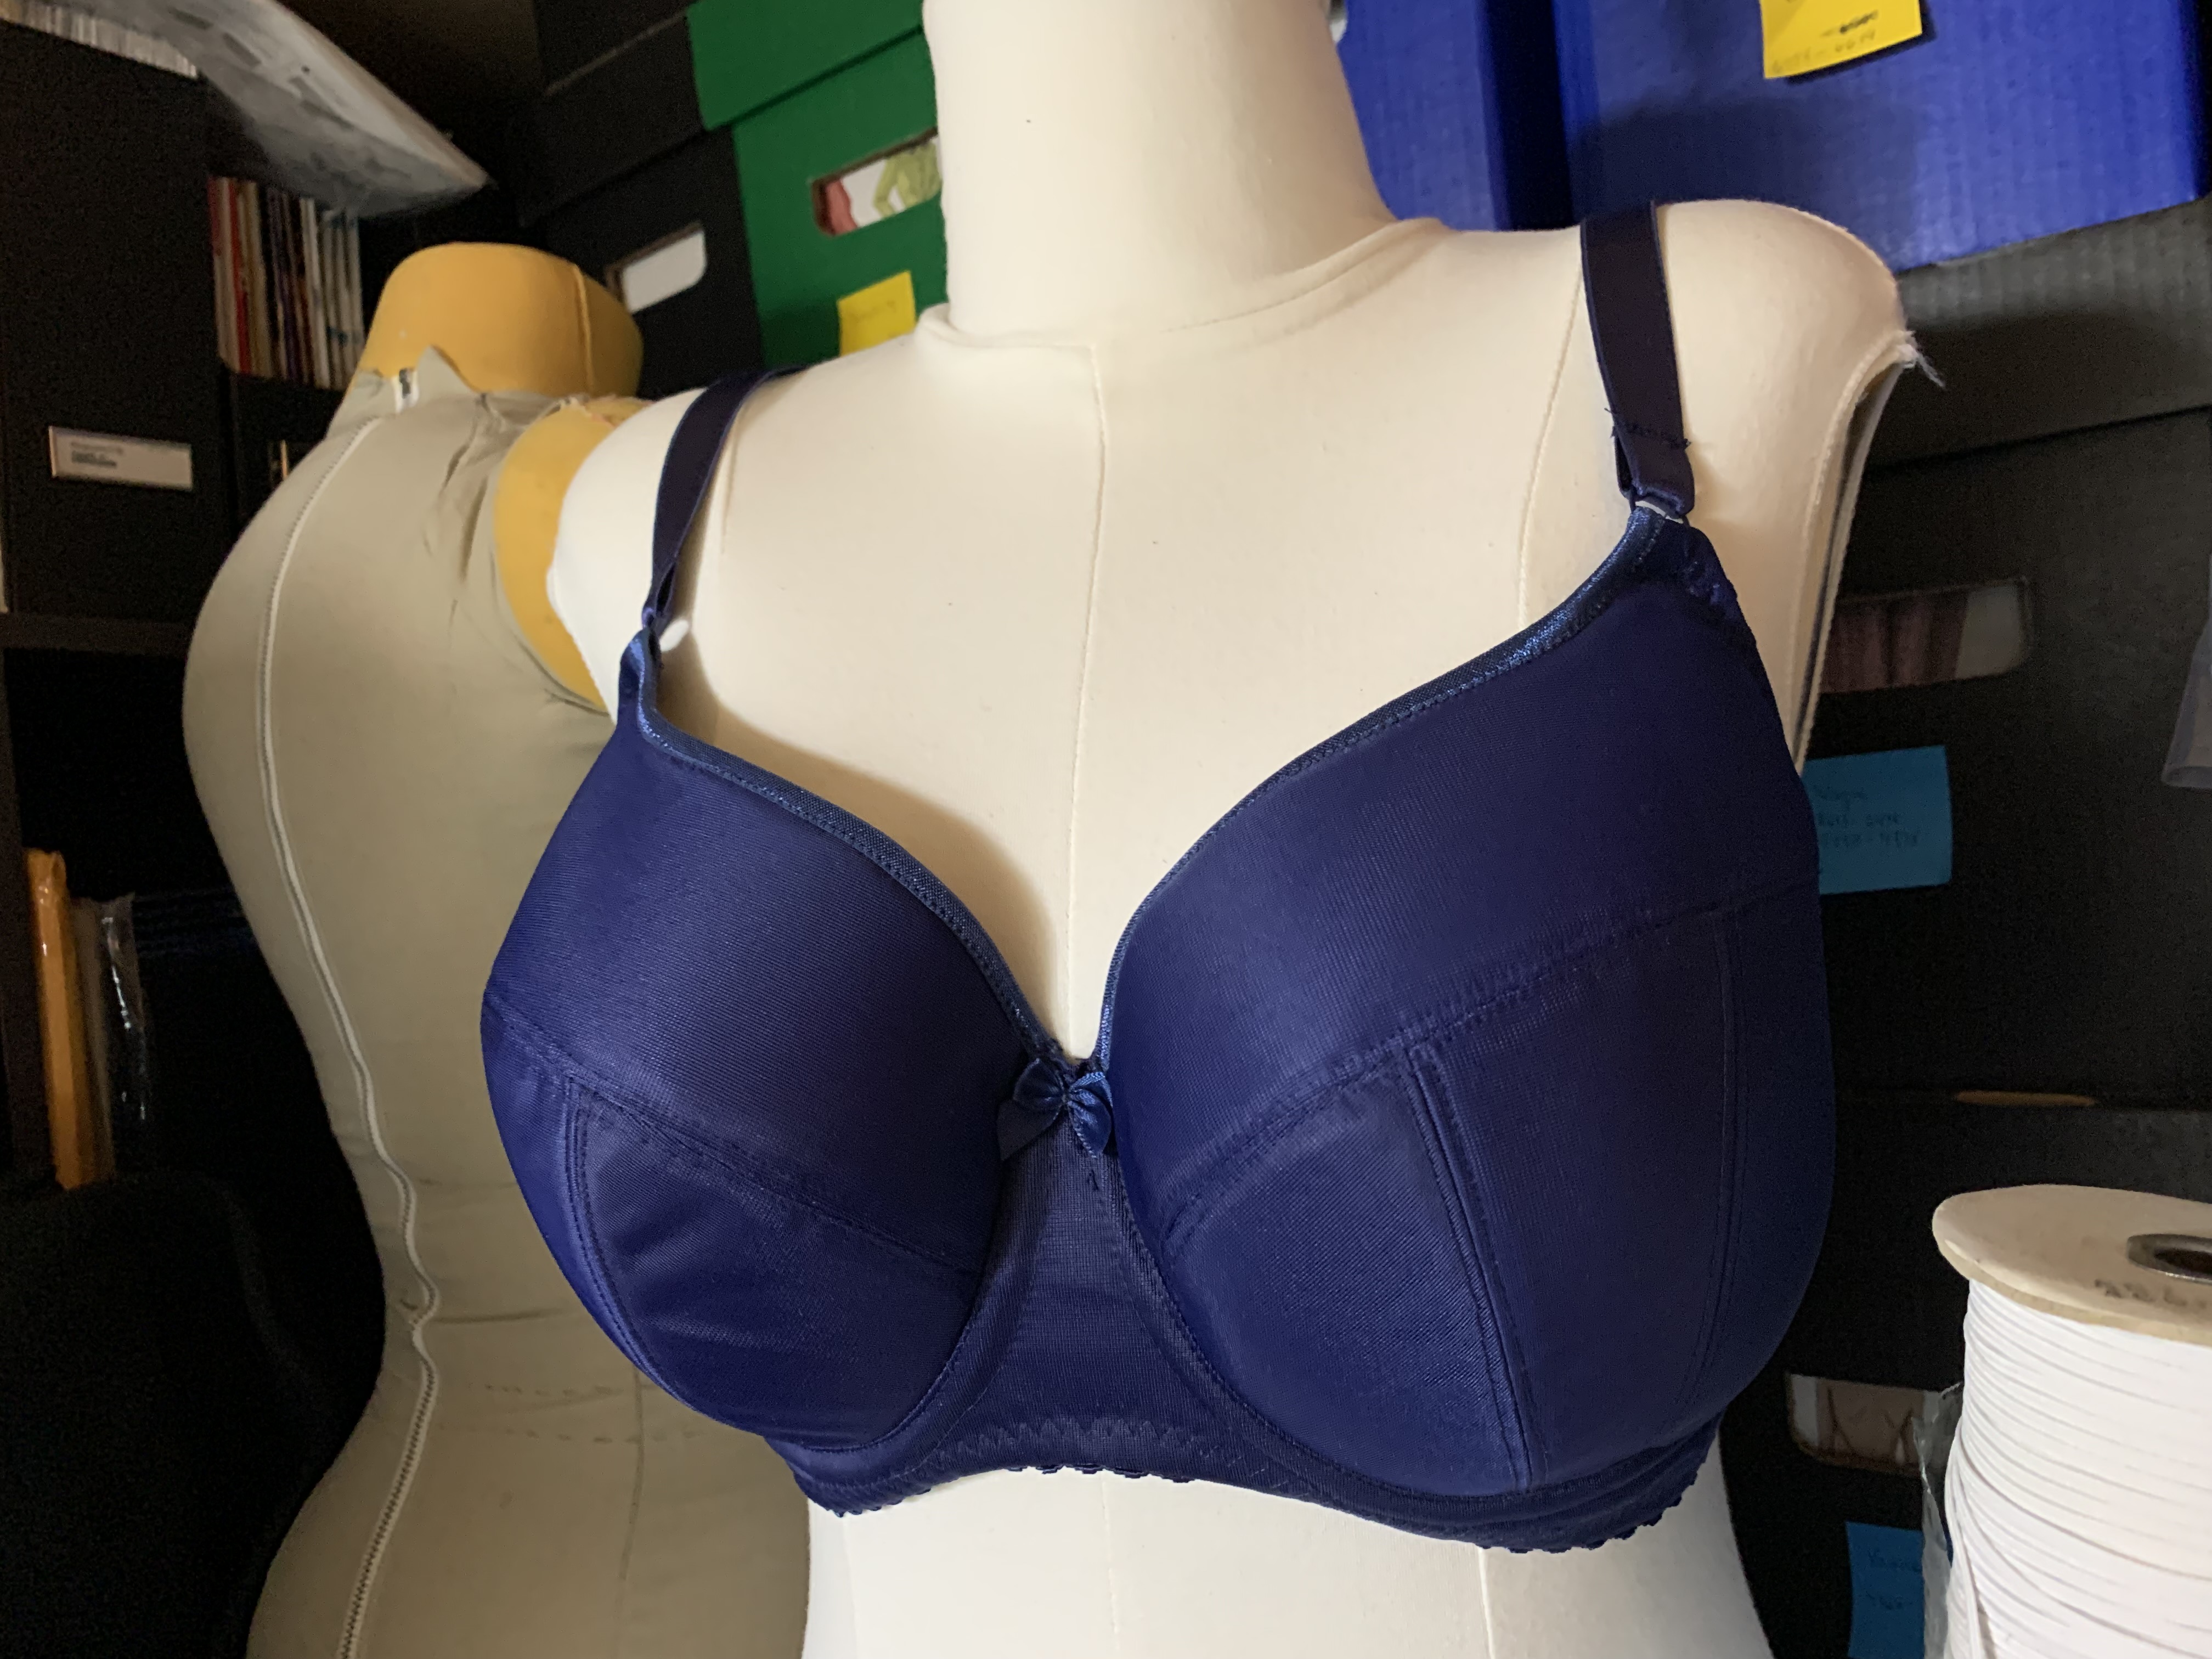
I am honestly so happy with how mine turned out I’ve totally lost my “can I show the internet the bra I sewed” weirdness because I am so happy with the construction I actually really want to show it off. So, without further ado, here is my final first version of the Ruby Bra:


I will say I’m really happy we got the kits for our first bra-making adventures. Now that I’ve done it I would definitely feel a lot more comfortable ordering the needed pieces from different places, but the list of notions that goes into making a single bra is definitely a bit overwhelming at first. Not having to worry about getting matching or coordinating pieces is also really helpful, and I do appreciate that the kits from Gigi’s can be purchased for the different pattern types so that you get all the components you need in a handy kit.
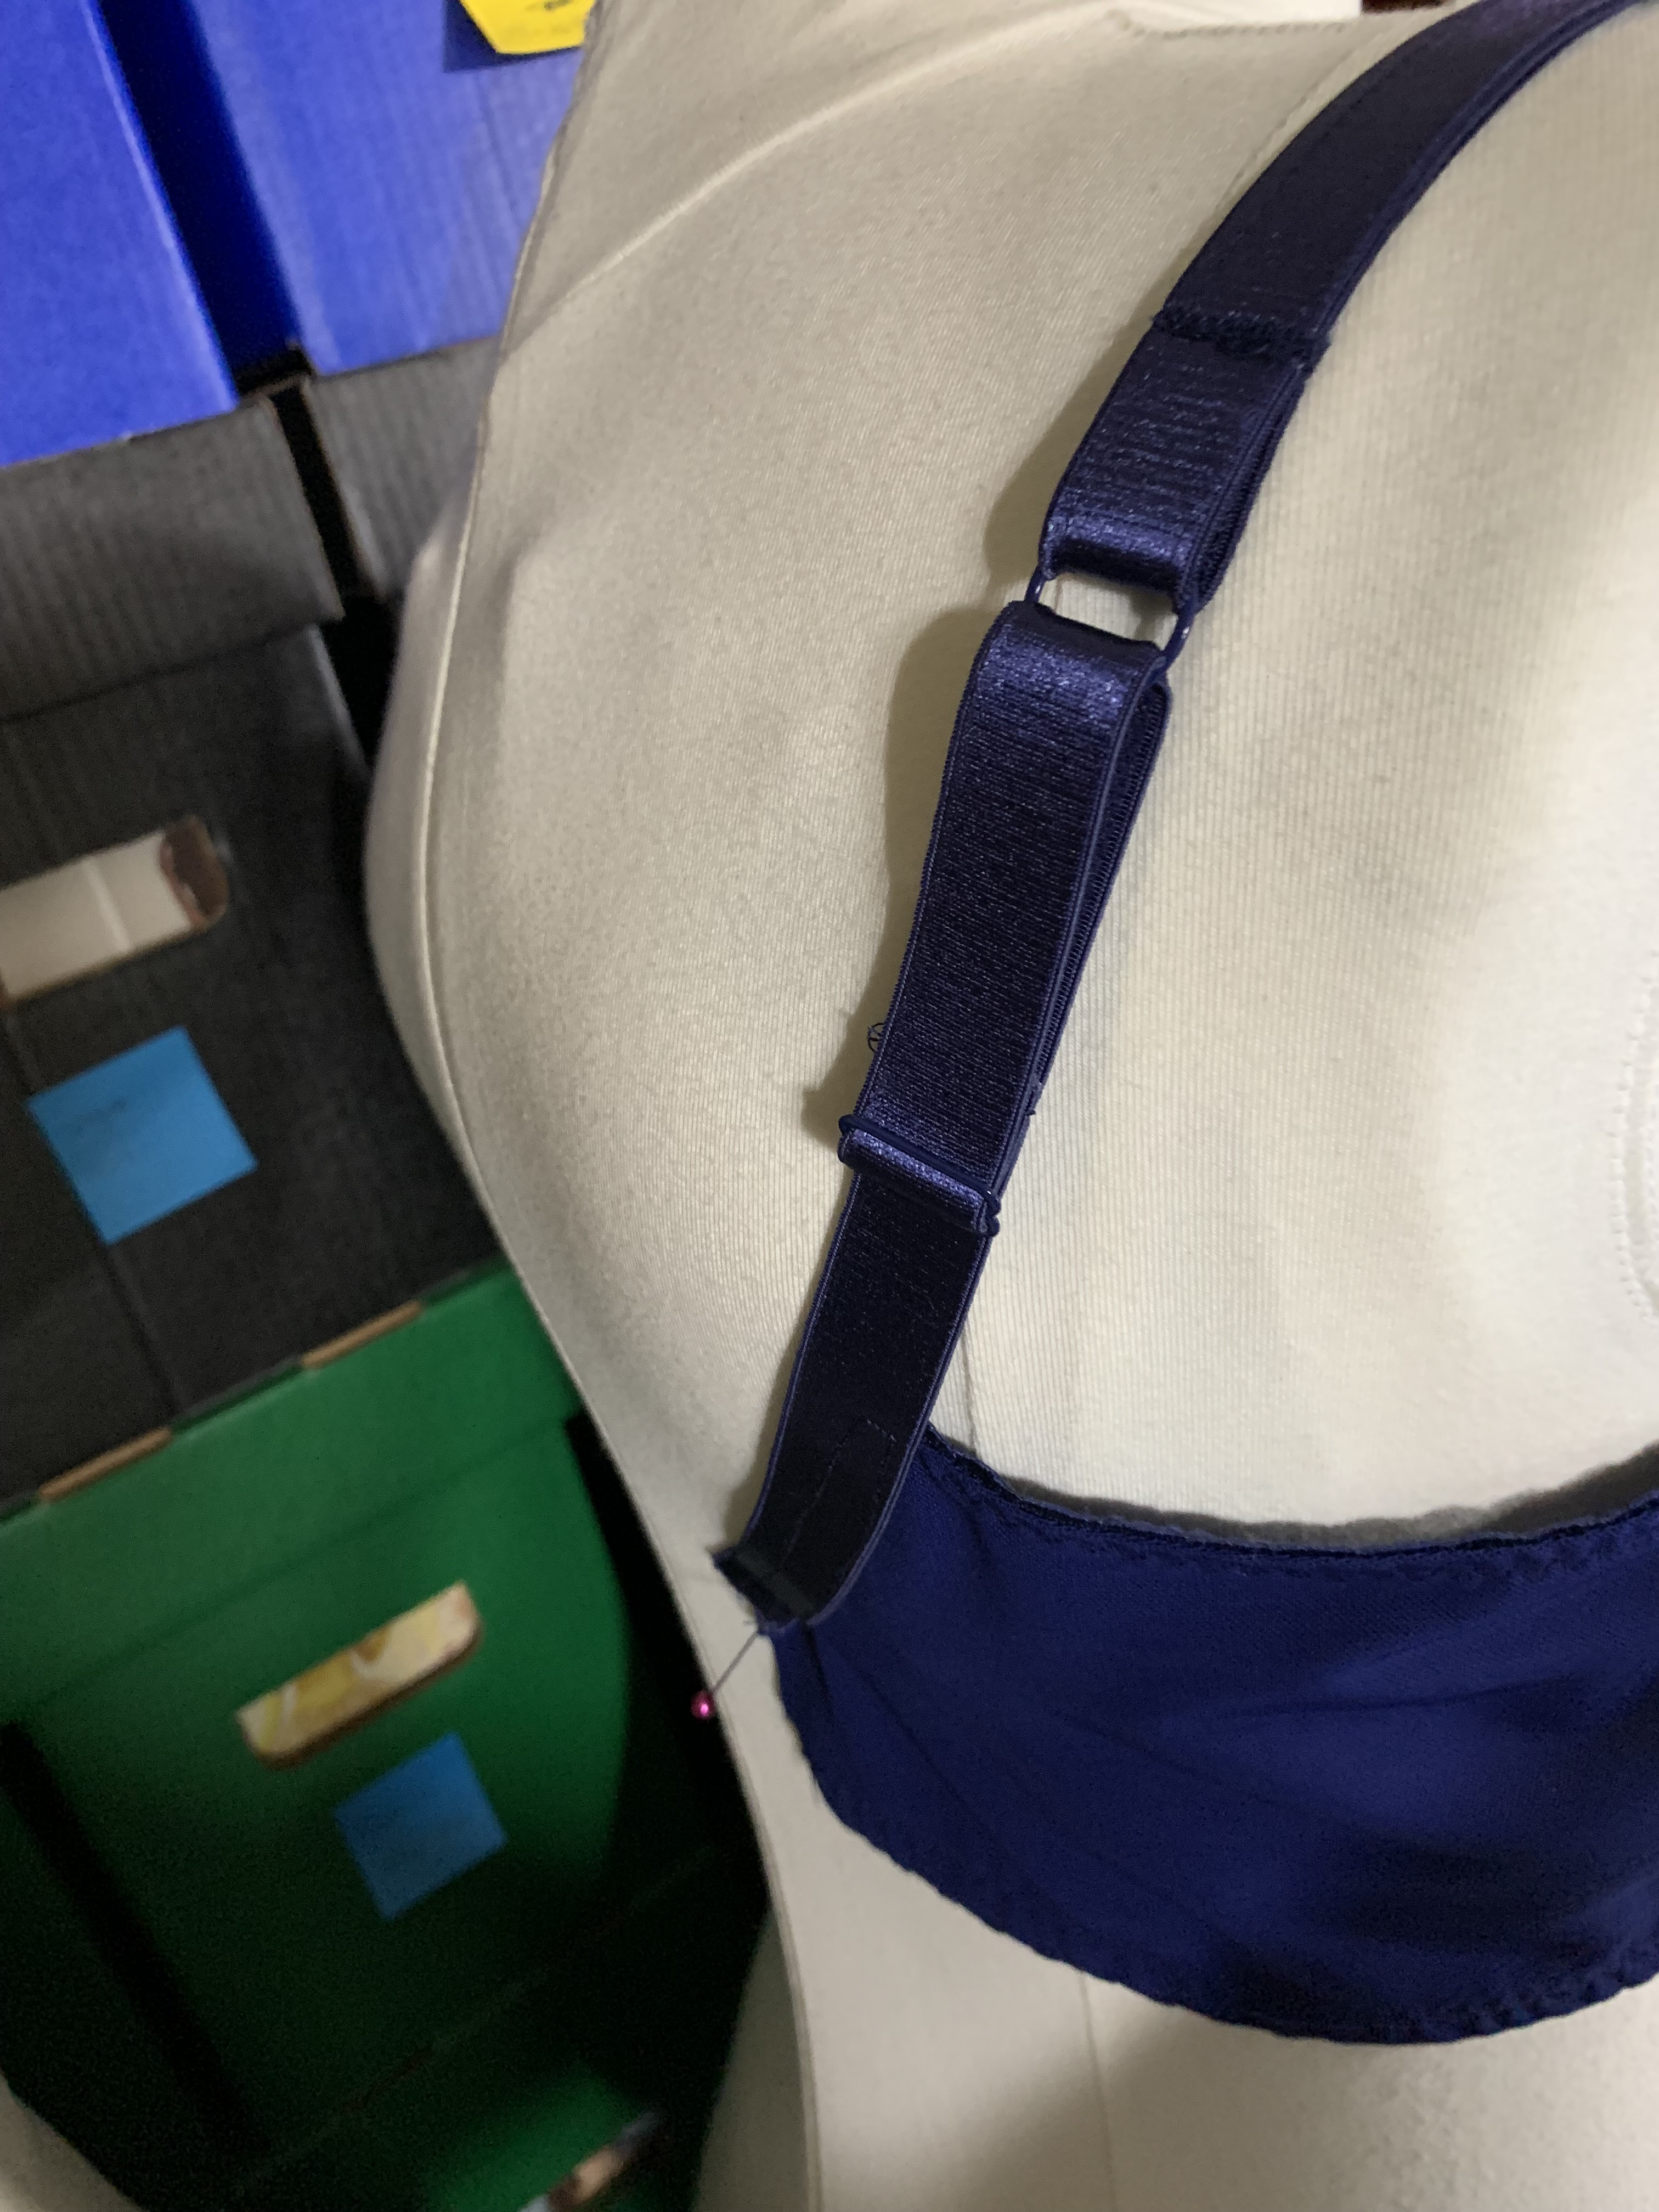
So, a couple things to note as I prepare to move on to refining the fit: first, my bra looks way too big in the images because my dressform needs a bit more pandemic padding, but also, because it is in fact a bit too big. I would say the fit is about as good as my ready to wear bras, but that I have to have the band on the tightest hooks for that kind of fit. I’m also noticing some problems (the same as I have in ready to wear), where the straps are a bit wide and almost falling off my shoulders sometimes and the front bridge stands a bit away from my body. The band is definitely wider than what I usually have in ready to wear (I’m used to a half band and not a full band), so I’m making some fit adjustments for version 2. This is where I think the Craftsy videos are excellent. She walks through a bunch of fit adjustments and how to tell if you need them. I definitely don’t need all of the adjustments described, but I need a fair bit. If I was going for a “about as good as ready to wear” fit, I’d just buy ready to wear, so I’m willing to tinker. For my second bra I’m planning to go down to a band size 36, move the back strap placement towards center back by about 5/8″, narrowing the side band by about 1/2″, and widening the center front bridge by about 1/8″ on the pattern or 1/4″ overall. From this I should be able to tell if I need to actually tweak the cups. I’m debating if I need to size up or down a little bit, or if it’s just the band fitting causing weirdness. I also might adjust the front strap placement a bit or round out the cup shape a smidge after version 2. I’m still not sure how I feel about the seamed cups under some of my clothes, but I will say it doesn’t bother me as much as I expected and I’ve already worn this bra several times and it is pretty comfortable. My sister needs some more drastic changes; we are shortening her straps about 3″ (she’s not as tall as I am), but we are also decreasing her band 2 sizes and increasing her cup one size, so it’s pretty much a total do-over. I think if we’d gone with the pattern instructions we might have gotten closer on the first go, but she has a lot more fit issues with RTW, so we knew this was going to be a fairly iterative process for her. The plan is definitely to try and salvage as much of the first bra as possible when she makes the second version, which will hopefully be as wearable for her as my first version is for me. I will report back with more adventures in bra making after I see how all of my adjustments have worked out and how the pattern adjustments work for her. Once the fit is established, I’m planning to dive into some of the more advanced videos which discuss altering patterns for style, use with lace, and other fun techniques I want to learn.
In other news, my sister and I are also working through the Betsy Johnson panty and boyshort classes on Craftsy. I’m planning to write a different post comparing the pattern results and thoughts on those classes in a bit, but so far we’ve done lots of drafting and a bit of sewing on test garments. While I wouldn’t consider my first version of underwear as successful as my first bra (I was missing the right kind of elastic and the pattern is waaaaay to high-waisted to wear under a lot of my normal clothes), I can definitely see a future in which I have a majority me-made undergarments because wow the fit is so much better than ready to wear and it’s going to be a great way to use up knit scraps.
I’m on holiday break right now and I’m trying to cram in as much sewing, cooking, blogging, and studying as I can while I’m off work. With any luck I’ll be getting out some other new posts about a few projects I have in the works while I’ve got the time to work on everything in the next few days!

Fascinating discussion of the differences between the pattern and video instructions! But how sweet to be doing this with your sister. And yes, definitely work out the band issues before doing anything to the cups. Do you know to do a center gore fit mockup with a manila folder? Leave out the seam allowances to try on, adjust the fit, and don’t forget to restore them before cutting fabric 😉
LikeLiked by 1 person
Manila folder? I’ve never heard this but that sound like an amazing way to do an inexpensive mock-up!
LikeLike
It’s one of the many good suggestions from LilypaDesigns, unfortunately buried so deep in the blog that I can’t find it off hand :-). BUt her argumetn is that paper is too soft, card stock is closer to the future gore. And it’s easy to see how closely the essential gore conforms to your intra-mammary fold, and adjust so it’s perfect. That alone fixes many band issues, as that small geometric area is incredibly individual in shape 🙂
LikeLiked by 2 people
Keep at it, this was a beautiful first try, and it’s (almost) making me want to try my hand at bras again. Almost. 😉 Undies take a bit of tweaking for sure, but once you’ve nailed it, they are amazing. Plus they are so easy to make fancy or plain depending on what fabric and elastics you use, even if your base is “granny panties” (which I’ve loved my whole life, and I’m not near granny age yet.) 😆
LikeLiked by 1 person
Yes! But there is definitely a difference between granny panties and “basically shapewear” because the underwear draft is sooooooo high 😅. At least it’s an easily fixable problem!
LikeLiked by 1 person
It looks fantastic and lucky you that it’s wearable! That’s rare for a first bra. Looking forward to reading more in the future.
LikeLiked by 1 person
You ended up with a great first bra! I’ve received my fabrics for my second try and bought water soluble thread and will start my next try with constructing a fitting band and then sewing the cups in with the H2O soluble, so that it is easy to fiddle with the cups without wasting the elastics. My first was her Classic pattern which made a very wearable bra. It’s certainly a bit addictive 🙂
Abbey
LikeLiked by 2 people
I’m planning on trying to make a bra this coming year, RTW don’t fit me well since menopause and I am sensitive about fabrics used against my skin. It could be a long journey!
LikeLiked by 1 person
I think with such a close fitting garment it will probably be a long road to perfection, but knowing your own preferences will definitely help starting out. Good luck! I hope you have fun trying out something new; I certainly did!
LikeLike
Looks great and being able to wear it is great for a first attempt, even if the fit cpuld be better! I’ve only ever made a hannah bralette and would like to try structured bra making, there are so many pattern options that I can’t decide where to start!
LikeLiked by 1 person
My advice is look for one that is similar to bras you already have and know you like to wear. My sister and I started with different patterns because of this and while I would also like to try different styles in the future, I do think going with something “safe” was part of what made my first attempt something I was happy with.
LikeLiked by 1 person
This is very helpful! Thanks a mill for the advice.
LikeLike
What a glorious colour! And for a first attempt to end up as good as RTW bras seems like a real win.
LikeLiked by 1 person