Continuing on with my LilyPADesigns pattern round up, I’m finally moving on to the pattern that sent me down this rabbit hole back in March of this year. While I was working on my presentation for the Bra Bee, I took a look at a bunch of different cups and how they are shaped. From that analysis, the LilyPAD Labellum really stuck out as having a cup shape that seemed like it would be a really good fit for me. That kicked off my wanting to do a deep dive into the brand, and now, many months later, I finally have a finished Labellum!
One thing I have rather liked about testing a bunch of patterns from the same brand all at once is that I am getting a really good idea of how things fit, which alterations are something I need to do to all of the patterns, which alterations are things that are pattern specific, and which alterations are likely, but that I need to check in a fit test. I can also see from the drafting that the Labellum and the Lamina (which I previously reviewed) had the same band draft, and likely were created from a similar base pattern, whereas some of the newer patterns that will hopefully be coming up on the blog soon (my re-fit of the Lusamine and the newer Lazulite) also have the same band drafts as each other, but different from the Lamina and Labellum. Of course, just as I’ve really started to get going on my final project sewing, LilyPAD released a handy reference chart comparing all of their bra patterns in terms of shape, projection, and support. The Labellum is classified as being a round shape with medium projection and medium-high support, all of which I would agree with.
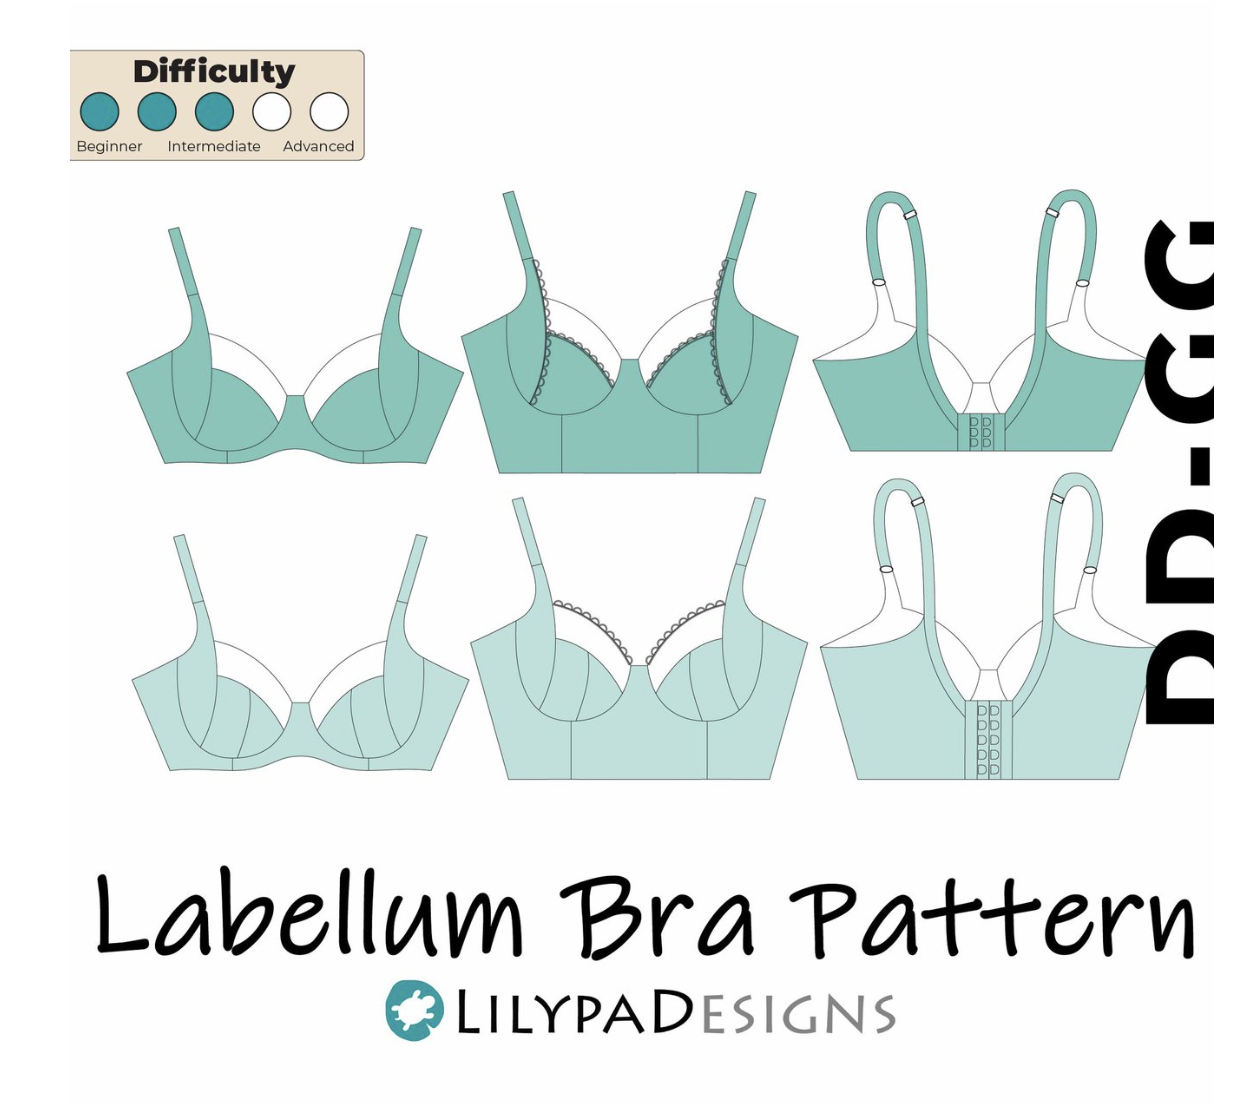
The Labellum is what I like to think of as the “standard” bra pattern design. I think most brands who offer a range of styles have at least one version of this three or four piece cup with a clear place to include a lace upper cup and an integrated power bar. I do appreciate that the Labellum comes with options for a regular or longline bra band, as well as the options for the one or two piece lower cup, as it adds a lot of options for customization in the same pattern. The LilyPAD patterns also come with two different bridge shapes in the patterns, so there are lots of ways to customize the patterns to get both the fit and the styles you are trying to achieve.
There isn’t much to say about the construction of this bra, other than I finally stopped being lazy and got out my machine’s HP (high performance) foot. It’s basically a really narrow straight stitch foot and plate that are designed more like an industrial or very old sewing machine foot, rather than the wider plastic feet included with modern sewing machines. And I have to say it was awesome. The microduoplex from Bra Builders is lovely to wear, but oh man is it a diva during construction. It doesn’t like pins, needles, or thread that’s too thick, it loves getting sucked down into the throat plate, and backstitching is a fool’s errand. But the HP foot fixed so much of that! There was zero fabric suckage and I could actually backstitch my seams to secure them. Yes, I did have to spend time swapping needle plates and feet back and forth at every phase of the construction when I needed to change from a straight stitch to a zig-zag, but the time I saved not pulling out a nubby fabric thread nest and cursing definitely offset that. So I think the HP foot is probably coming out for cup construction again soon.
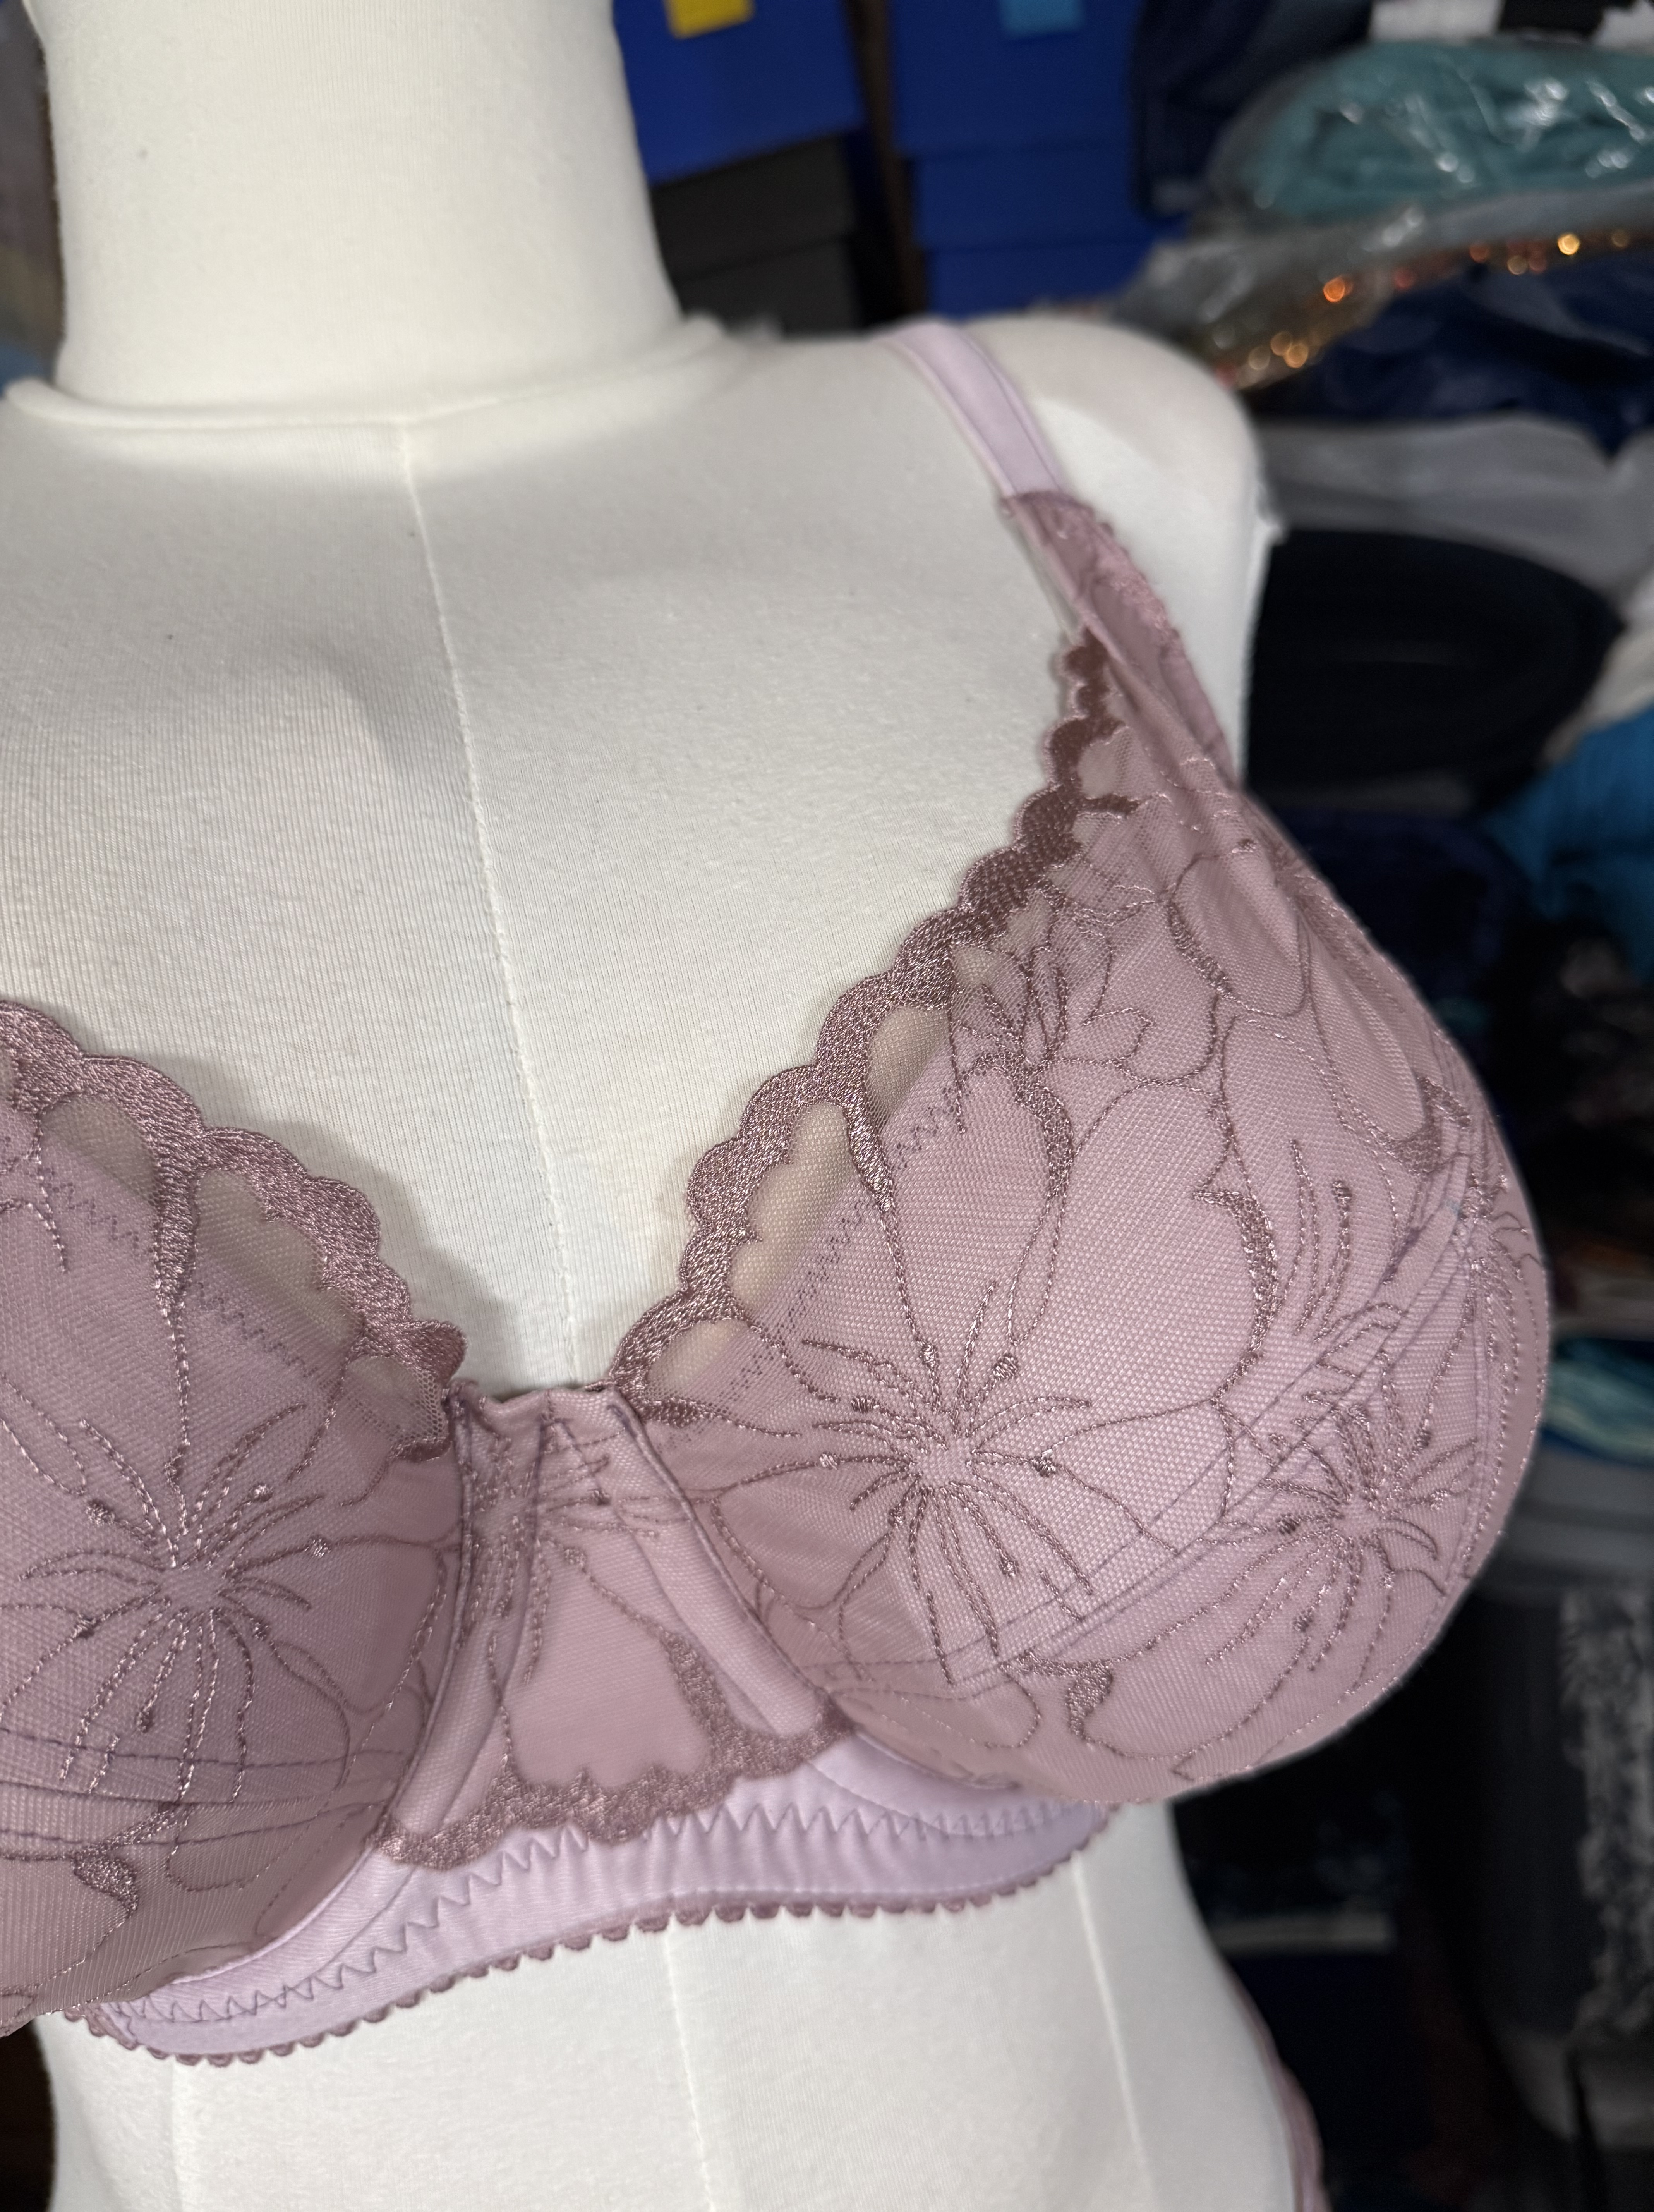
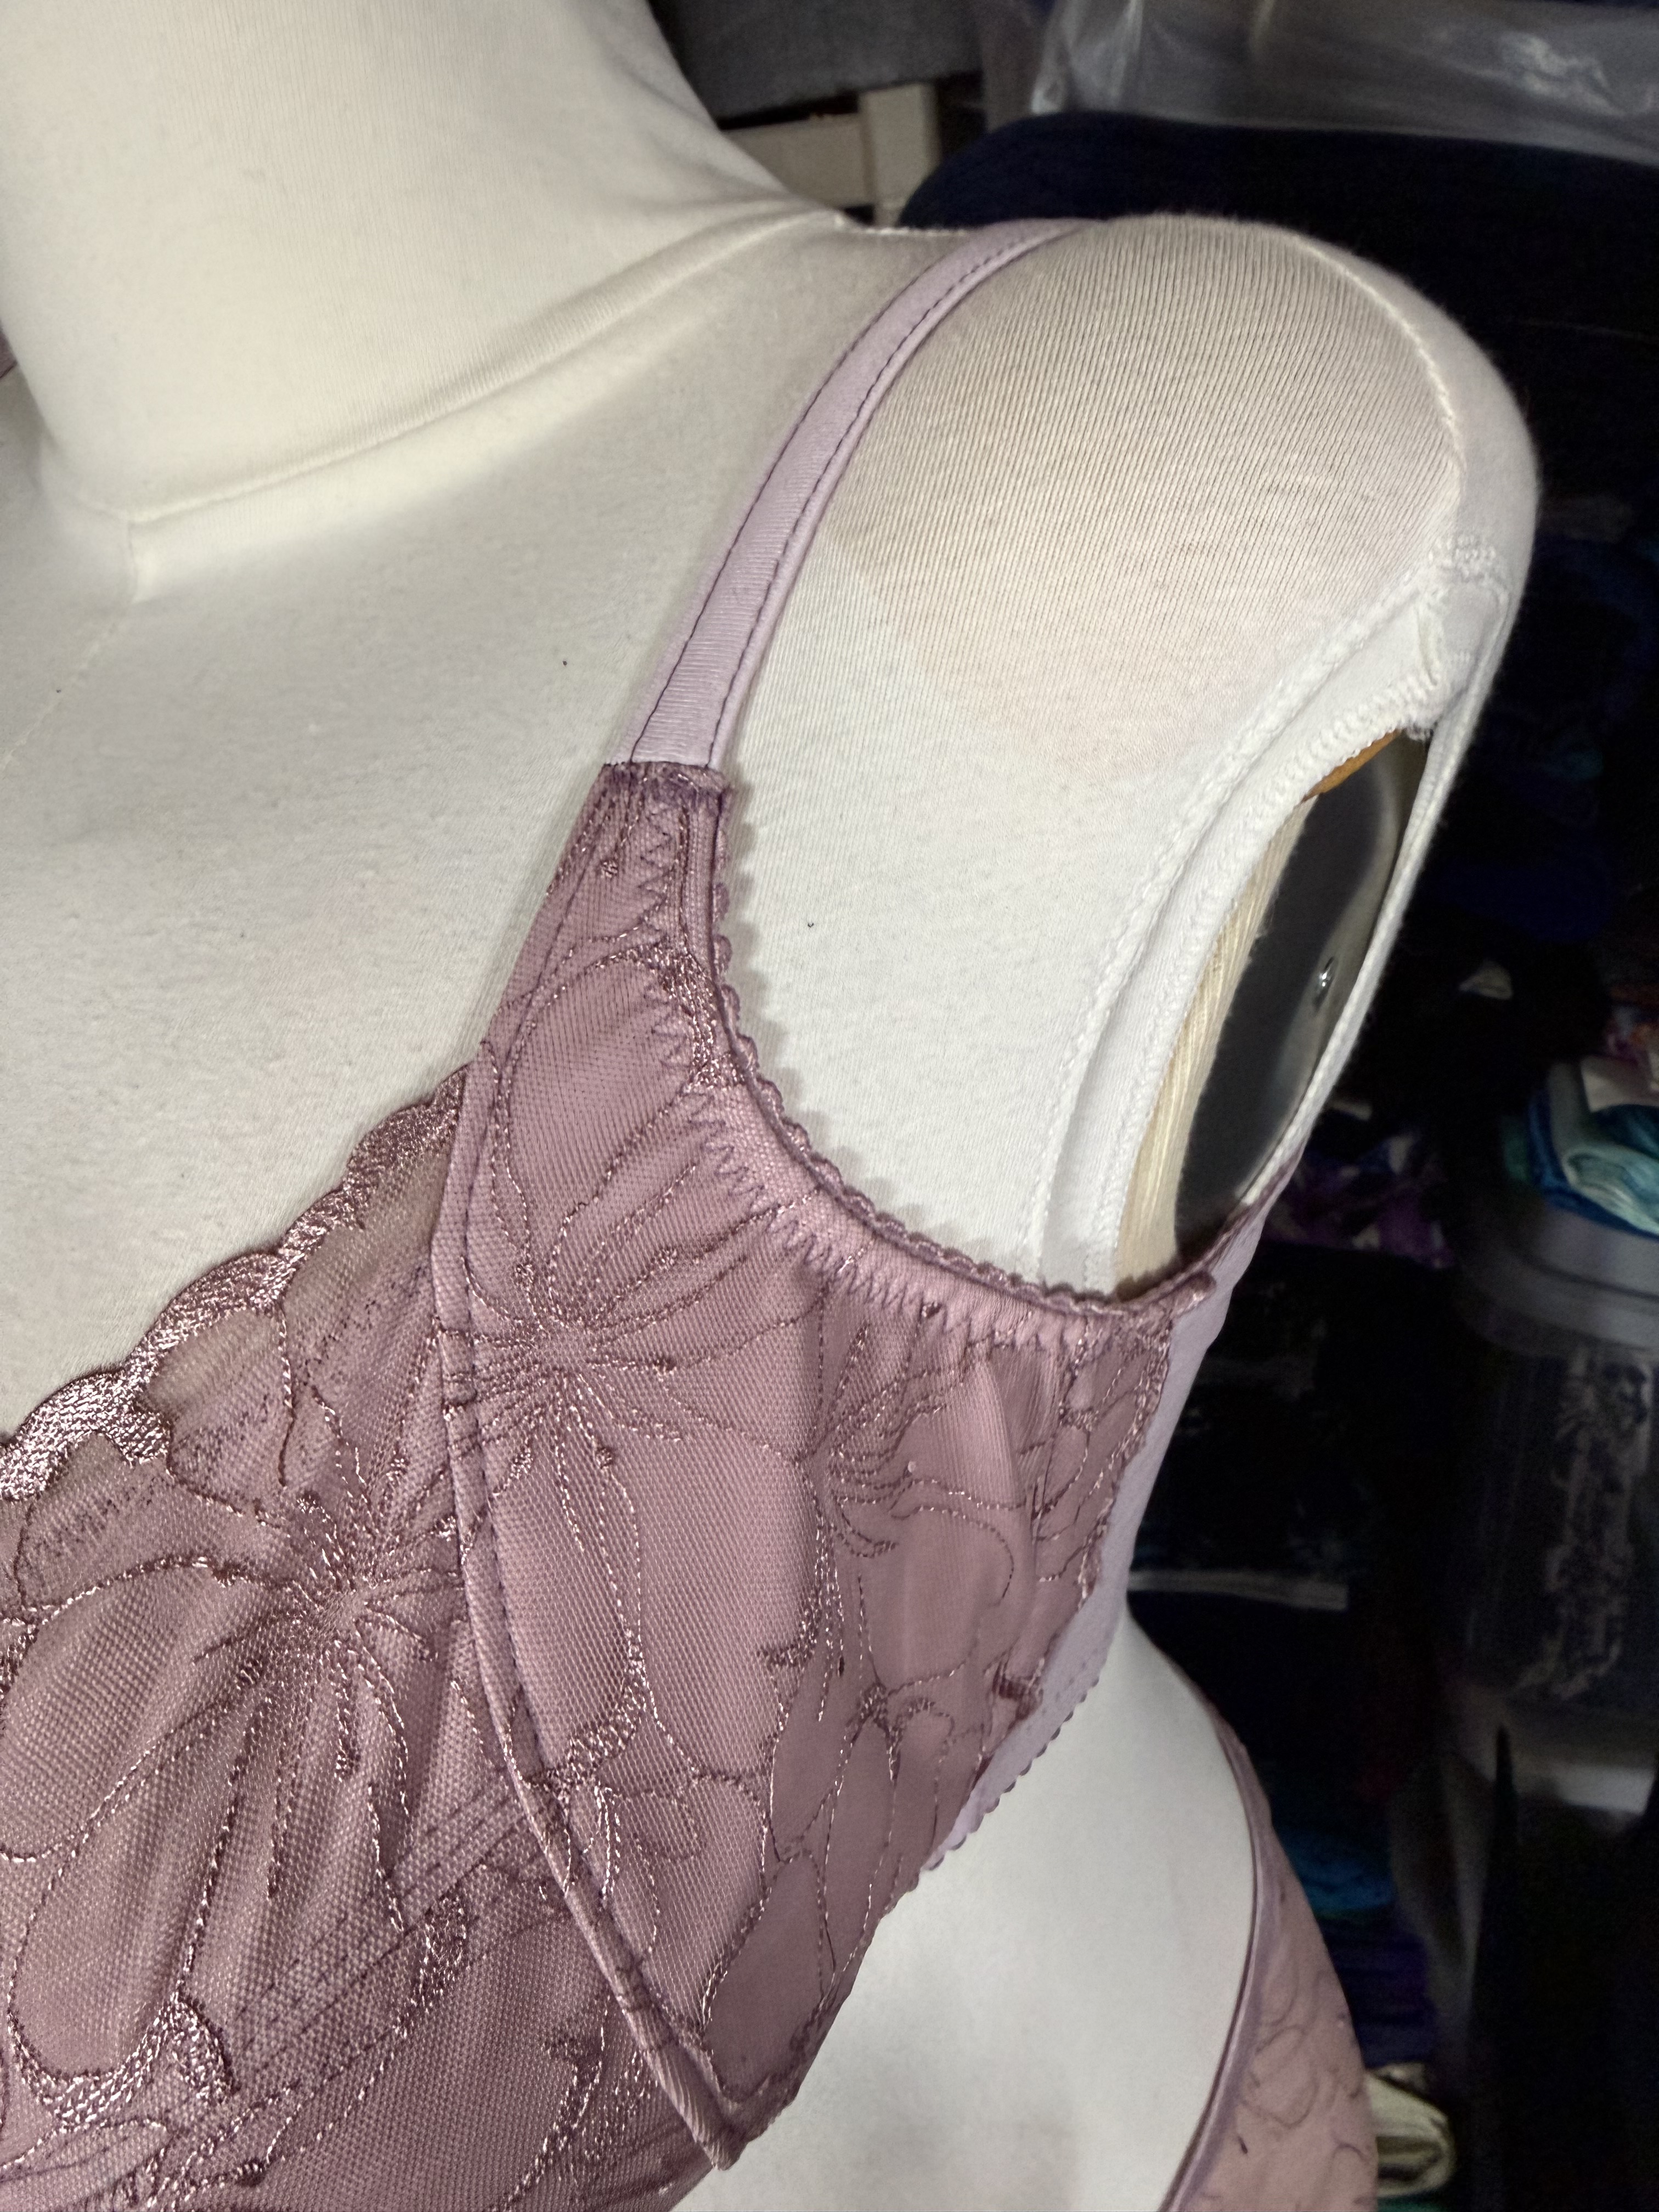
I made this bra out of the materials from the Mauvelous Bra Kit from Bra Builders. I yammered on about my feelings about the color enough in my previous post, but I have to say I like the color of the lace a lot better when it’s an overlay for the bra cups. Since the Bee on a Wire class at the start of the year, I’ve been preferring my bra cups unlined because all of my previous bras that I made with microduoplex over sheer cup lining are slightly puckered due to the different stretch properties of the fabrics, and it’s one of those things that I’ve seen and now I can’t unsee. And since the stretch tulle lace is very soft, I didn’t feel the need to line it here, though I did want to enclose the seam along the power bar that runs up to the strap tab. I could have just folded it under and topstitched to finish it off, but the enclosed seam seemed a neater finish. I decided to try lining just the power bar in bra tulle, which stretches a lot more than sheer cup lining. I’m excited to report that there wasn’t any puckering, so I may try bra tulle lining if I want to go back to enclosed seams in the future, and keep the sheer cup for just supporting the band. I think there was a class I took once where the presenter actually said that softer/stretchier fabrics were better for large cups because they take the shape better, and that firmer fabrics can work better in small cups because the pieces don’t have to curve as much, but I think it took a lot of trial, error, and experimenting for that particular lesson to hit home.
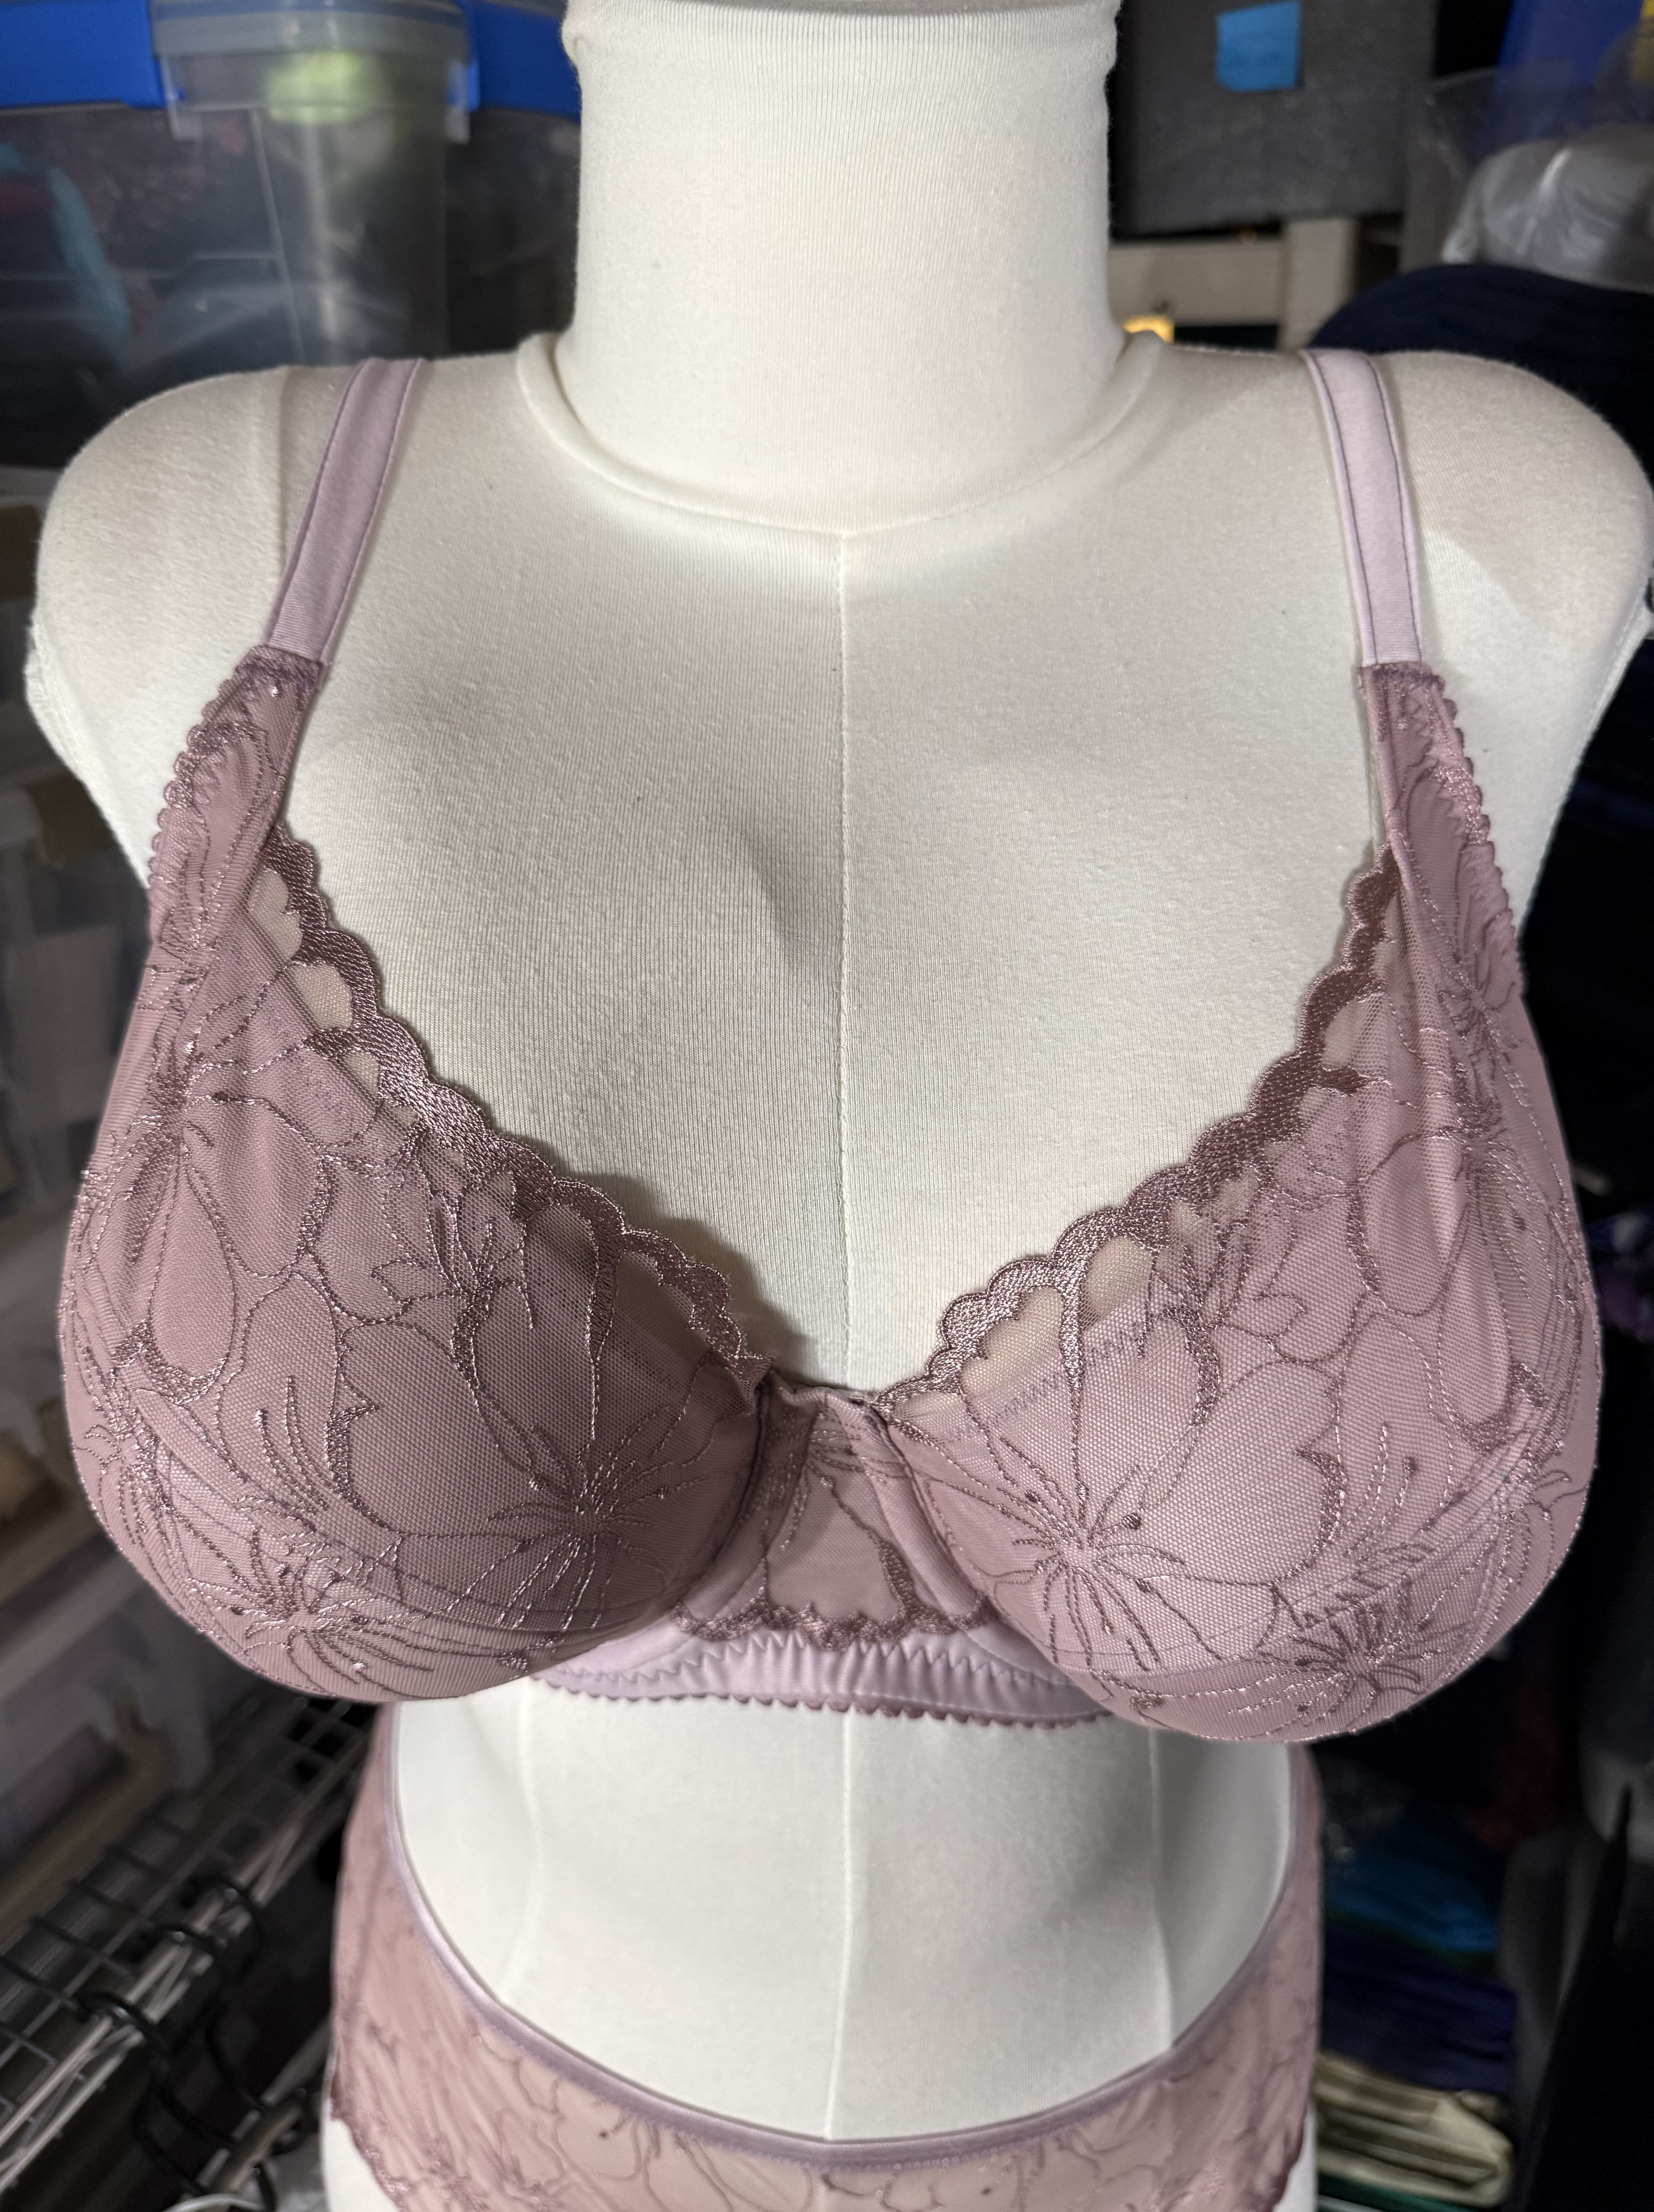
Anyway, enough talking, let’s look at my finished Labellum!
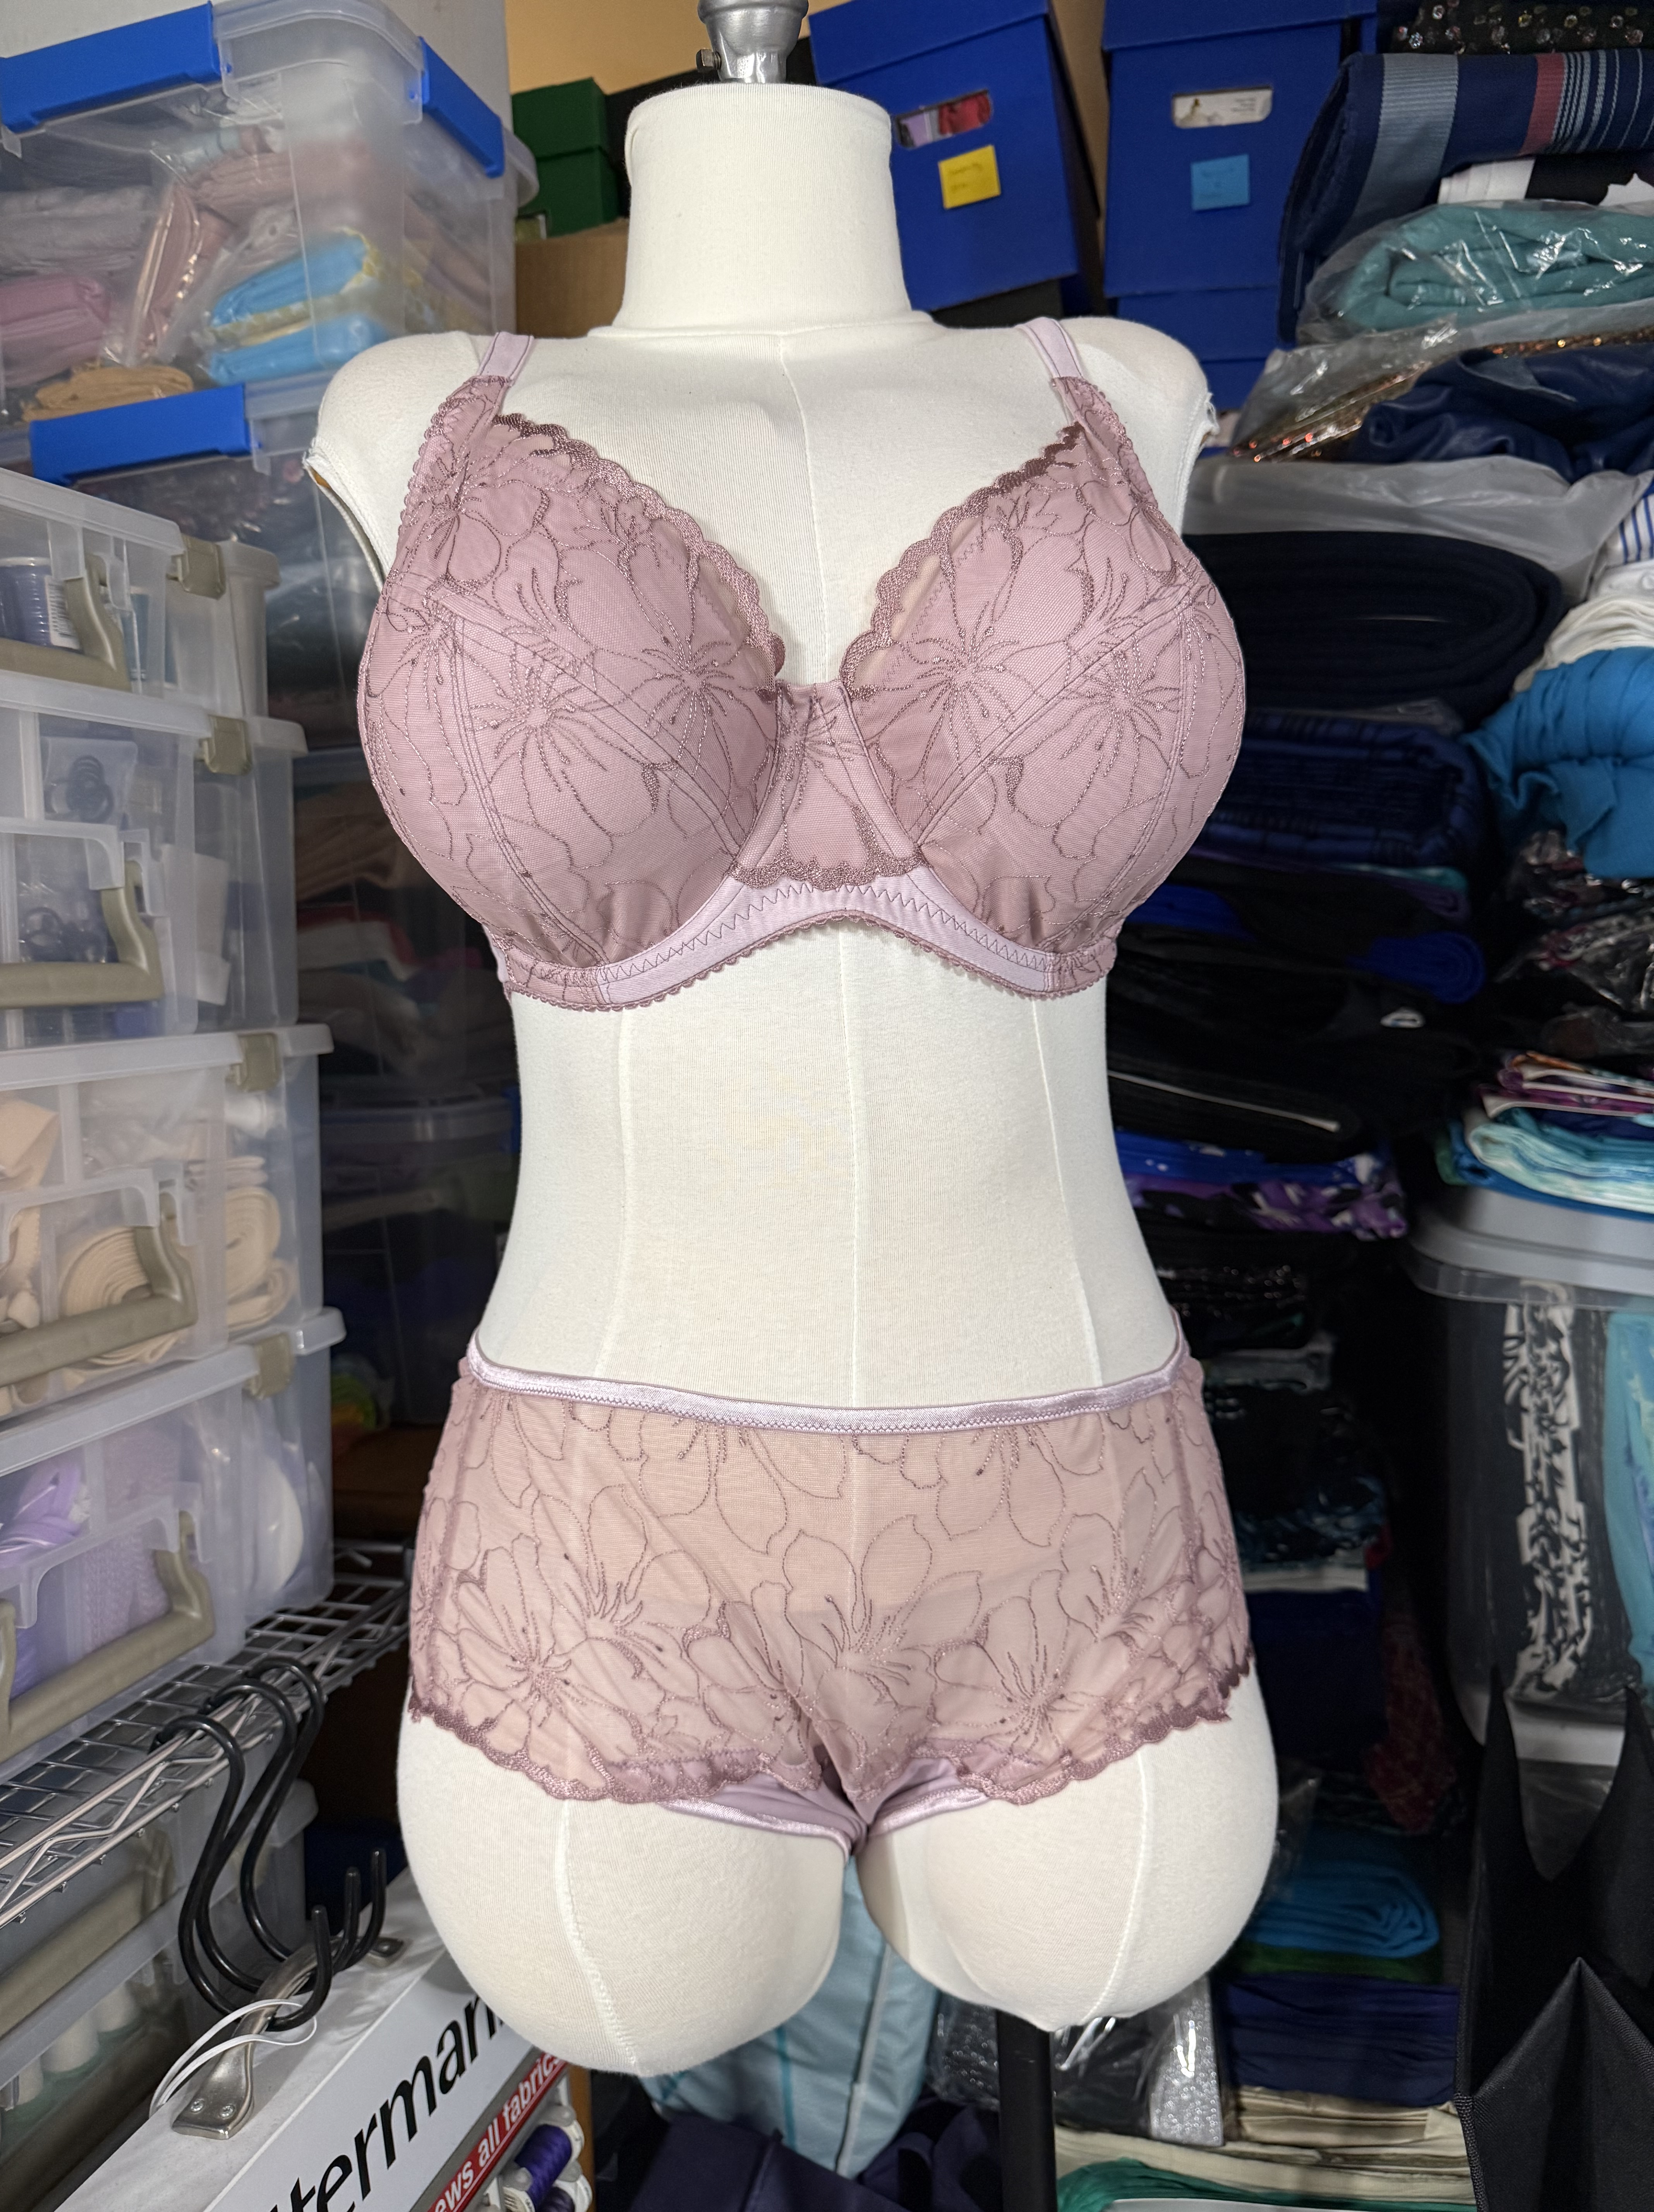
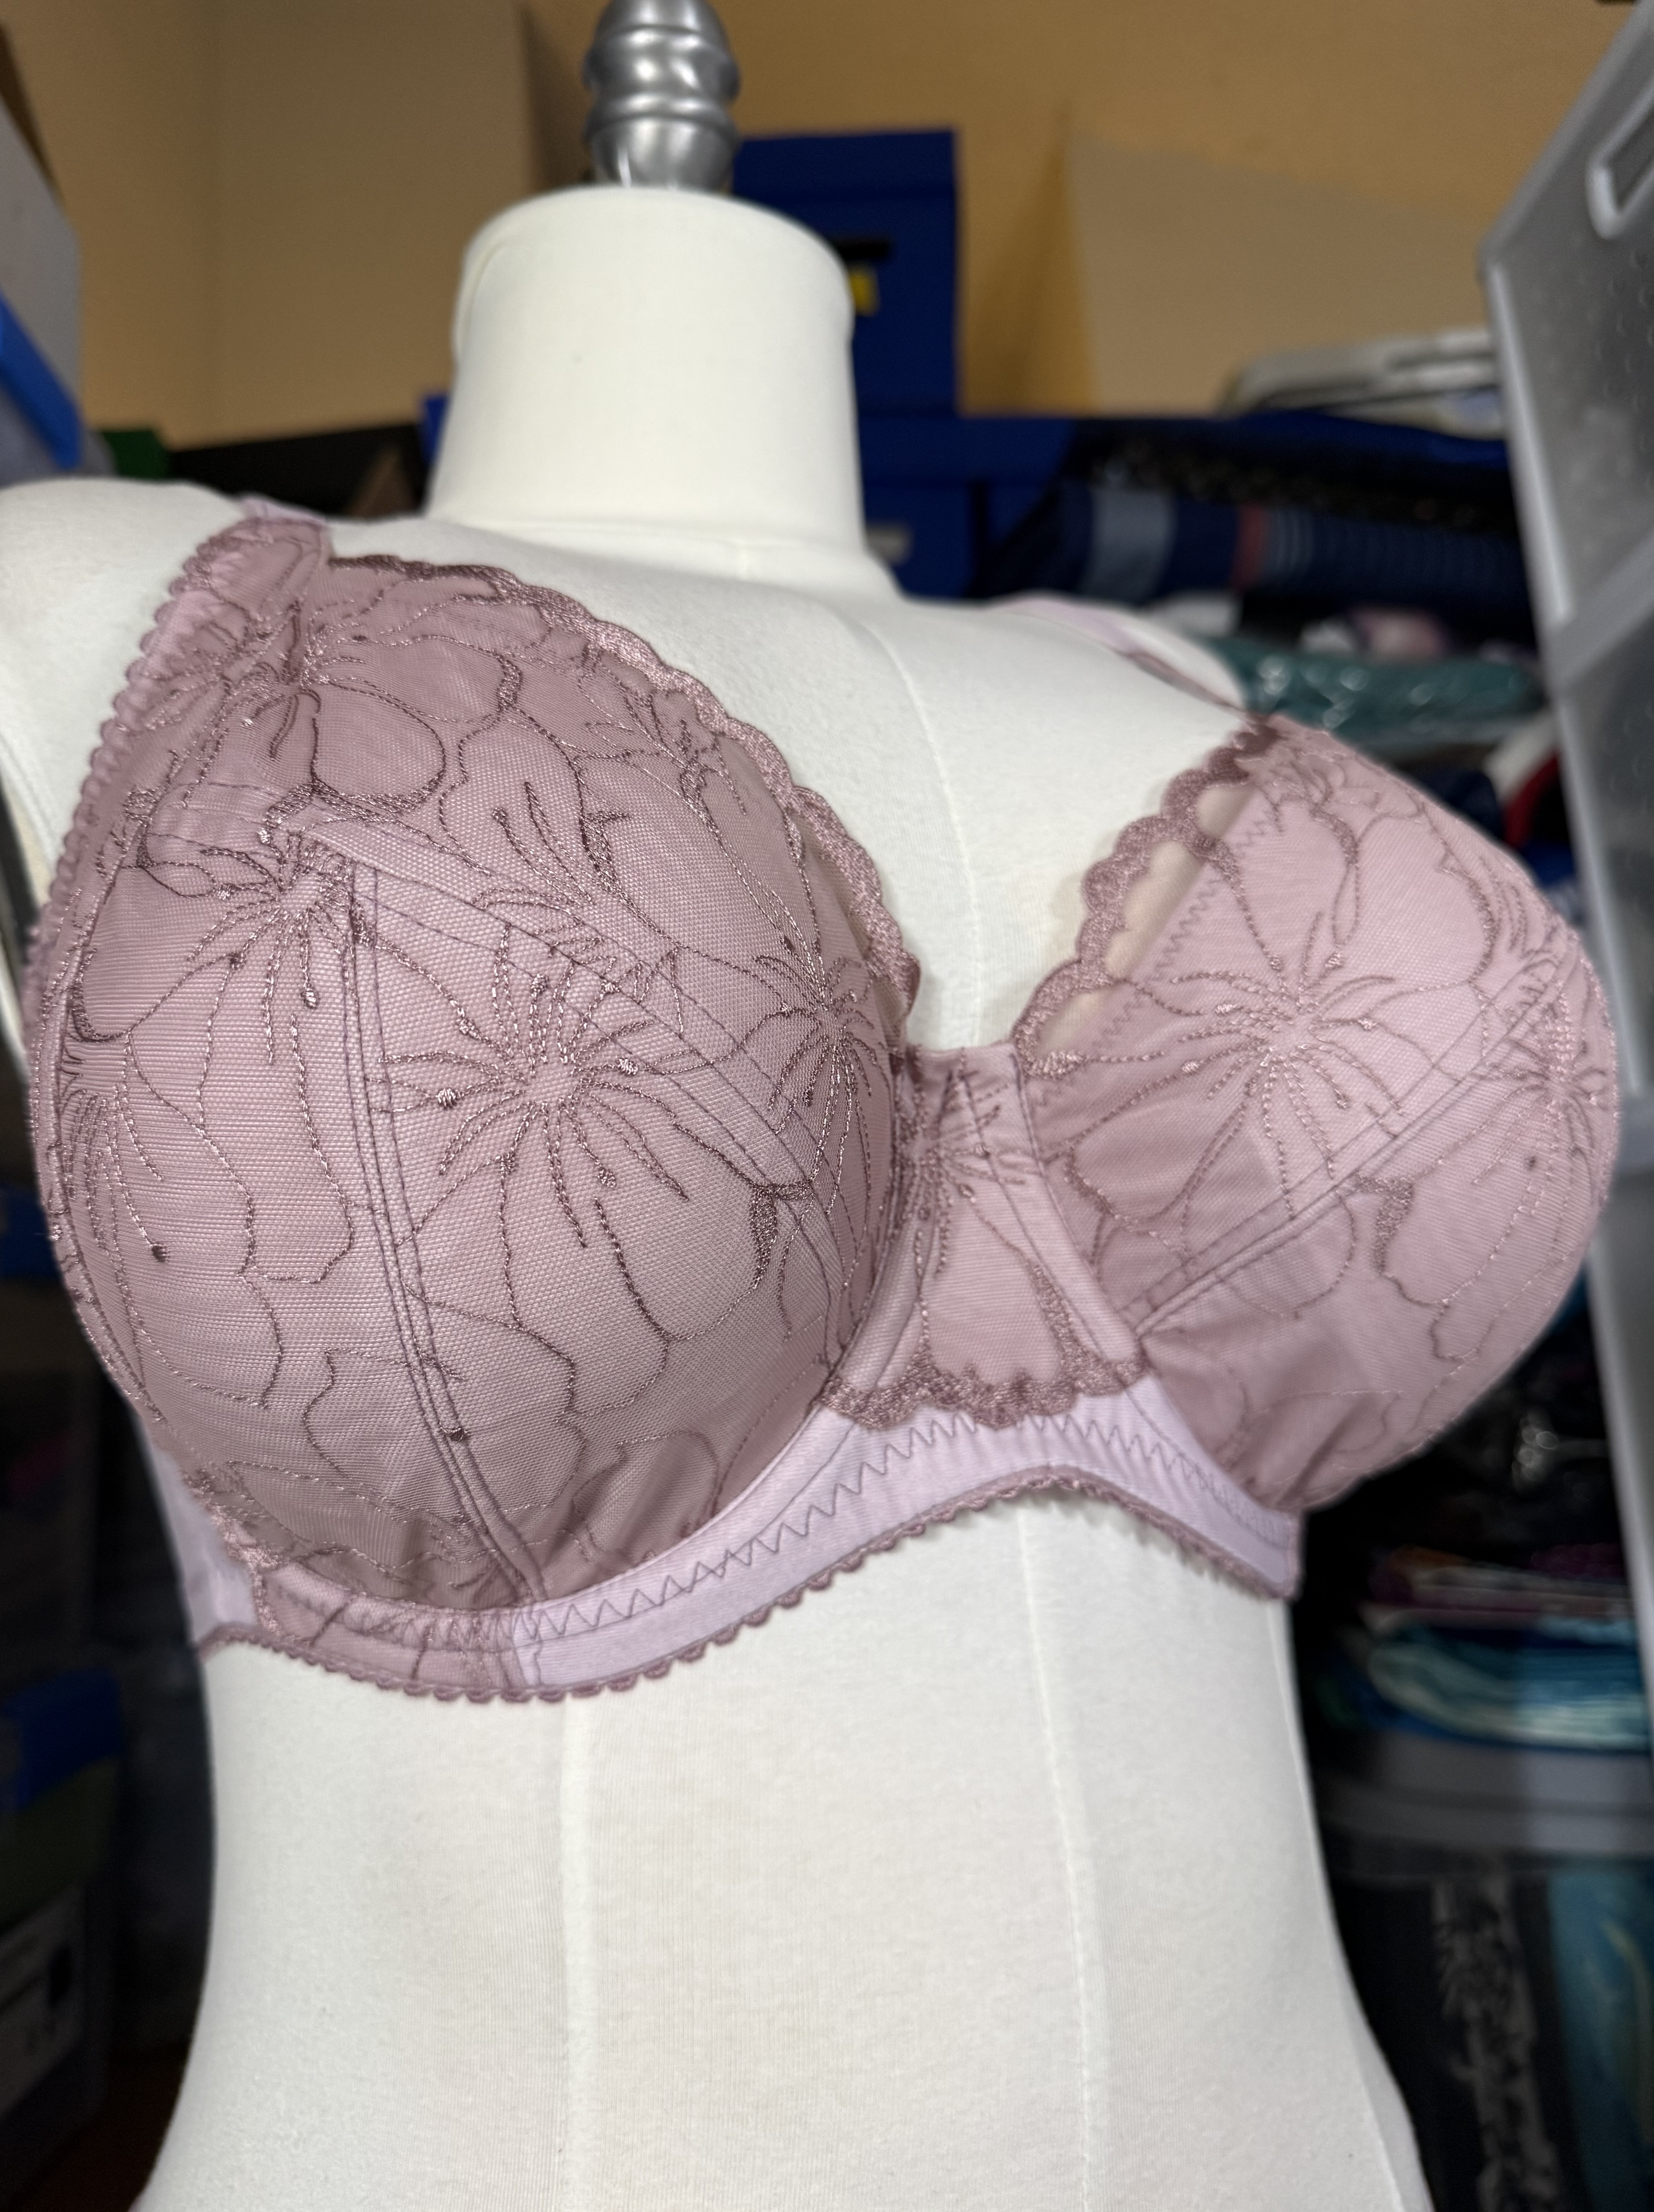
Overall this bra is pretty basic; I only used the lace for the cups and a little bit to decorate the front band. The lace is actually quite wide, so it was easy to cut all of the pattern pieces from it to have an all over lace look. I think one reason this style of bra is really popular with pattern designers is because it’s easy to adjust fit with all of the seam lines, but also because it’s easy to make the neckline super pretty with a lace edge. While the non-stretch embroidered edge was not my favorite aspect of the Haru Knickers, I love it along to top edge of the cup in this pattern.
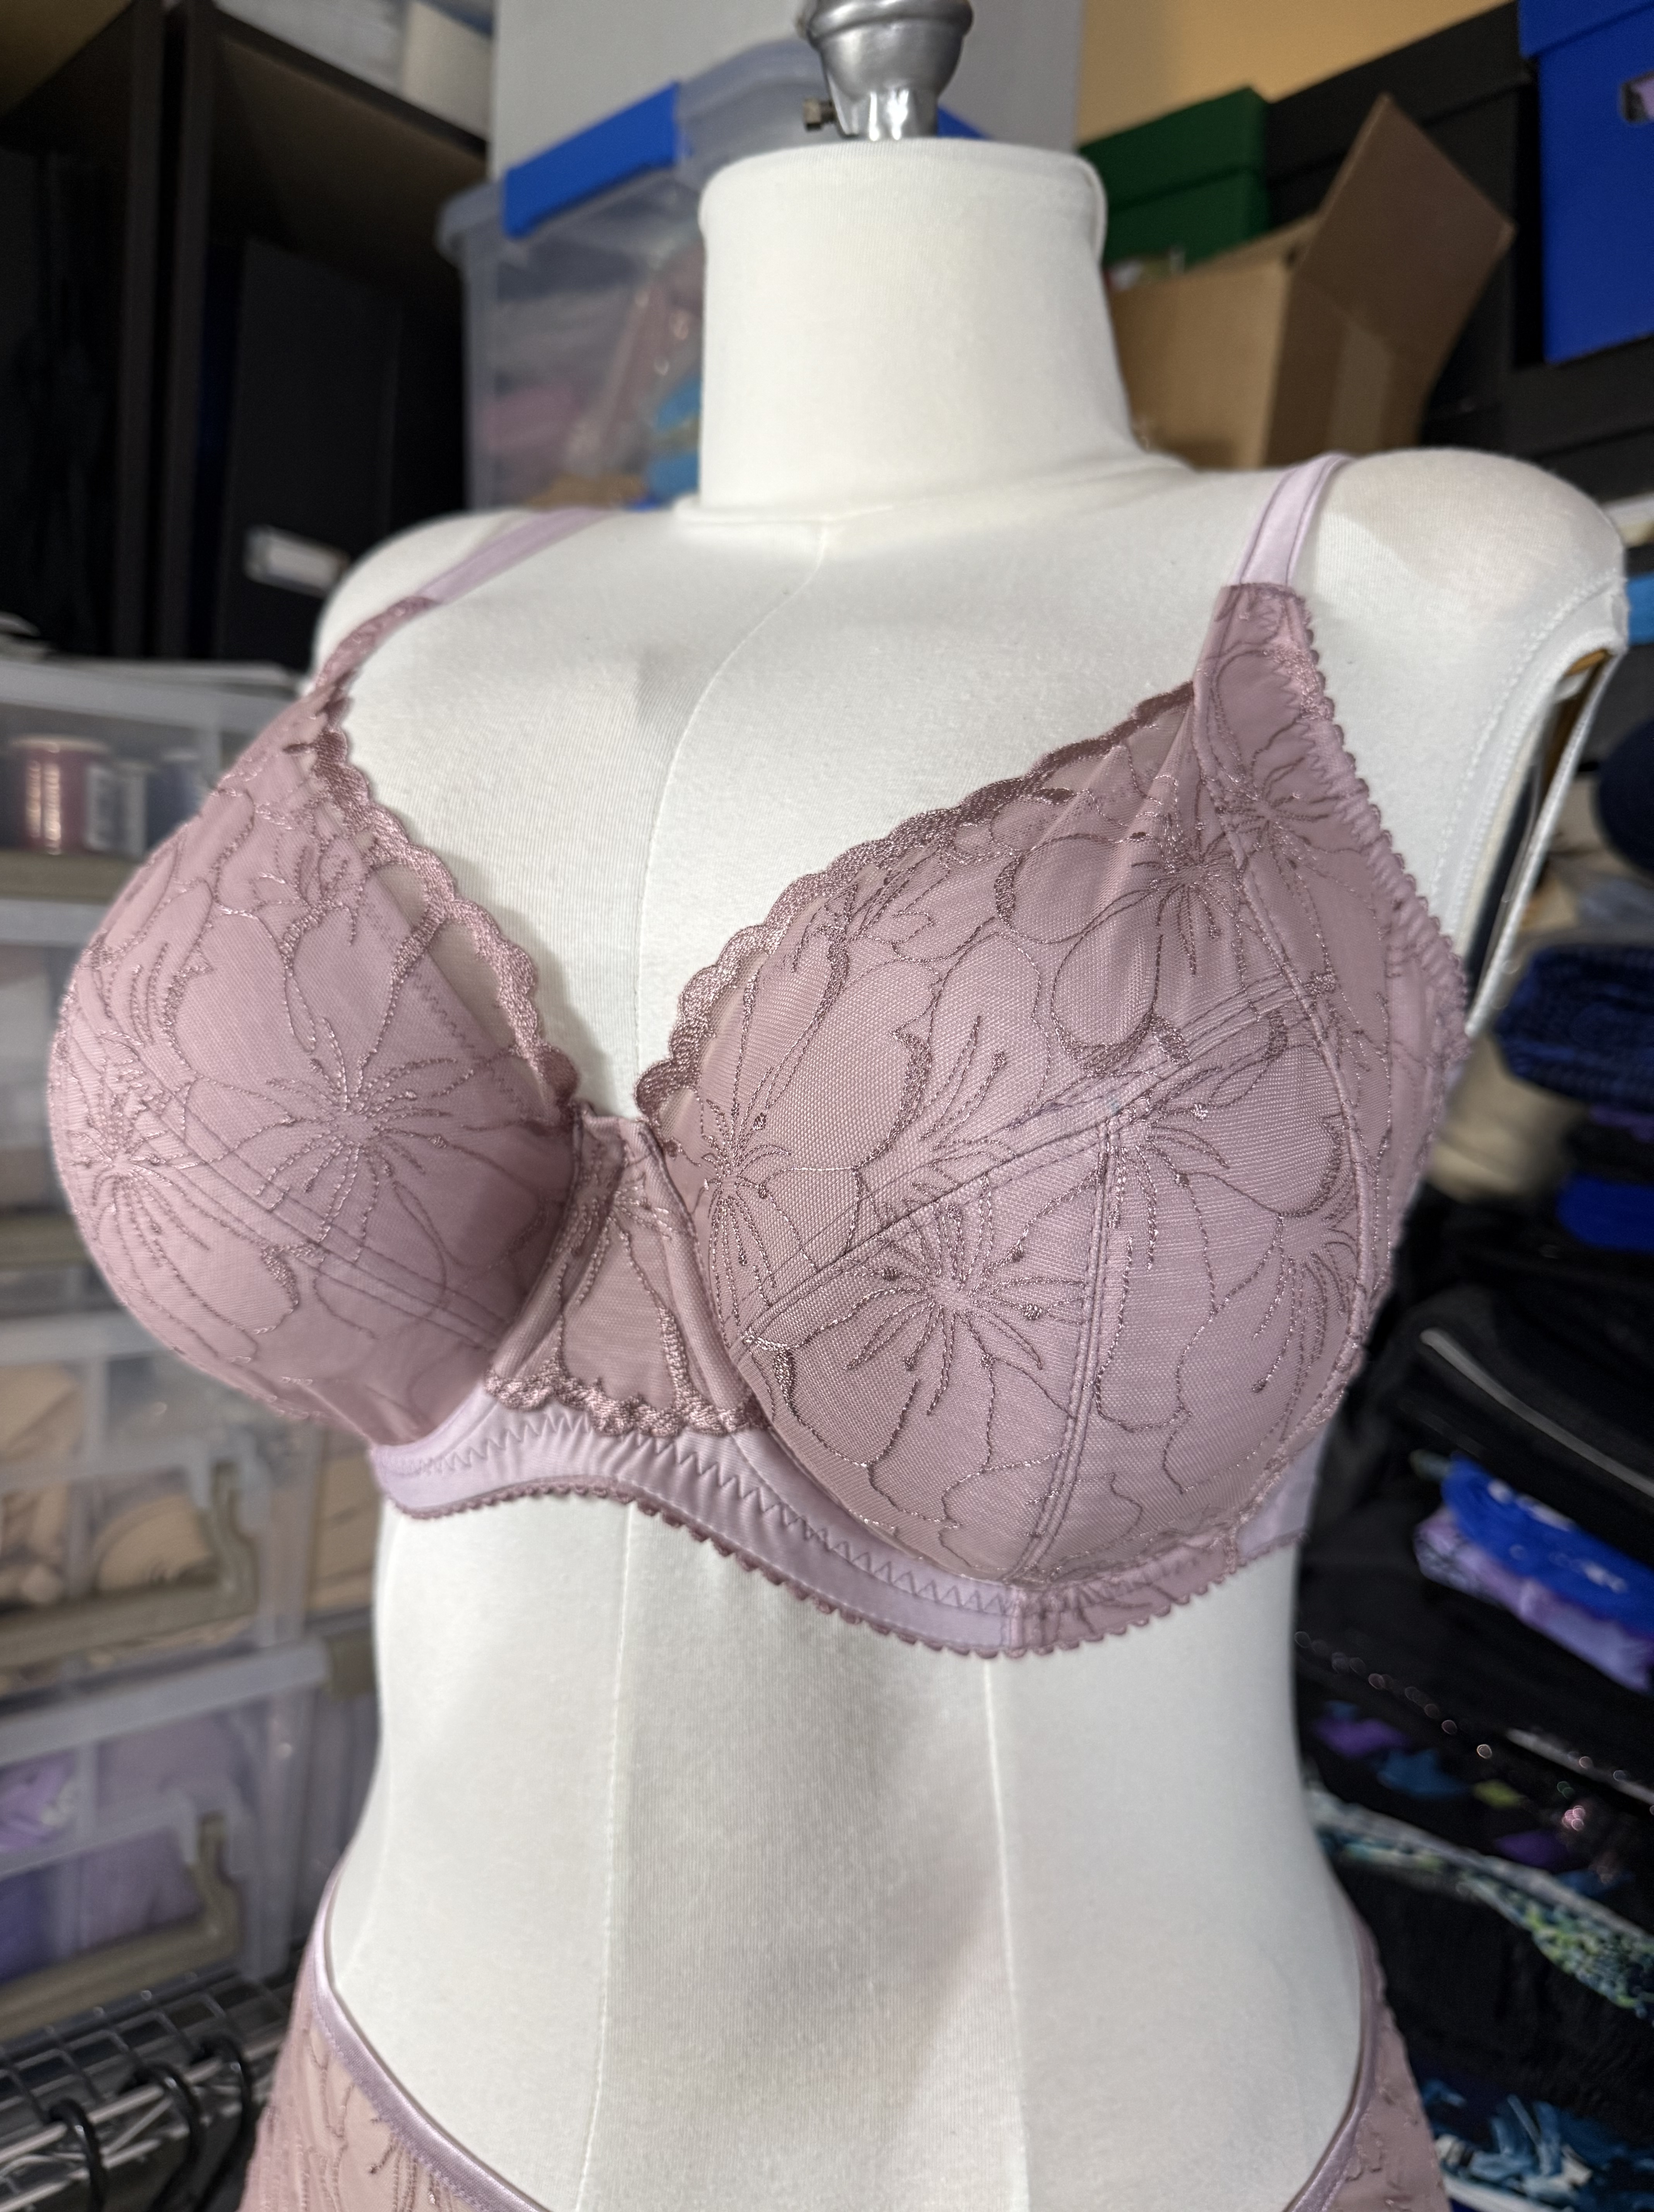
And I also have to admit I was very pleased with how well the pattern lined up on all of the seam lines, but especially on the strap placement. It always feels great when the small details all line up perfectly.
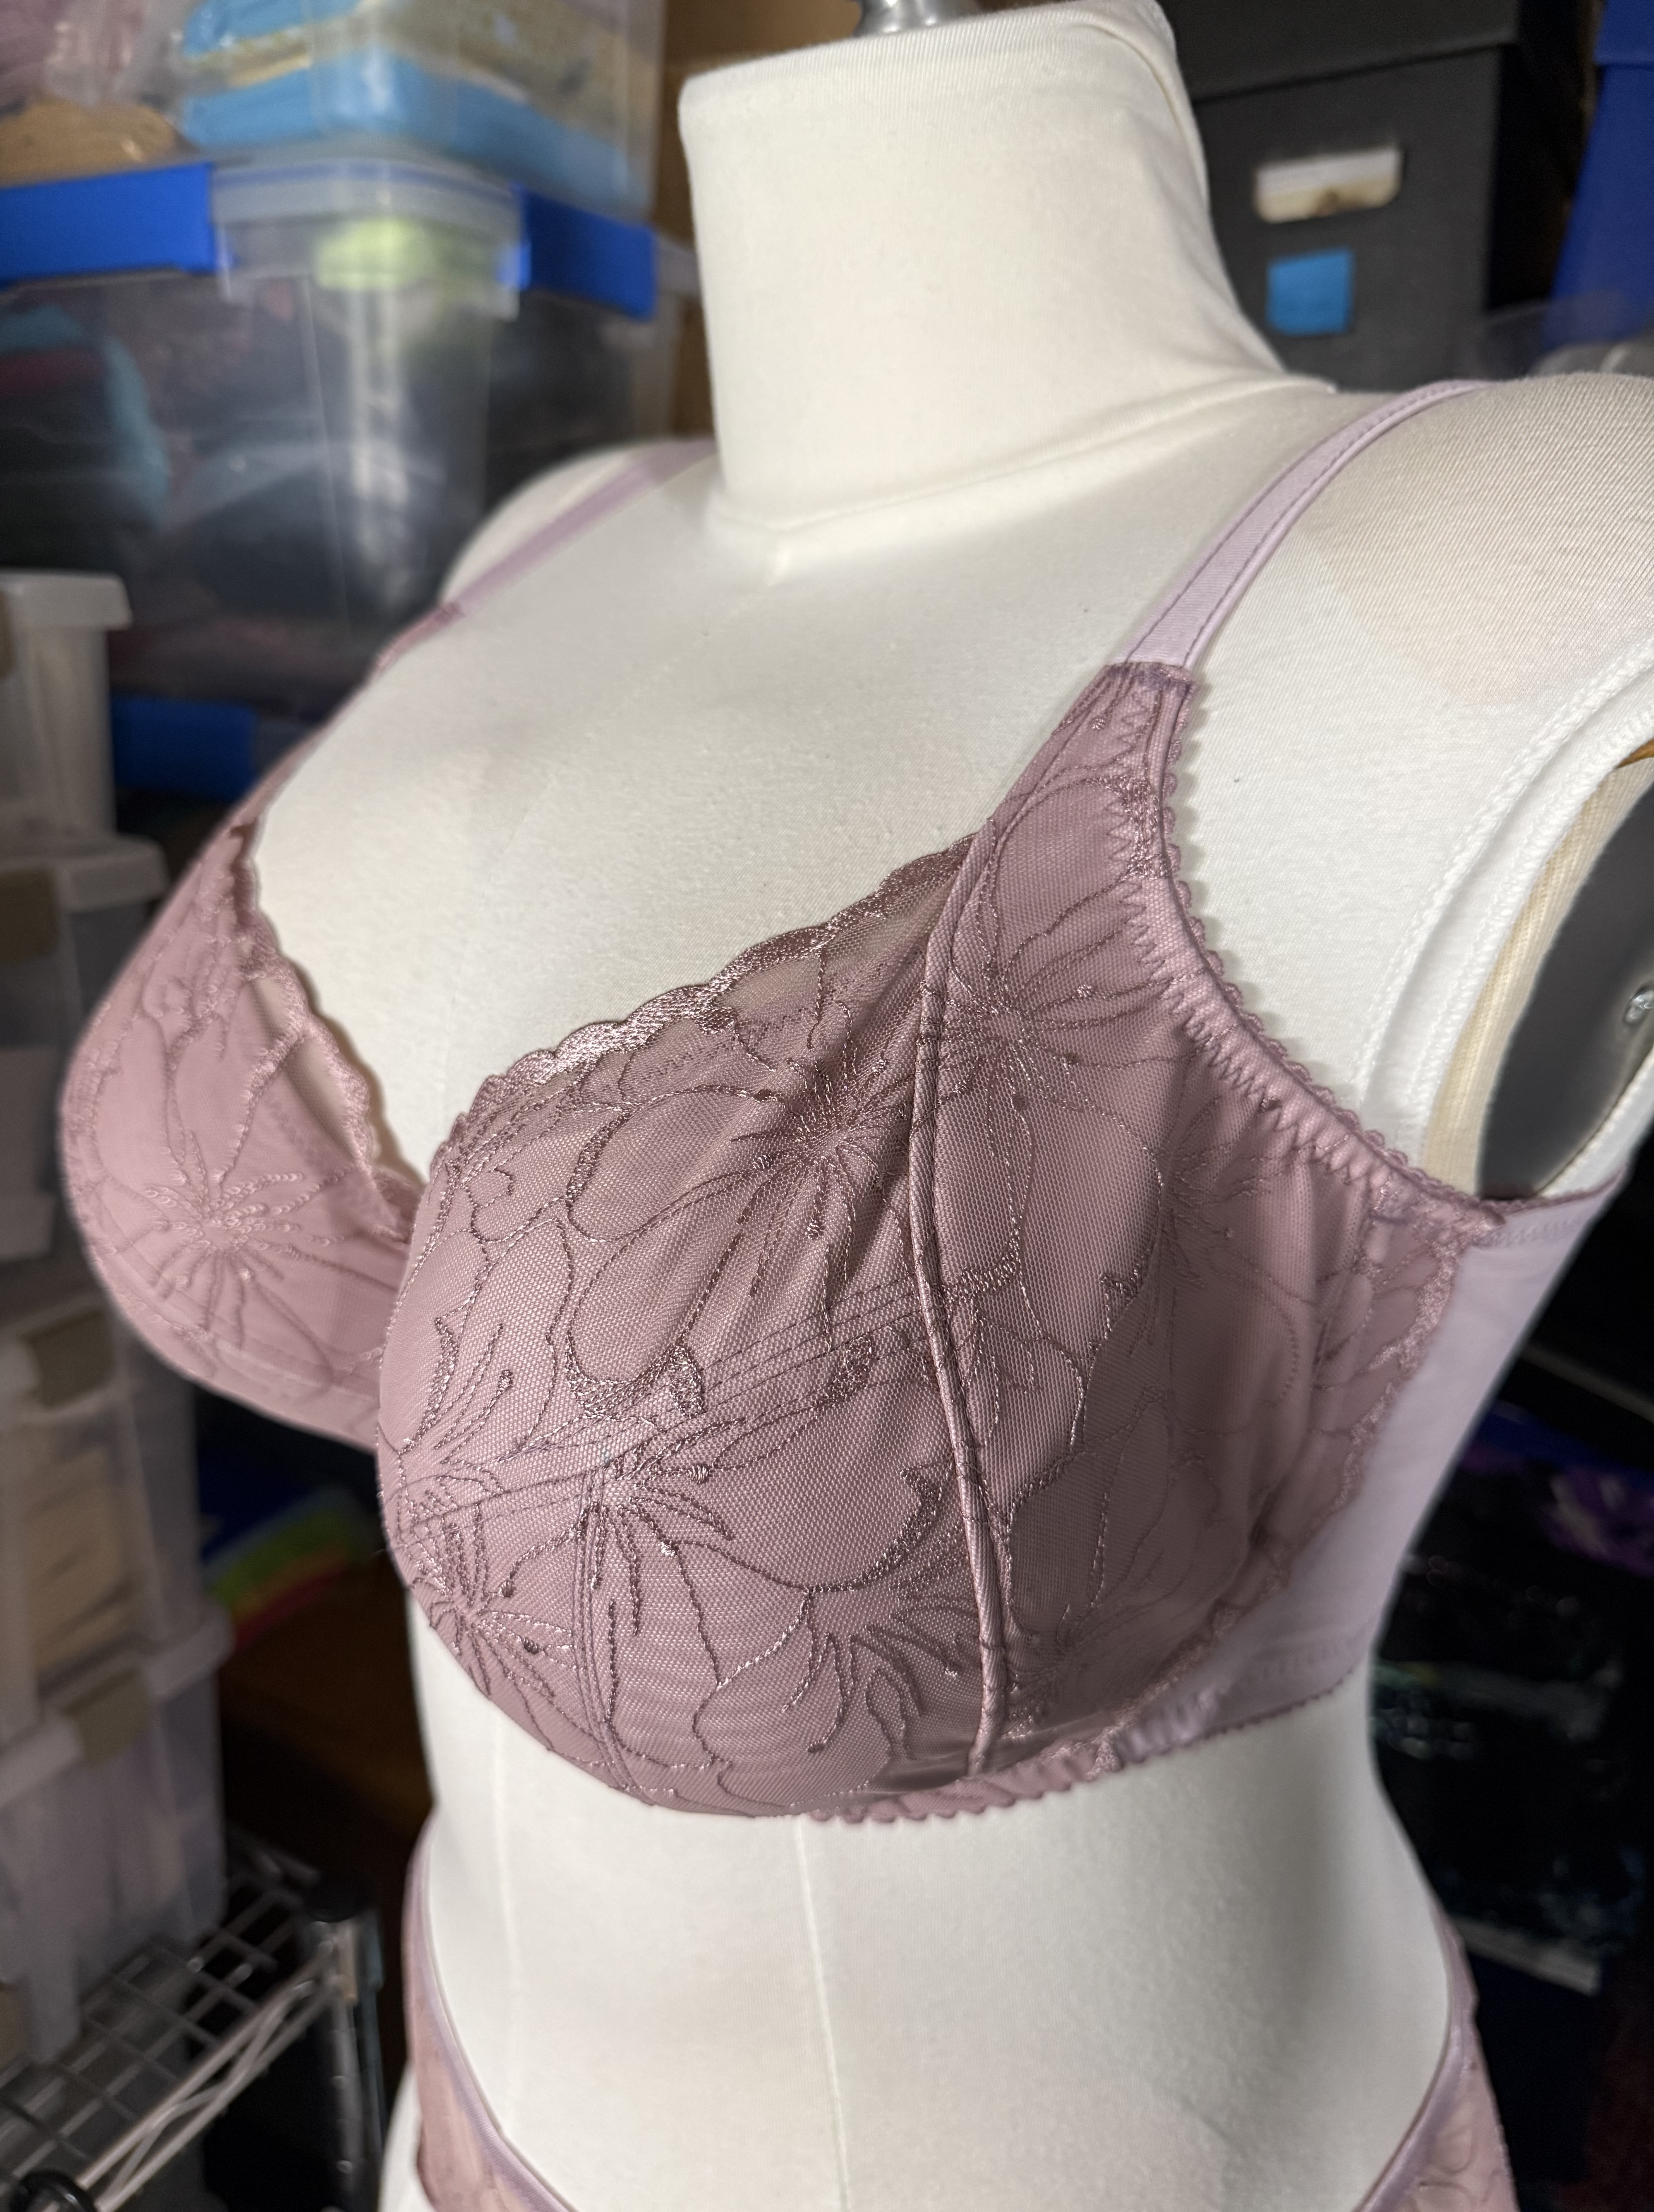
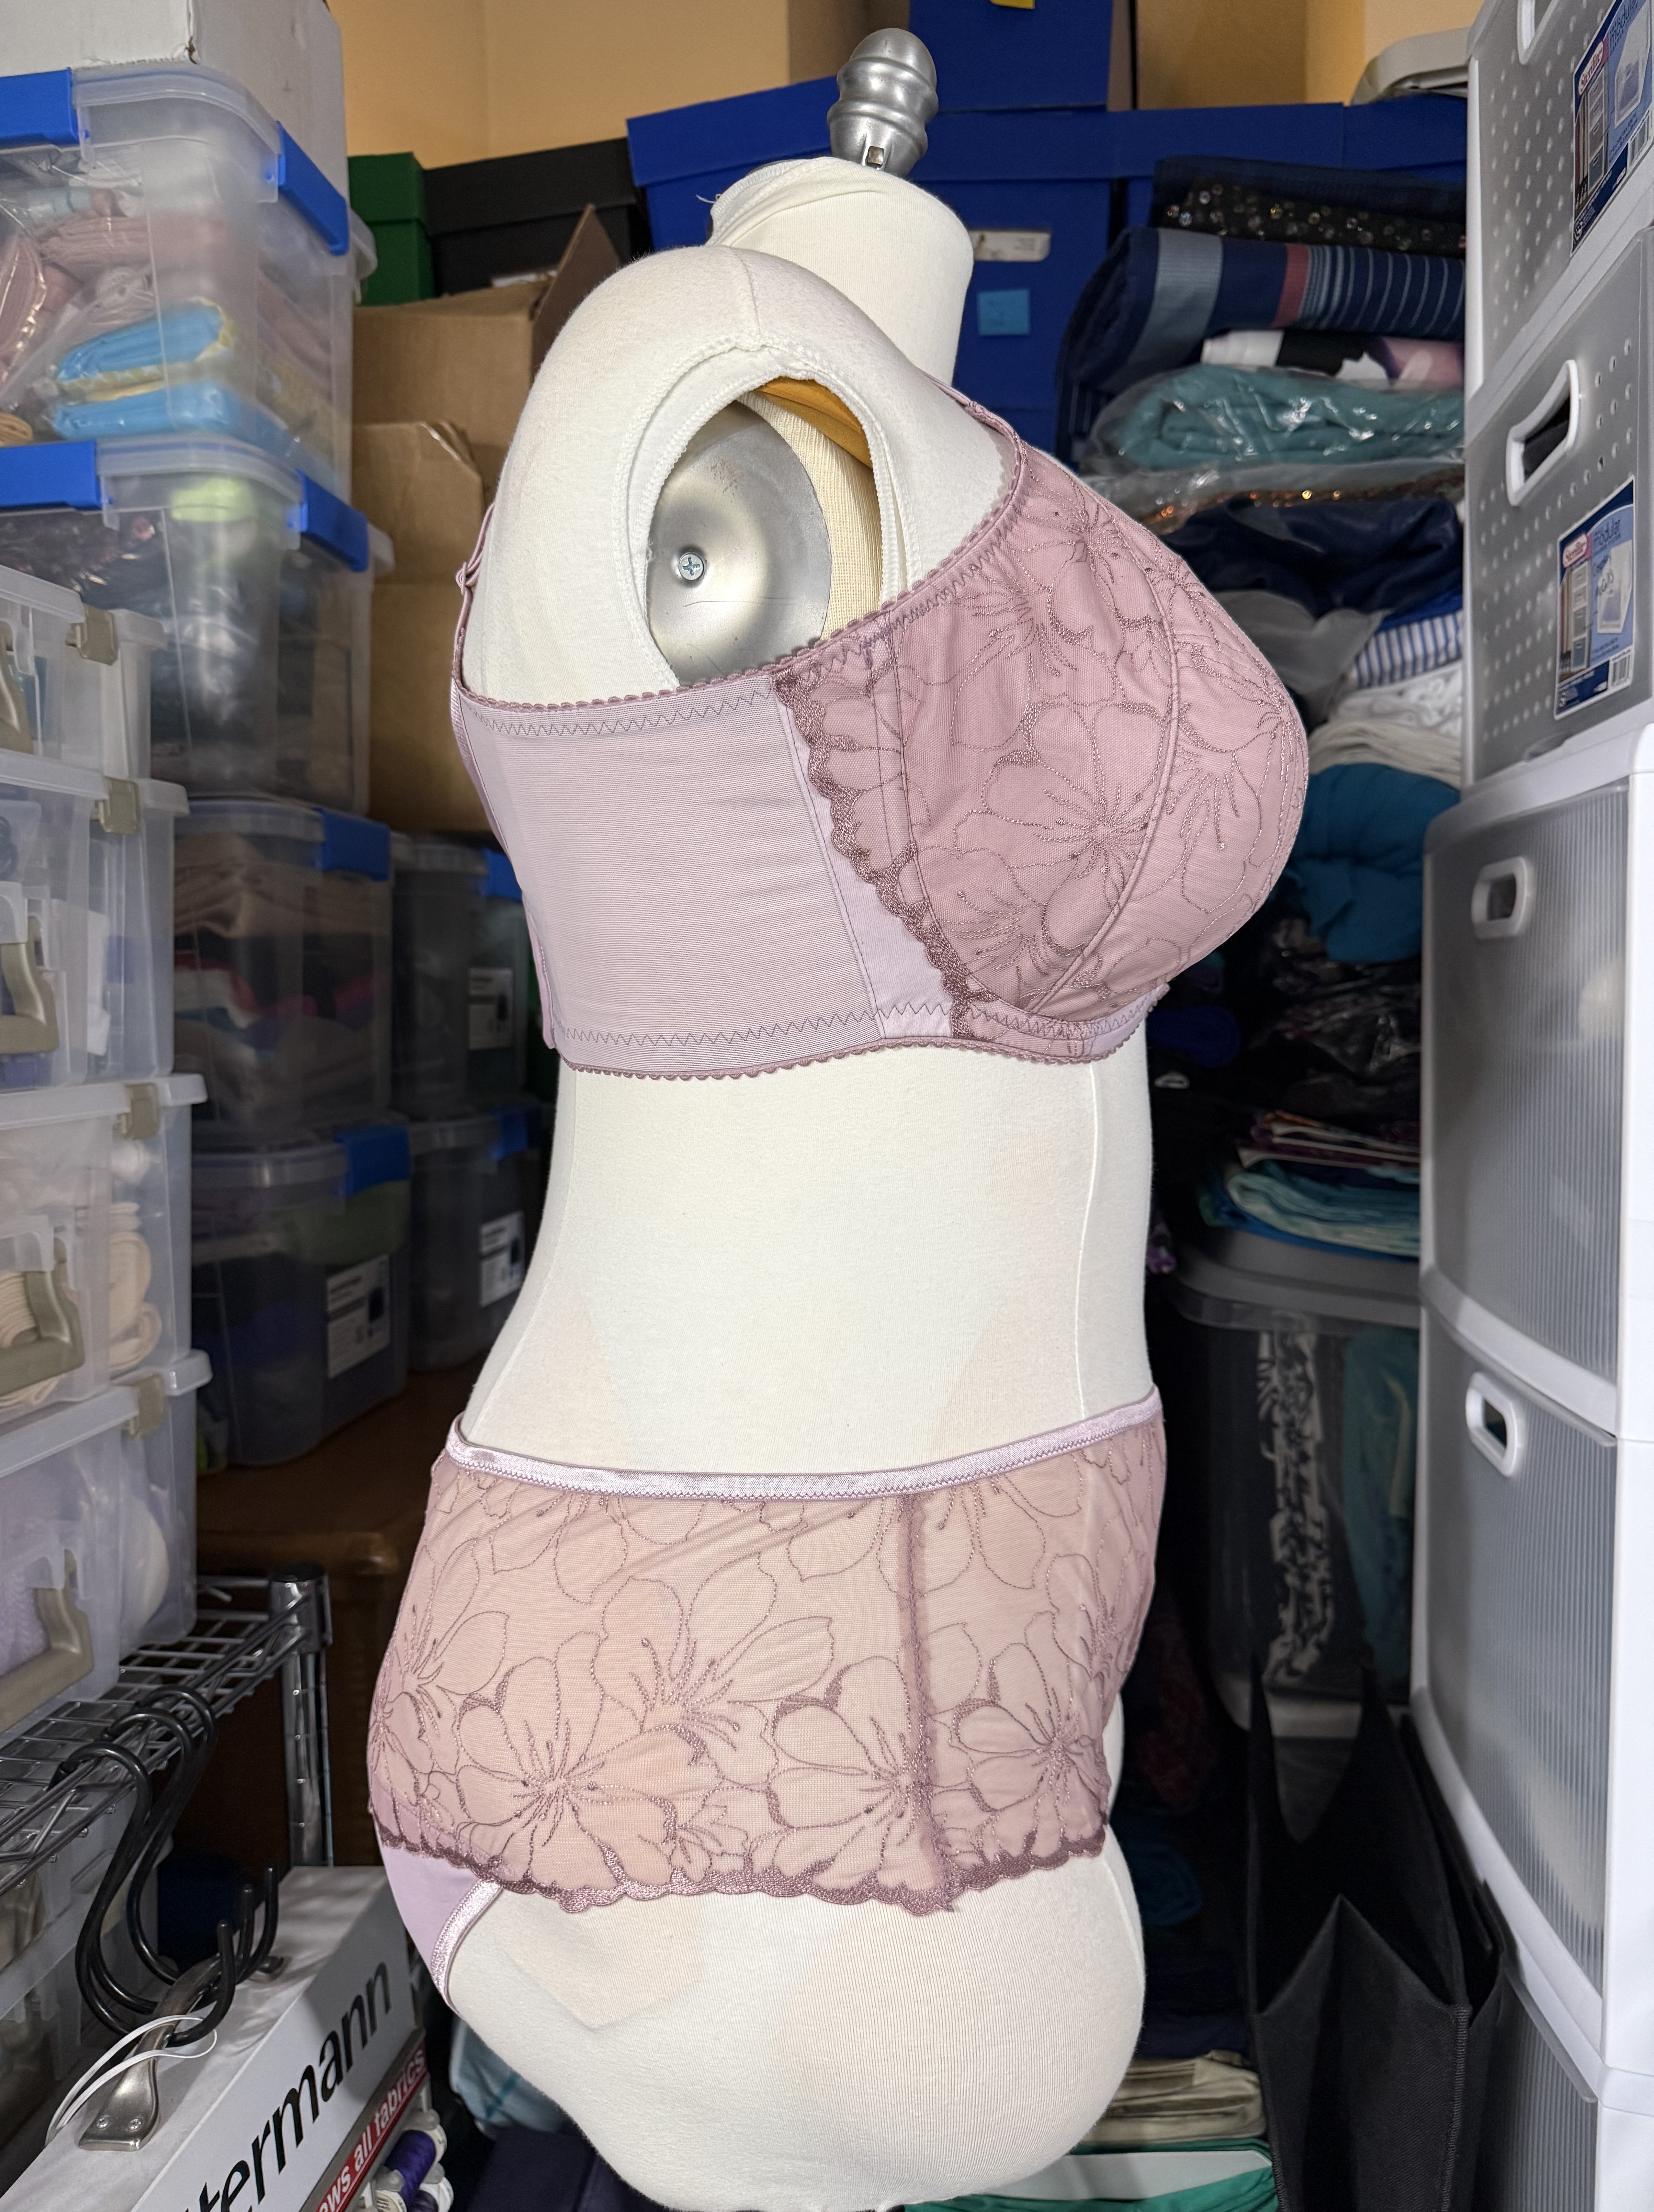
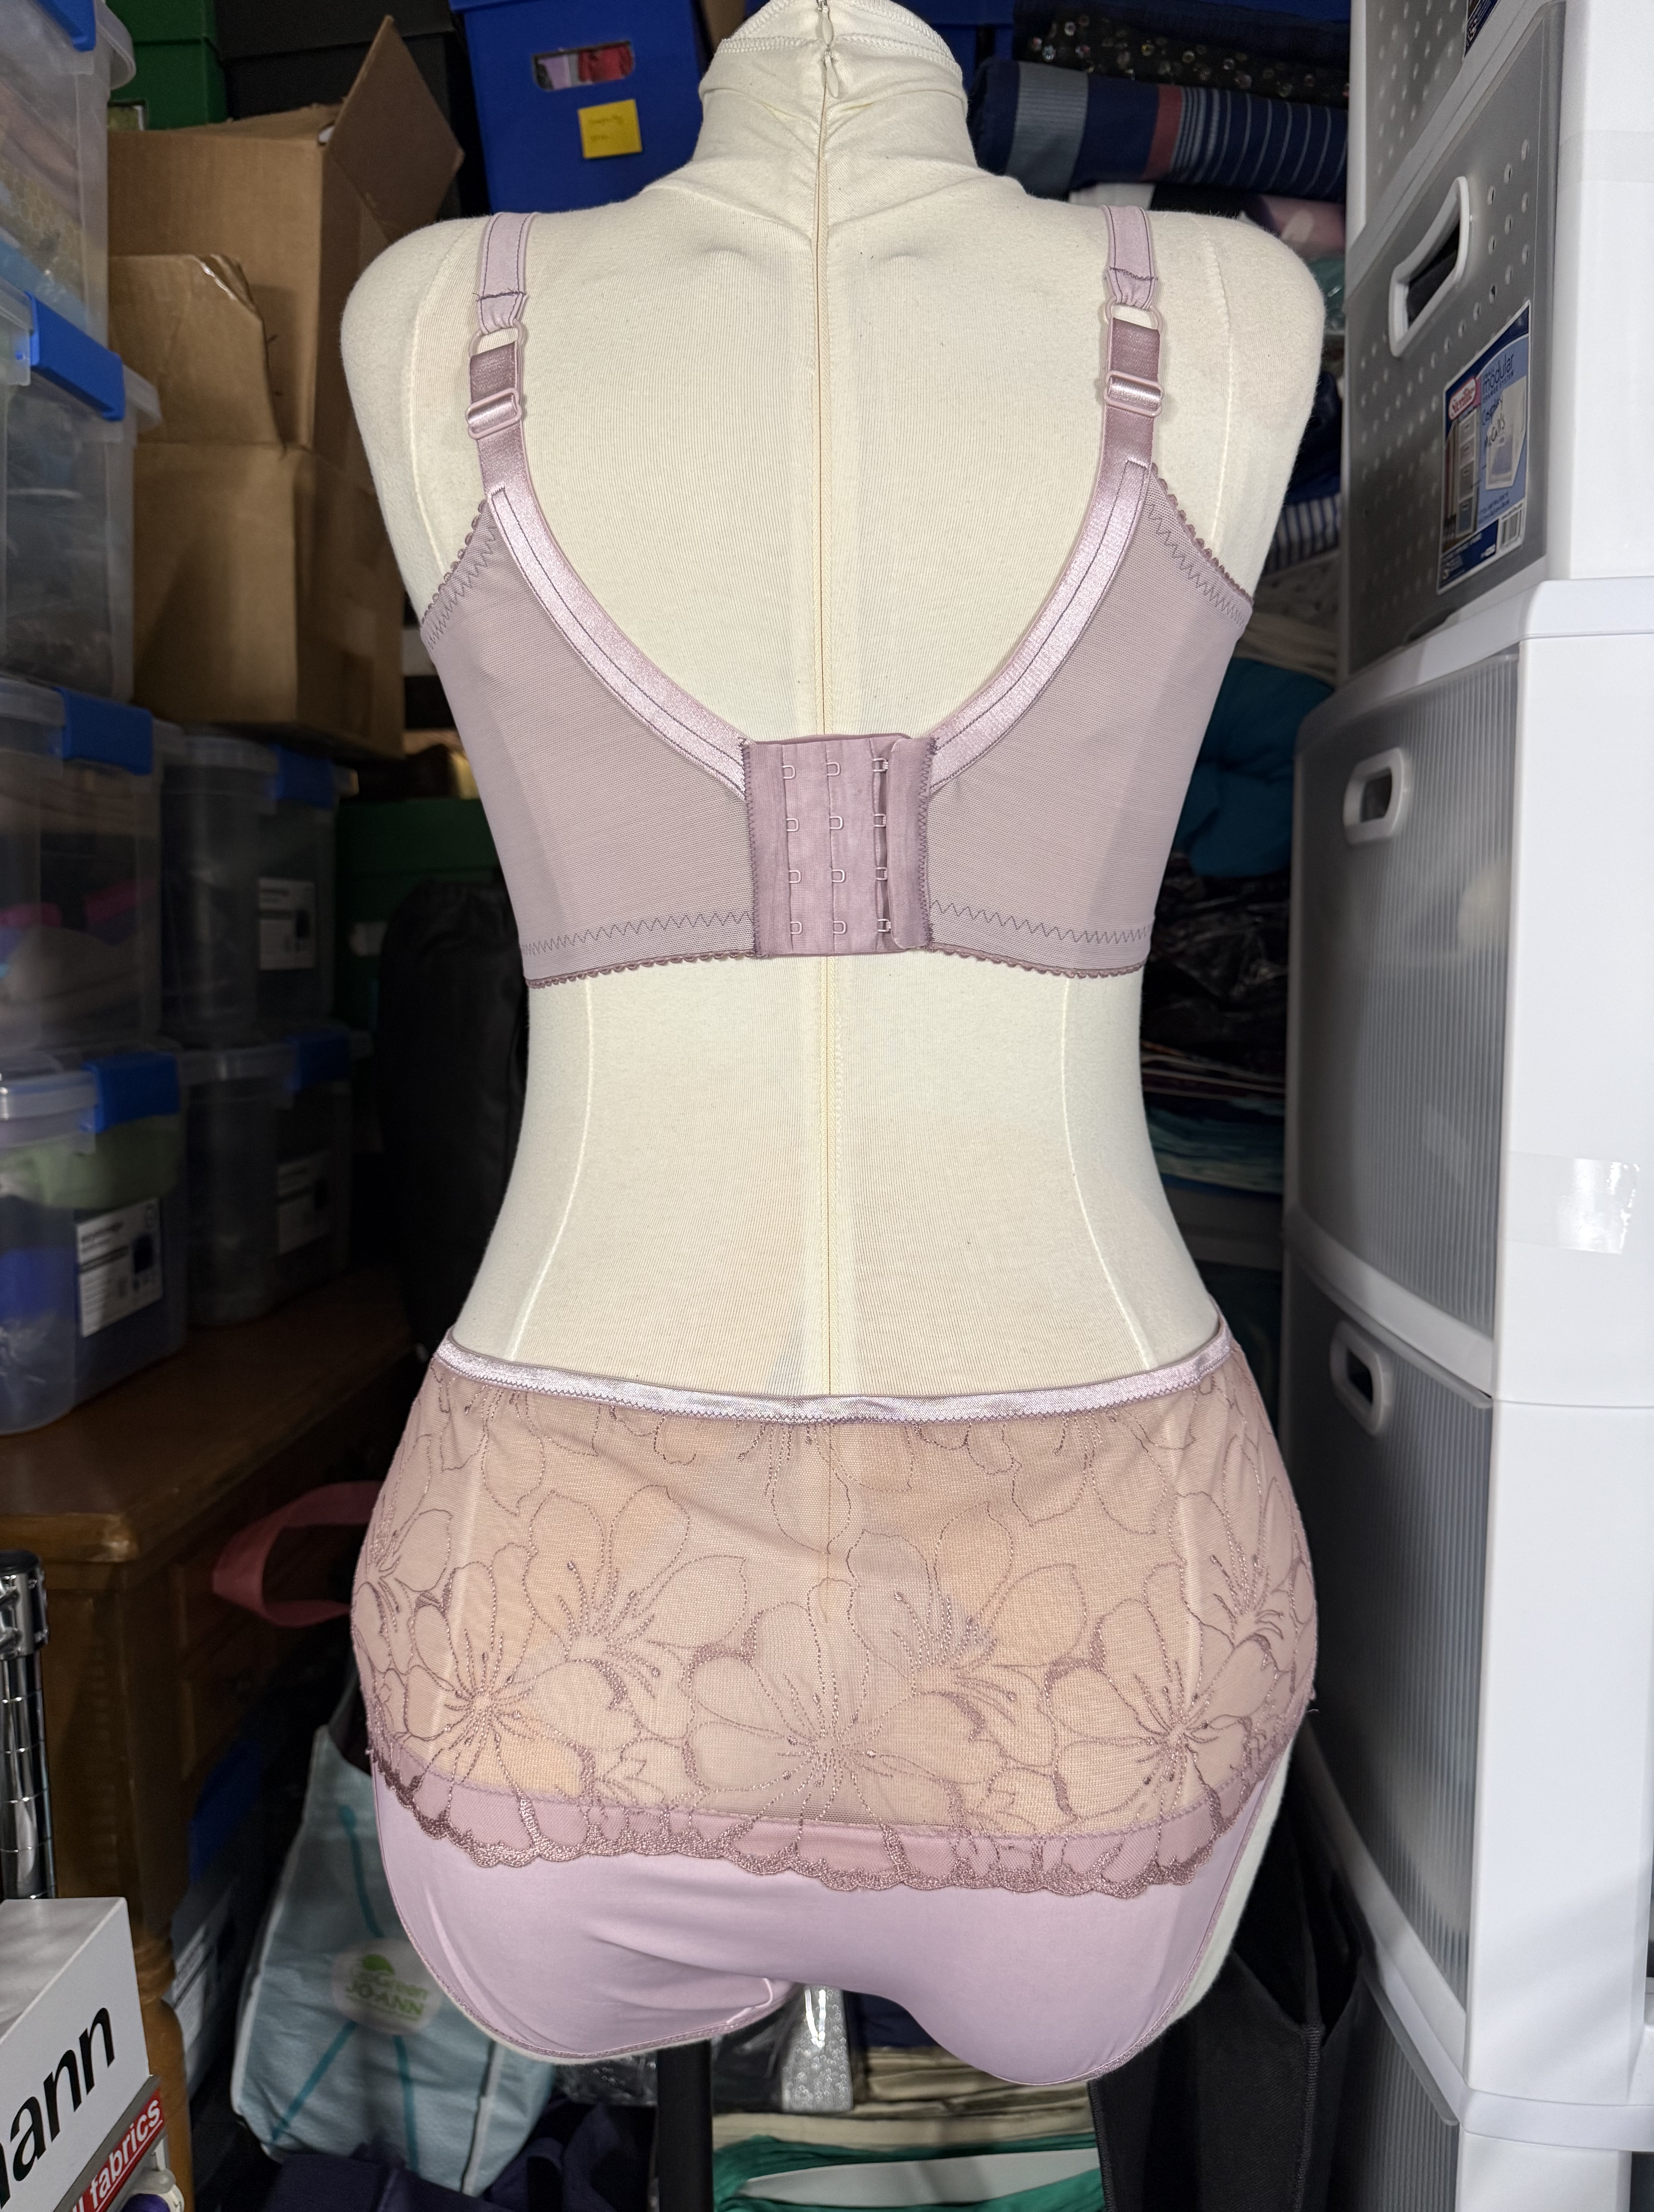
Overall the pattern is fairly full coverage, though I am finding that the LilyPAD patterns all seem have the wires rotated a bit to have a lower center front and higher underarm coverage than a lot of other patterns I have tried. I like having the higher underarm coverage – it helps things feel very secure. Overall I’m really pleased with the construction. I’ve made dozens of bra at this point, so the construction techniques aren’t new to me, but I did like testing out a different foot and seeing how well everything came together.
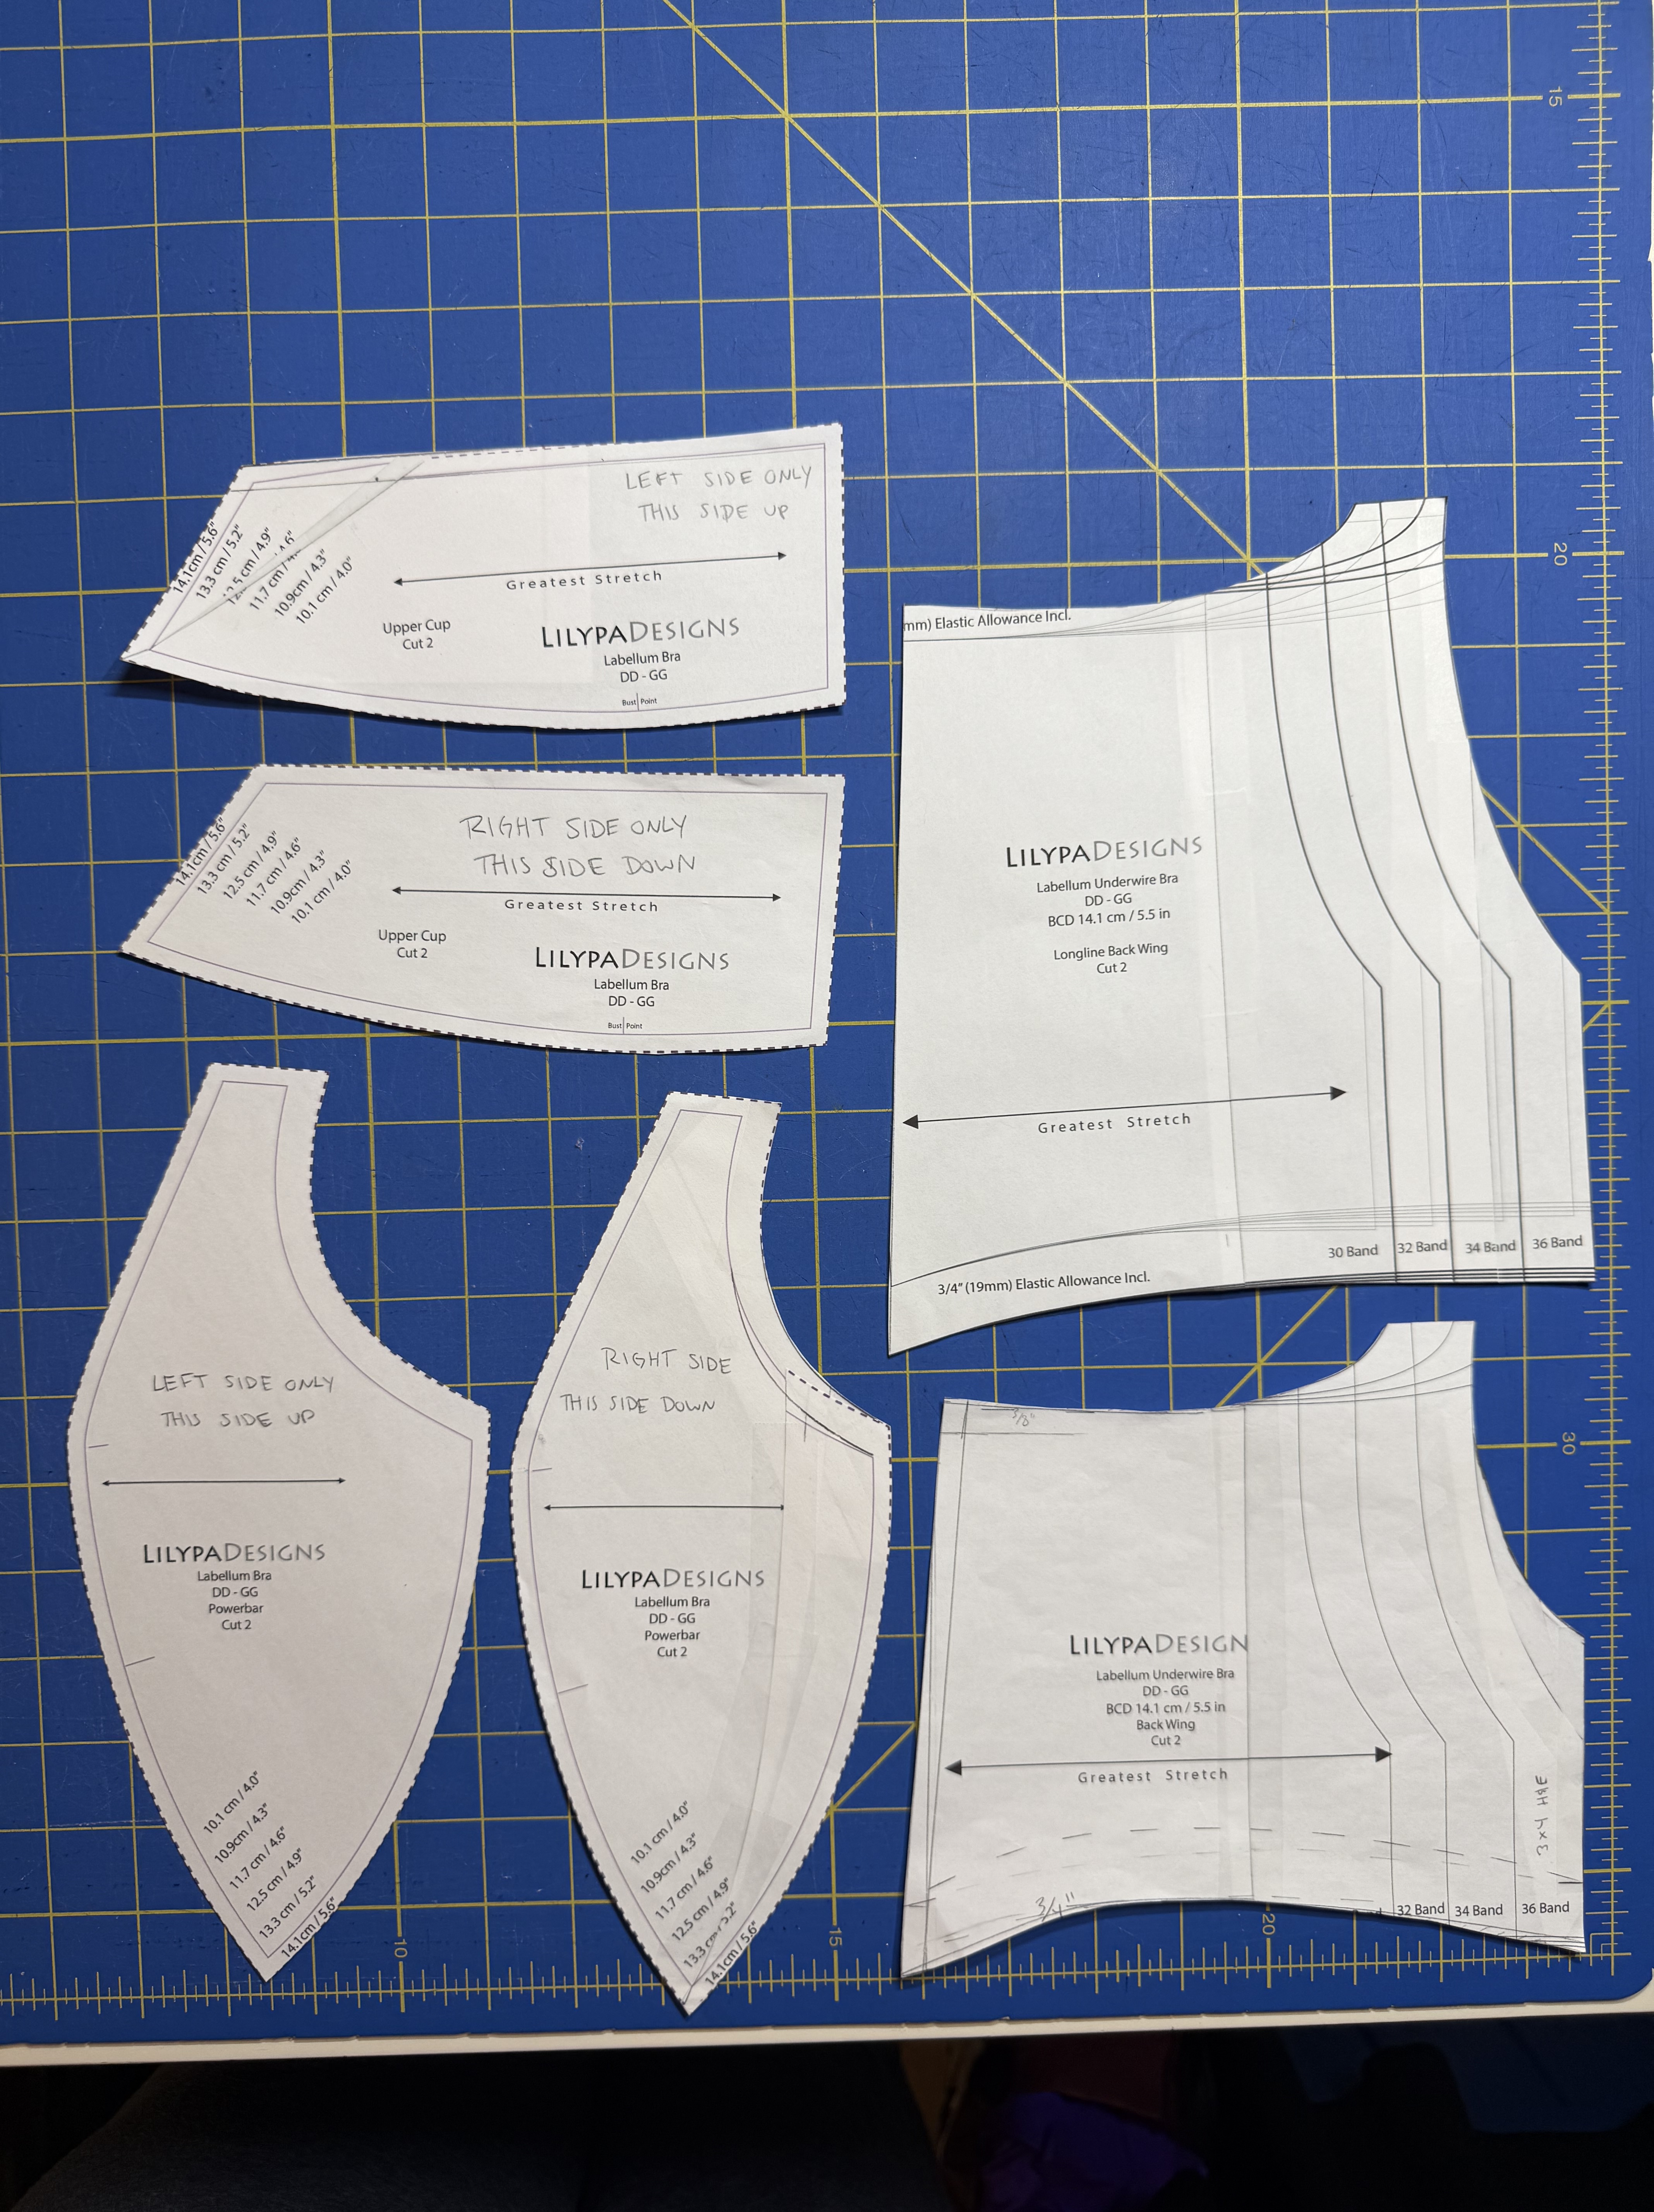
However, after wearing this pattern I’ve already identified a few fit changes I wanted to make so the pattern will be ready when I come back to it in the future. I never really considered asymmetry to be one of my fit challenges, but I’ve found that there are some patterns that really emphasize it to the point of it needing to be addressed, whereas other don’t. The Labellum, it seems, is one of the former. The upper left cup was a tiny bit snug, and will definitely be too small if the materials had any less stretch, whereas the right cup was much too big under the arm and needed a dart taken out. I also realized I needed to remove another 1/4″ from the length of the back band and take a dart out of the upper back band at the side seam. The band adjustment is something I think I need to do with all LilyPAD patterns, but the cup adjustments fall in that “common but need to check per pattern” category. From my fit test the cups seemed good enough, and while this version is definitely good enough to wear, I think having the asymmetric upper cup and power bar pieces will yield and even better fit in the next version.
On to the official pattern review!
Pattern Review
Pattern Description: A three or four piece cup with regular and longline band options. From the designer: “The Labellum Underwire Bra is a non-stretch bra pattern with longline options in 50 sizes! Includes instructions for optional boning, foam fabric straps and common alterations. Ideal for Intermediate sewers but also tenacious beginners.” I made the four piece cup with the regular band option.
Pattern Sizing: LilyPADesigns DD-GG or GG-KK sizing only; 29”-44” band, 9.0”-18.0” HH, 4.0”-7.9” BCD split between the two size ranges. This pattern is not currently available in the smallest size range. I made the 5.6 BCD with the 36 band from the the DD-GG size pack.
Were the instructions easy to follow? Yes, overall I think the instructions were pretty good. As I’ve been sewing more of the LilyPAD patterns, I am realizing the importance of reading through the instructions from this brand before starting to make sure you know which of the optional instructions you may need or want to follow. I do appreciate that there are a lot of techniques included in the pattern, but I can see how having so many optional steps could be confusing to someone just starting out who only needs a basic set of instructions. At this point I have sewn enough bras that I generally follow the construction order, but there are a few steps where I deviated because I have different techniques or stitch settings that I prefer. I did appreciate that the steps for sewing the longline are separated a bit from the regular instructions so it is less confusing when you are making the basic bra.
Did it look like the photo/drawing when you were done with it? Yes – I think it looked quite a bit like the line drawing and samples shown on the website.
What did you particularly like/dislike about the pattern? The LilyPAD patterns are continuing to be some of the easiest bra patterns for me to fit. I was able to make this almost directly from the PDF print out, and I really appreciate that LilyPADesigns offers patterns primarily in the larger size ranges, as well as that the drafting and grading is different between the size packs. I still need to do some additional washing and wearing before having a fully formed opinion, but from an initial wear test the bra is super comfortable, gives a nice profile under clothes, and I also like how much support the band provides by being a bit wider and having a lot of back coverage. When I look at the bra on me I do think I might like for it to have a tiny bit more lift, but when I wear it under a shirt I think the overall shaping is pretty nice. The cups are more rounded than the Lamina (which was the previous LilyPAD pattern I tried), and I do prefer the more rounded silhouette of the Labellum. I also like that this pattern includes the option for a longline version, which I would like to try at some point.
Fabric used: Microduoplex, stretch lace, power net, and the typical bra findings and elastics. The kit I used was purchased from Bra Builders, and I believe it is still available at the time of writing.
Pattern alterations or design changes you made: I did barely any alterations on this pattern for my first version; I only raised the bottom band by 3/8” at the side seam (typical adjustment for me on all bra patterns), and I changed the back from a 3×3 hook and eye to be a 4×3 hook and eye, as that is my preferred hook and eye height. Otherwise I was able to make it straight off the PDF pattern. I think I still need to wash and wear this version a few times before making decisions about further alterations, but when I tried this on my slight asymmetry was more noticeable than in many other patterns. I already decided to add a tiny amount to the left upper cup (especially if I want to use this pattern with a rigid lace in the future), and I took a small dart out of the right cup on the power bar at the armpit curve (another common adjustment for me). I now have two sets of asymmetric cup pieces, but this should give an even better fit next time. I also took a tiny dart out of the top of the back band at the side seam just to slightly increase the top band tension, but otherwise I think the overall fit is really good.
Would you sew this again? Would you recommend it to others? Yes and yes! I’m currently working on what I’m calling a “sewing tour” of the more standard LilyPADesigns underwire bra patterns, so I can try the different styles and compare the patterns for my blog. Although I have a giant stack of patterns I want to test out, I definitely think I will come back to this pattern in the future, especially to try the longline version. I have really been enjoying working with the LilyPAD patterns, and I highly recommend them, especially if you are in the larger size ranges and have difficulty finding bra patterns that fit.
Conclusion: I think this may be up there with some of my best fitting bra patterns at the moment. I like the style, and the fit is really good for a first version. I’m sure I will come back to this pattern and make more variations in the future. I am excited to move on and try some of the other styles from LilyPADesigns, but I am also really pleased to have this this pattern sewn up because I expect I will wear this bra a lot and that I will make more with this pattern again soon.
So this project has been almost a year in the making, but I’m so happy I tried this pattern! I know it will be something I come back to in the future, but next up I’m going to move on to some of the more recent LilyPAD patterns. Hopefully more to post soon!

It looks lovely, and you must have some of the best fitted bras going by now. I imagine you couldn’t go back to RTW now!
LikeLiked by 1 person
Yeah, at this point I can’t imagine going back. Especially not for underwear!
LikeLiked by 1 person
You do really beautiful work. I love your reviews. This inspires me to perhaps try this pattern in the future. But thanks to you I discovered the Josey, which fits me pretty well. Like you, I need to add a little room to the top cup for the next version. And you just taught me how to do it–Thank you!
LikeLiked by 1 person
I never really thought much about it, but I always set up two sewing machines for bras: my 15-91 Singer for straight stitching, and a zig-zag-capable machine for all elastic and bar tack work. The Singer has a tiny needle plate hole so it never sucks in fabric. I also agree about bra tulle being an excellent cup fabric. Sheer cup lining is such a misnomer.
LikeLiked by 1 person