I reviewed the patterns I used in the Bee on a Wire class (the PUG Freja, the PUG Ruby, the AFI Elegance, and the La Bella Coppia Josey) a few months ago on the blog. I had always intended to make matching bottoms for each of these, but, as I discussed in my March and April wrap-ups, life intervened and I ended up with a bunch of cut out UFOs sitting next to my sewing machine for quite a few weeks. Happily, I finally had a day that I felt like I could take for me, and I was able to get these projects out of the sewing room and into my wardrobe!

The Hive had hosted an underwear class (similar to Bee on a Wire) back in November, but I never really got to test out the techniques showcased in those videos because I’d been so busy since then. So my goal with this group of mini-projects was to try as many new techniques or materials as possible since I was using my TNT Craftsy self-drafted pattern and the Friday French Cuts, which I’d worked out the fit on through much of last year. I’ve fallen into the loop of using fold over elastic (FOE) or the stretch lace waistband elastic from Bra Builders to finish off most of my underwear projects, so it was nice to have an excuse to branch out a bit, and I was really happy to be able to use some materials that have been sitting in the stash for quite some time.
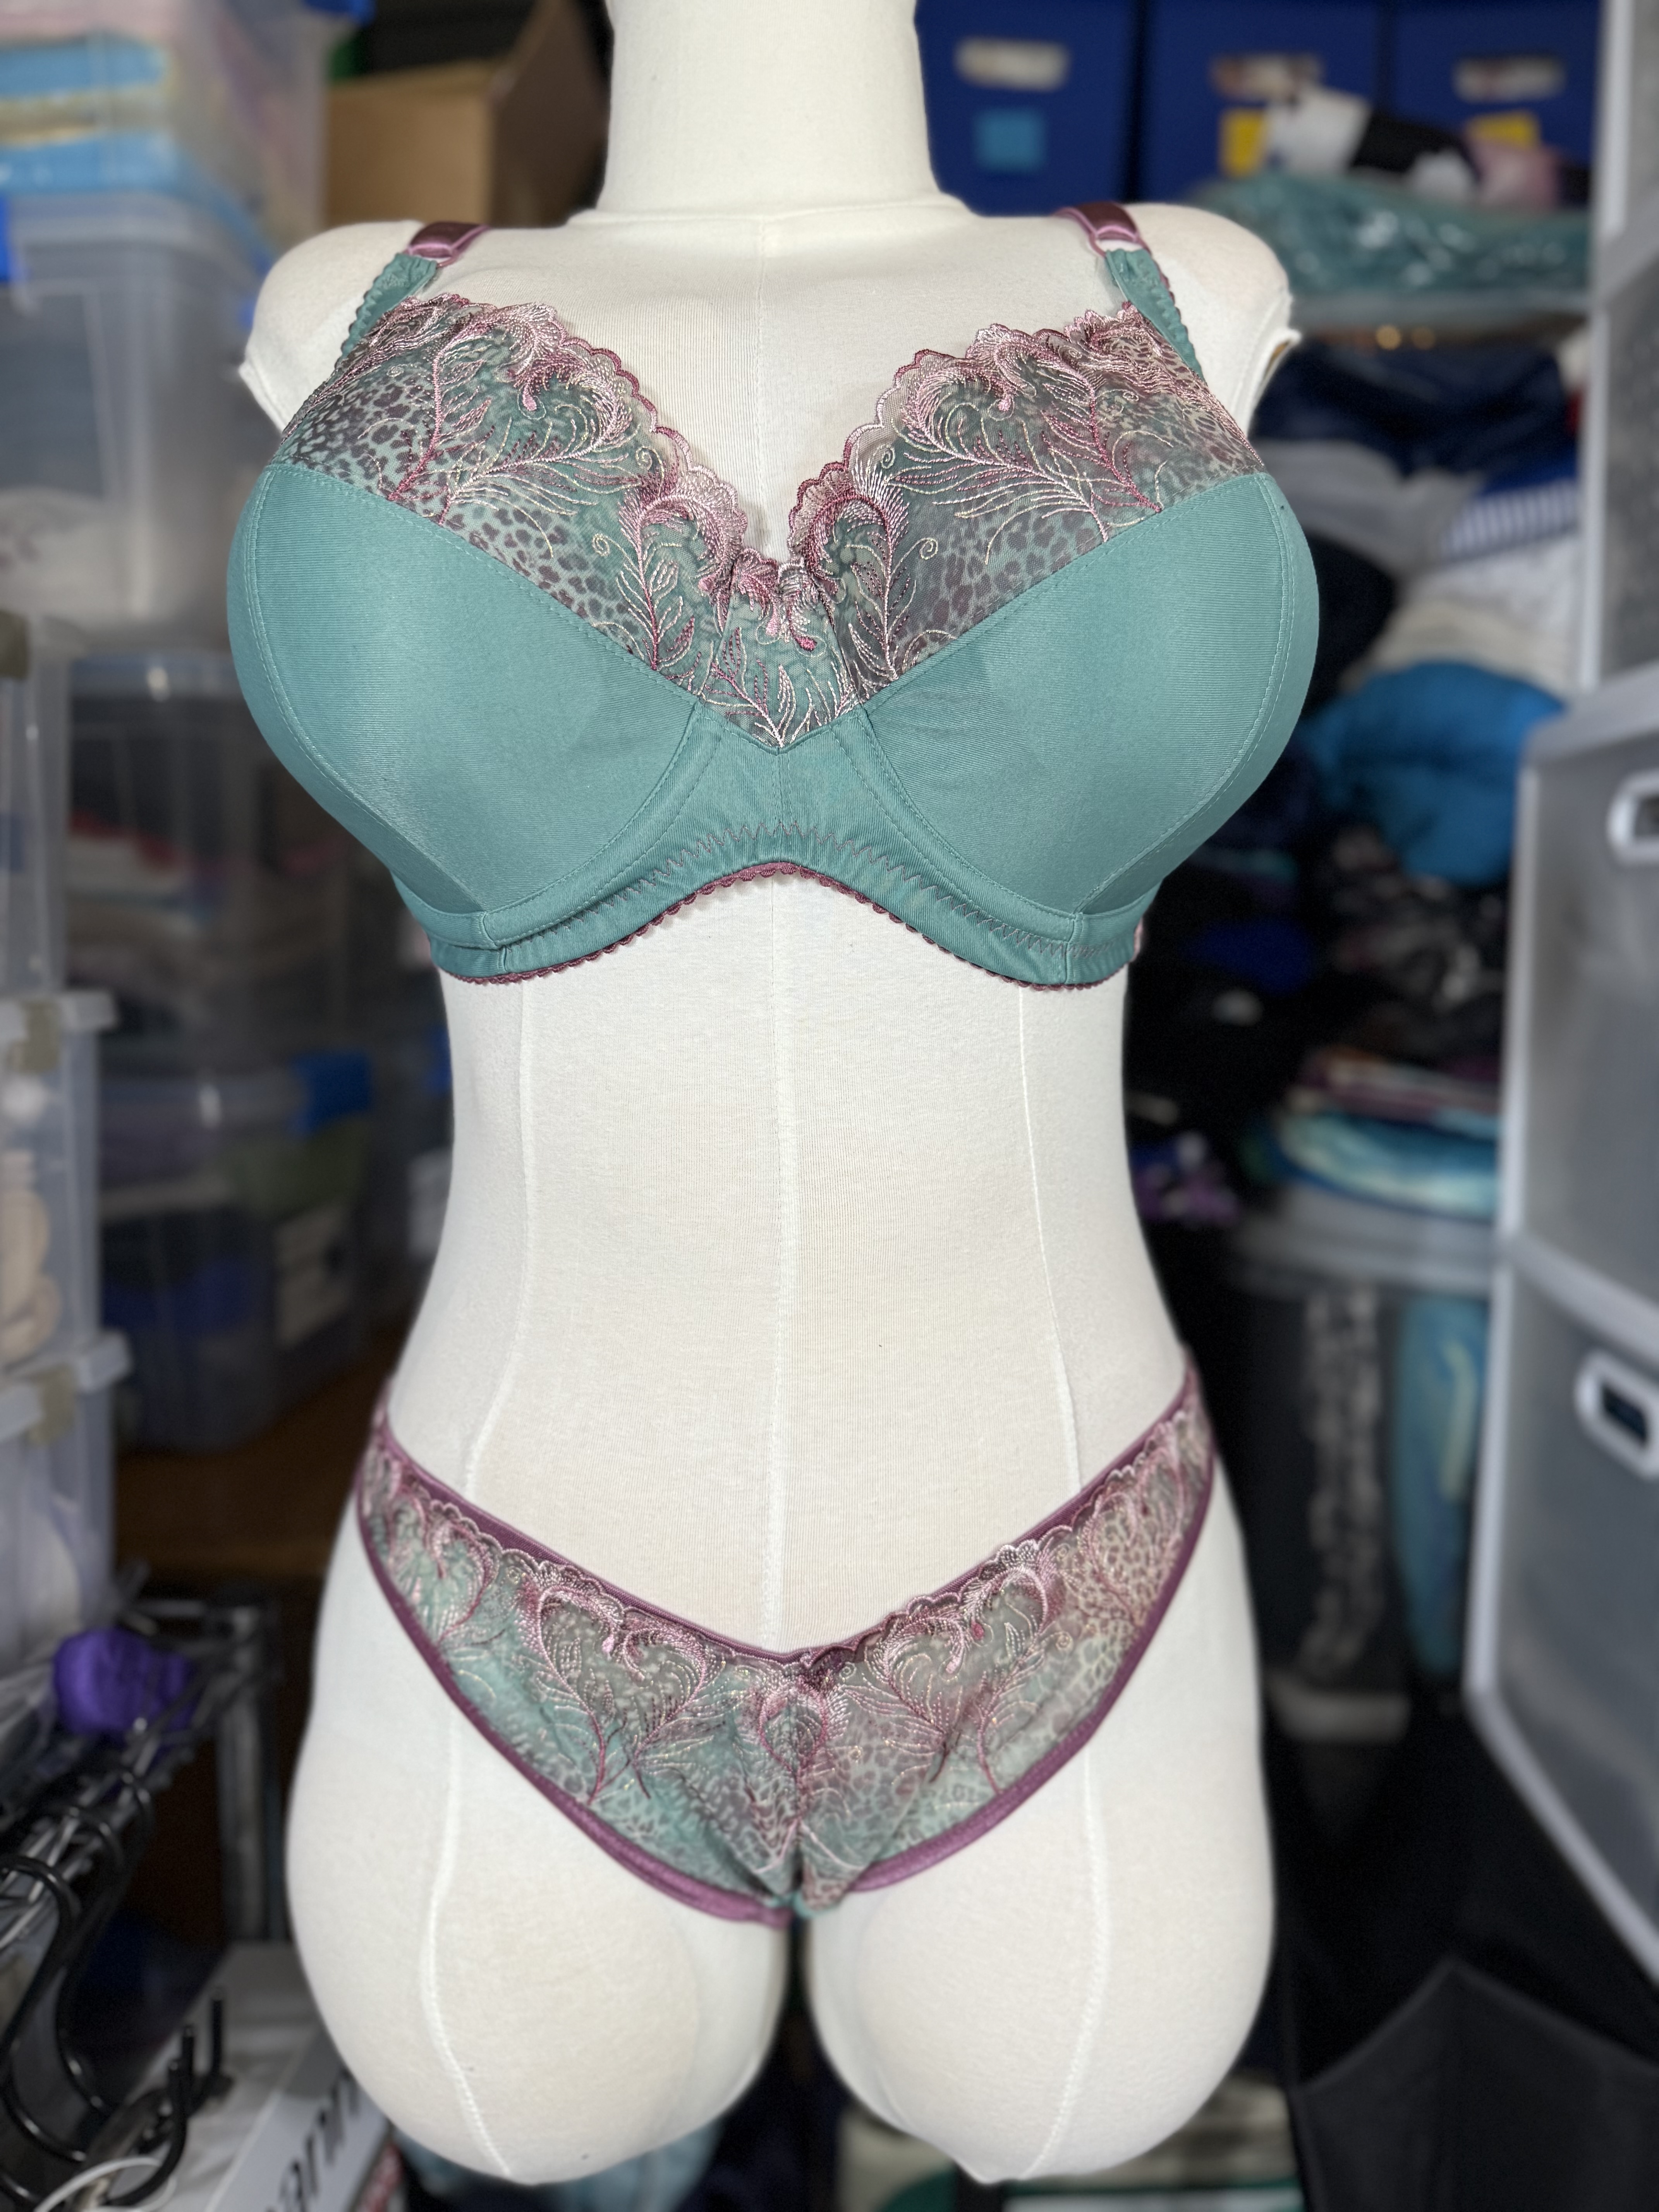
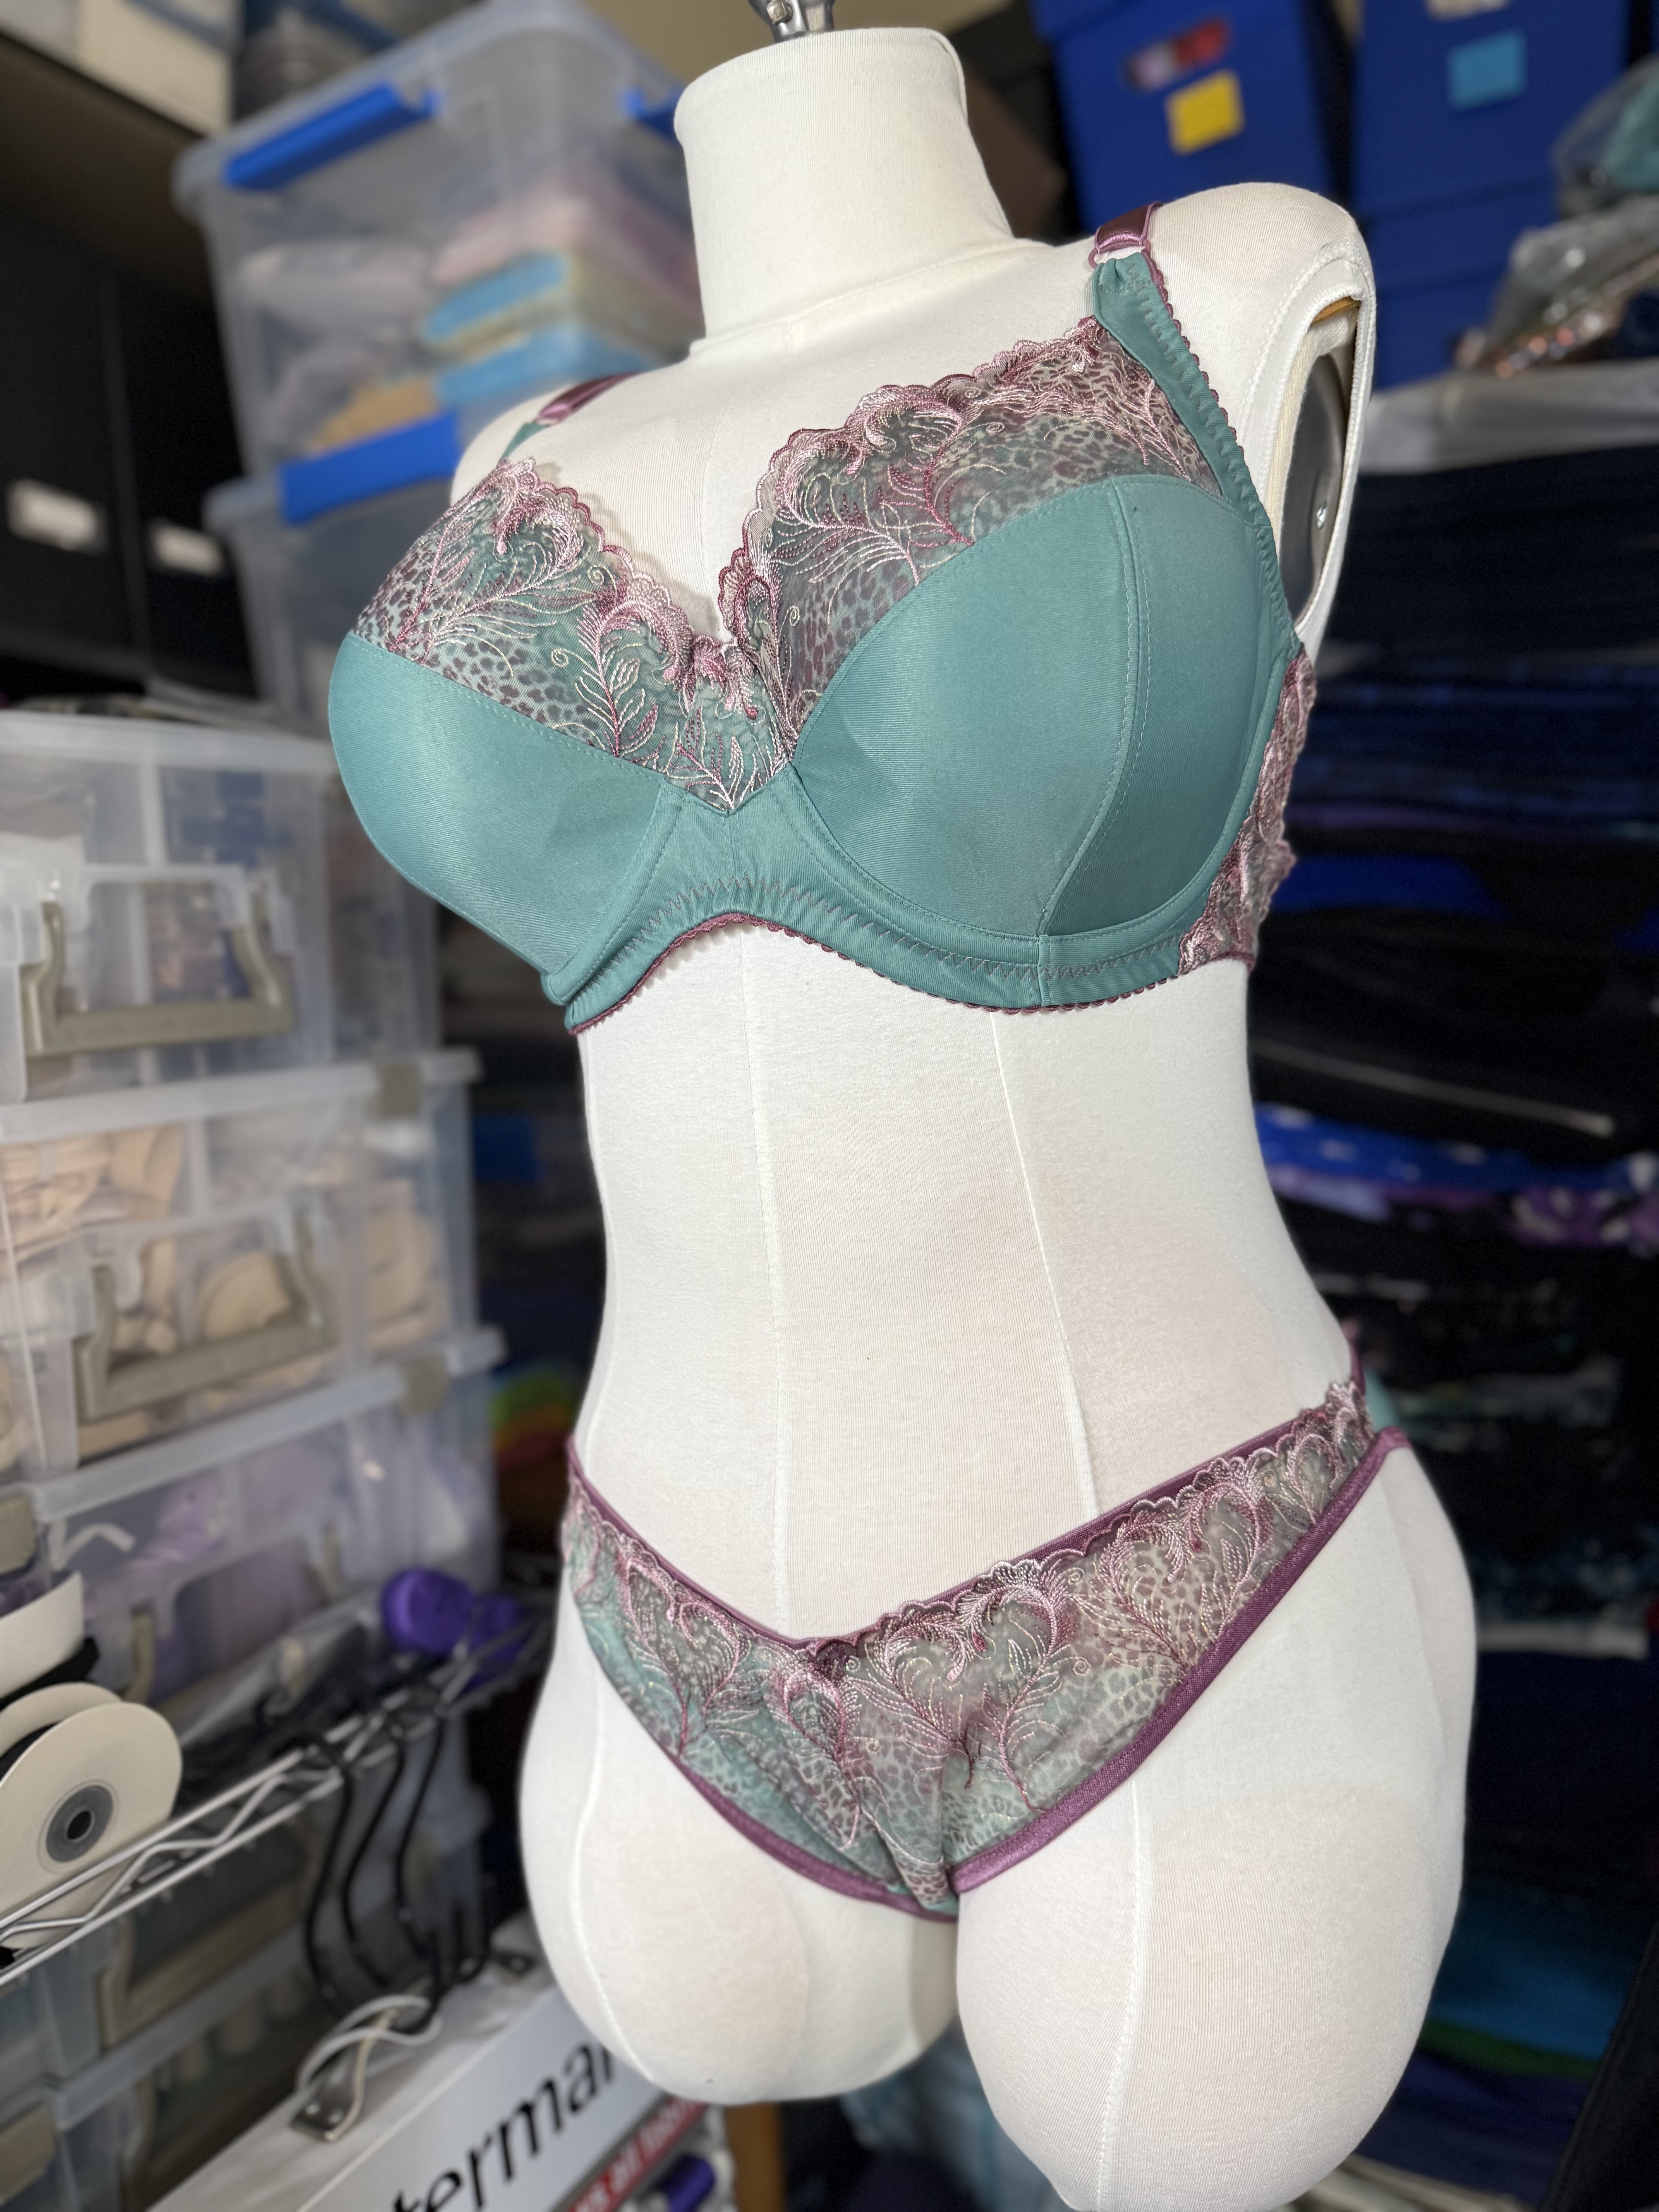
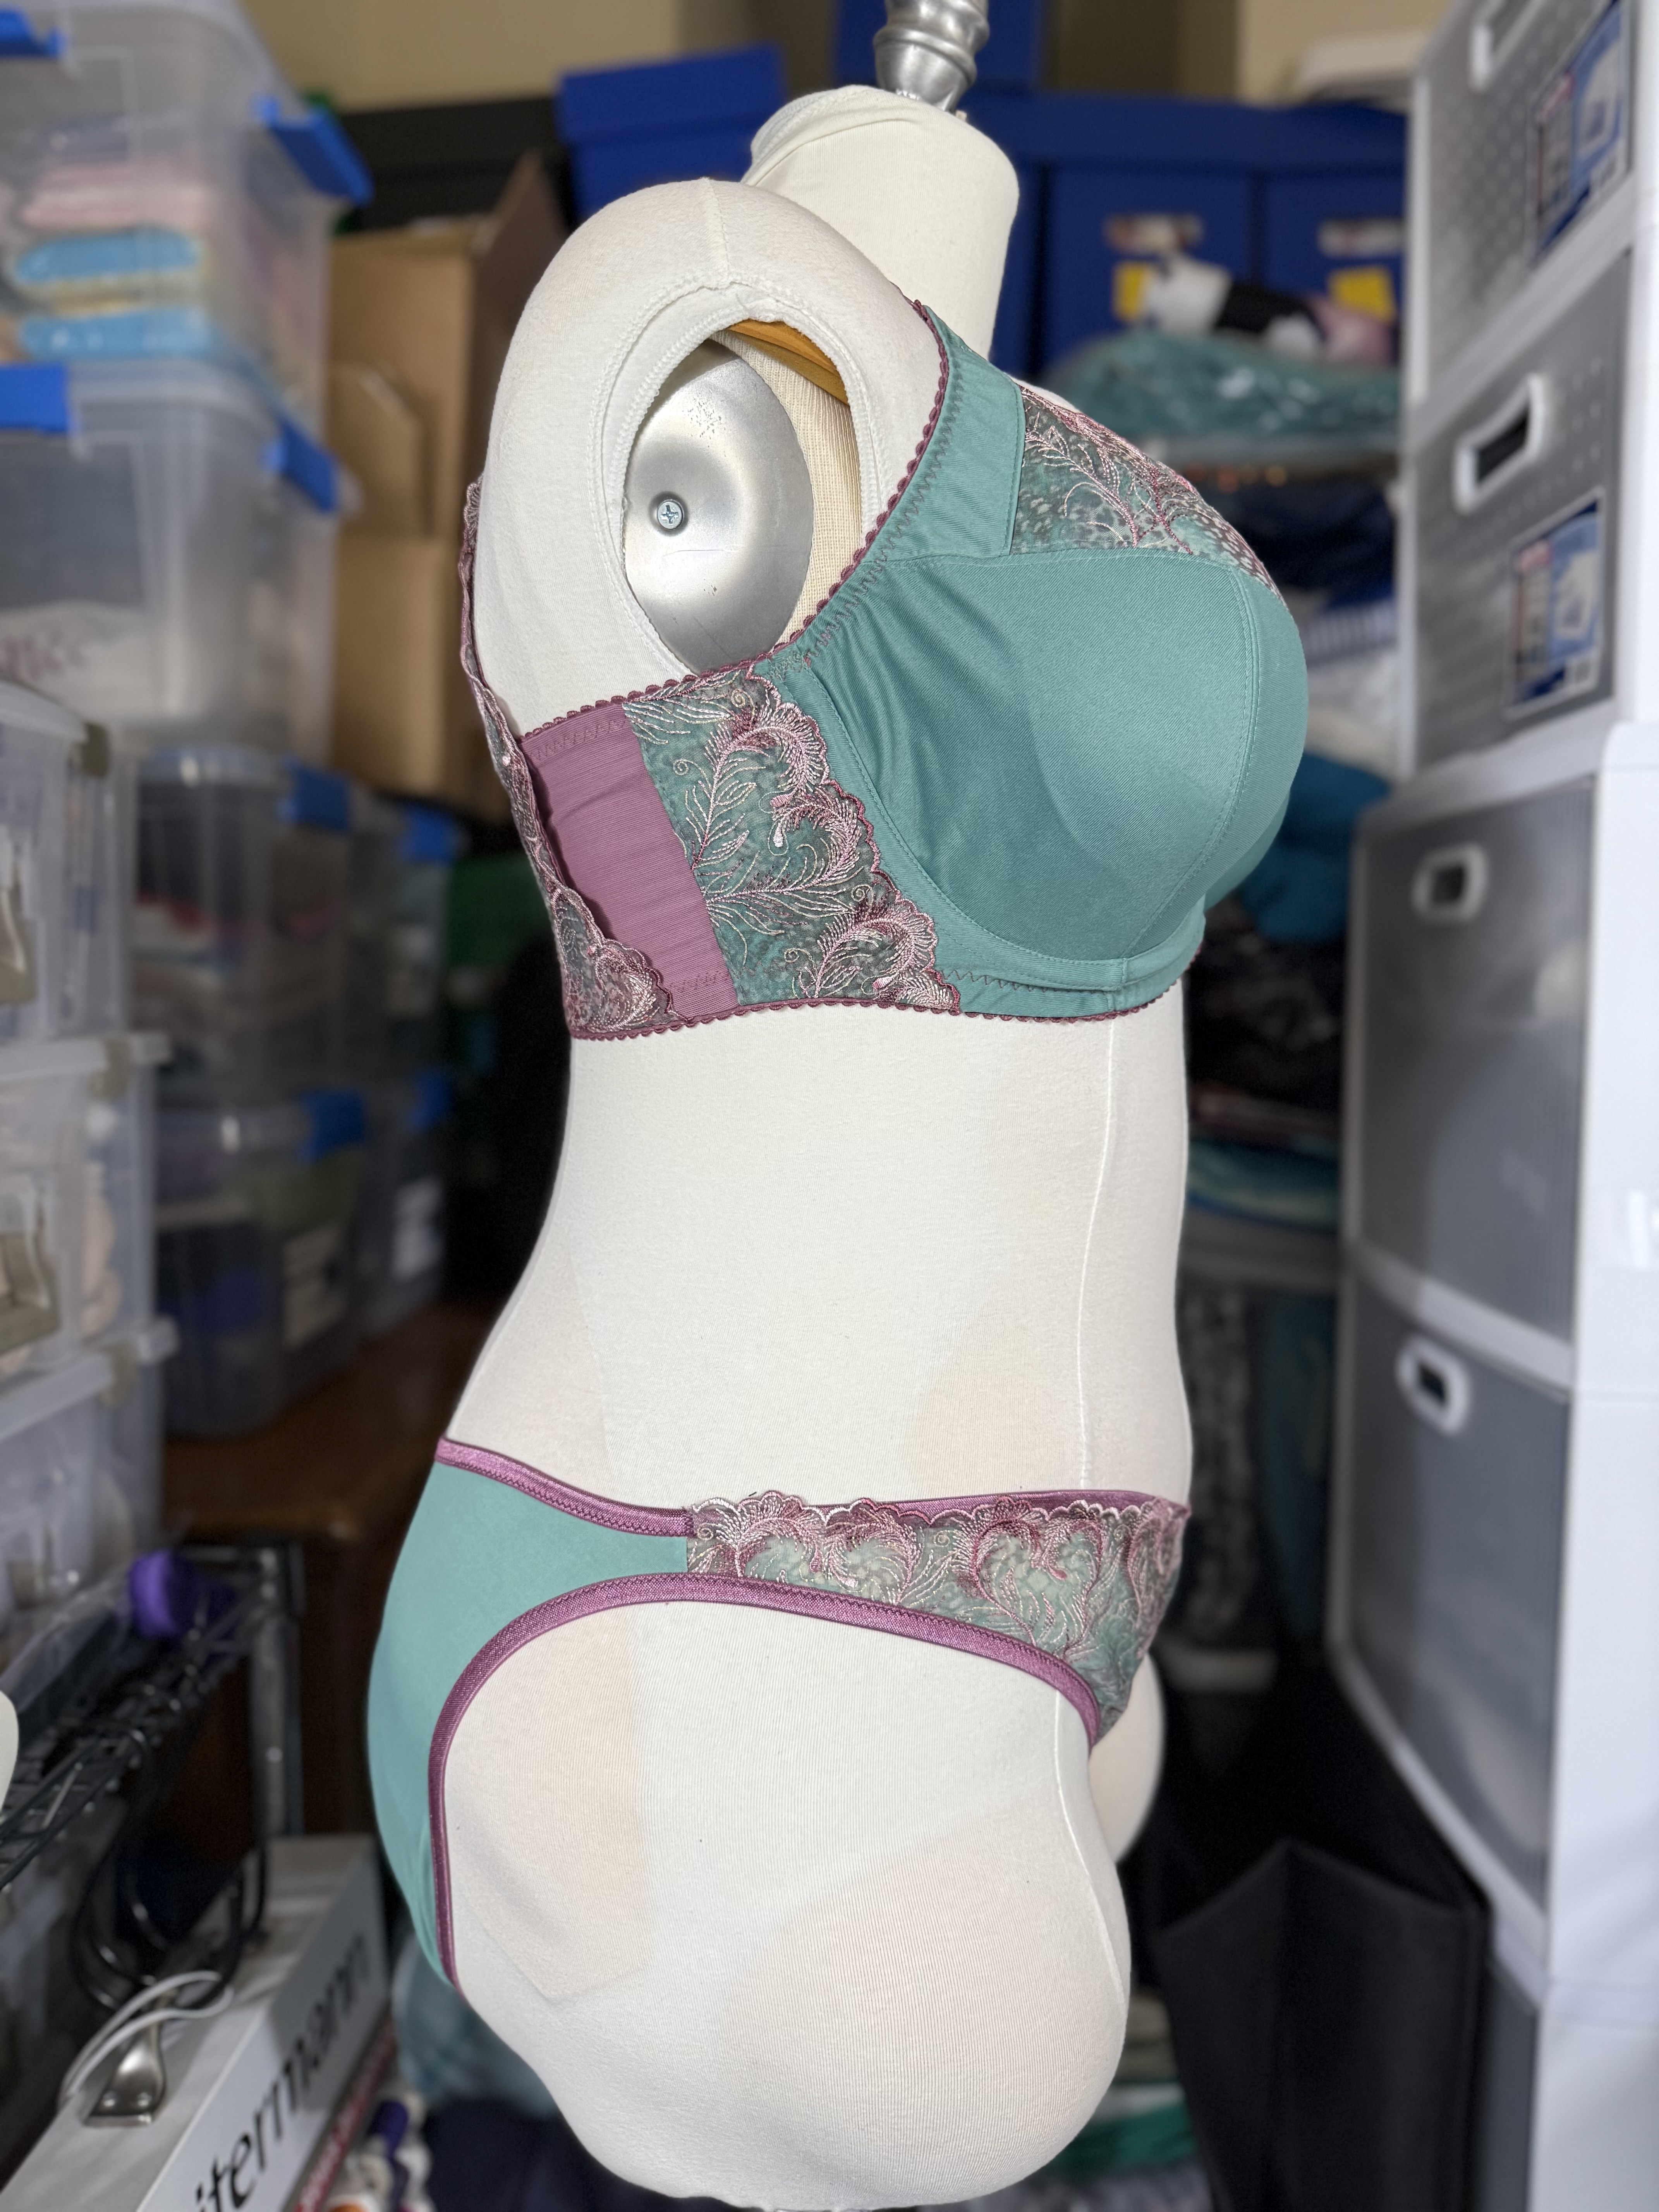
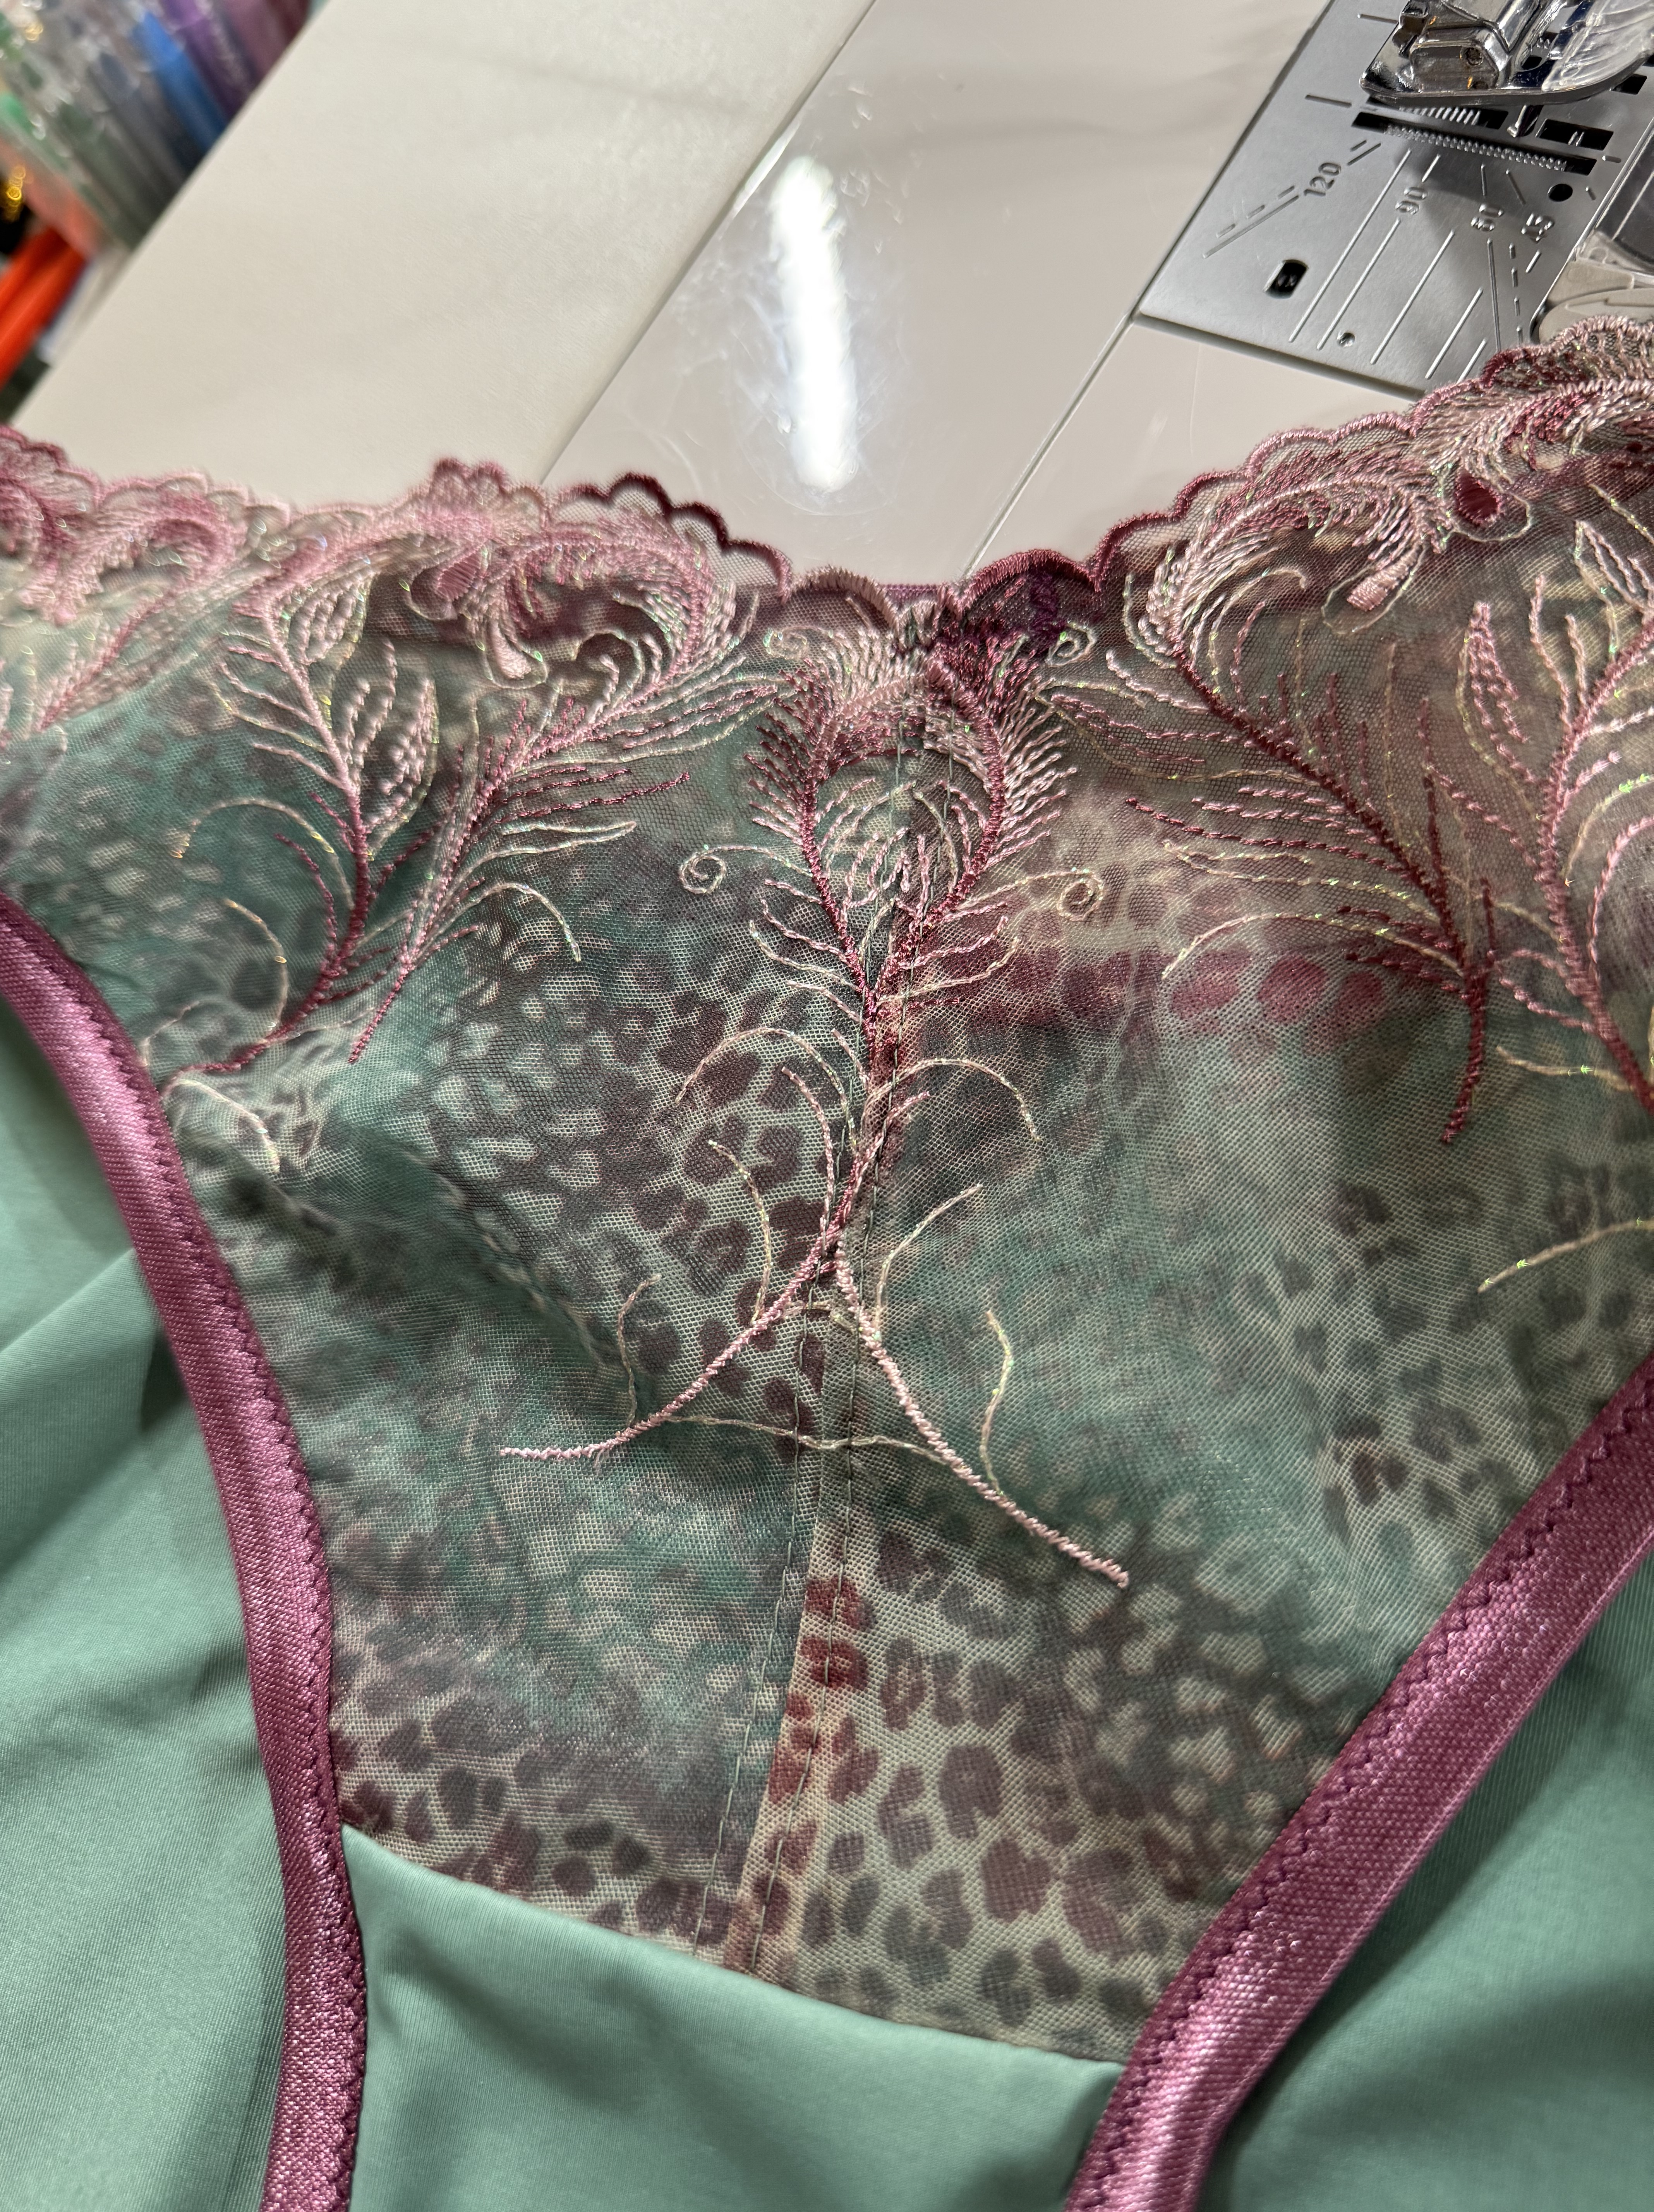
For my first experiment, I made a matching bottom to go with my Freja bra. This lace was only one direction, so I used my self-drafted pattern with the forward rotated side seam and cut a full panel to go across the front. I used my serger for all of the major seams, and finished off the edges with FOE. Overall I think it is a great way to finish off the set.


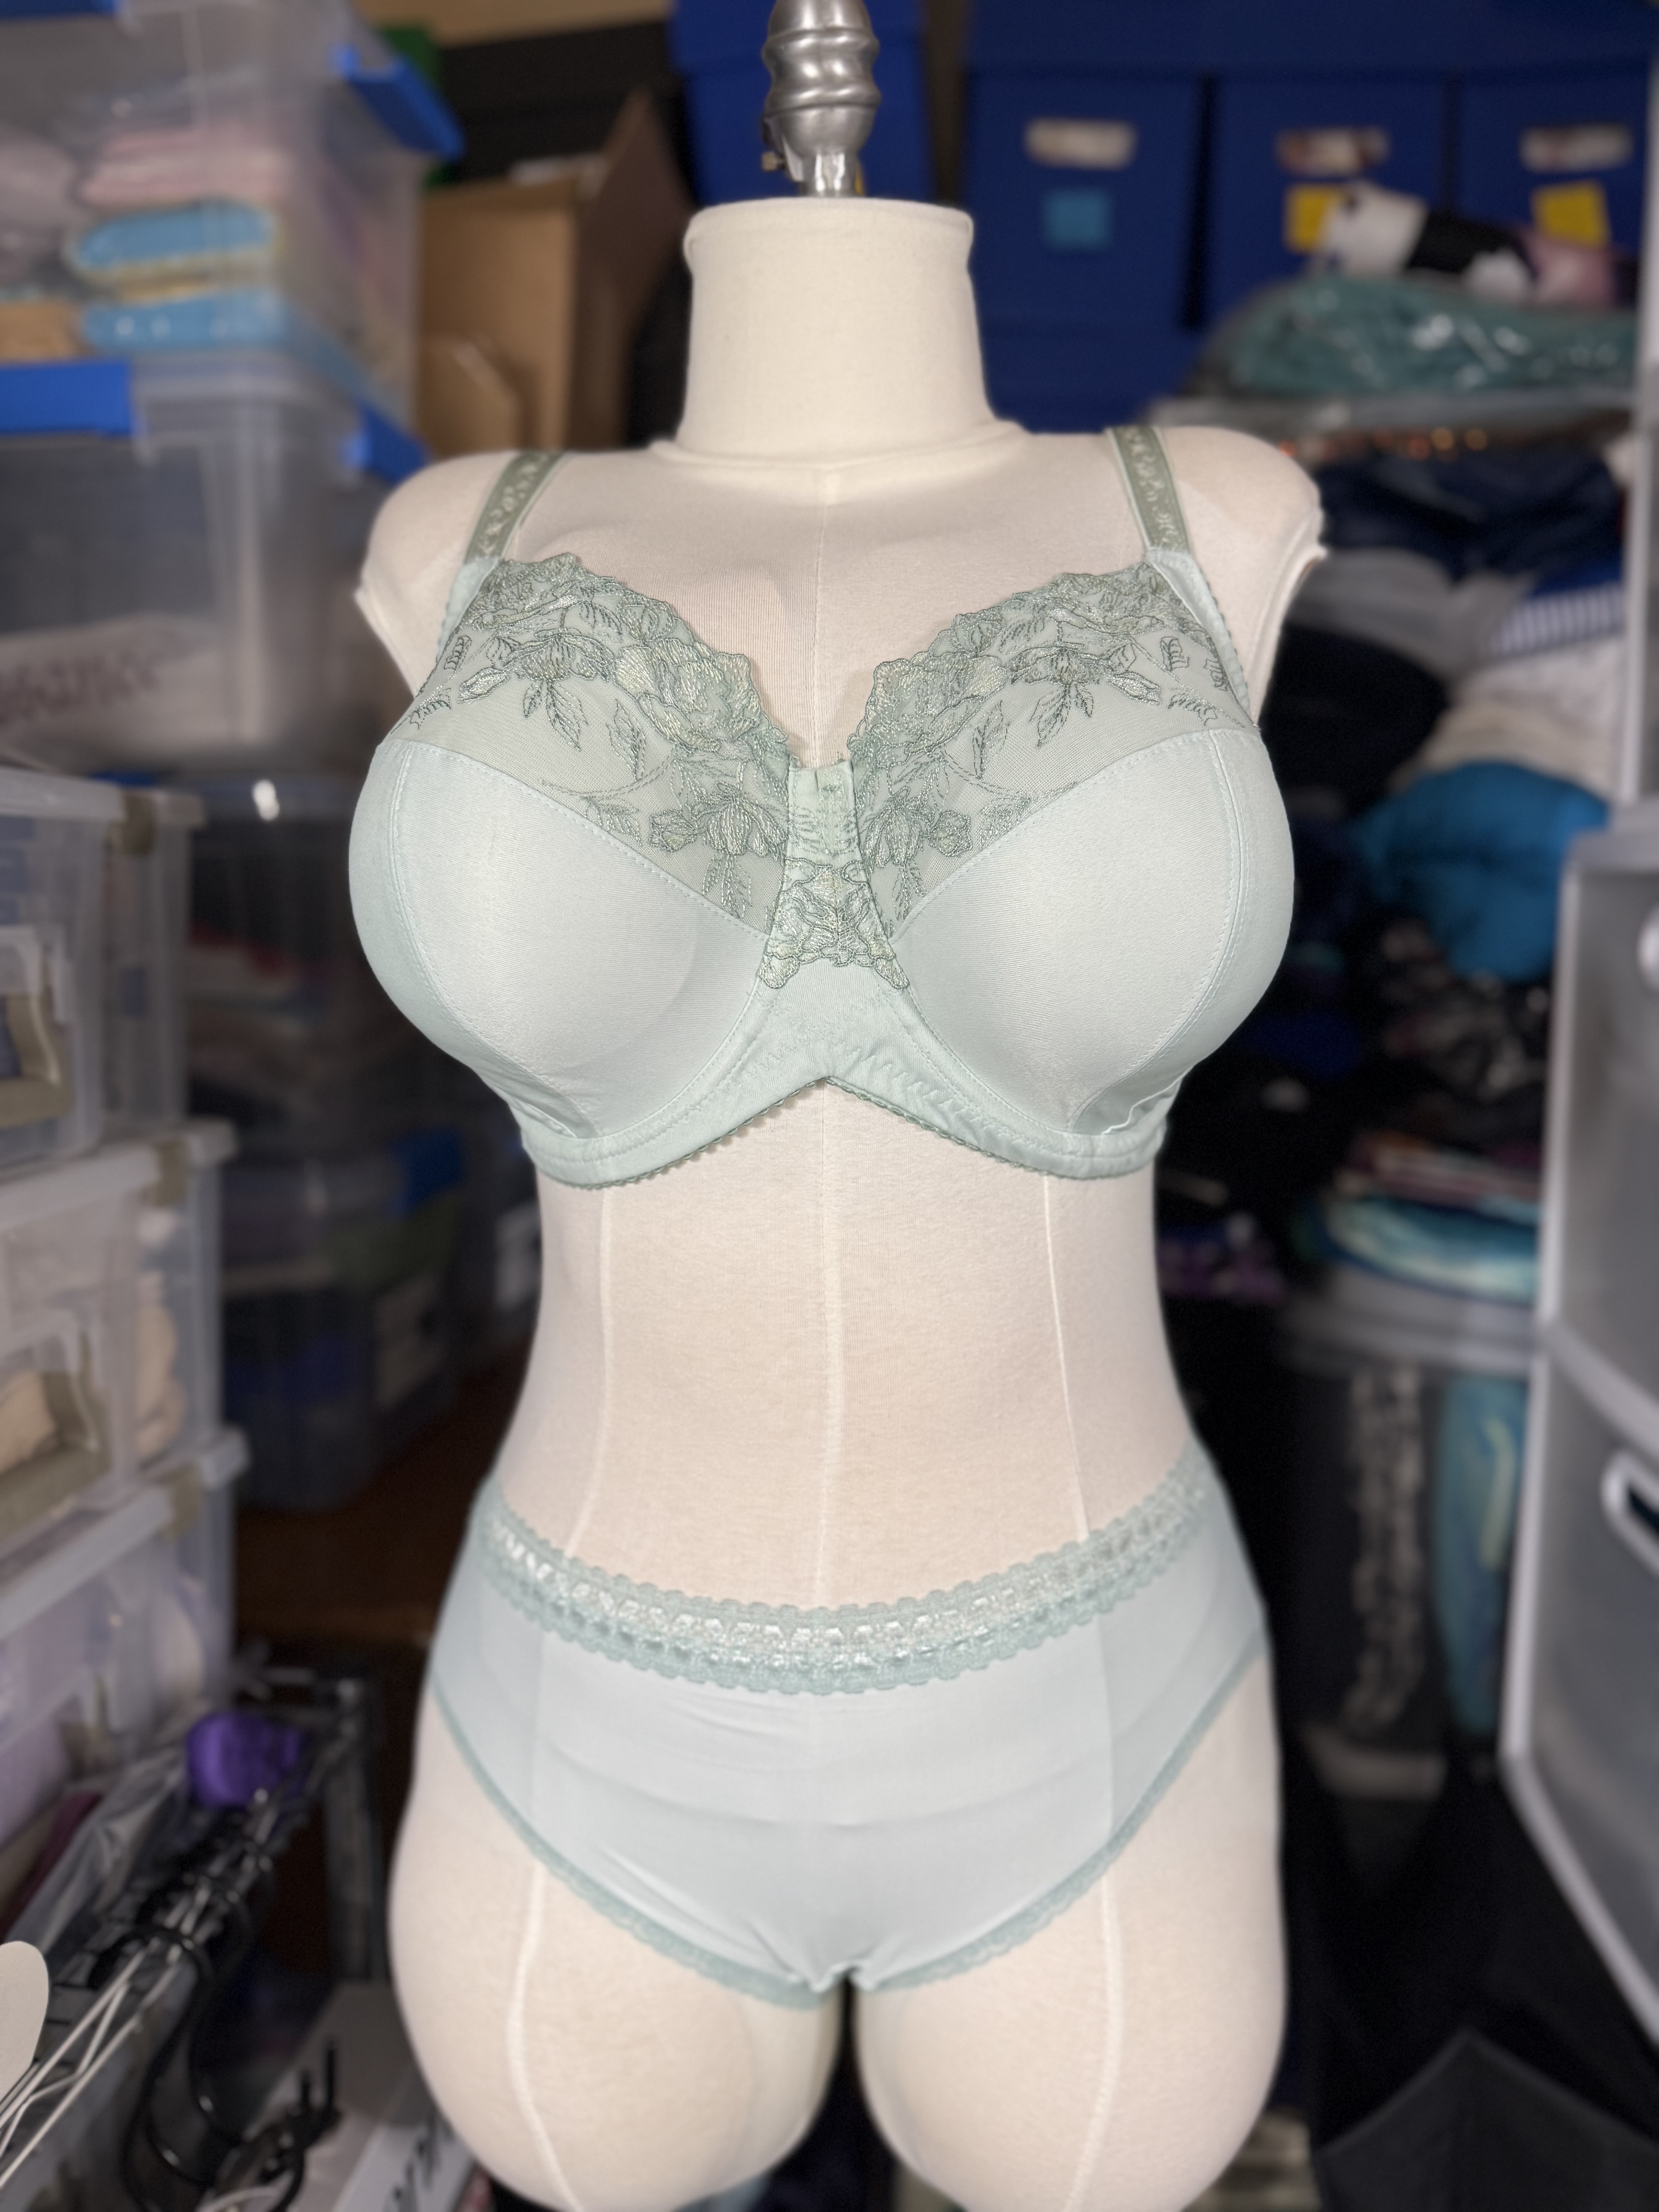
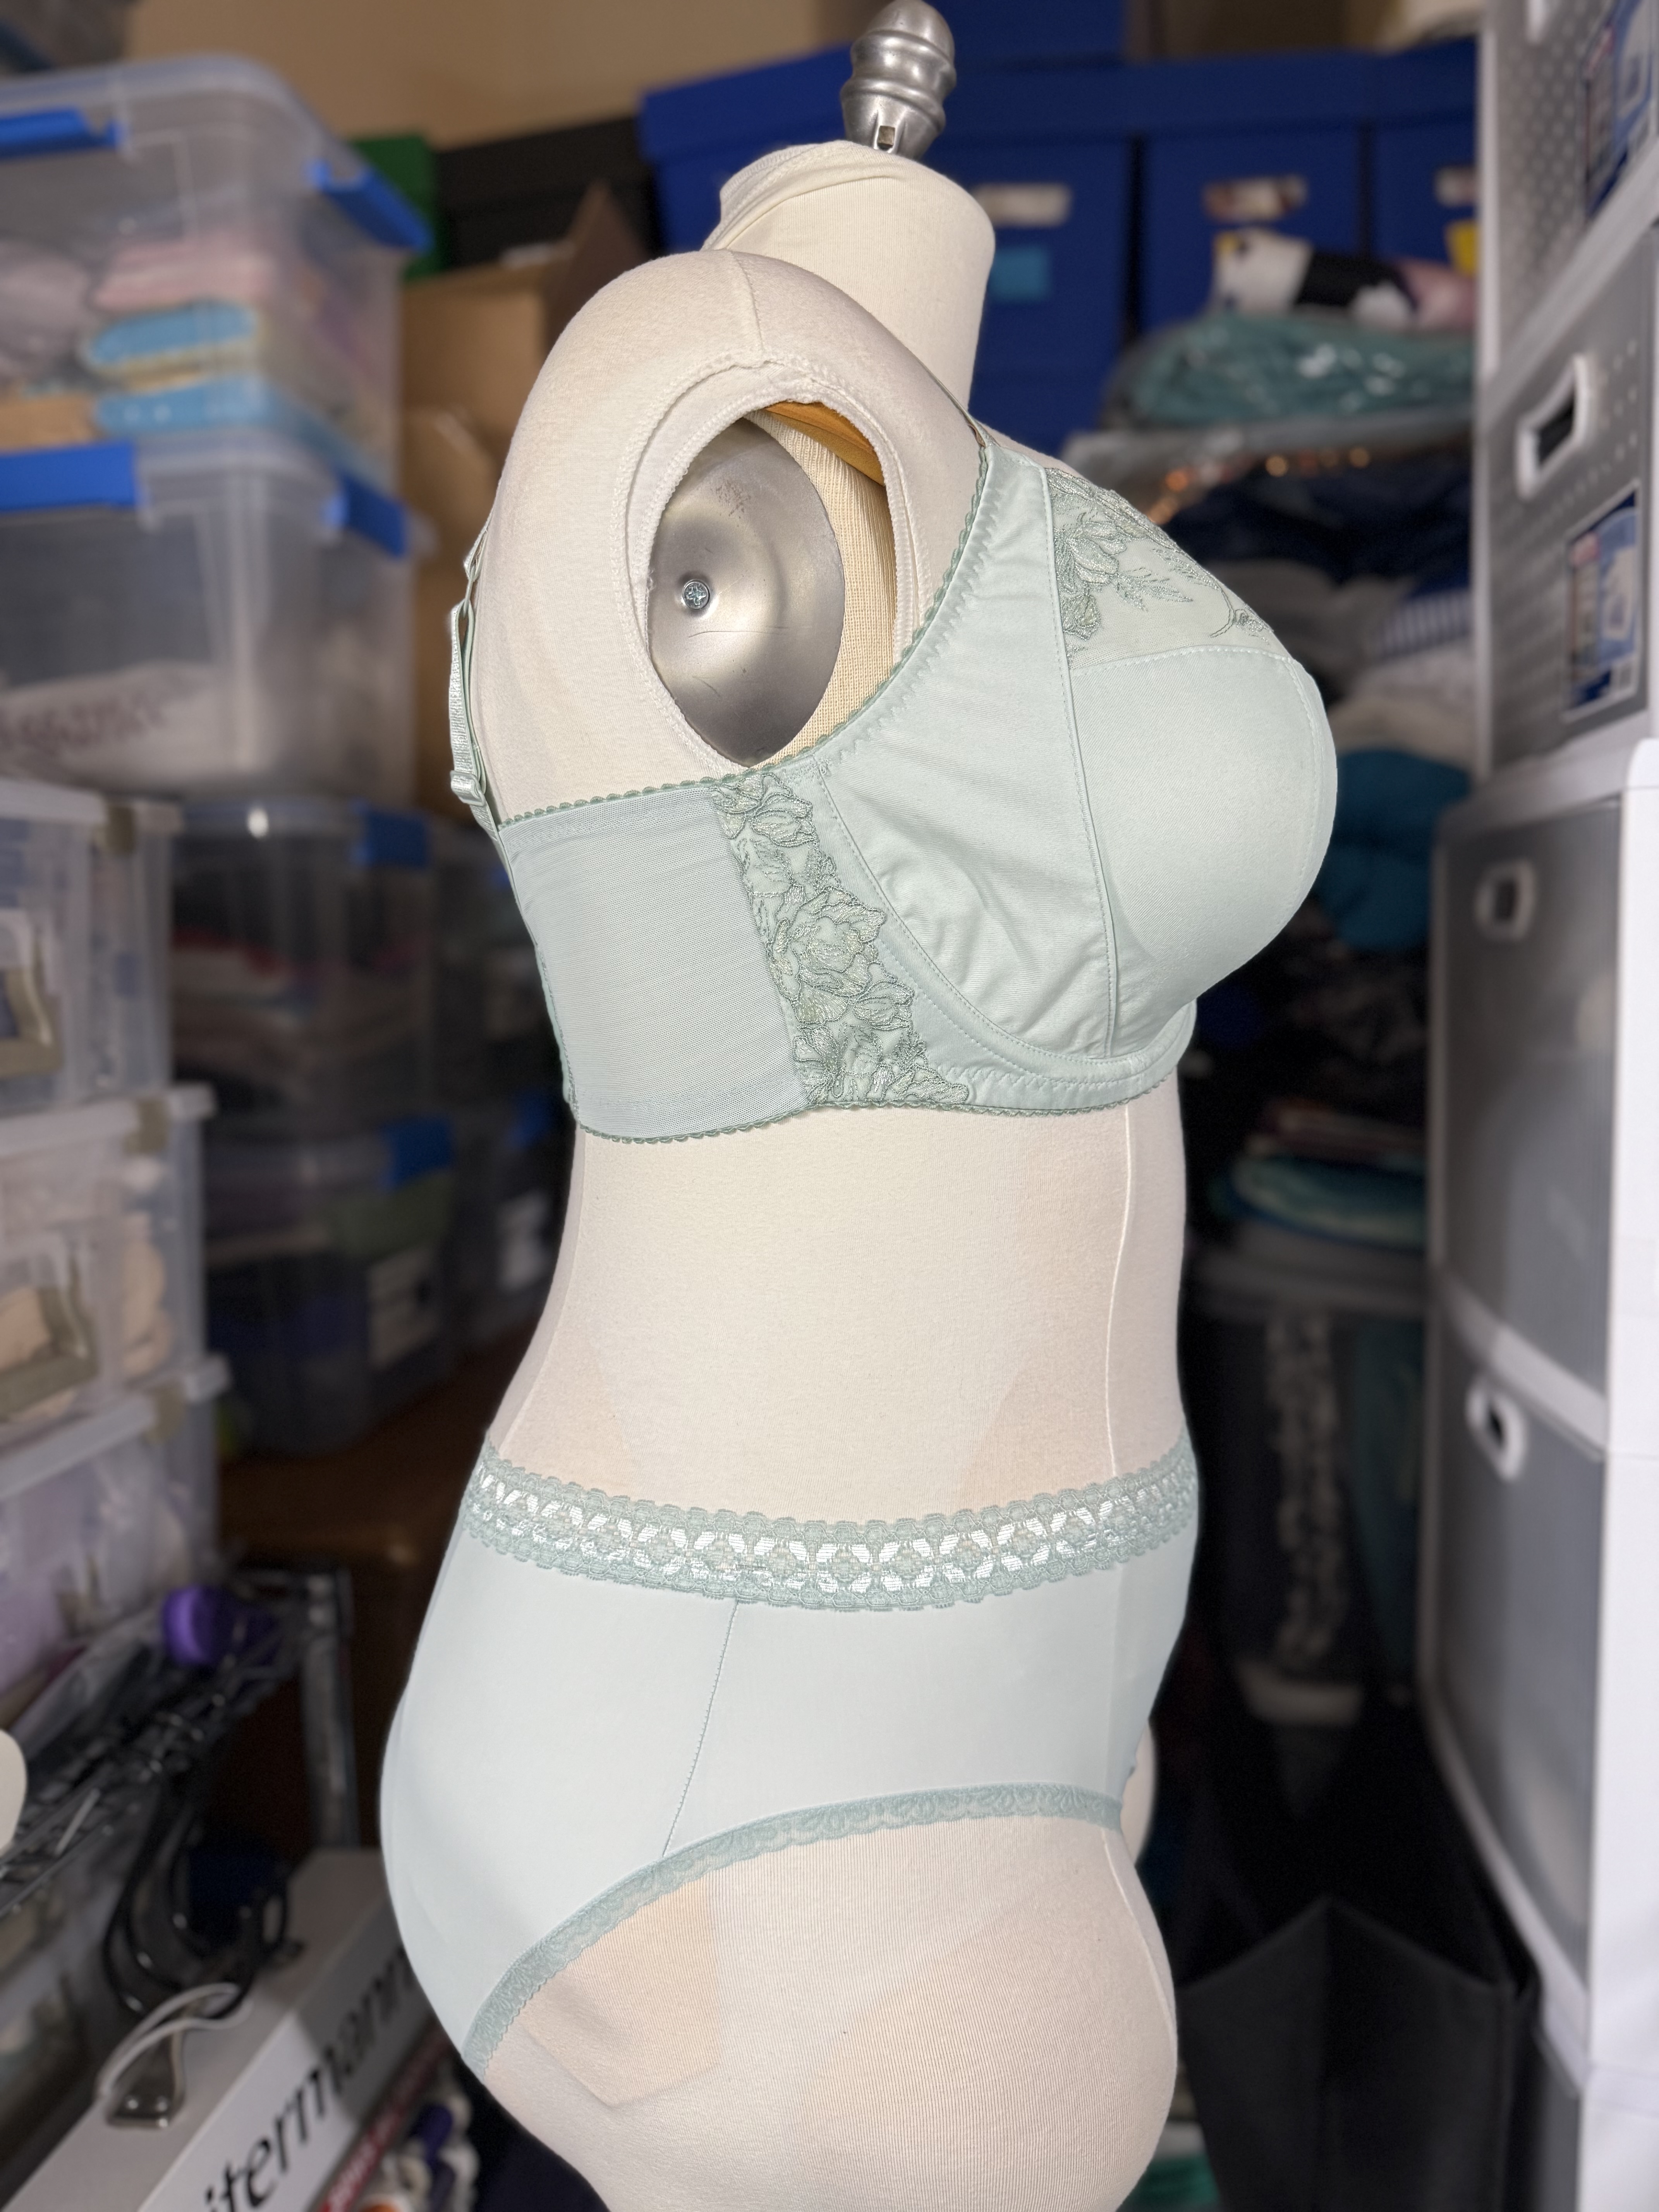
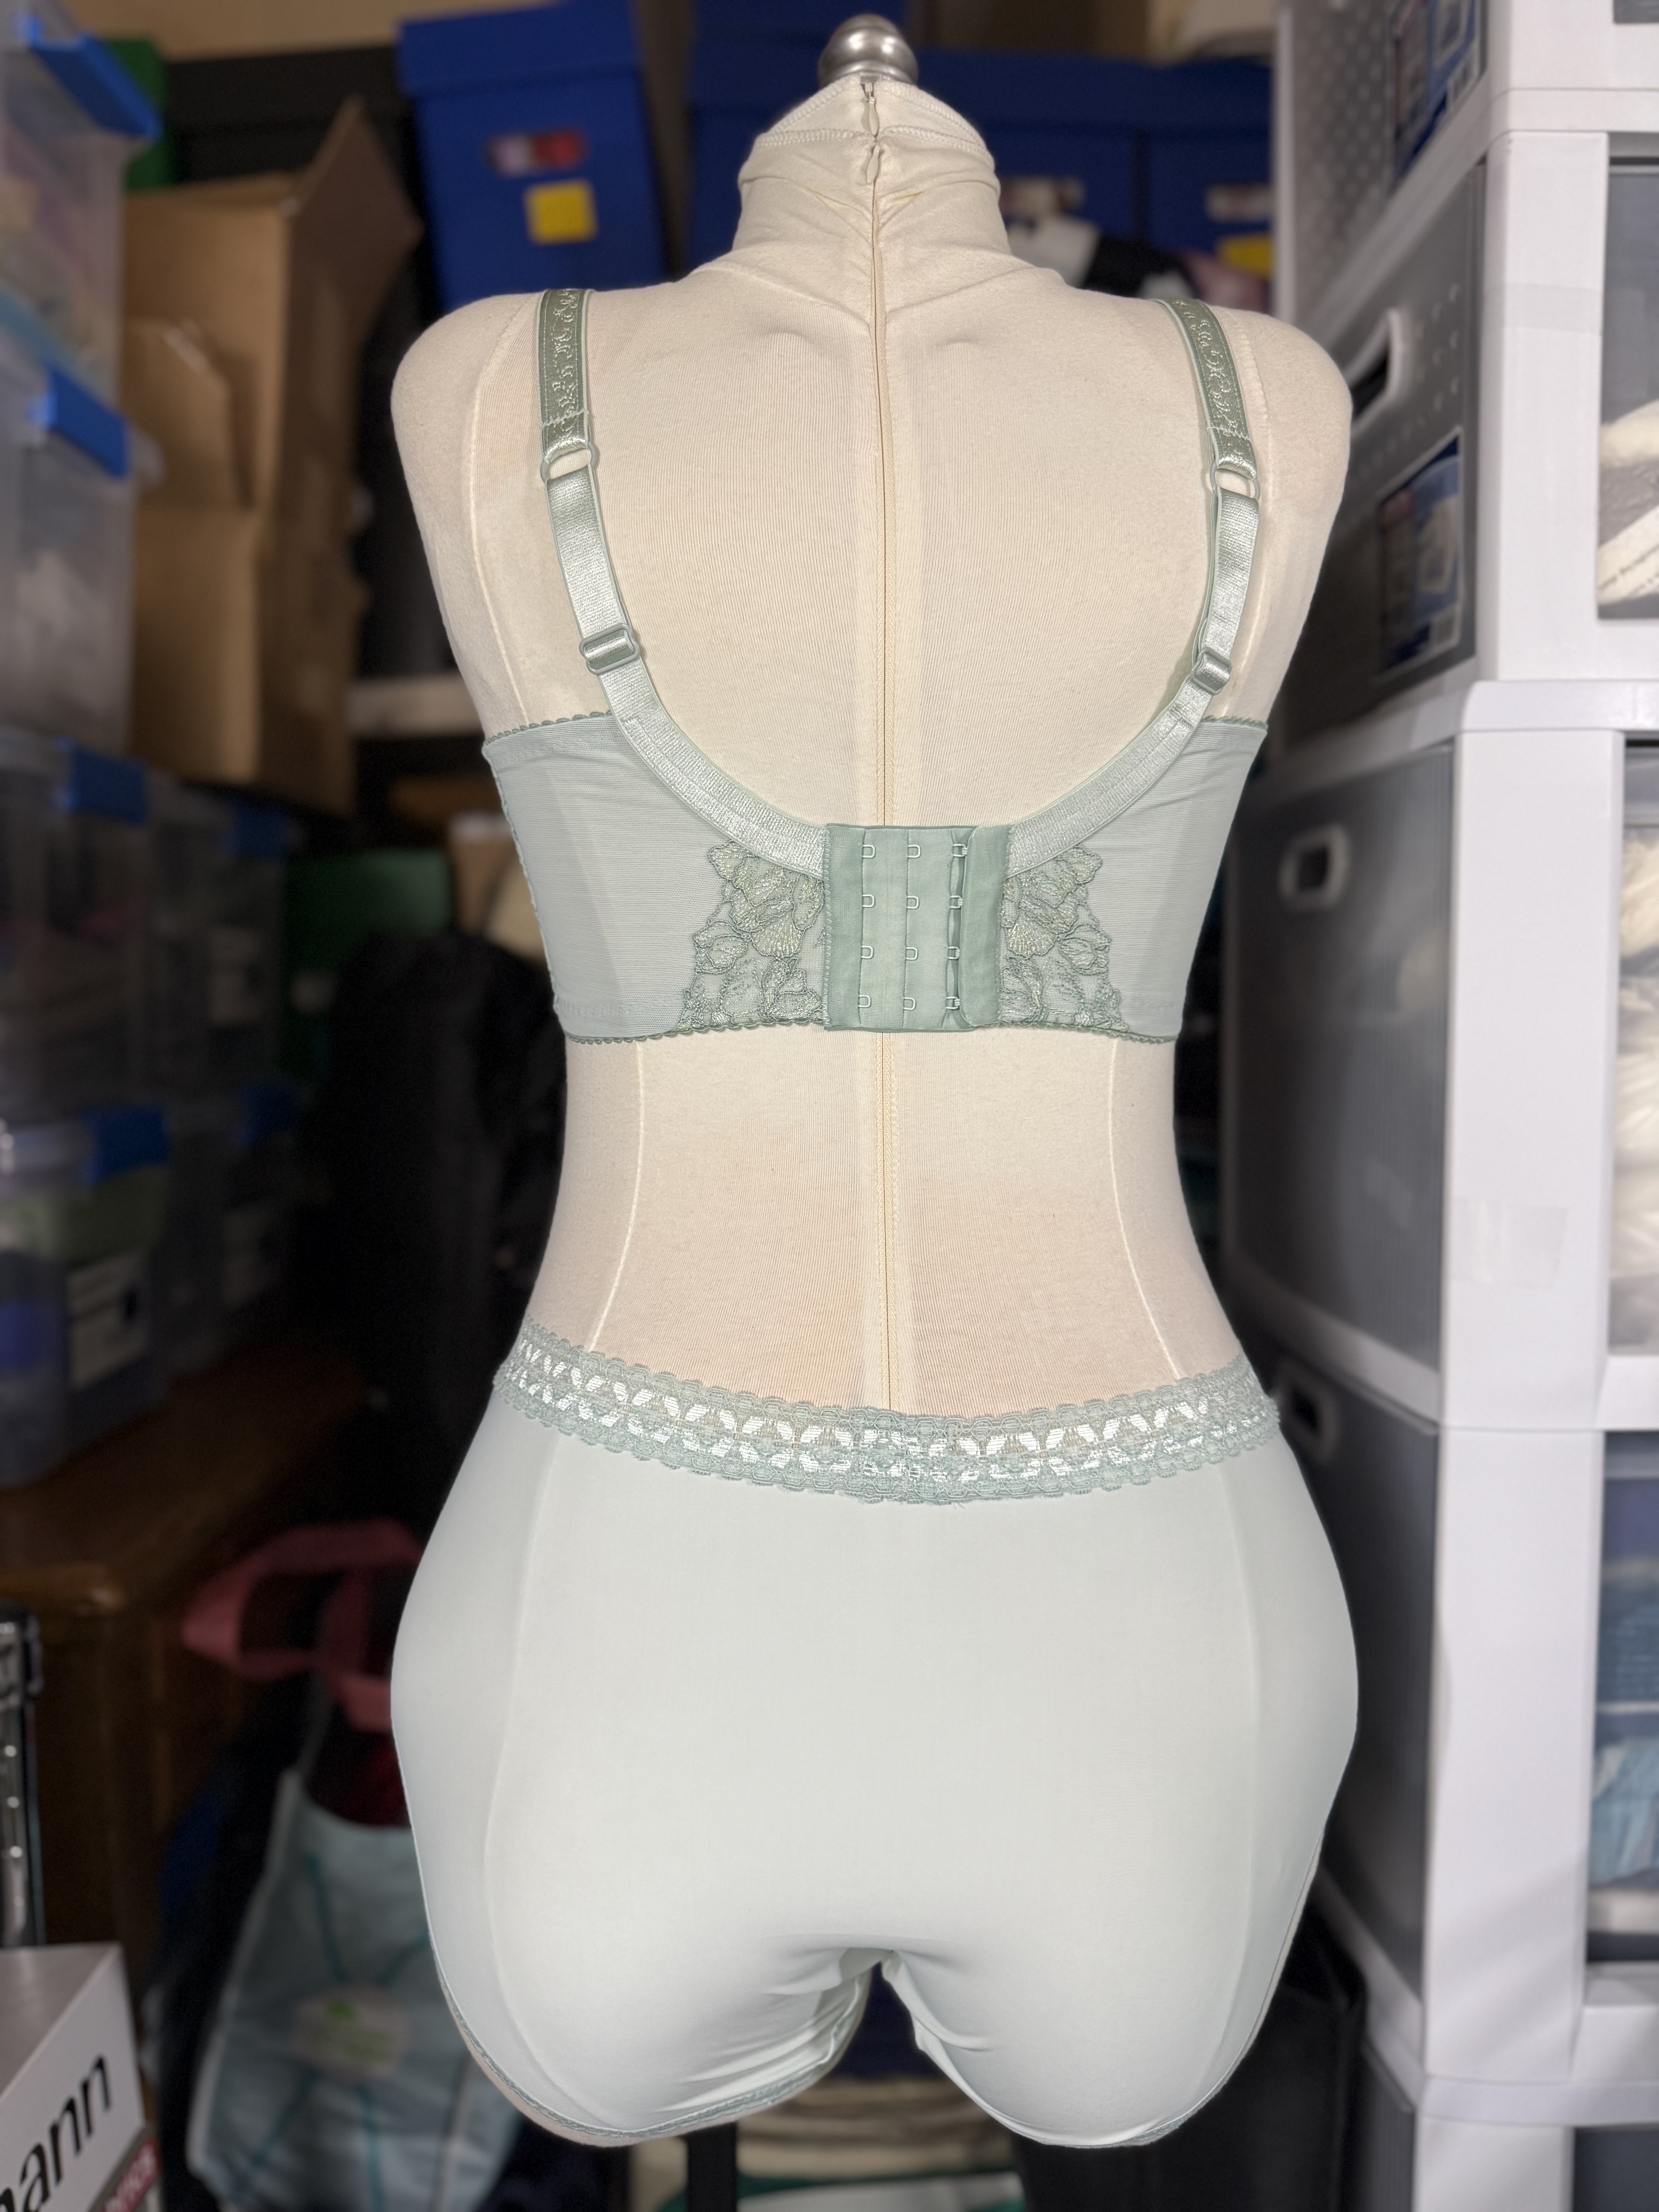
To match my Elegance bra, I made a pair of the Friday French Cuts from Emerald Erin. I love how well this pattern showcases rigid lace, and now that I’ve got the back modified for true full coverage, it’s comfy and cute!


The only real modifications I made on this version was that I constructed the whole thing on my sewing machine. I usually use the serger to finish the crotch seams and the side seams, but I couldn’t be bothered to change my thread colors for such little sewing. So I used the regular sewing machine for all of those and whipped out my M foot for a faux overlock stitch on the side seams, just to reduce possibility of fraying or itchiness from the cut edge of the lace. It’s such a tiny seam anyway it’s mostly covered by the elastic, so I was happy with that finish. It also has the enclosed seam on the center front; overall it looks really tidy outside and in. I might go to fully using the sewing machine on this pattern in the future – it’s so fast when you don’t have to change serger threads!
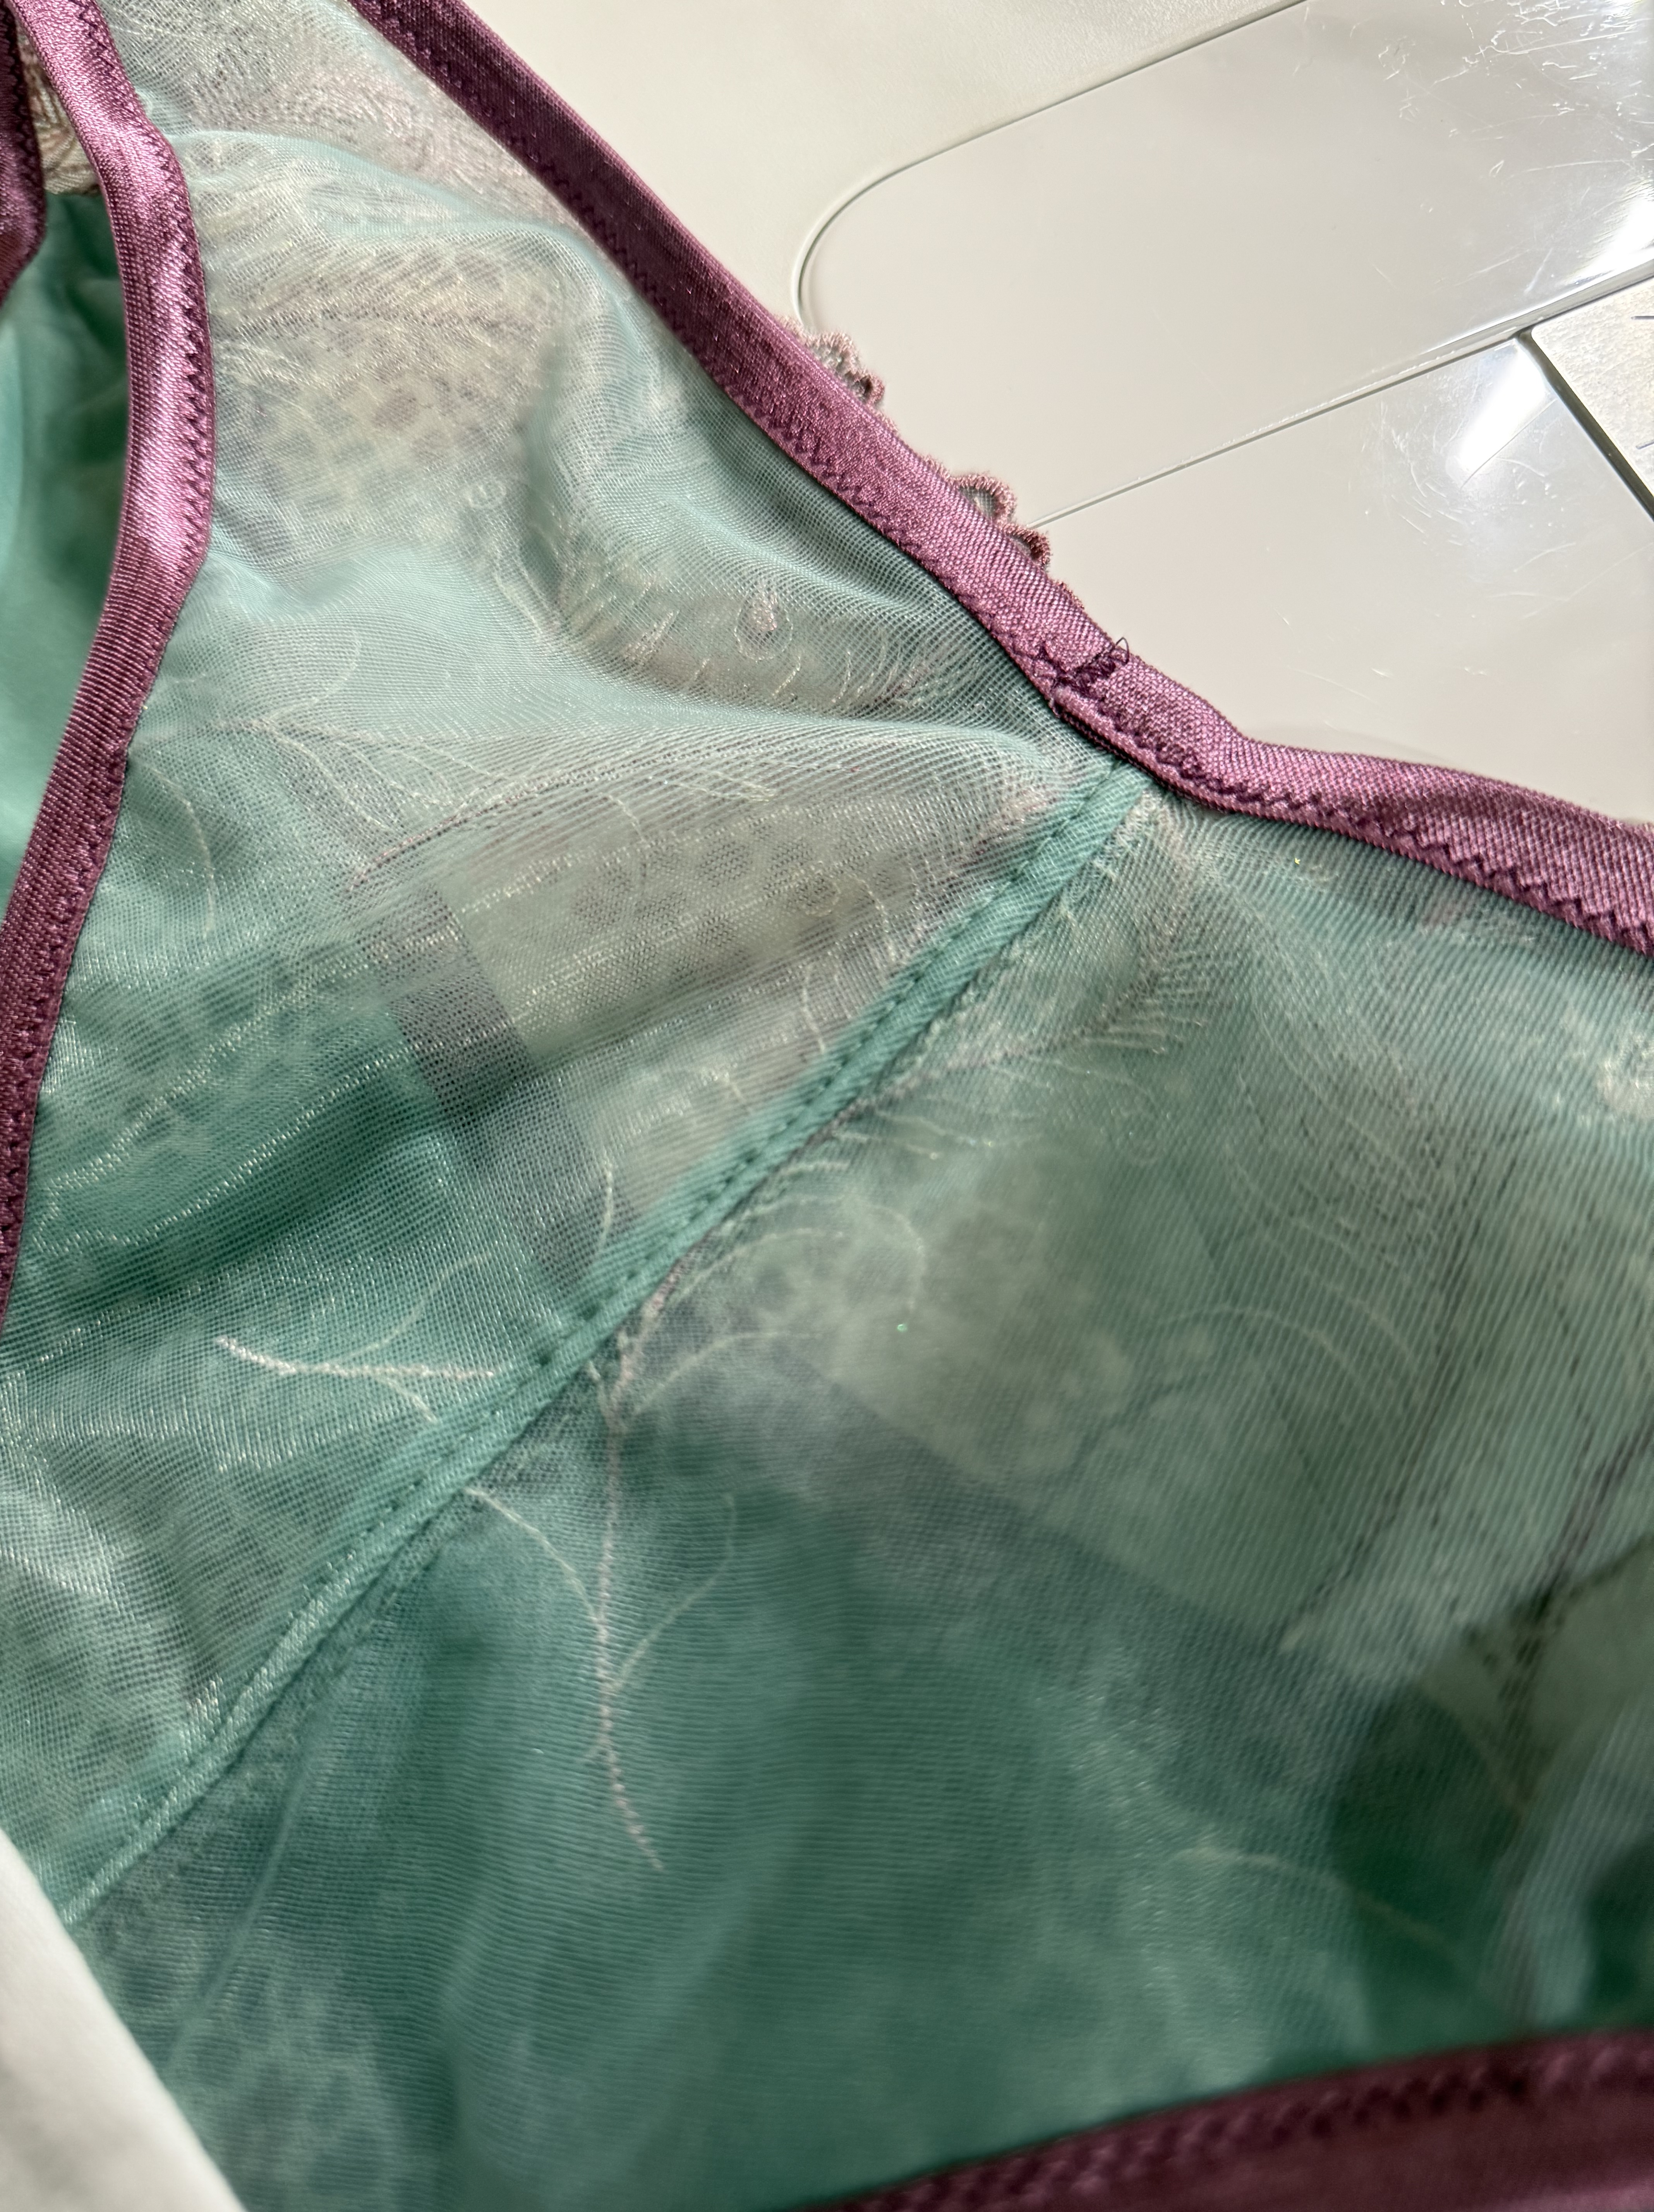

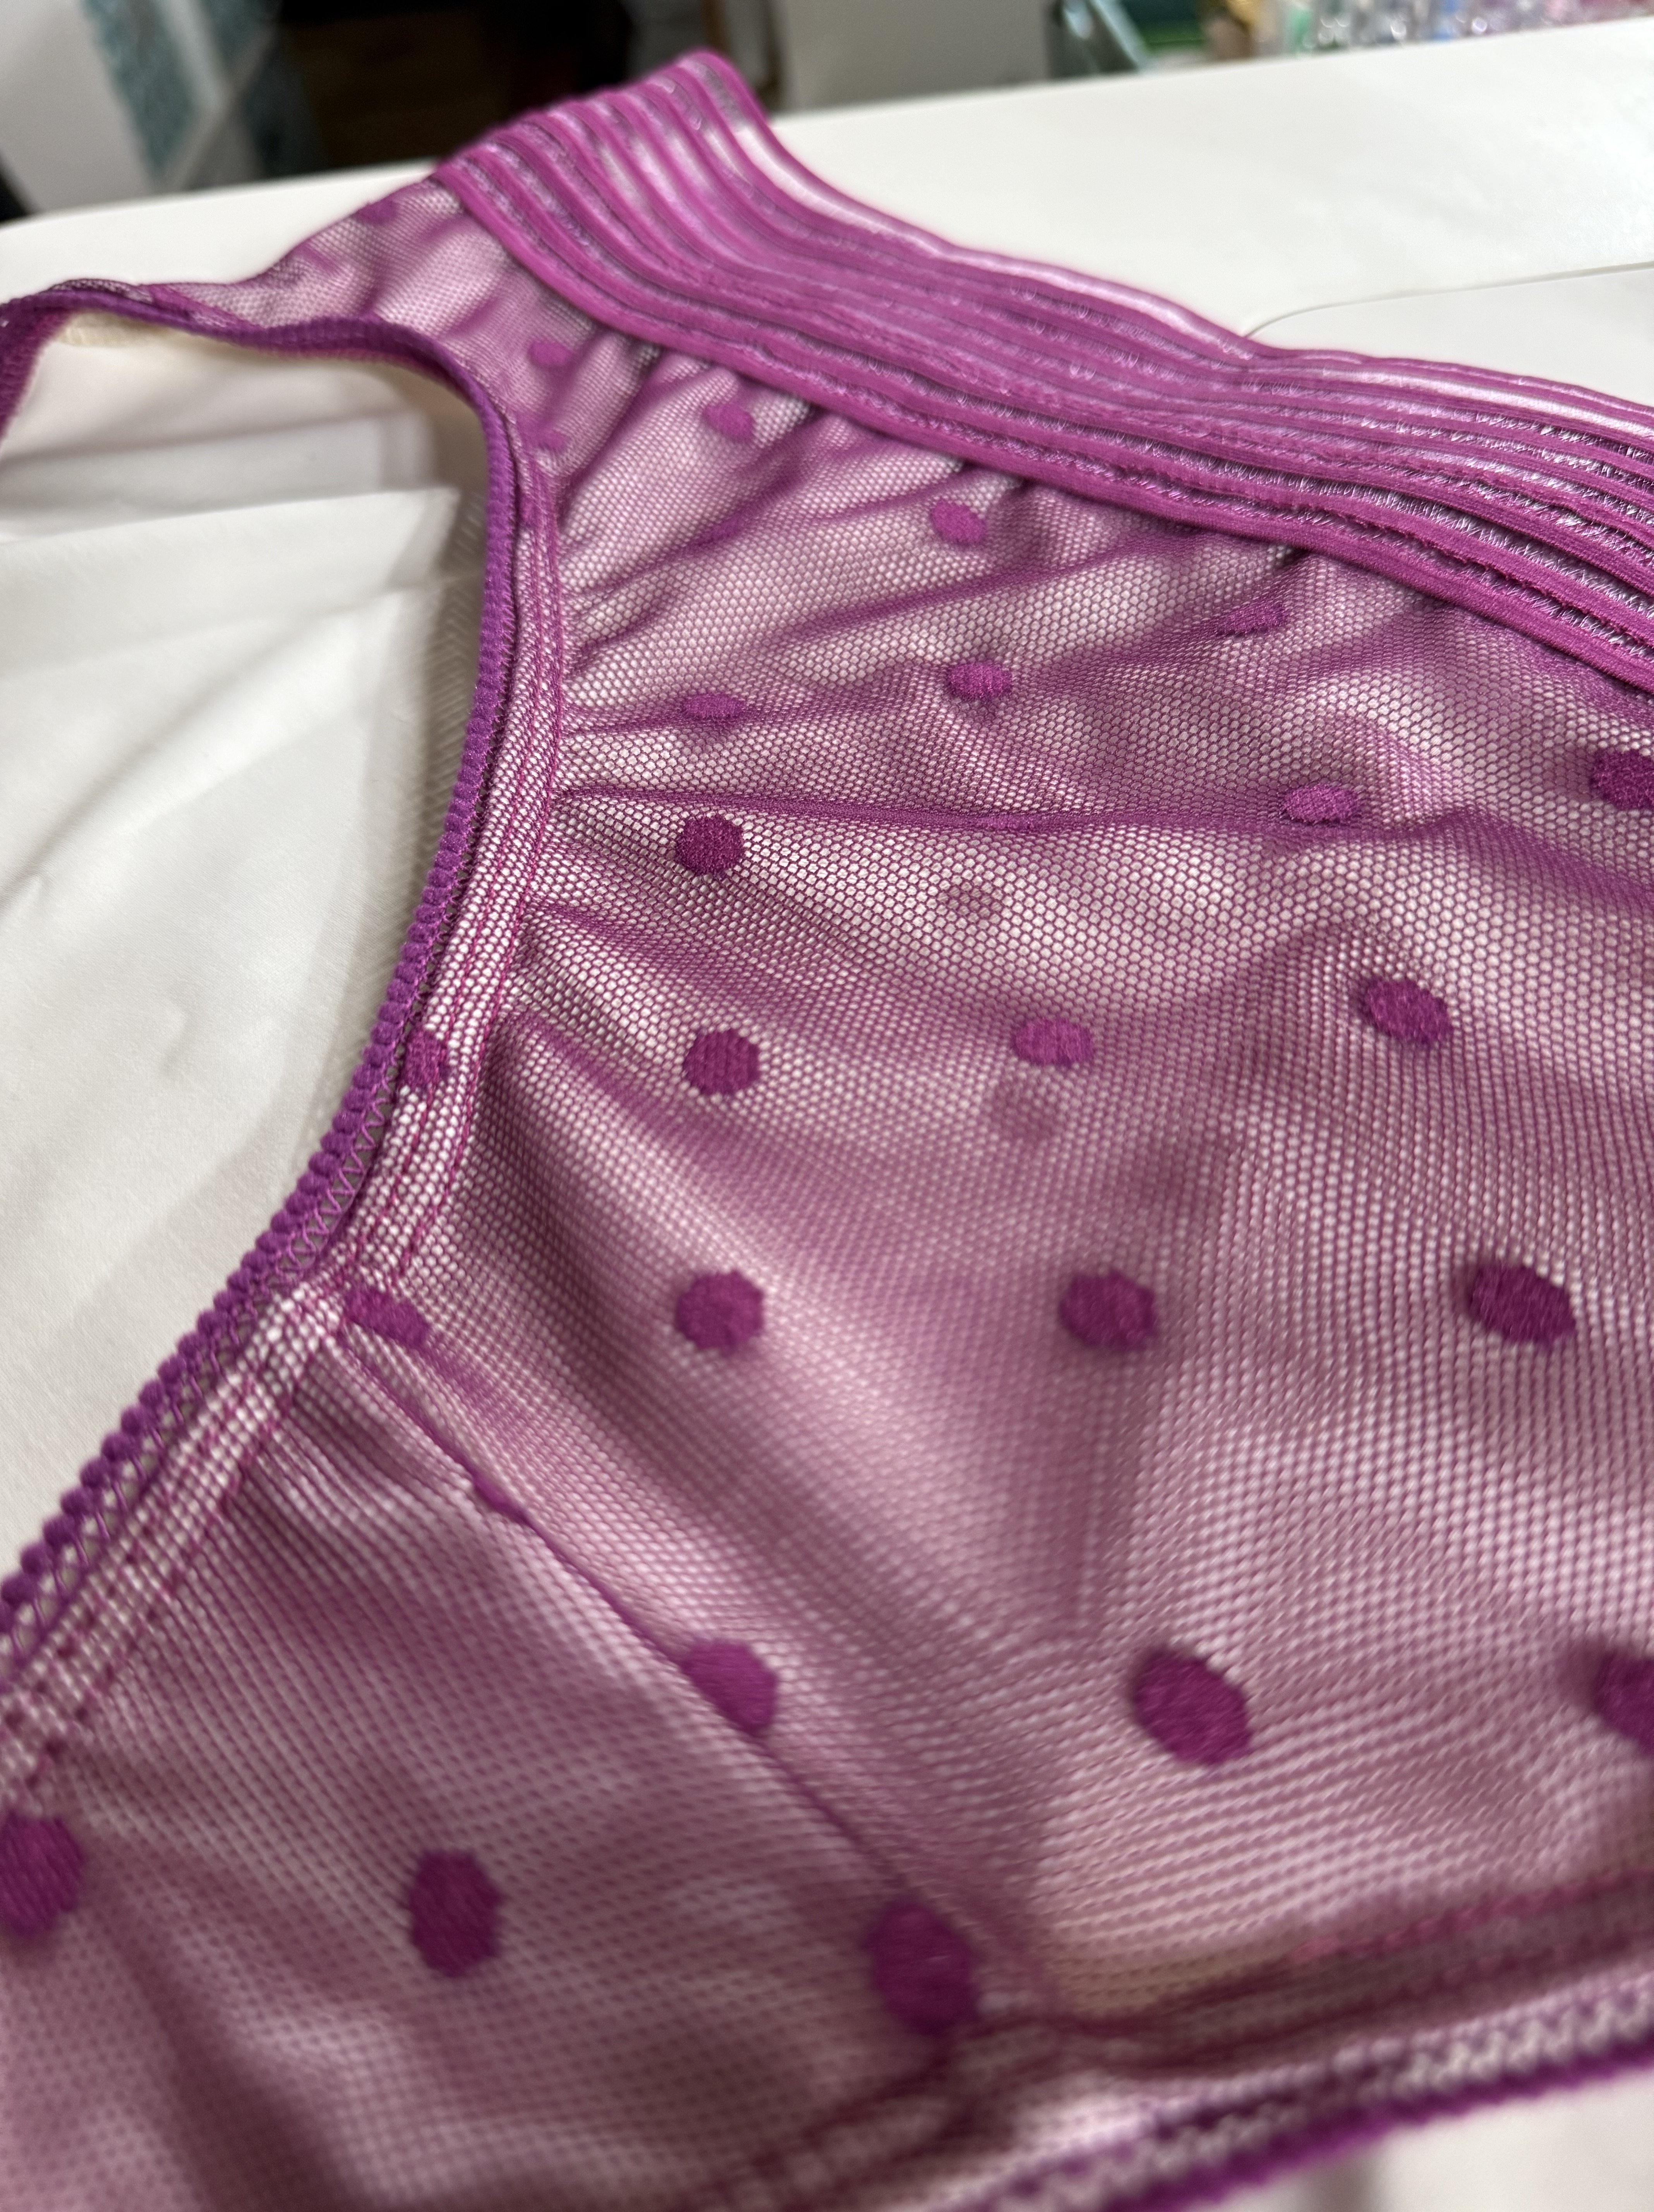
For the matching set for the Ruby I used my basic self-drafted pattern and more of the materials that were part of my BRAdvent box from last year. The box came with the wide striped elastic and the tiny fuzzy ball elastic dyed to match the dot stretch mesh, so of course I used those to finish off the undies. This was my first time using those specific types of elastics from Bra Builders, and I have to say the quality was really nice!


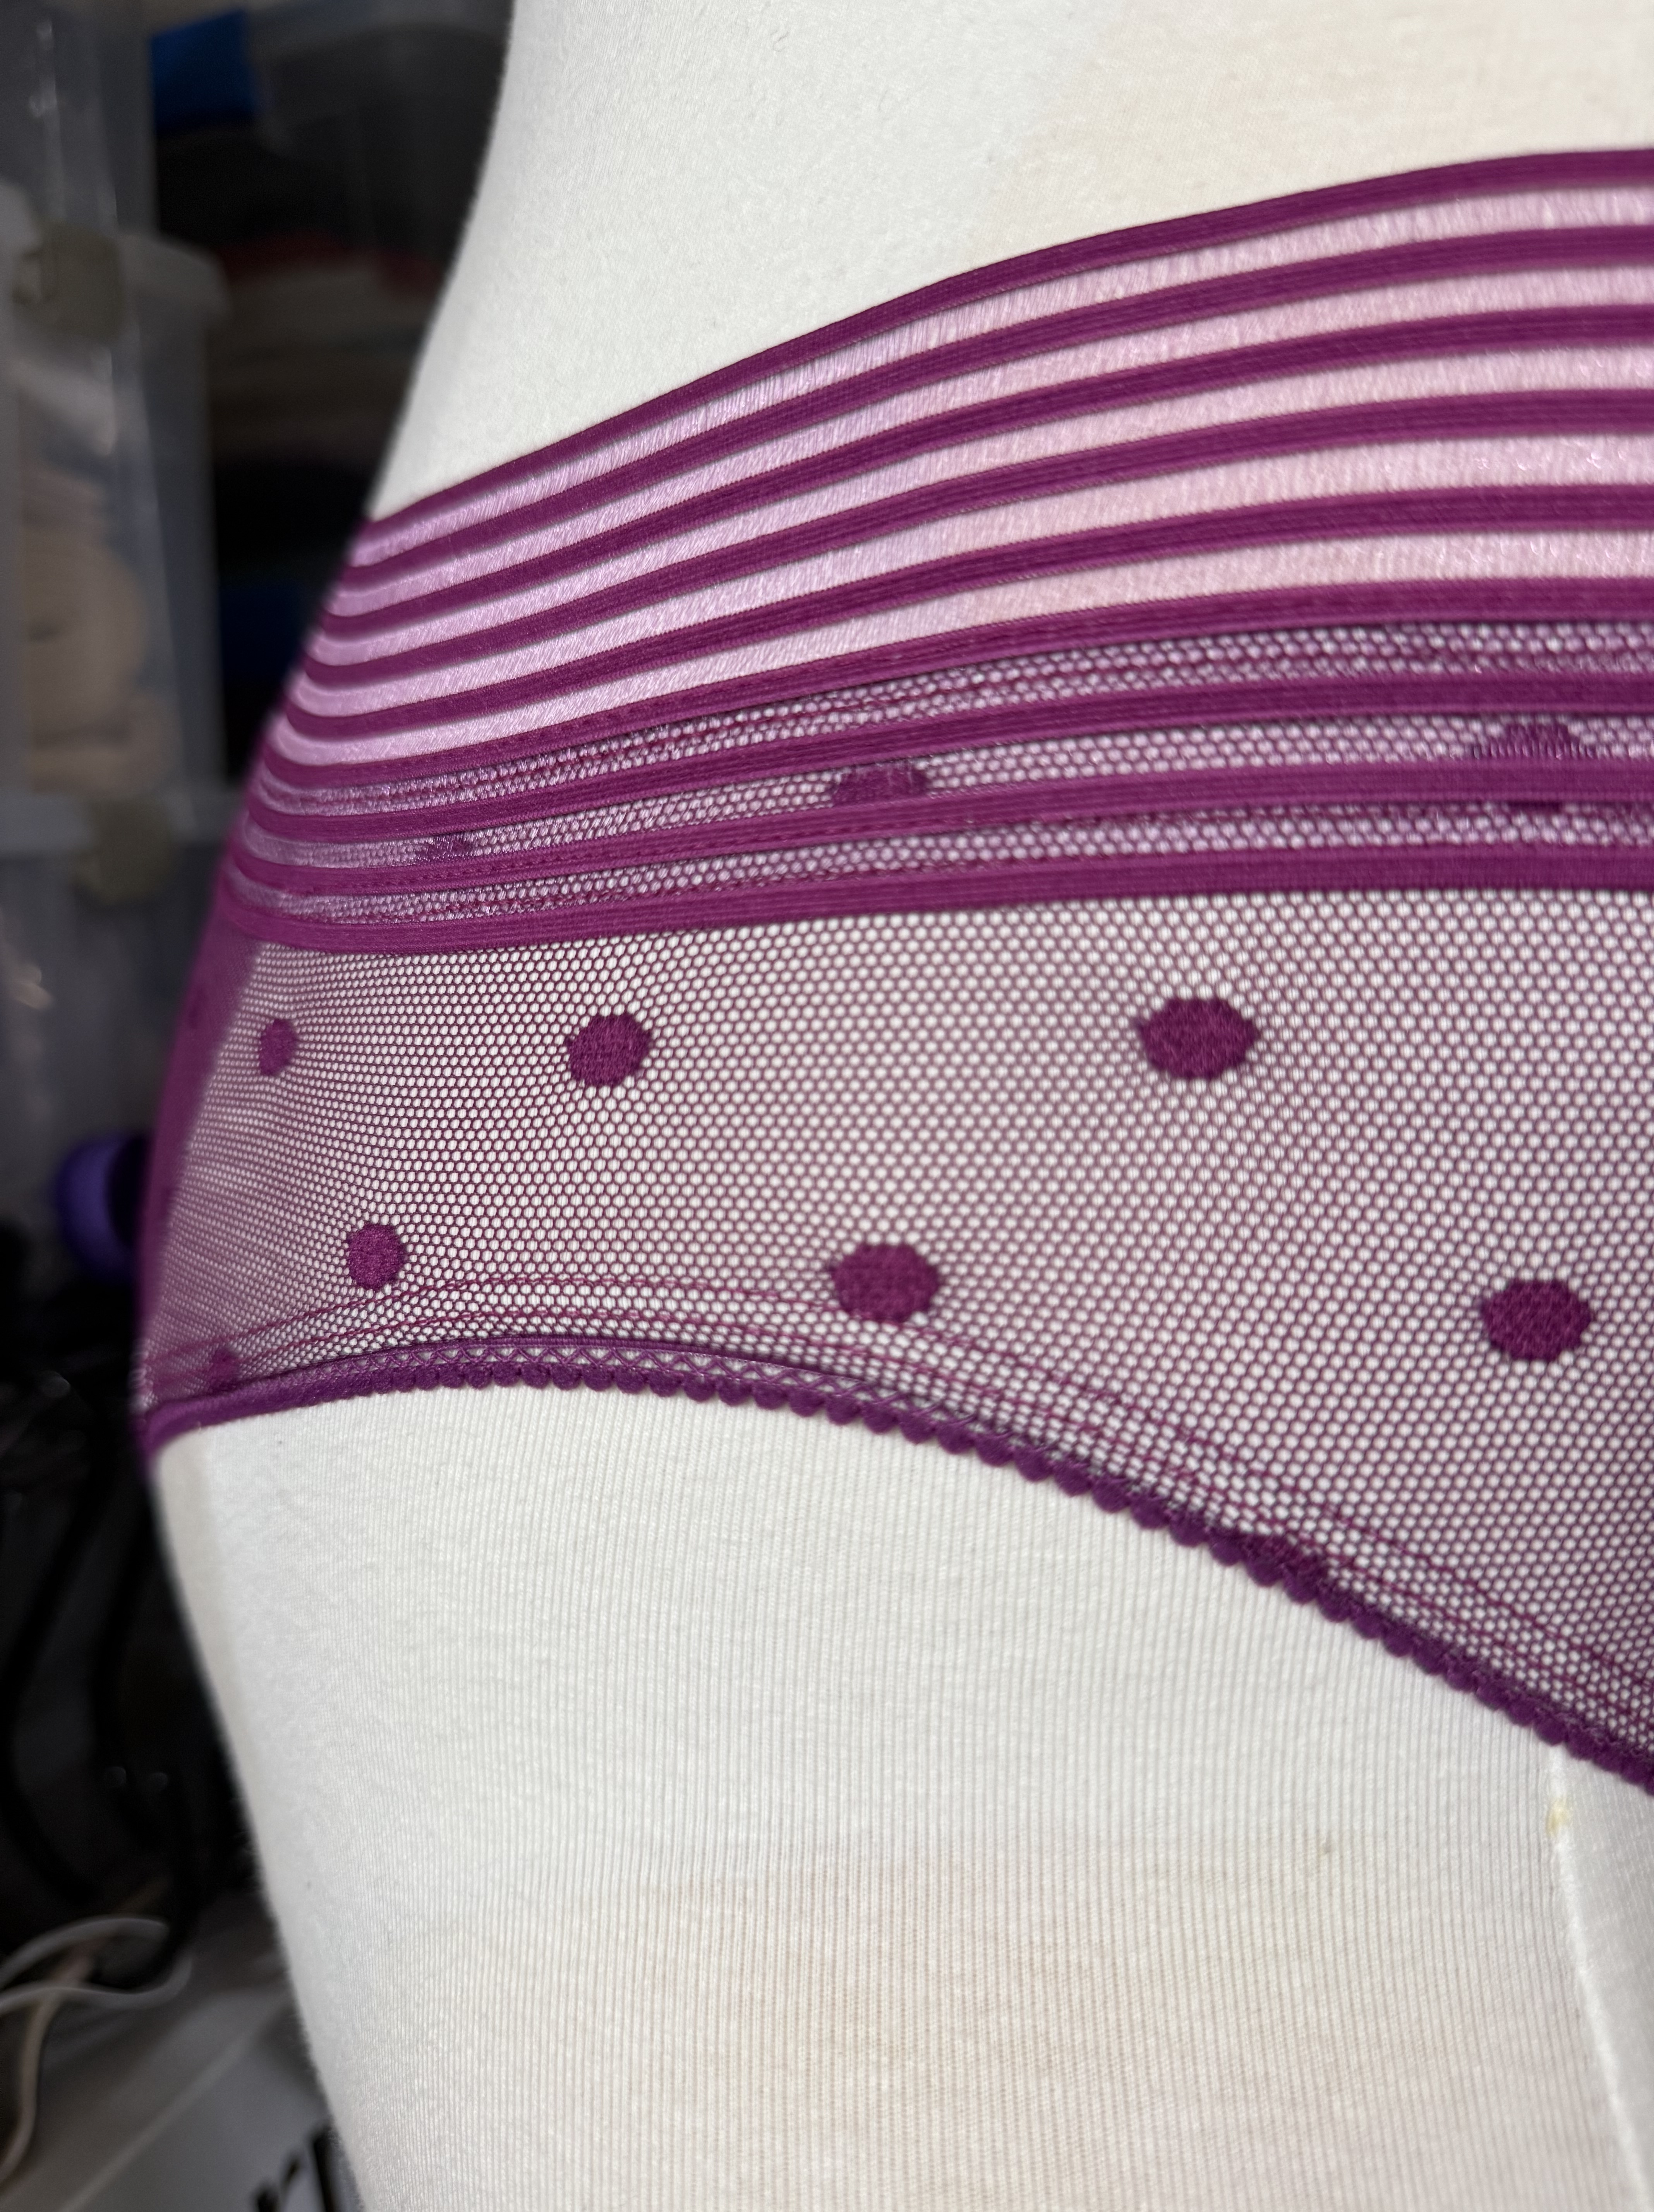
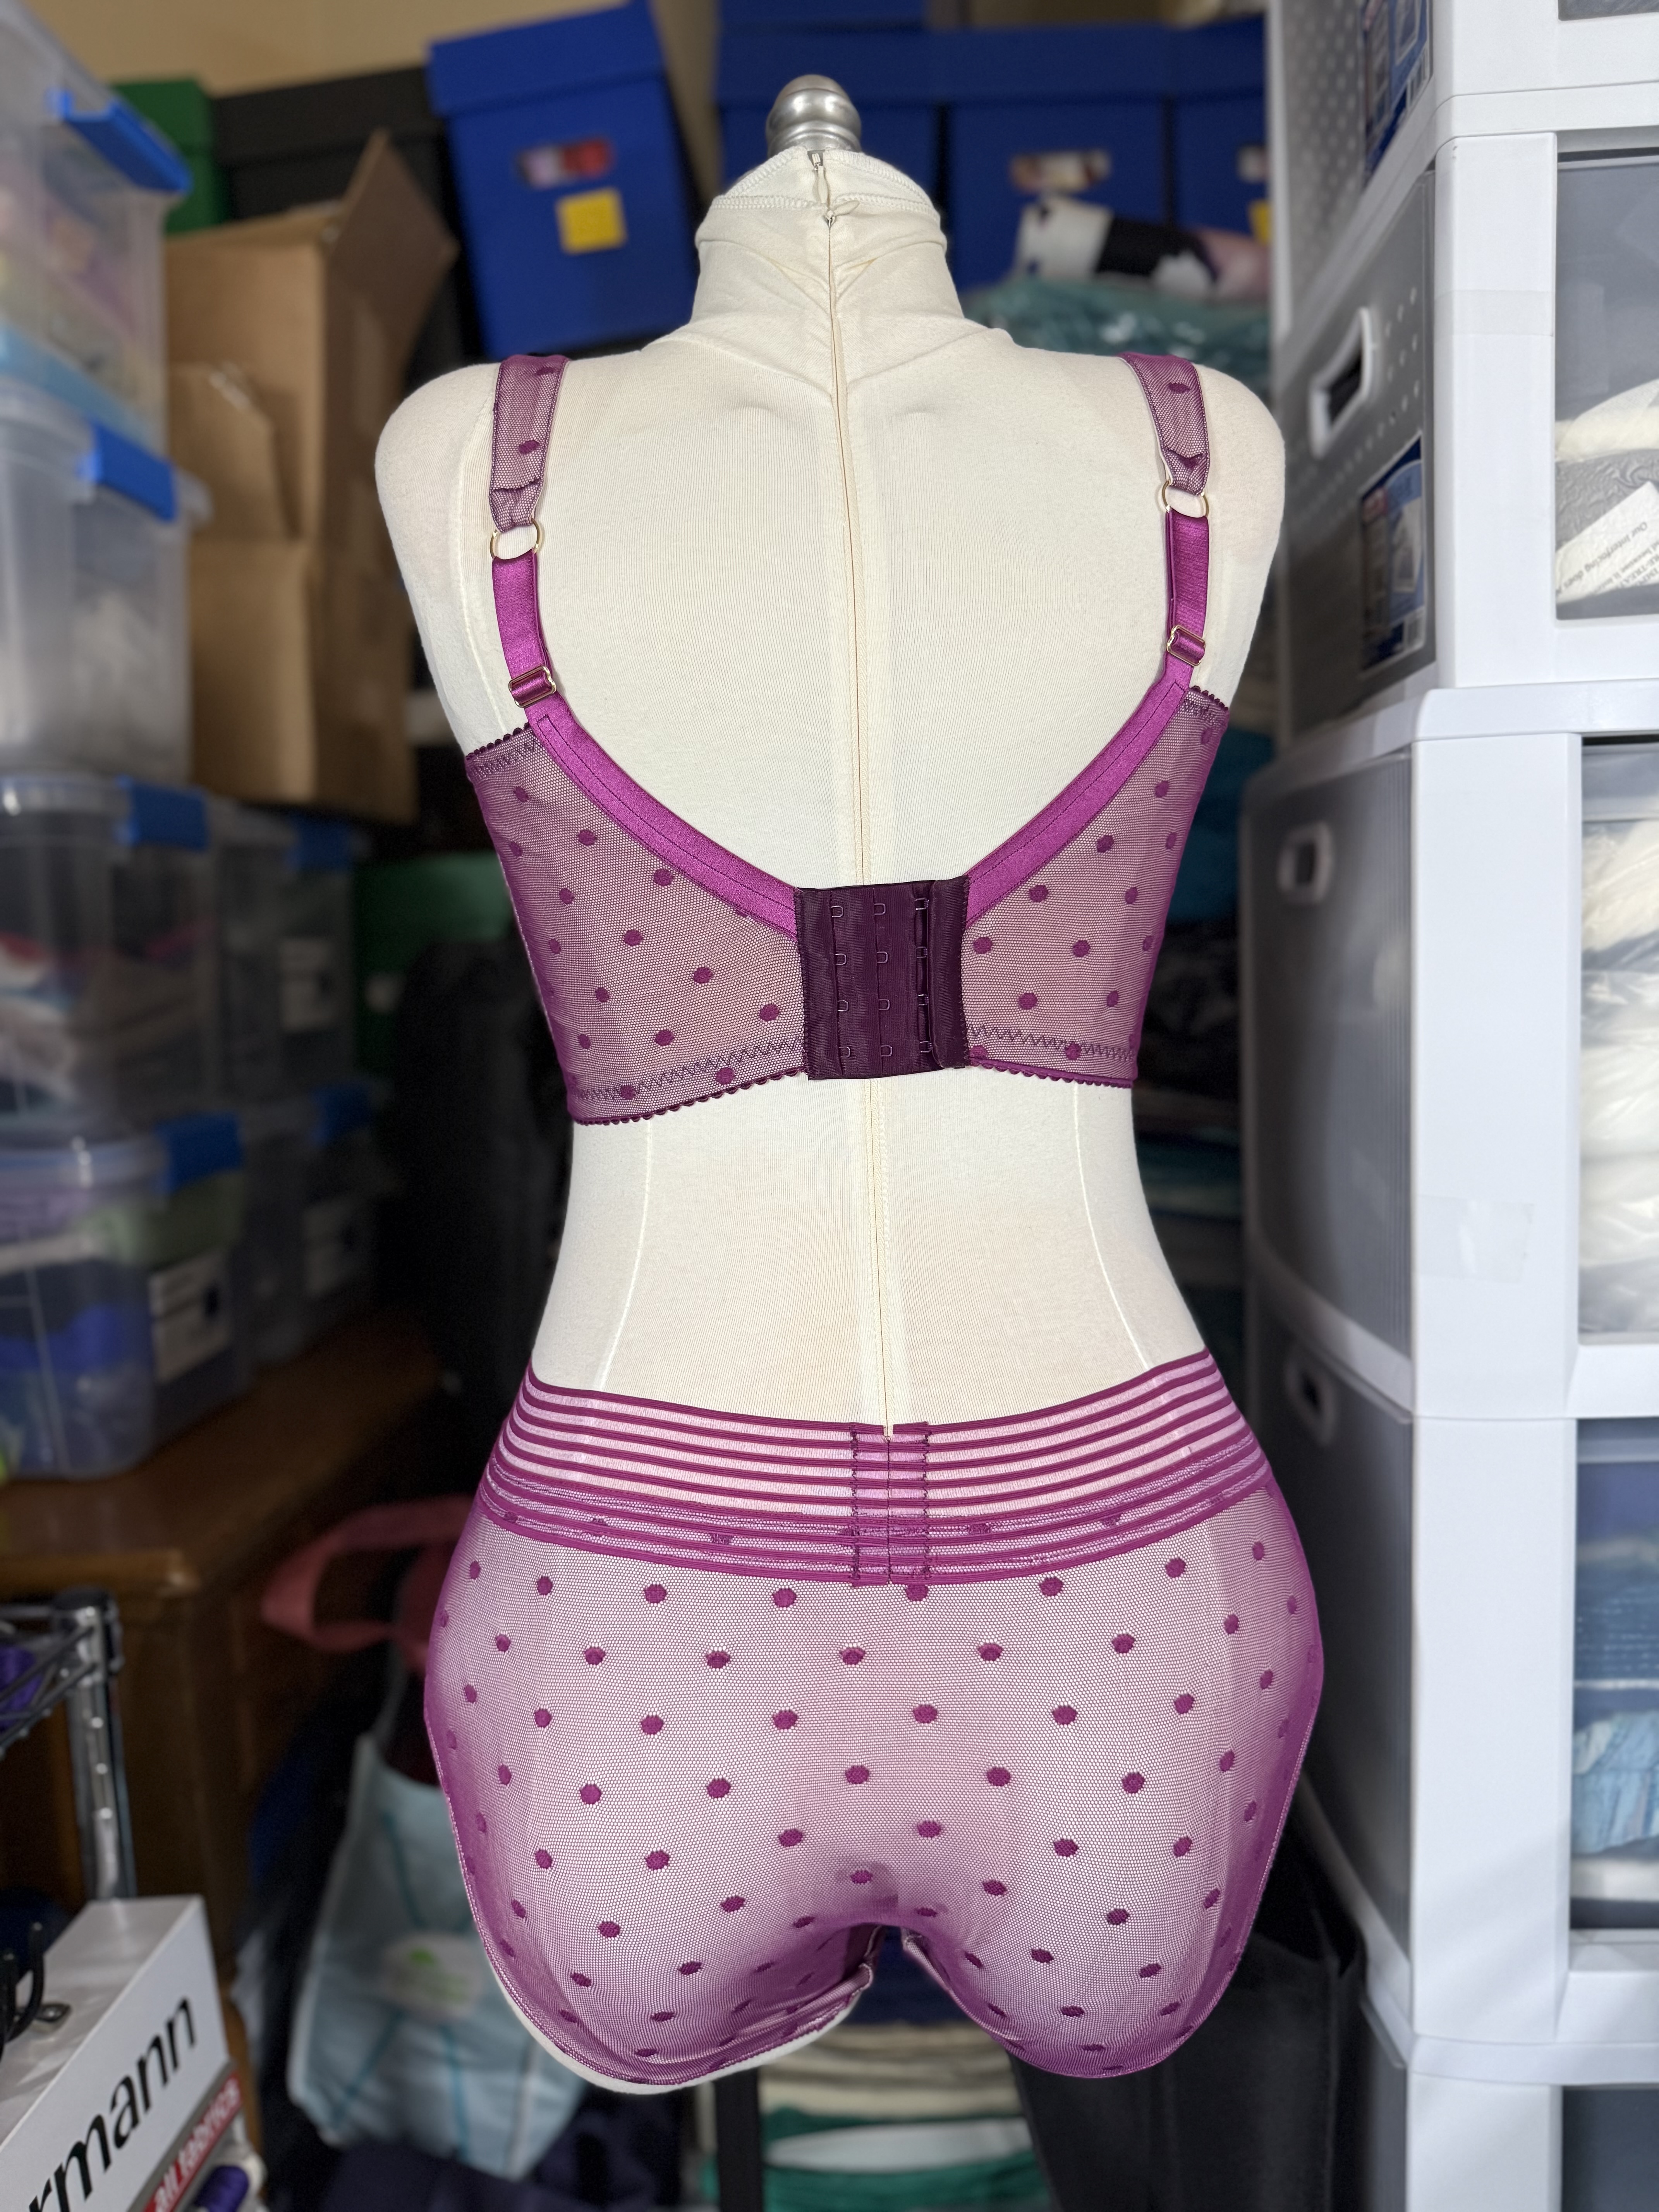
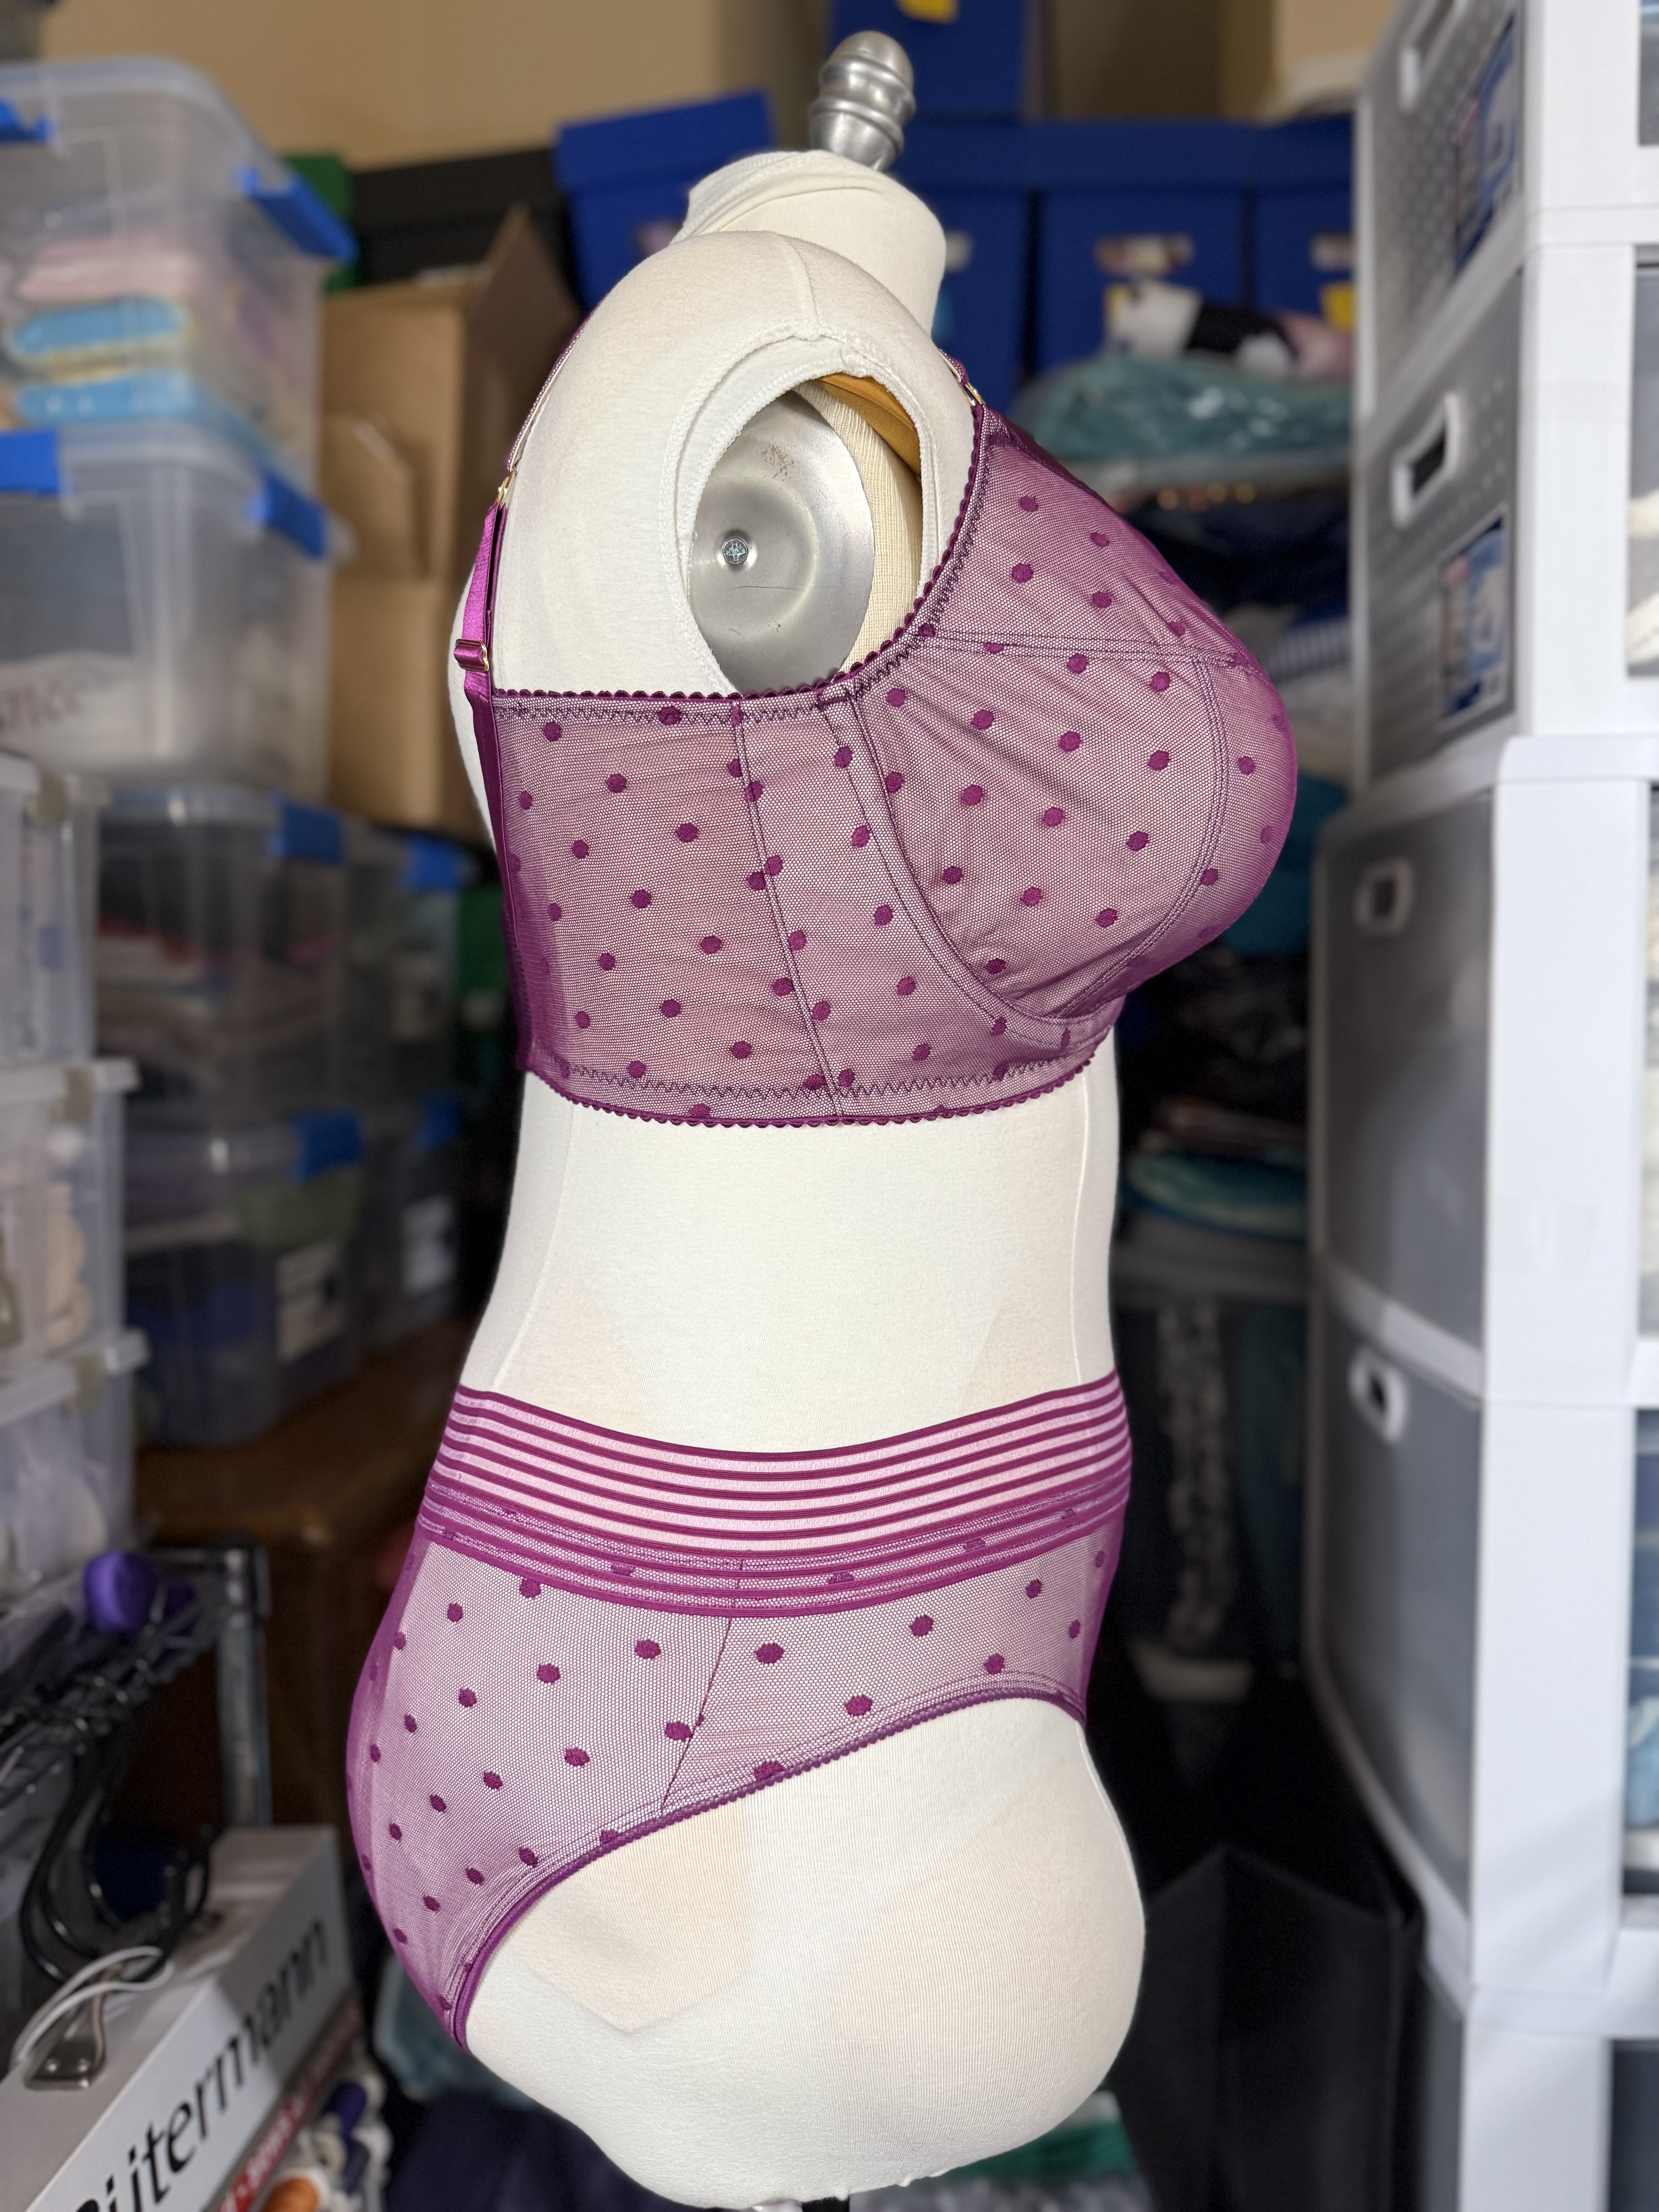
I also wanted to try a different finish on the elastics, so for the second pass of the leg elastic I used my coverstitch machine to sew it in place. I have to admit that it’s a really nice finish. Stretchy, sturdy, and very neat looking on both the outside and inside. I typically use a wide two-needle setting, but I switched to a narrow two-needle setting and I think it looks better. I also used two passes of the coverstitch to attach the waistband. From the outside it’s practically invisible. I really like how this turned out and I want to get some more of these elastics (and use my coverstitch to finish the elastics) for future projects.


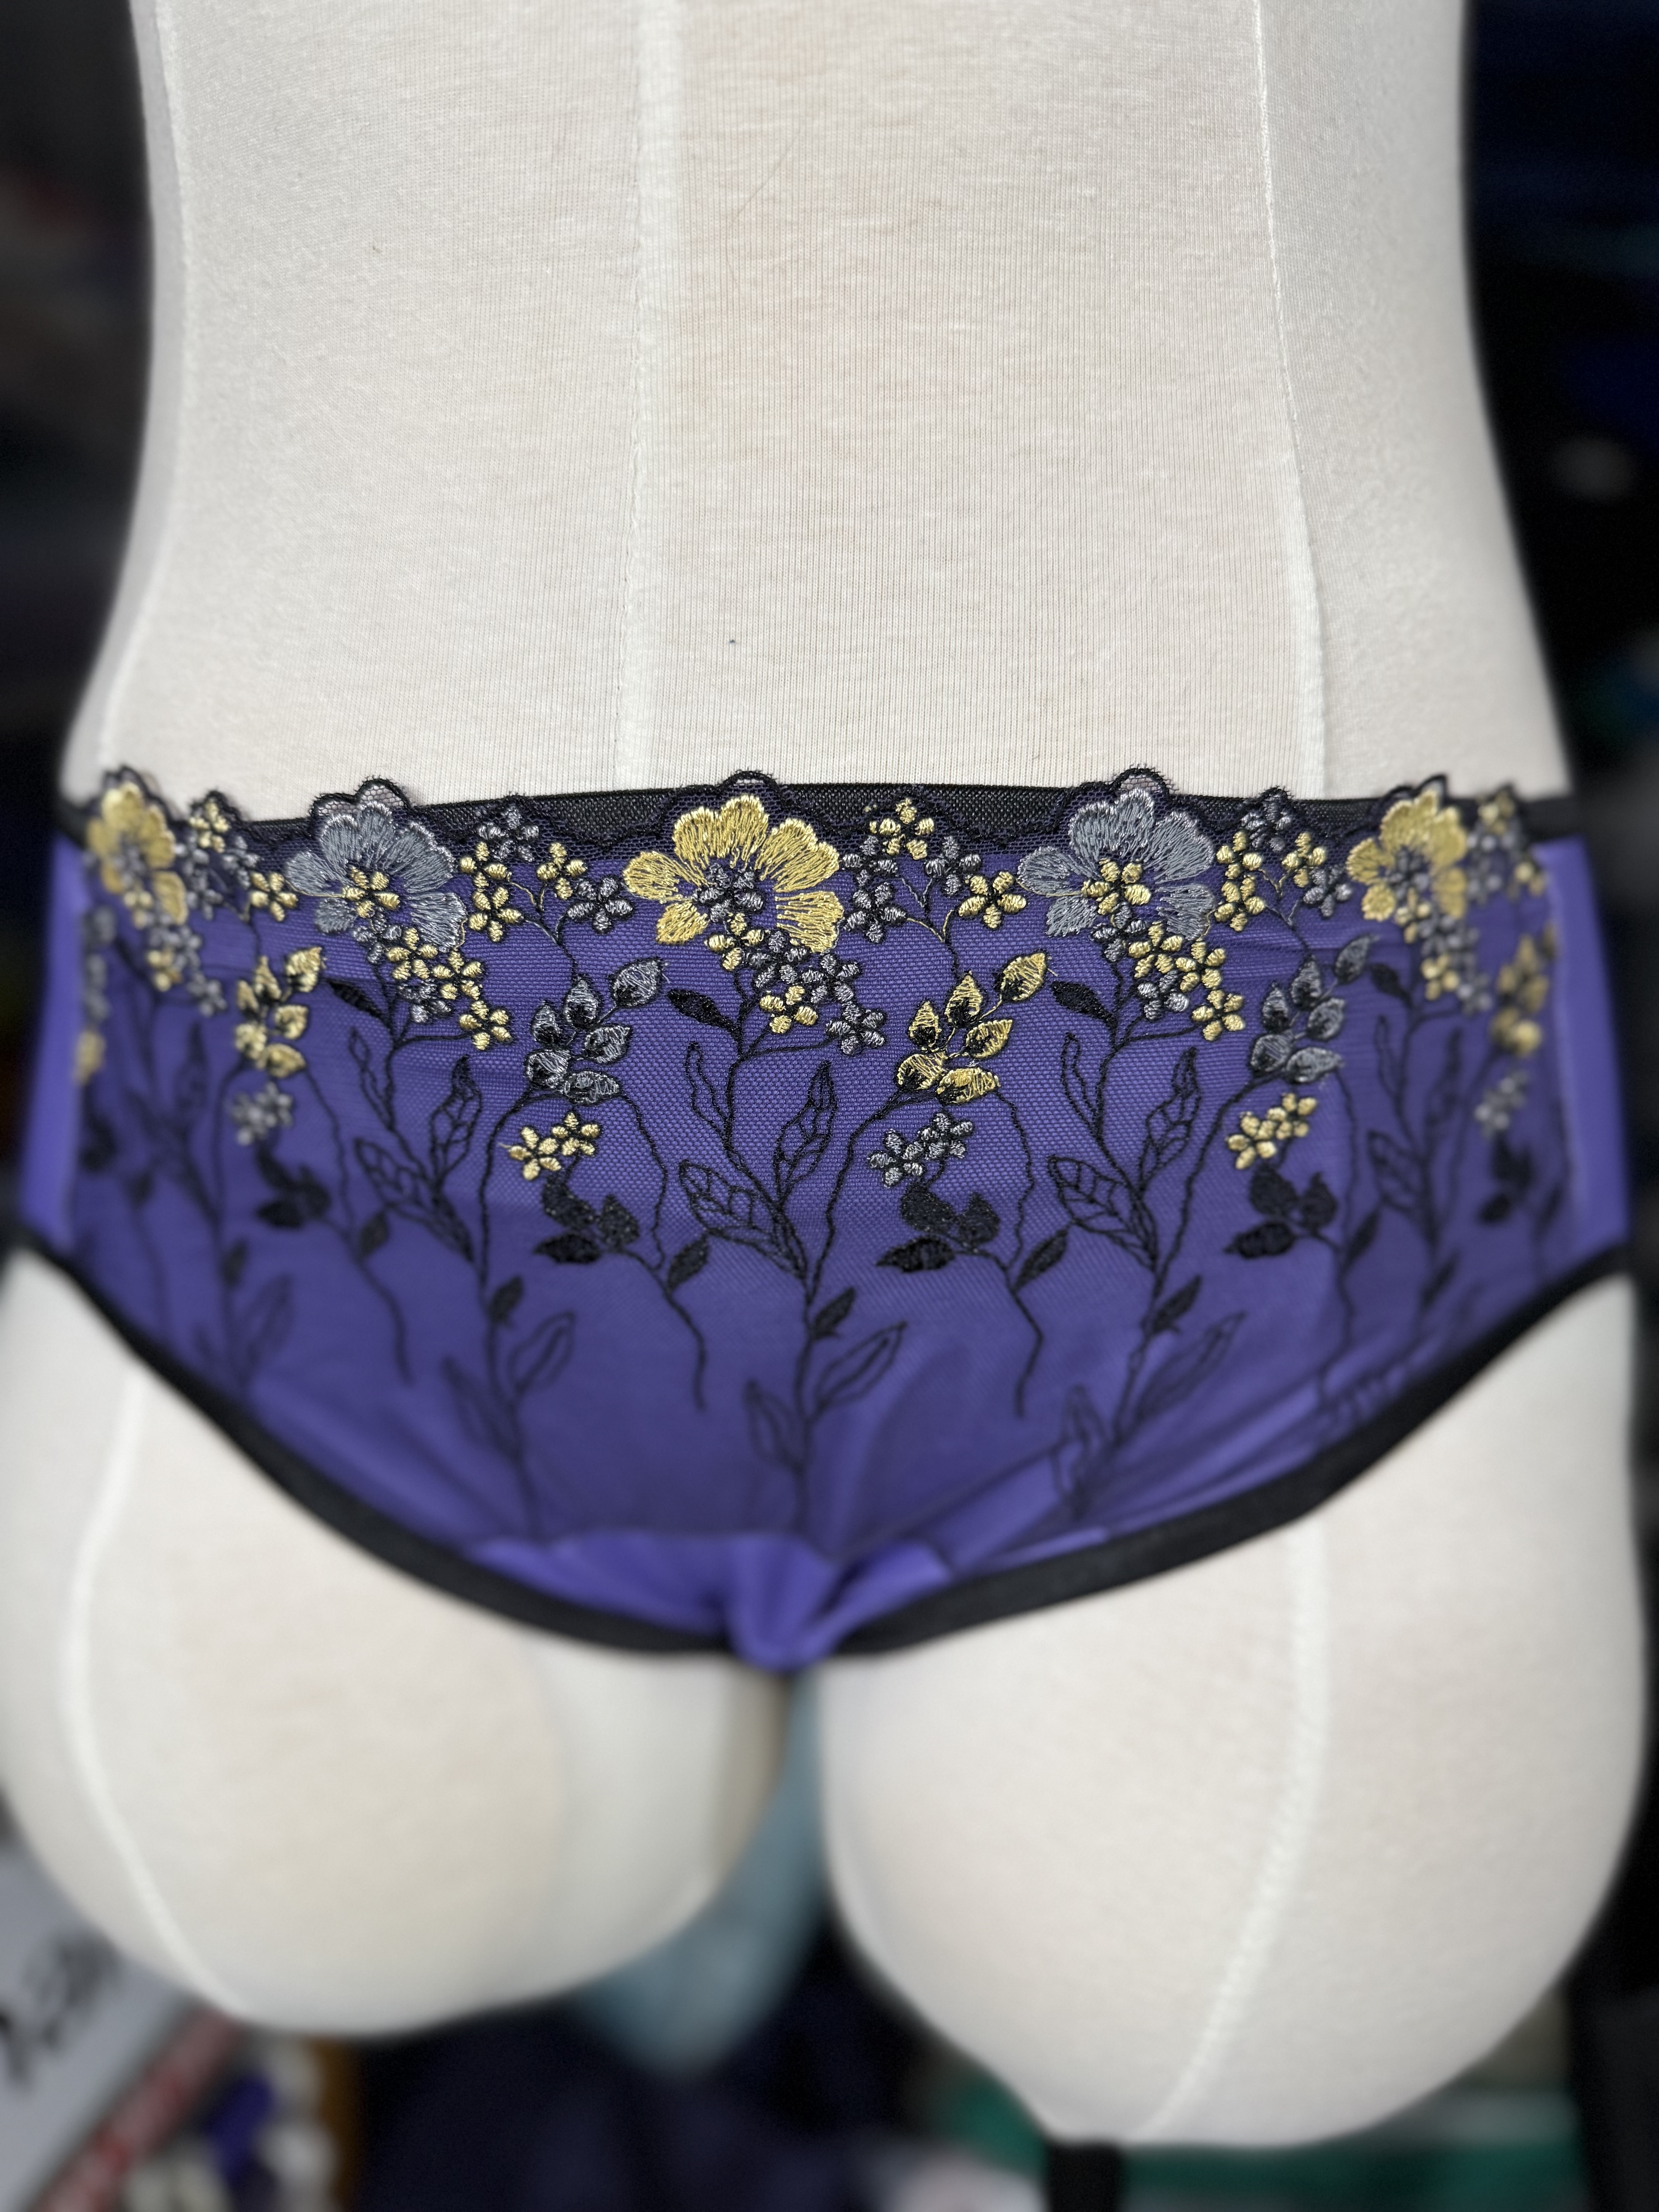
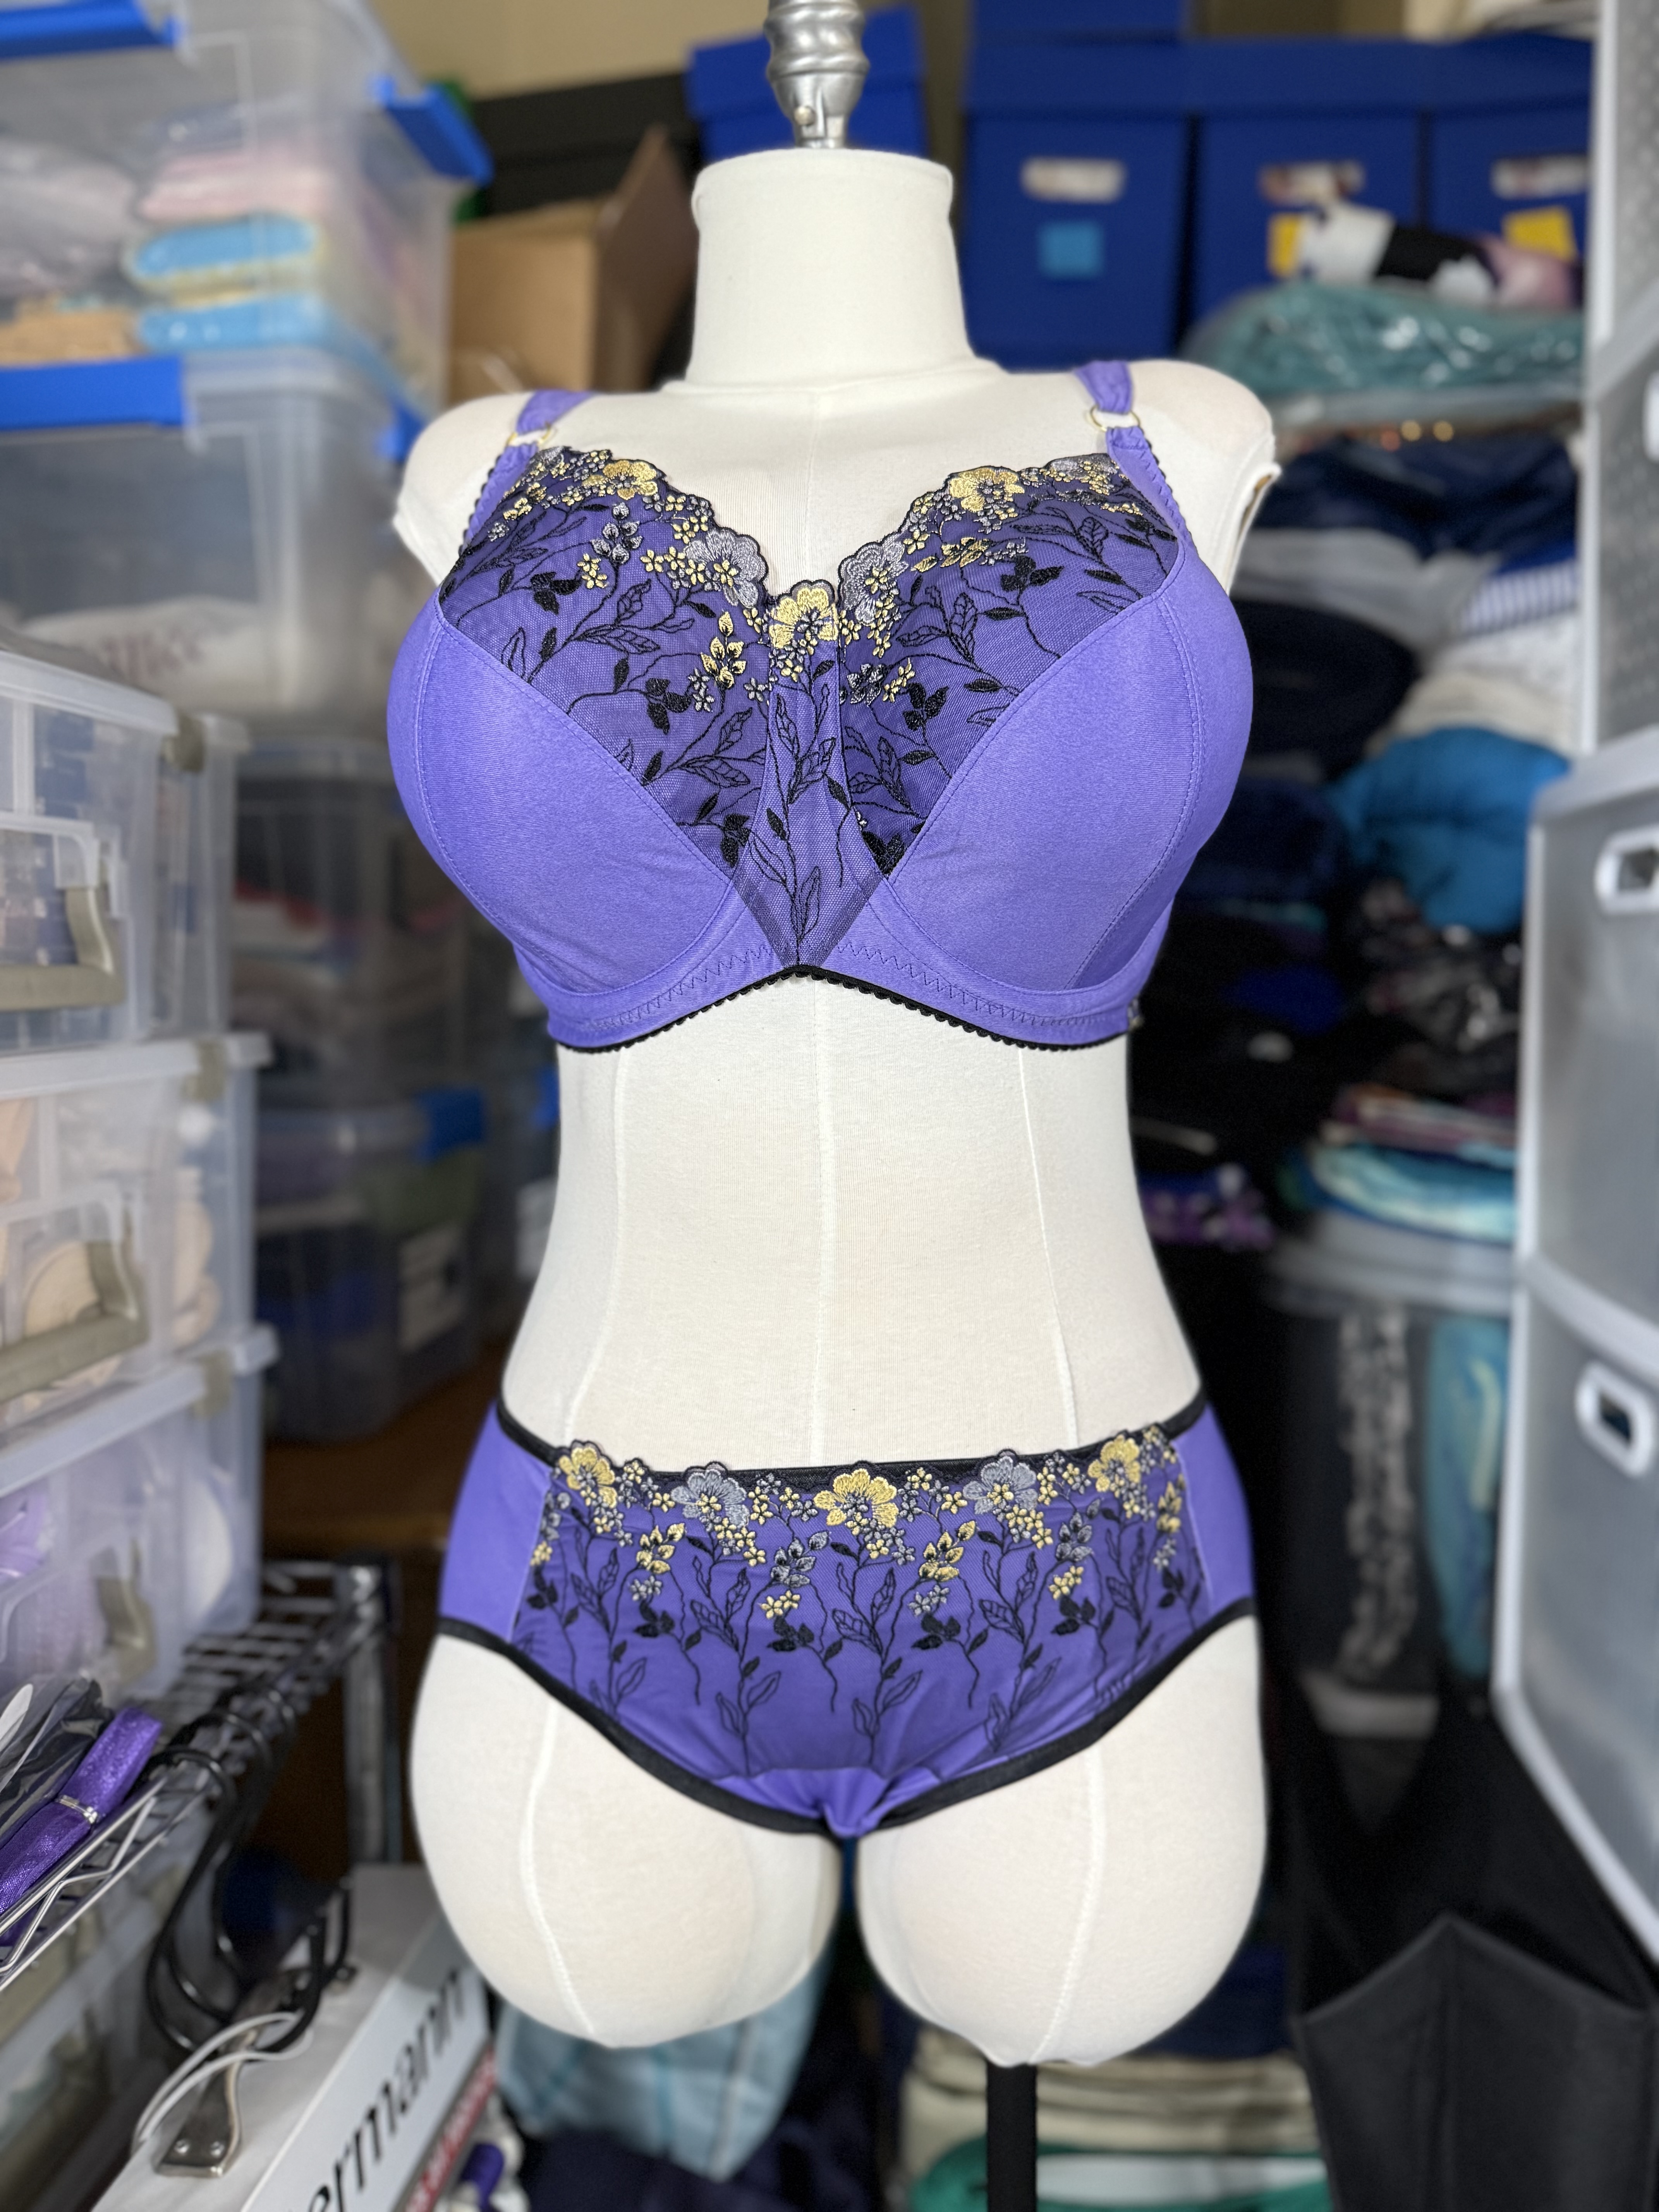
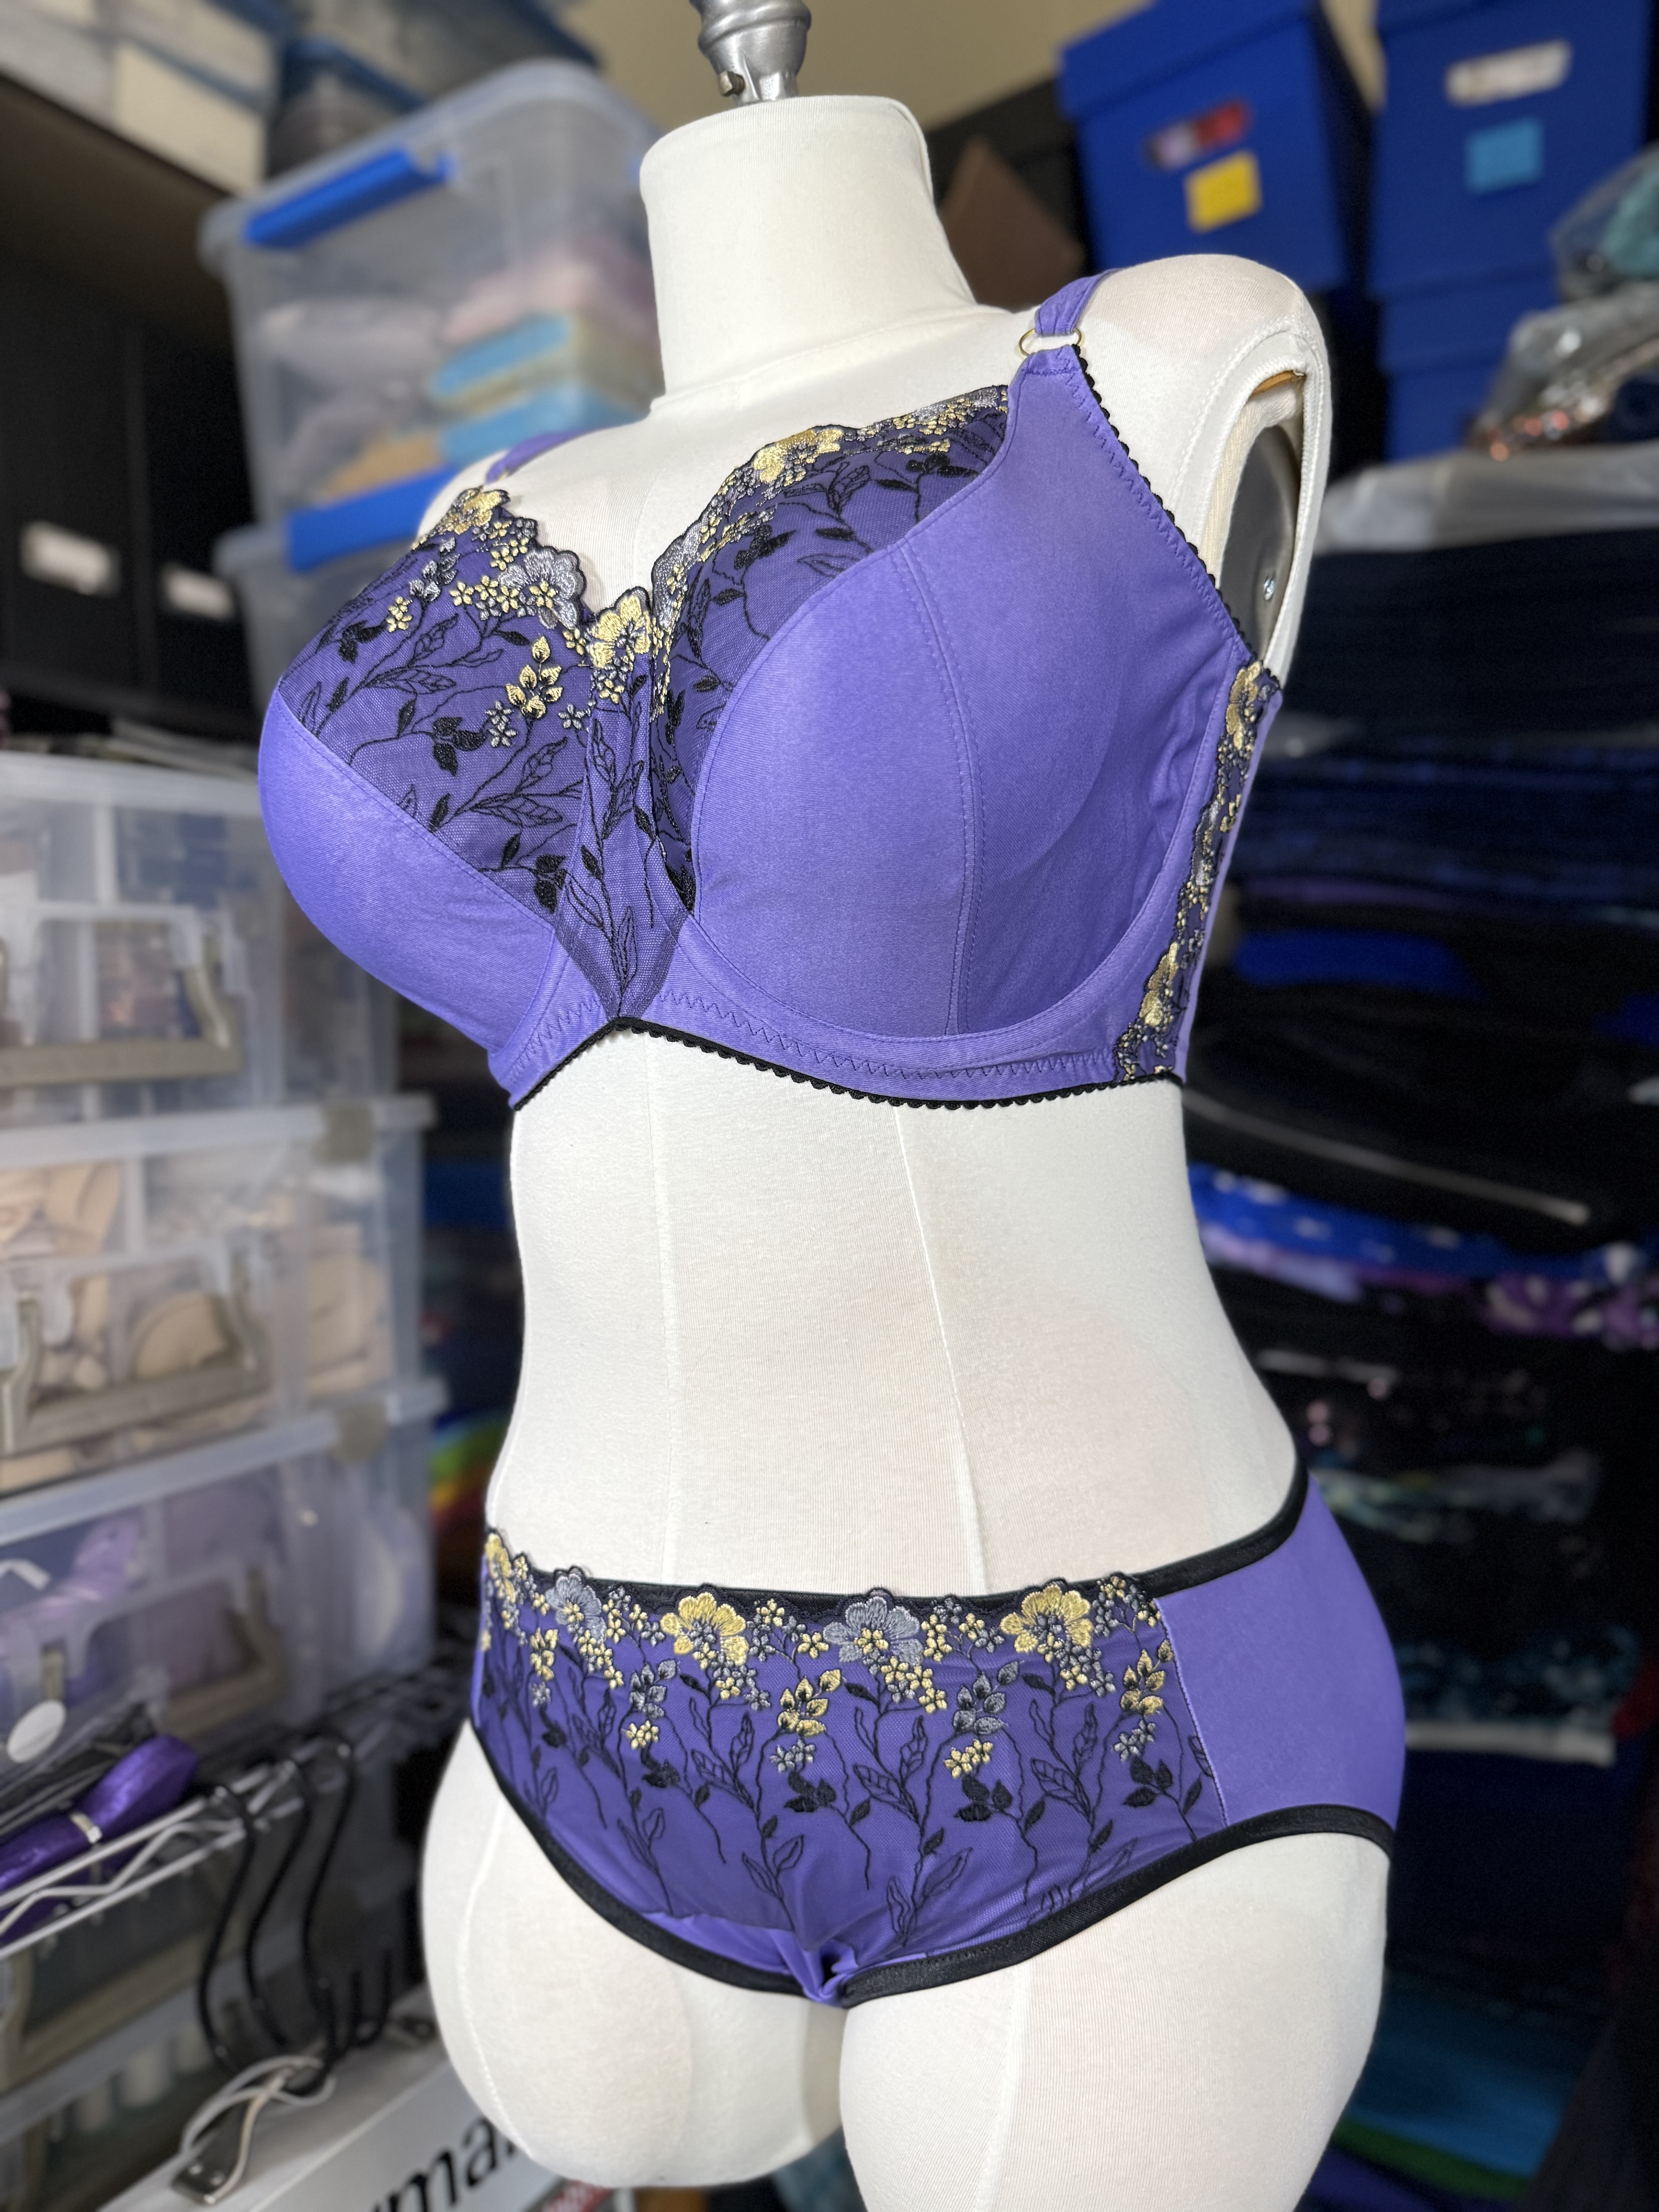
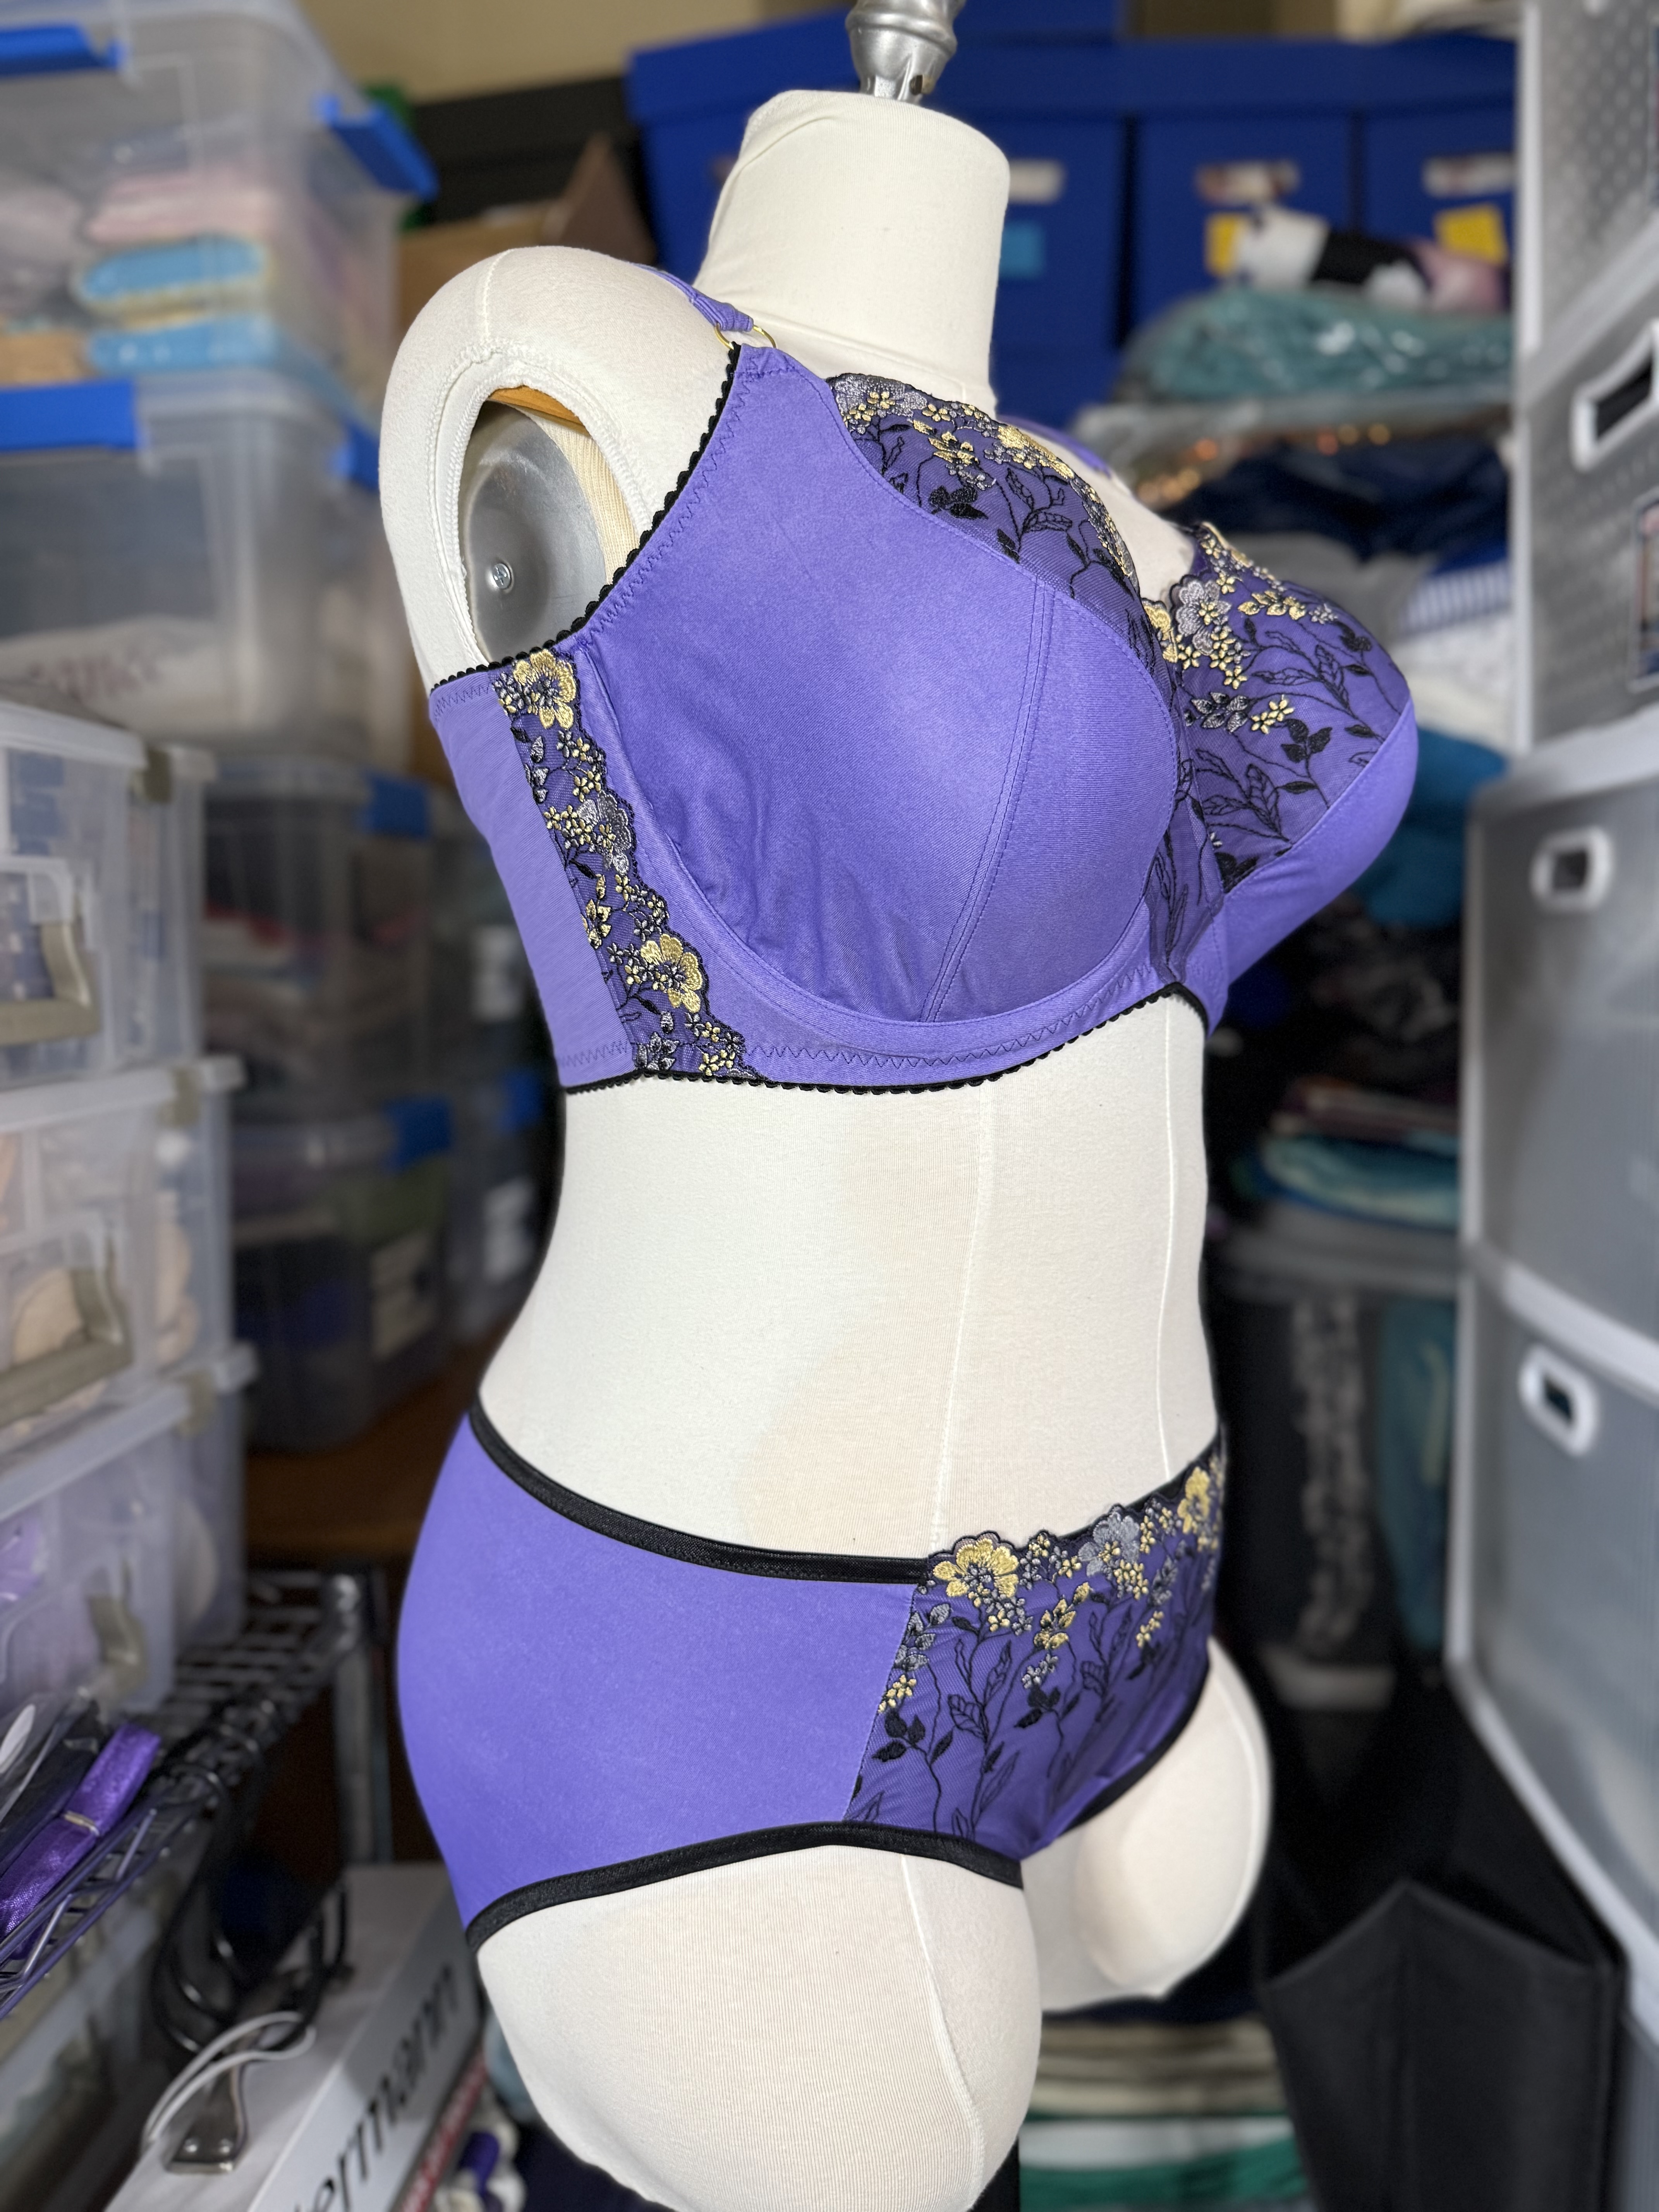
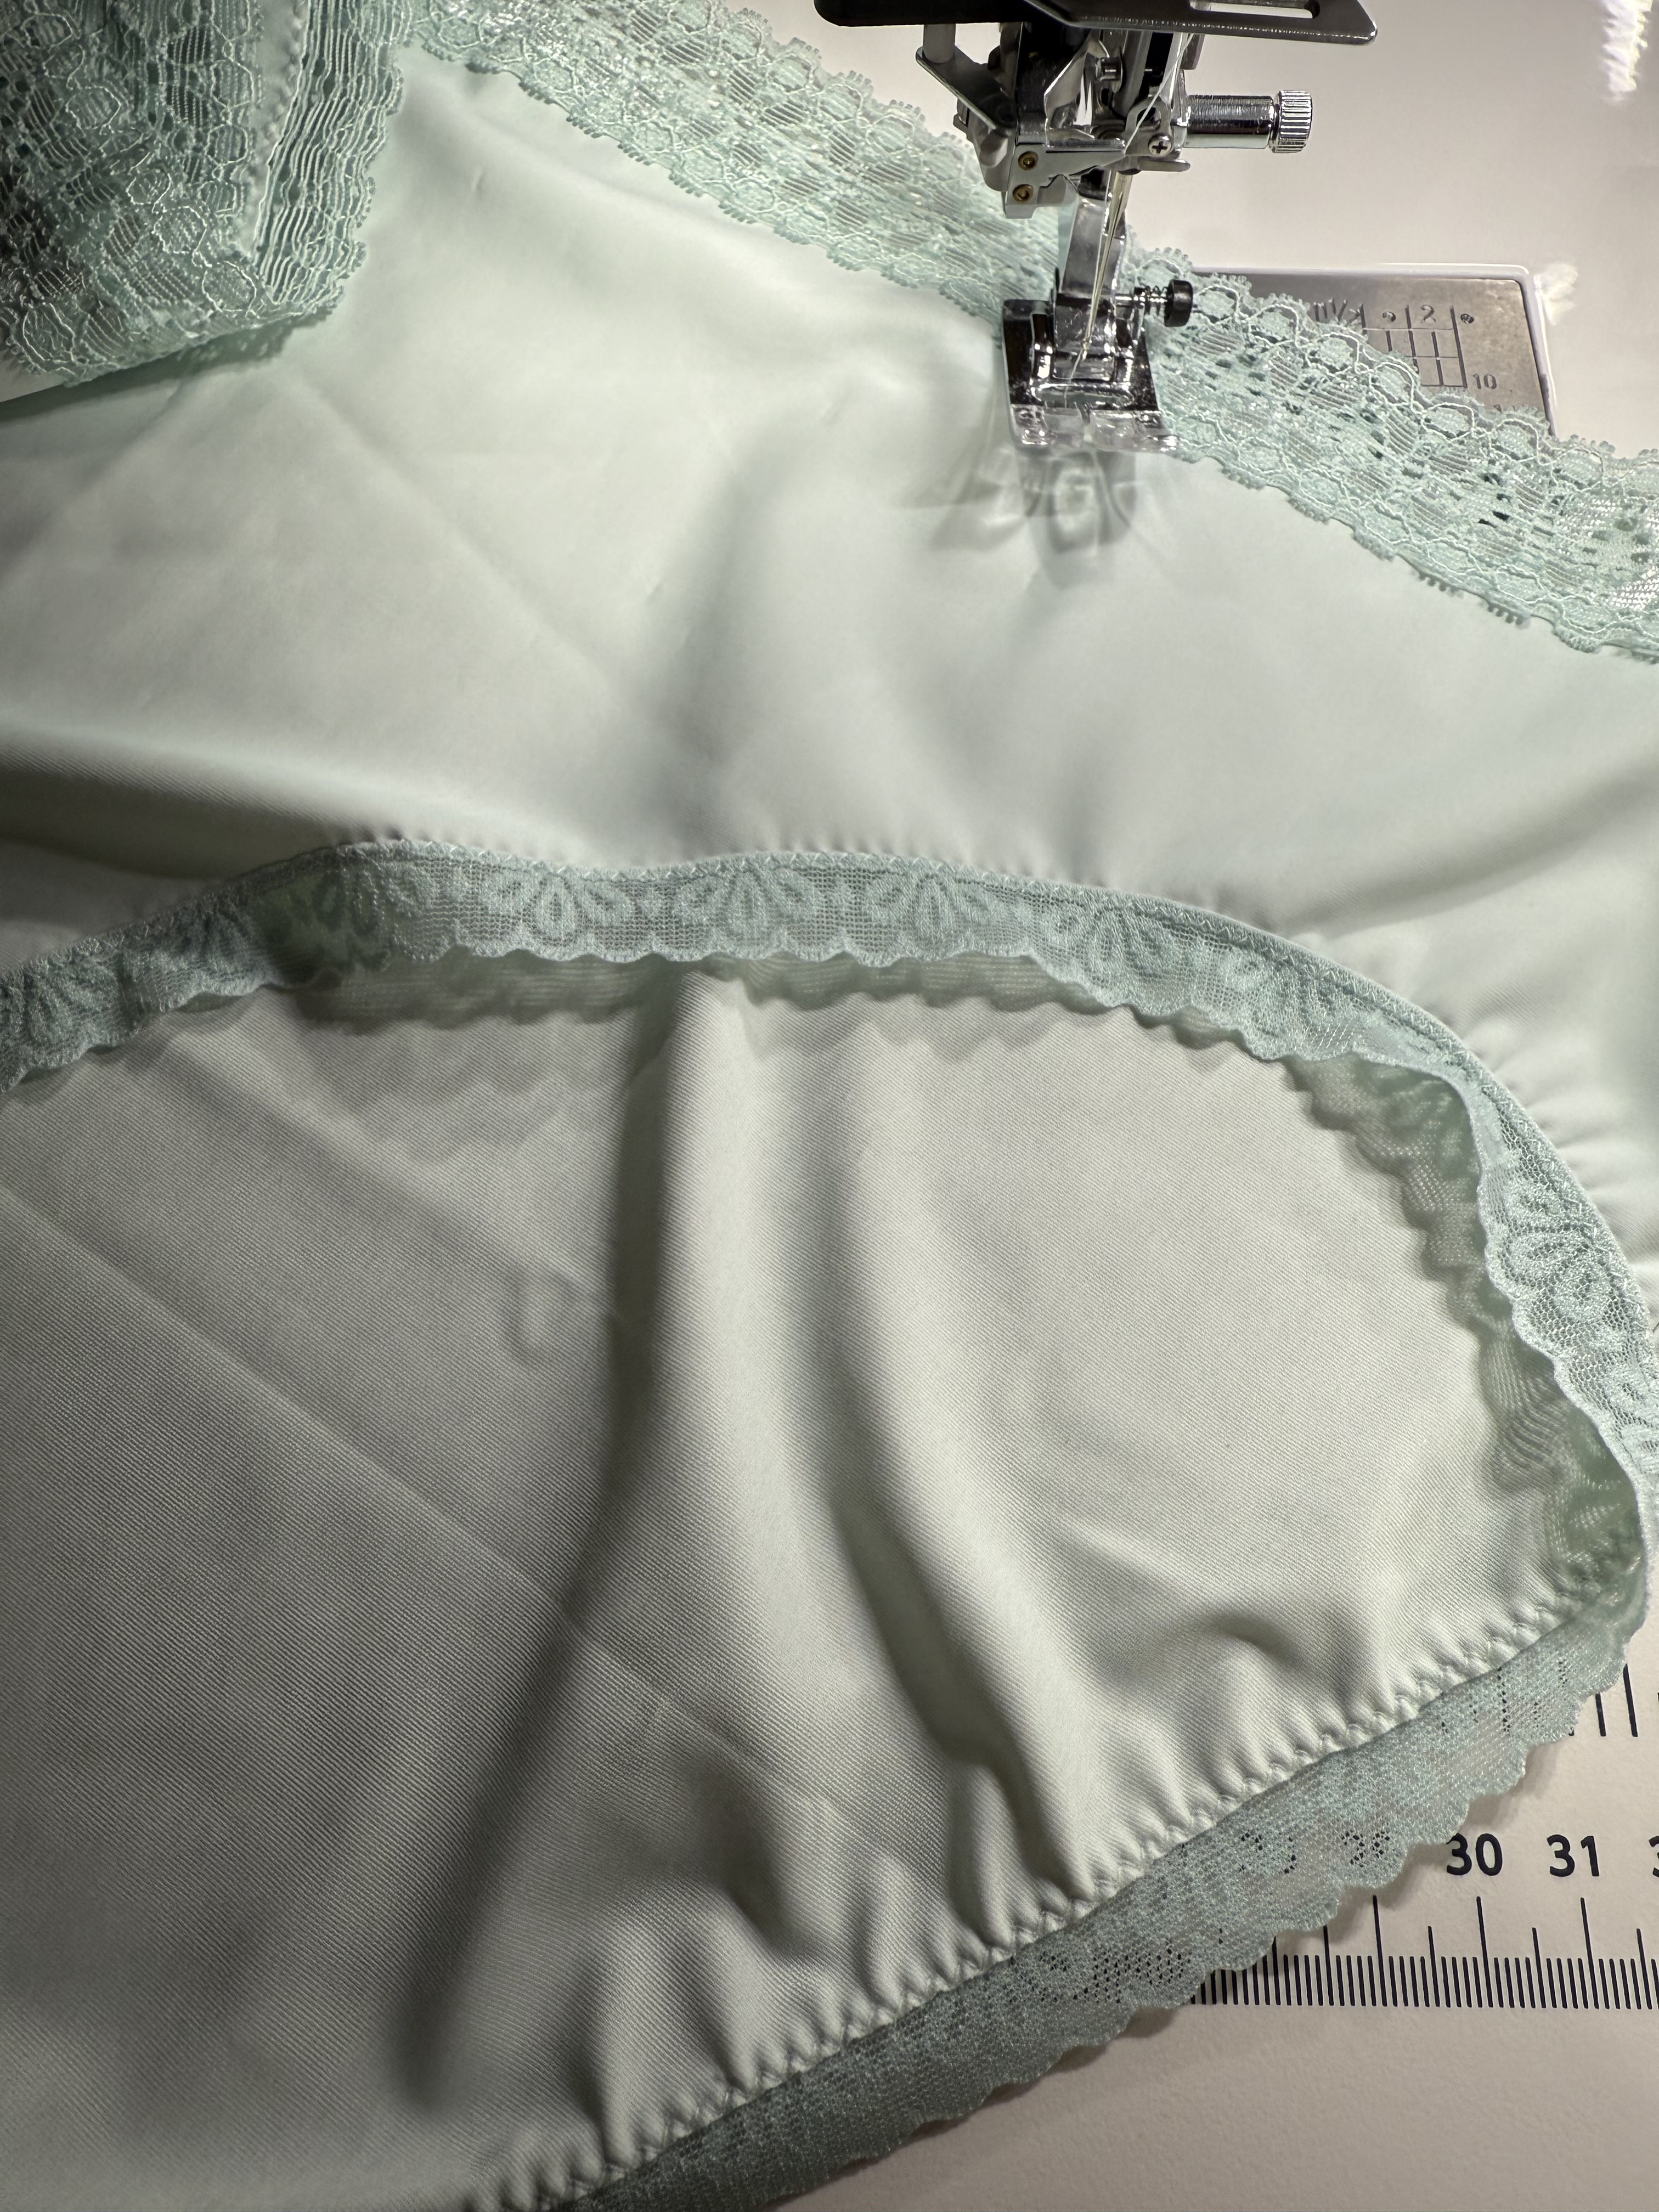
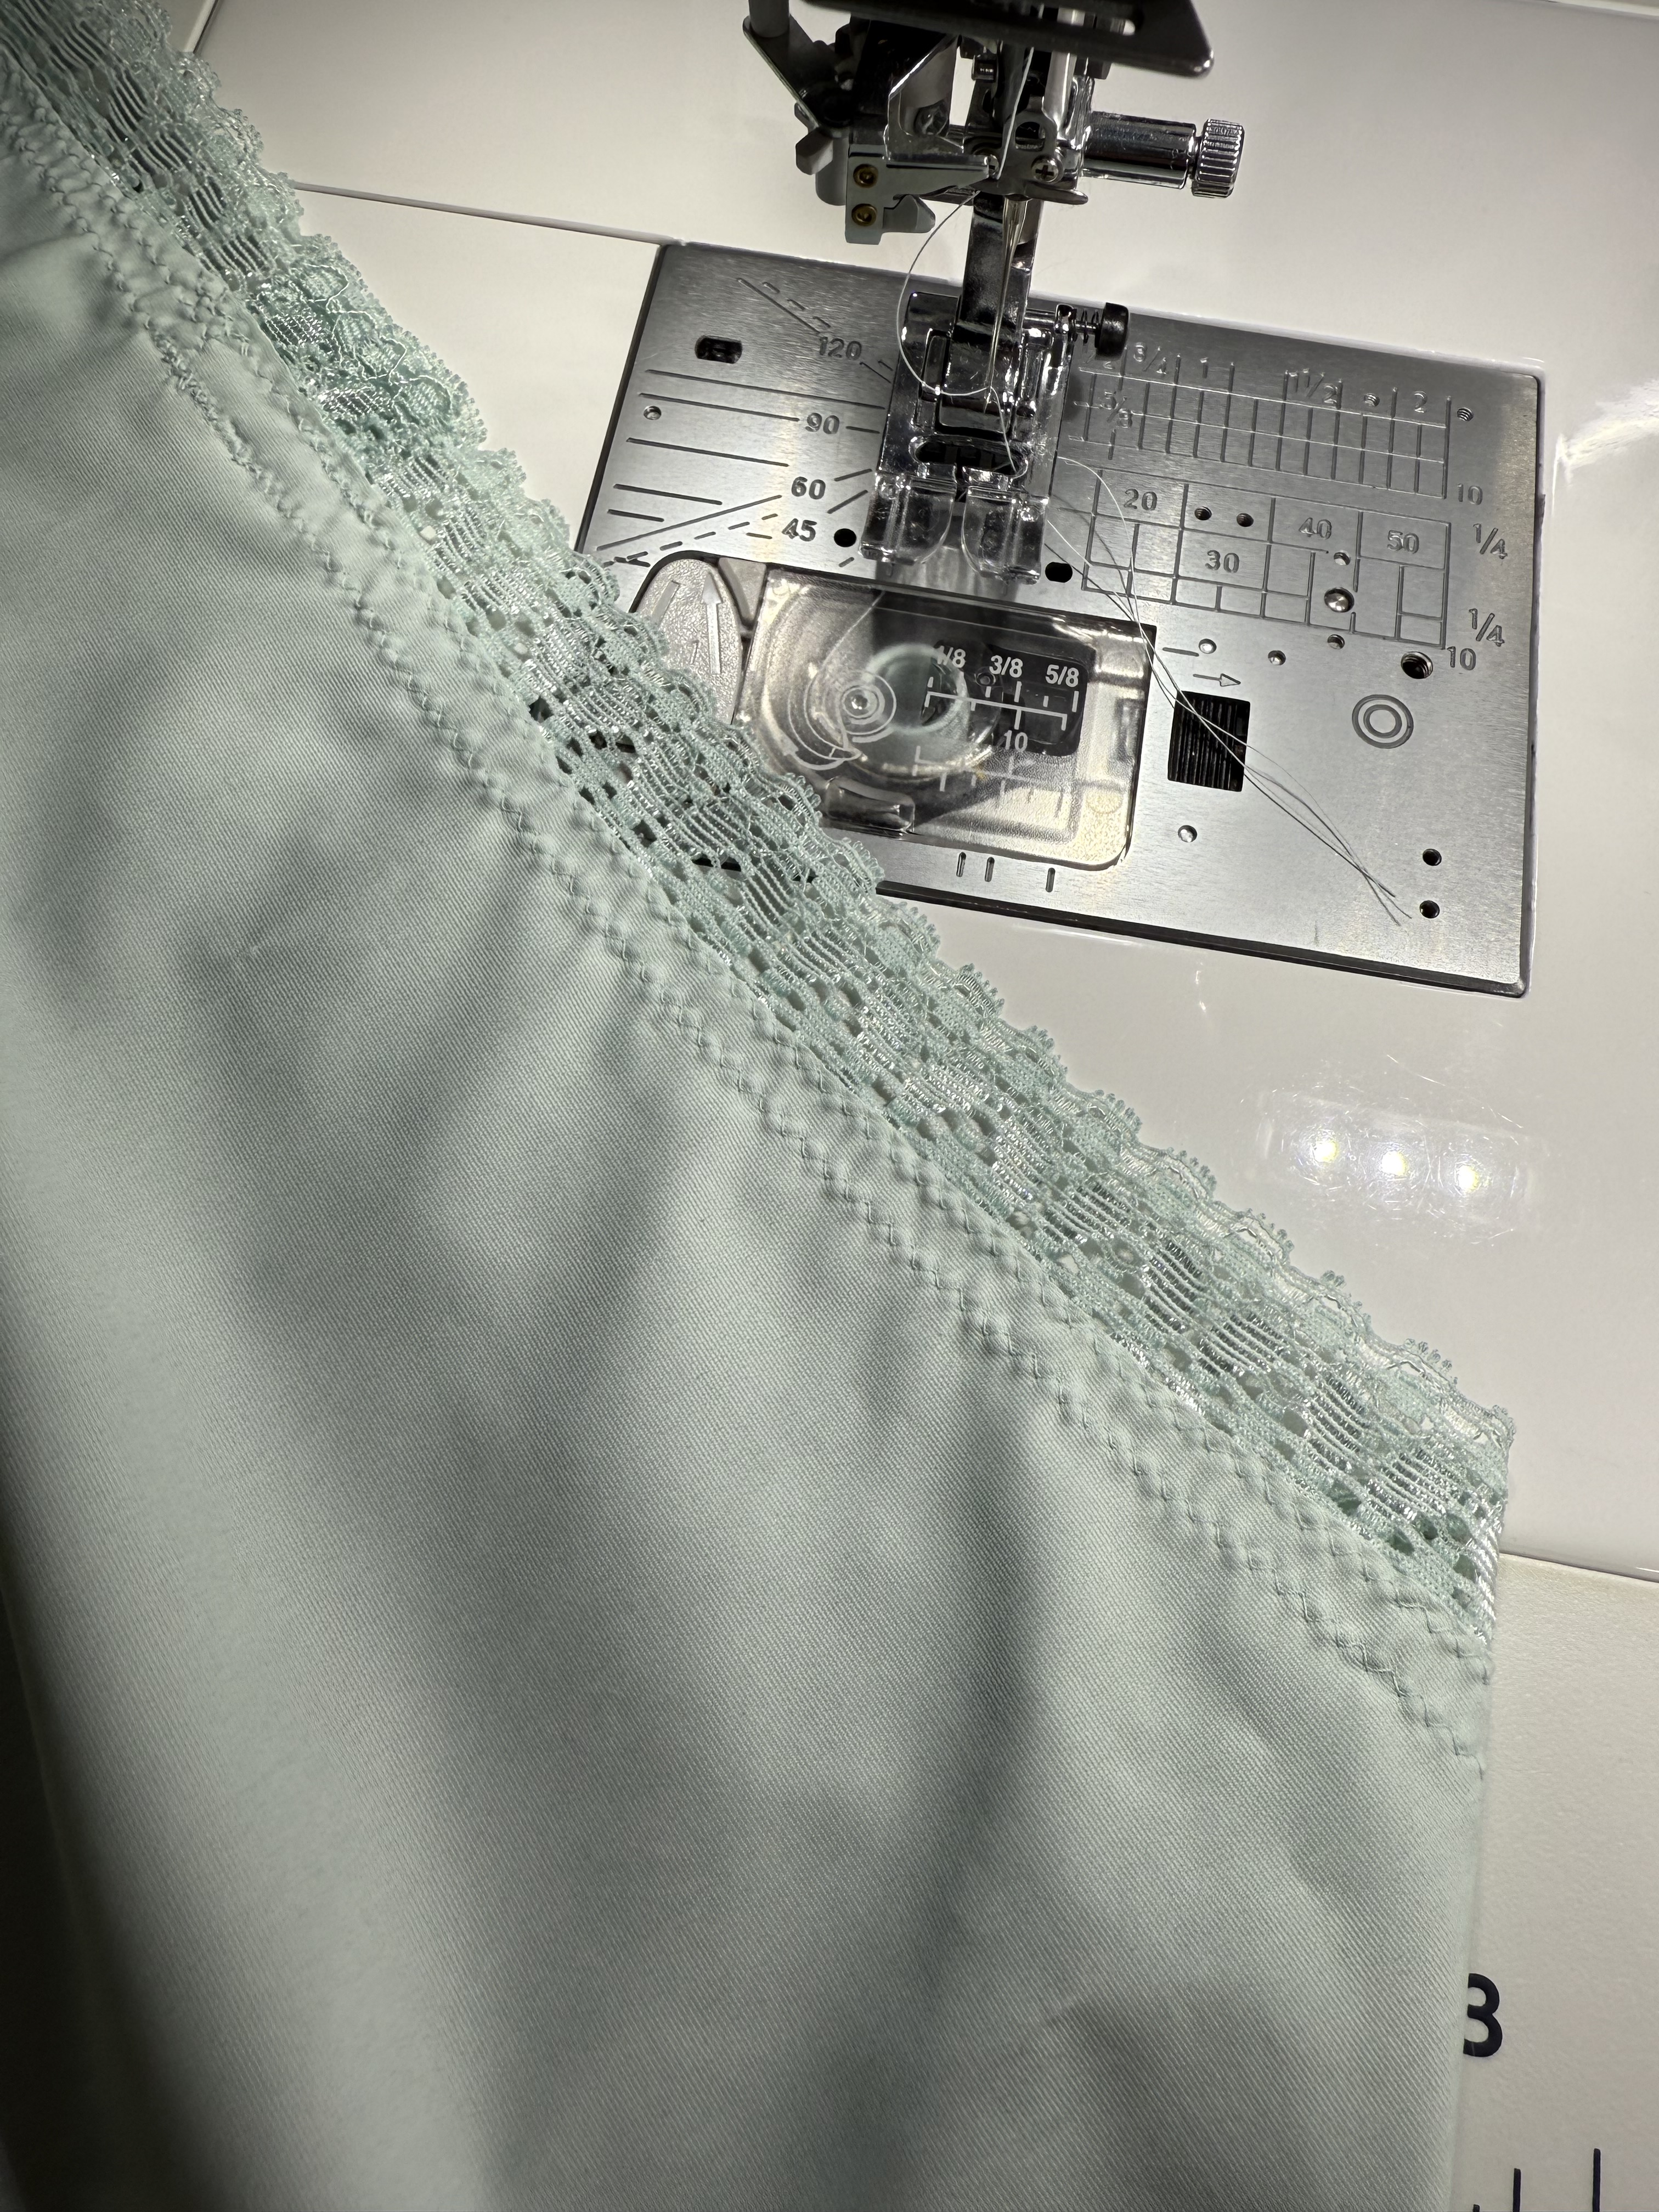
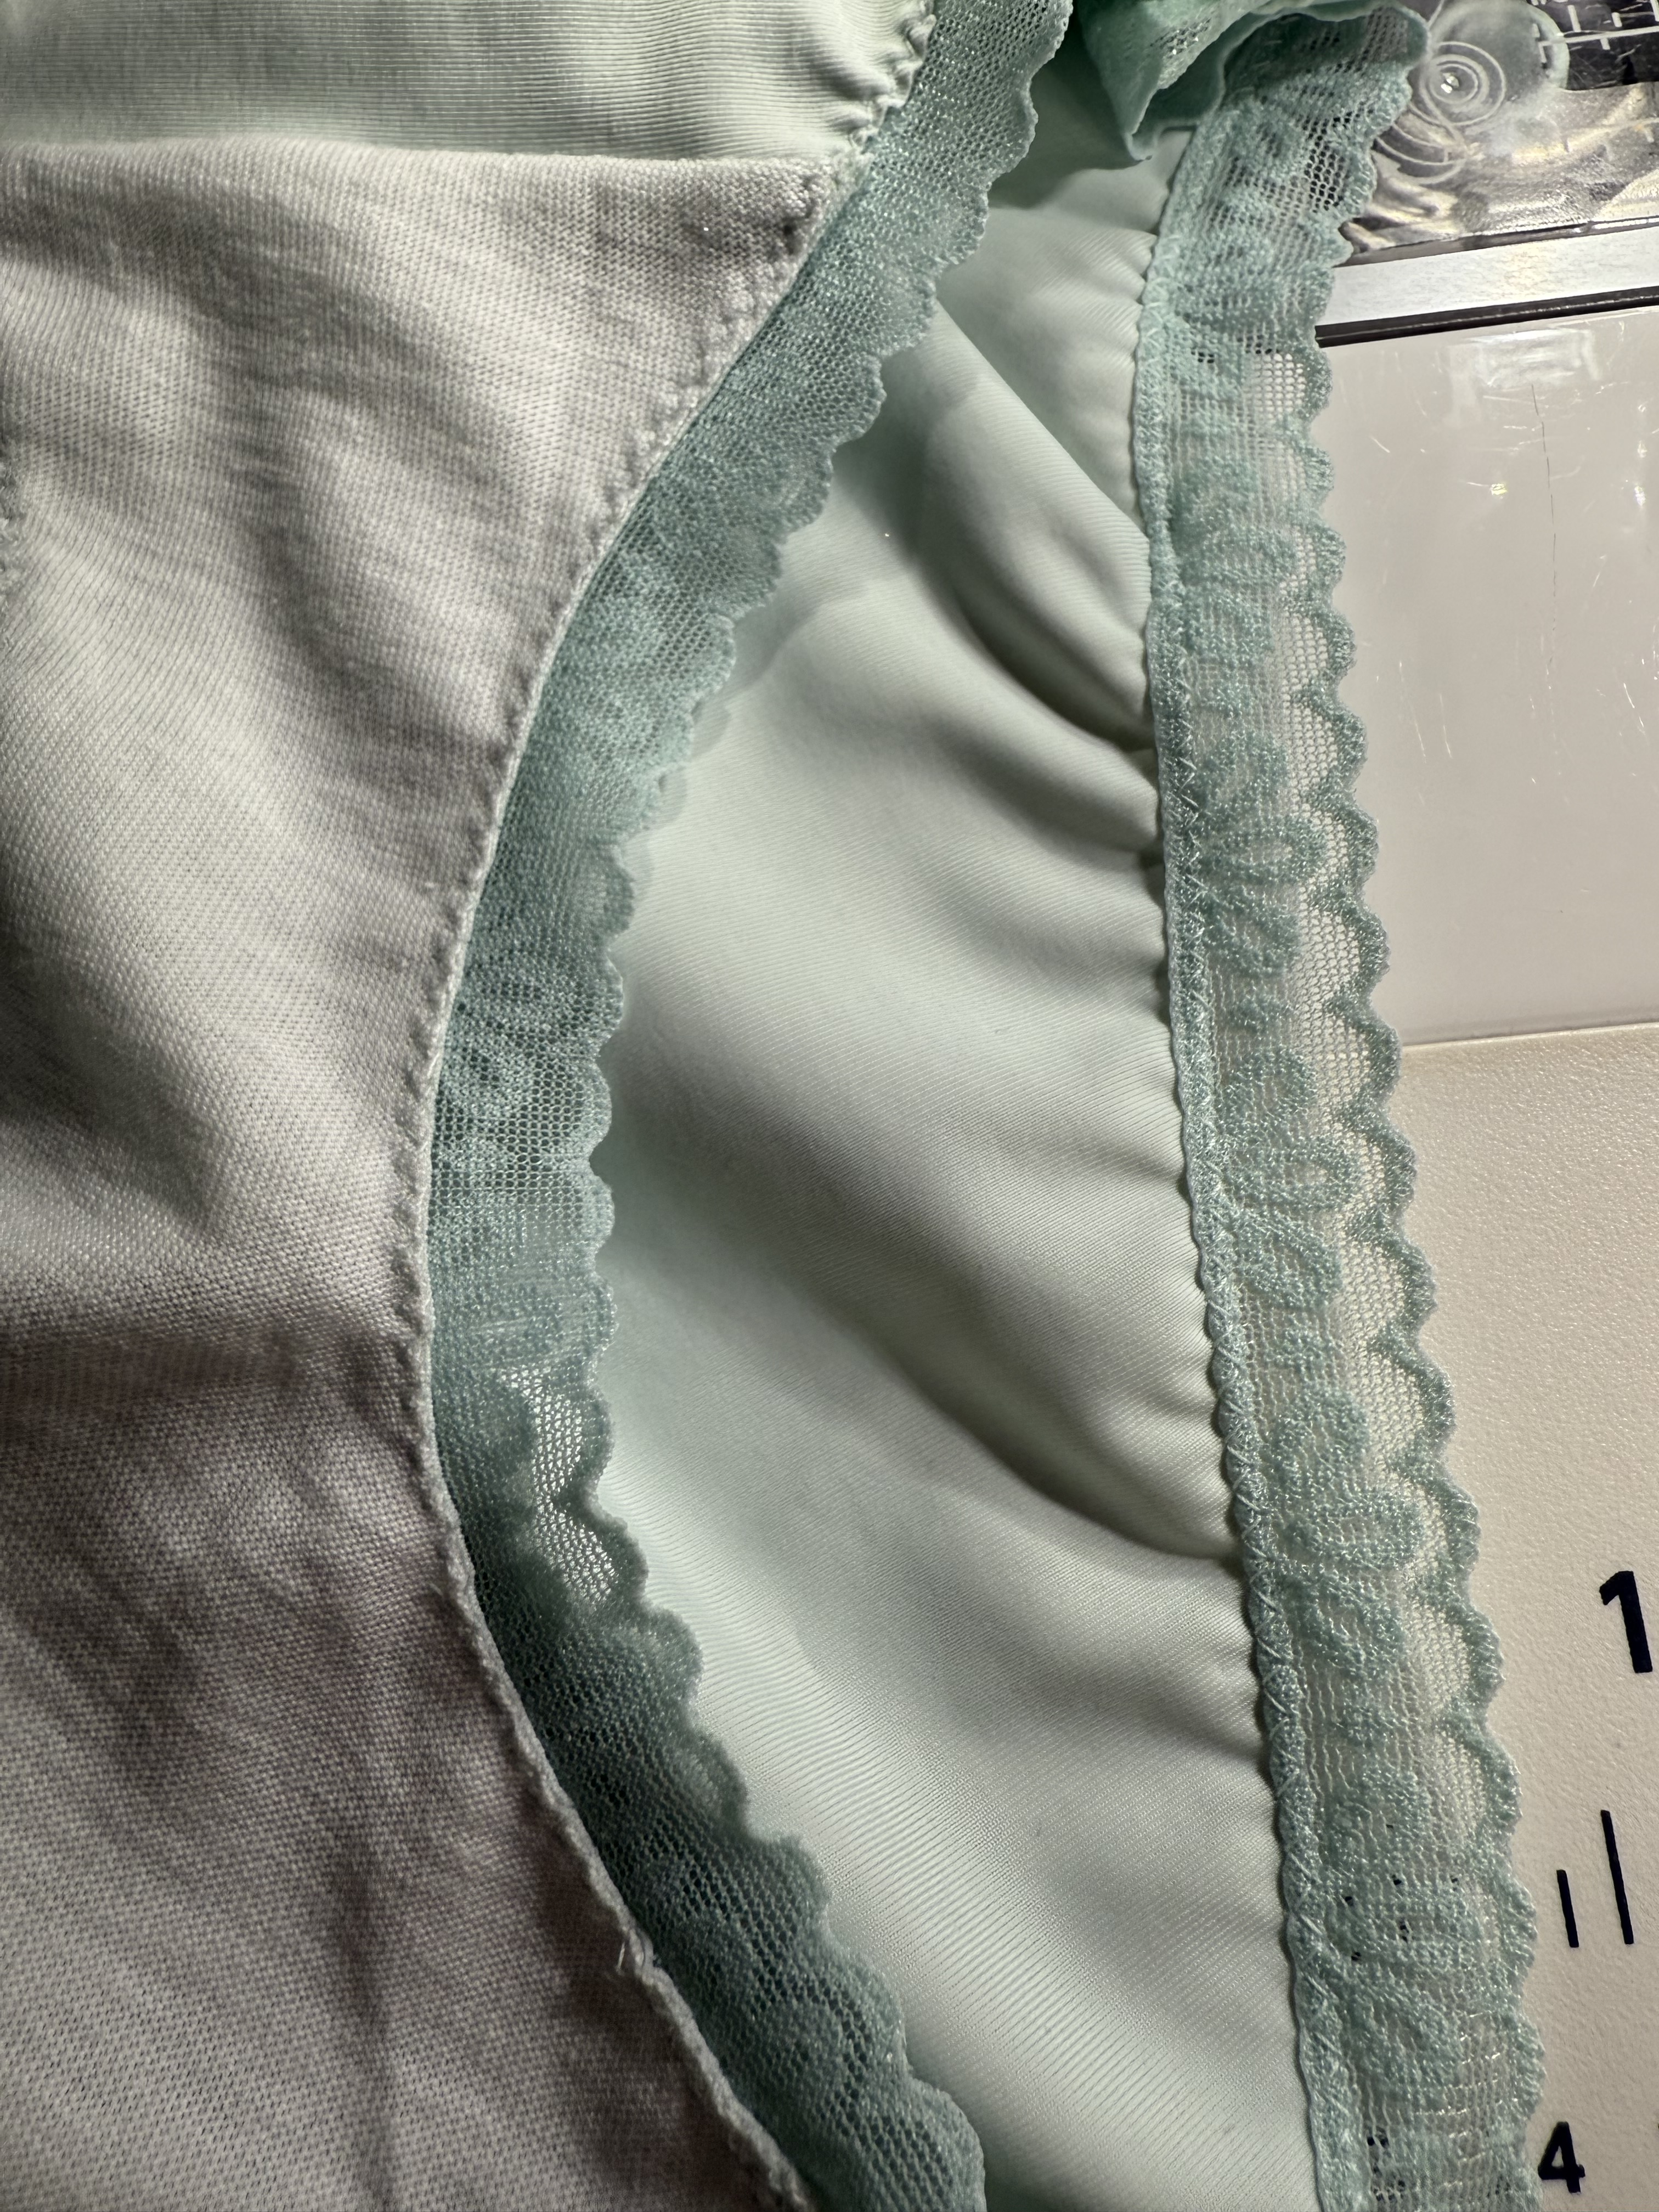
For the set matching the Josey I also used my self-drafted pattern but to try something new I included some of the new lace kit options from Bra Builders. I used one of the medium elastic laces for the waistband and a small lace elastic for the leg opening. It’s really basic, but I think very cute!


For this combination of materials I used flat application and zig-zagged along the edge of the lace and then I used my duck-bill scissors to trim back to the stitching. If you hate VPL, this might be a good technique to use – the edges of this are very flat and smooth, and have almost no profile. I will say that I wasn’t sure how I was going to feel about this because I didn’t love the idea of a raw edge along the gusset, but I think it actually looks pretty neat after trimming.
I’m excited to see how these new materials and techniques work in my wardrobe. I think I won’t really know if my materials preferences are going to change until these new additions have seen a few rounds in the washer, but it was fun to expand my repertoire of construction techniques and materials. That and I feel like I’ve had these same kits on my to-sew table since early January – it’s a really nice feeling to be able to move on to some new projects!

Such pretty sets, and a great way to try new materials and techniques!
LikeLiked by 1 person
wow. They look fantastic. I might try some of your new techniques. I just do the same couple of things for the finishes, over and over, but you’ve inspired me to up my game 🙂
LikeLiked by 1 person
Your lingerie drawer must be an absolute delight!
LikeLiked by 1 person
Those look a million dollars!
LikeLiked by 1 person
These look fantastic! After fighting with my coverstitch for several years, I was glad to finally discover that it did great on swimwear and underwear type fabrics. I don’t sew those often enough to justify the cost of owning the machine, though…
LikeLiked by 1 person