It’s really funny that before I started sewing undergarments I really couldn’t have cared less about if things matched or how they looked. If they “fit” and were functional, it was fine. I also really wasn’t into cutesy undergarments or frilly things with lots of lace. However, when I saw this adorable cherry fabric in a Metro Textiles email advertisement I became a bit obsessed. I tried to talk myself out of it but I kept coming back to look at it and had to get some. I knew it wasn’t the sort of print I’d ever wear as an outer garment (if cutesy undergarments weren’t my thing, cutesy regular clothes definitely weren’t either), so I hatched a plan to make an entire Lingerie Mini-Wardrobe. Wow. Matching and cutesy? How the tides have turned…

I got the fabric a bit earlier this year, but I was preoccupied with the Bra Bee and still working on finding my perfect bra fit, so even though I wanted to dive in right away I held off for a few months to make sure I was really going to put this fabric to it’s best use. I will say, when it came I was originally a bit disappointed because it felt a bit too stiff and not as soft and stretchy as I had been hoping. However, one trip through the washing machine later and it felt just perfect. It’s got a nice amount of weight, drape, stretch, and recovery. So when most of my heavy spring travel was concluded and I had a bit of extra time, I was itching to get back to this fabric.
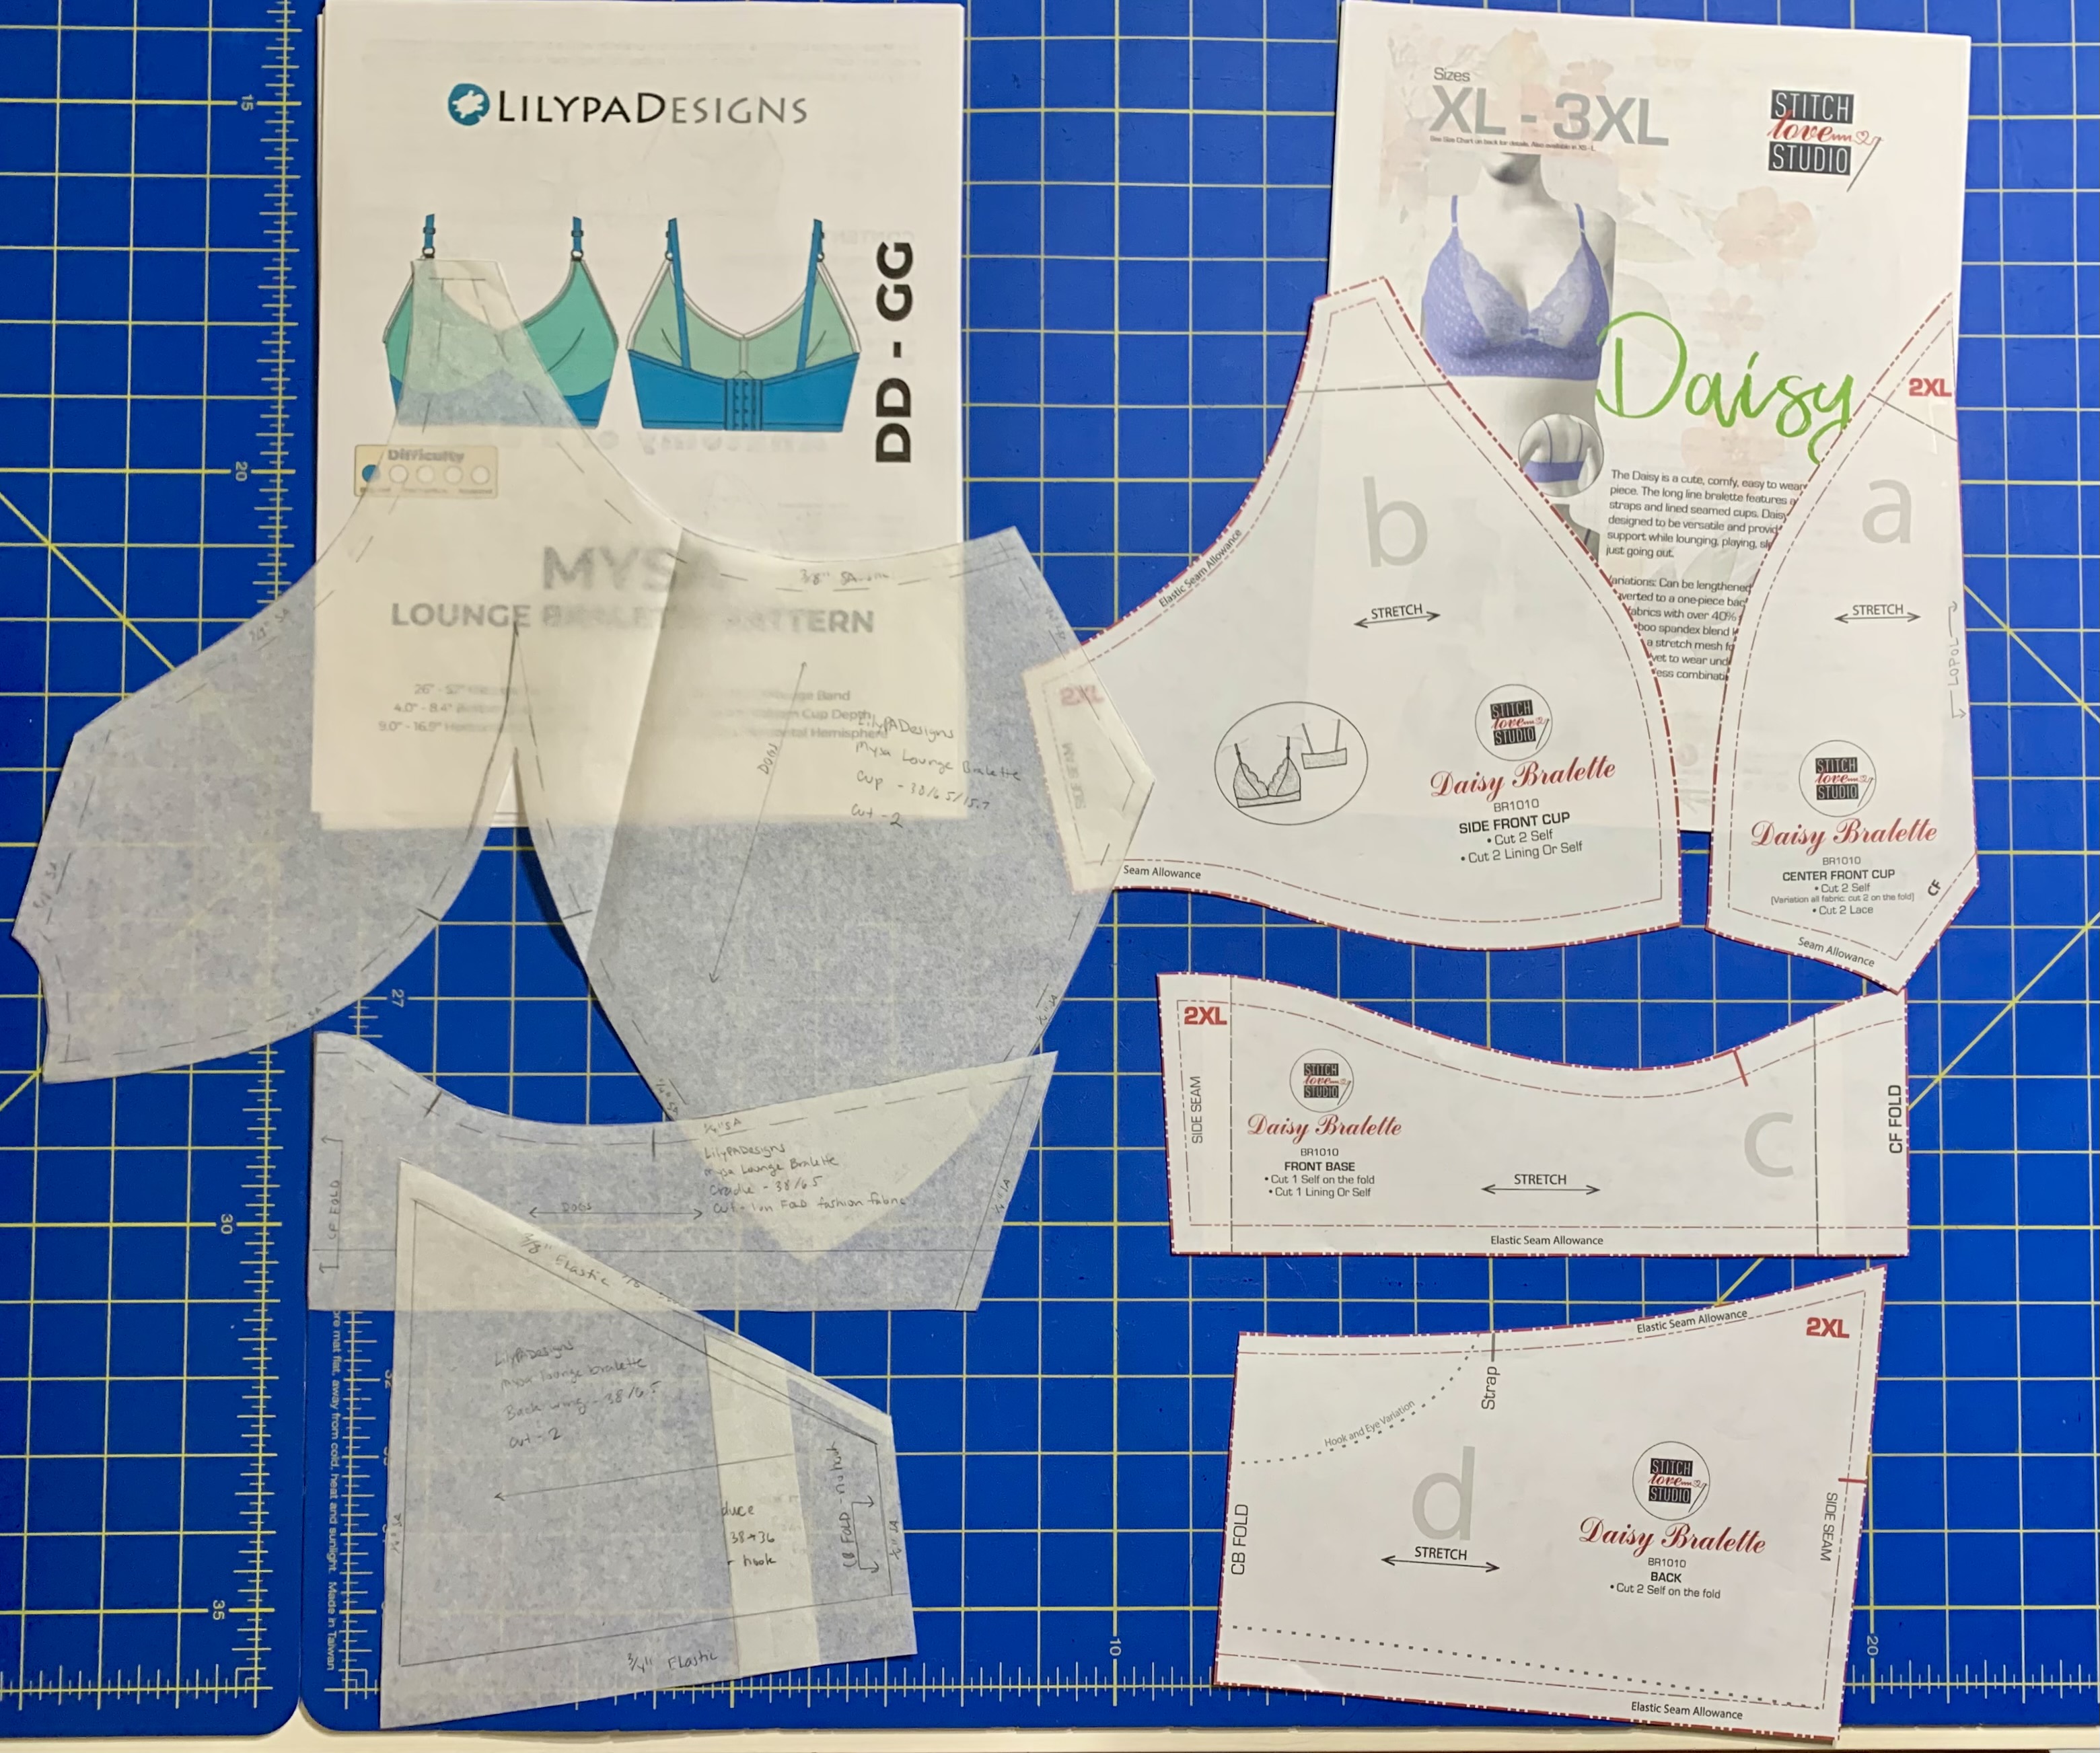
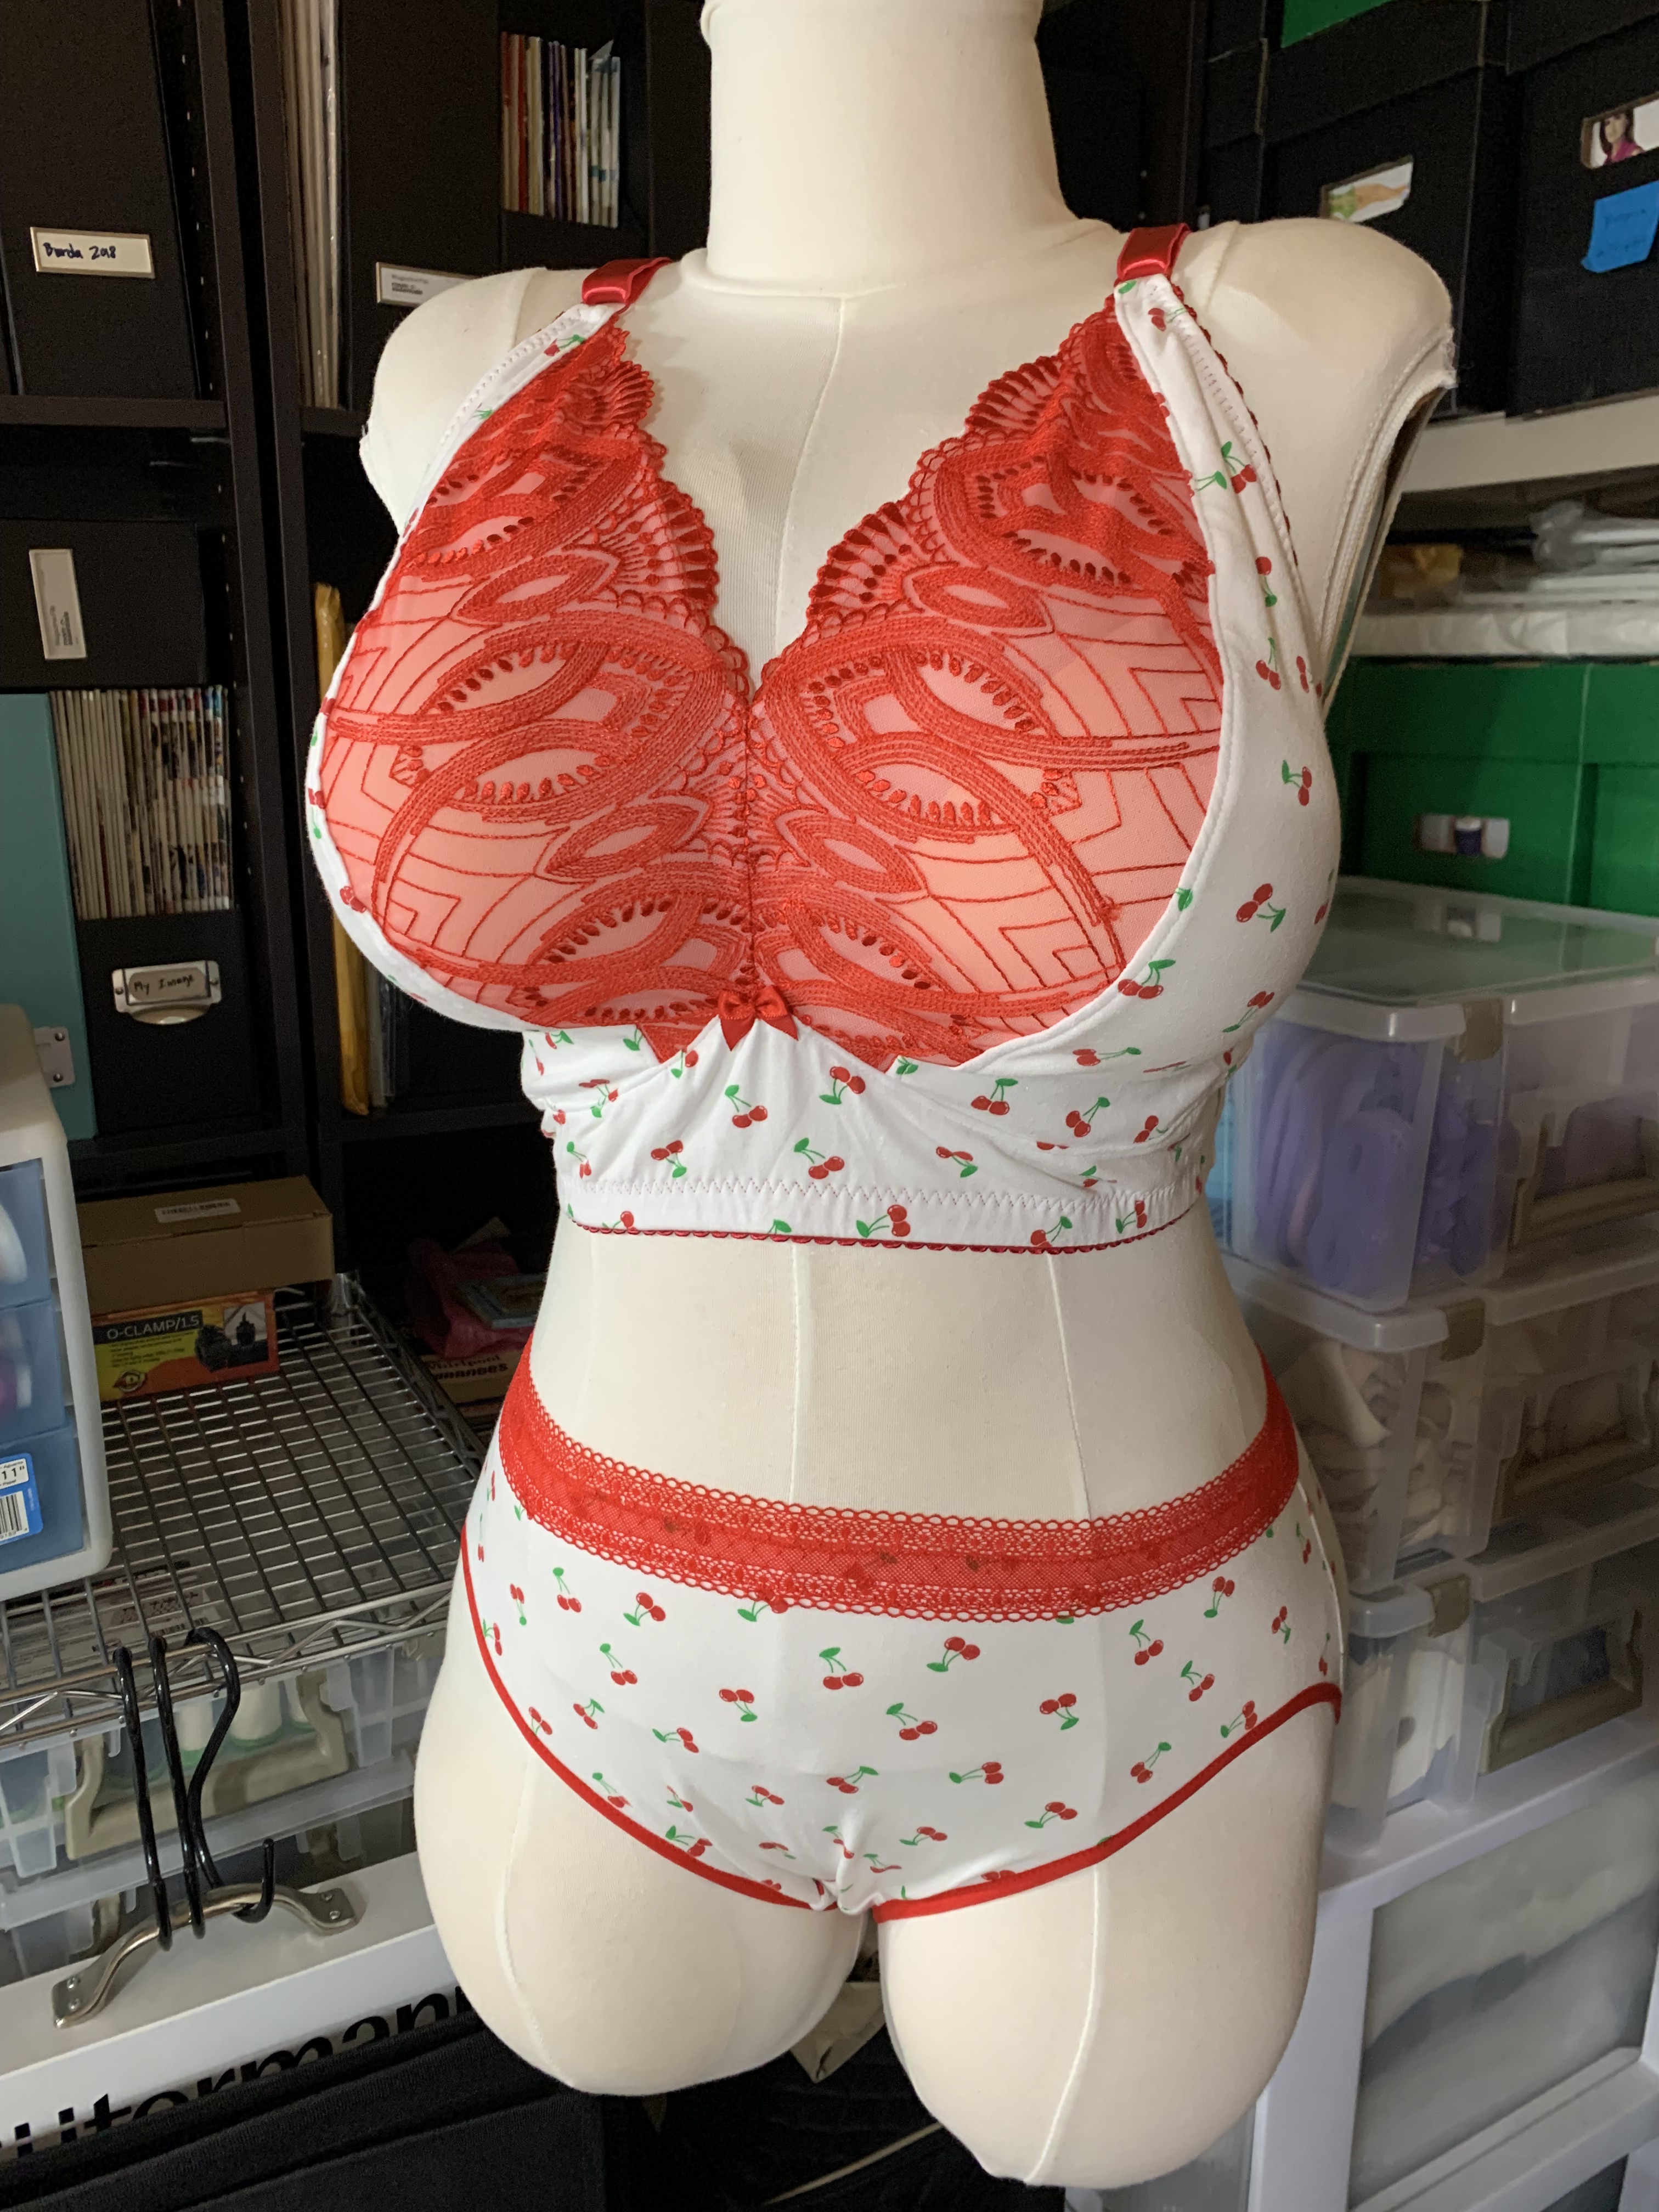
As I’ve gotten into sewing undergarments, I’ve really been enjoying testing different patterns and working on getting a great fit. I’ve also been sewing (and wearing!) a lot more wireless bras because I’ve been curious about the patterns and construction. One of the patterns I really liked the style of was the Stitch Love Studio Daisy Bralette, but the fit just wasn’t quite right for me. I’d had much better luck fitting the Mysa, which is similar in the band style, but different in the cups (a two-piece vertical seam vs. a one-piece dart). Although I probably could have taken the time to fit the Daisy, I decided it would just be easier to change the style lines of the Mysa to get a better fit. So I split the cup along the dart and straightened out the front cup edge to mimic the look of the Daisy, but using the extended sizing of the Mysa.


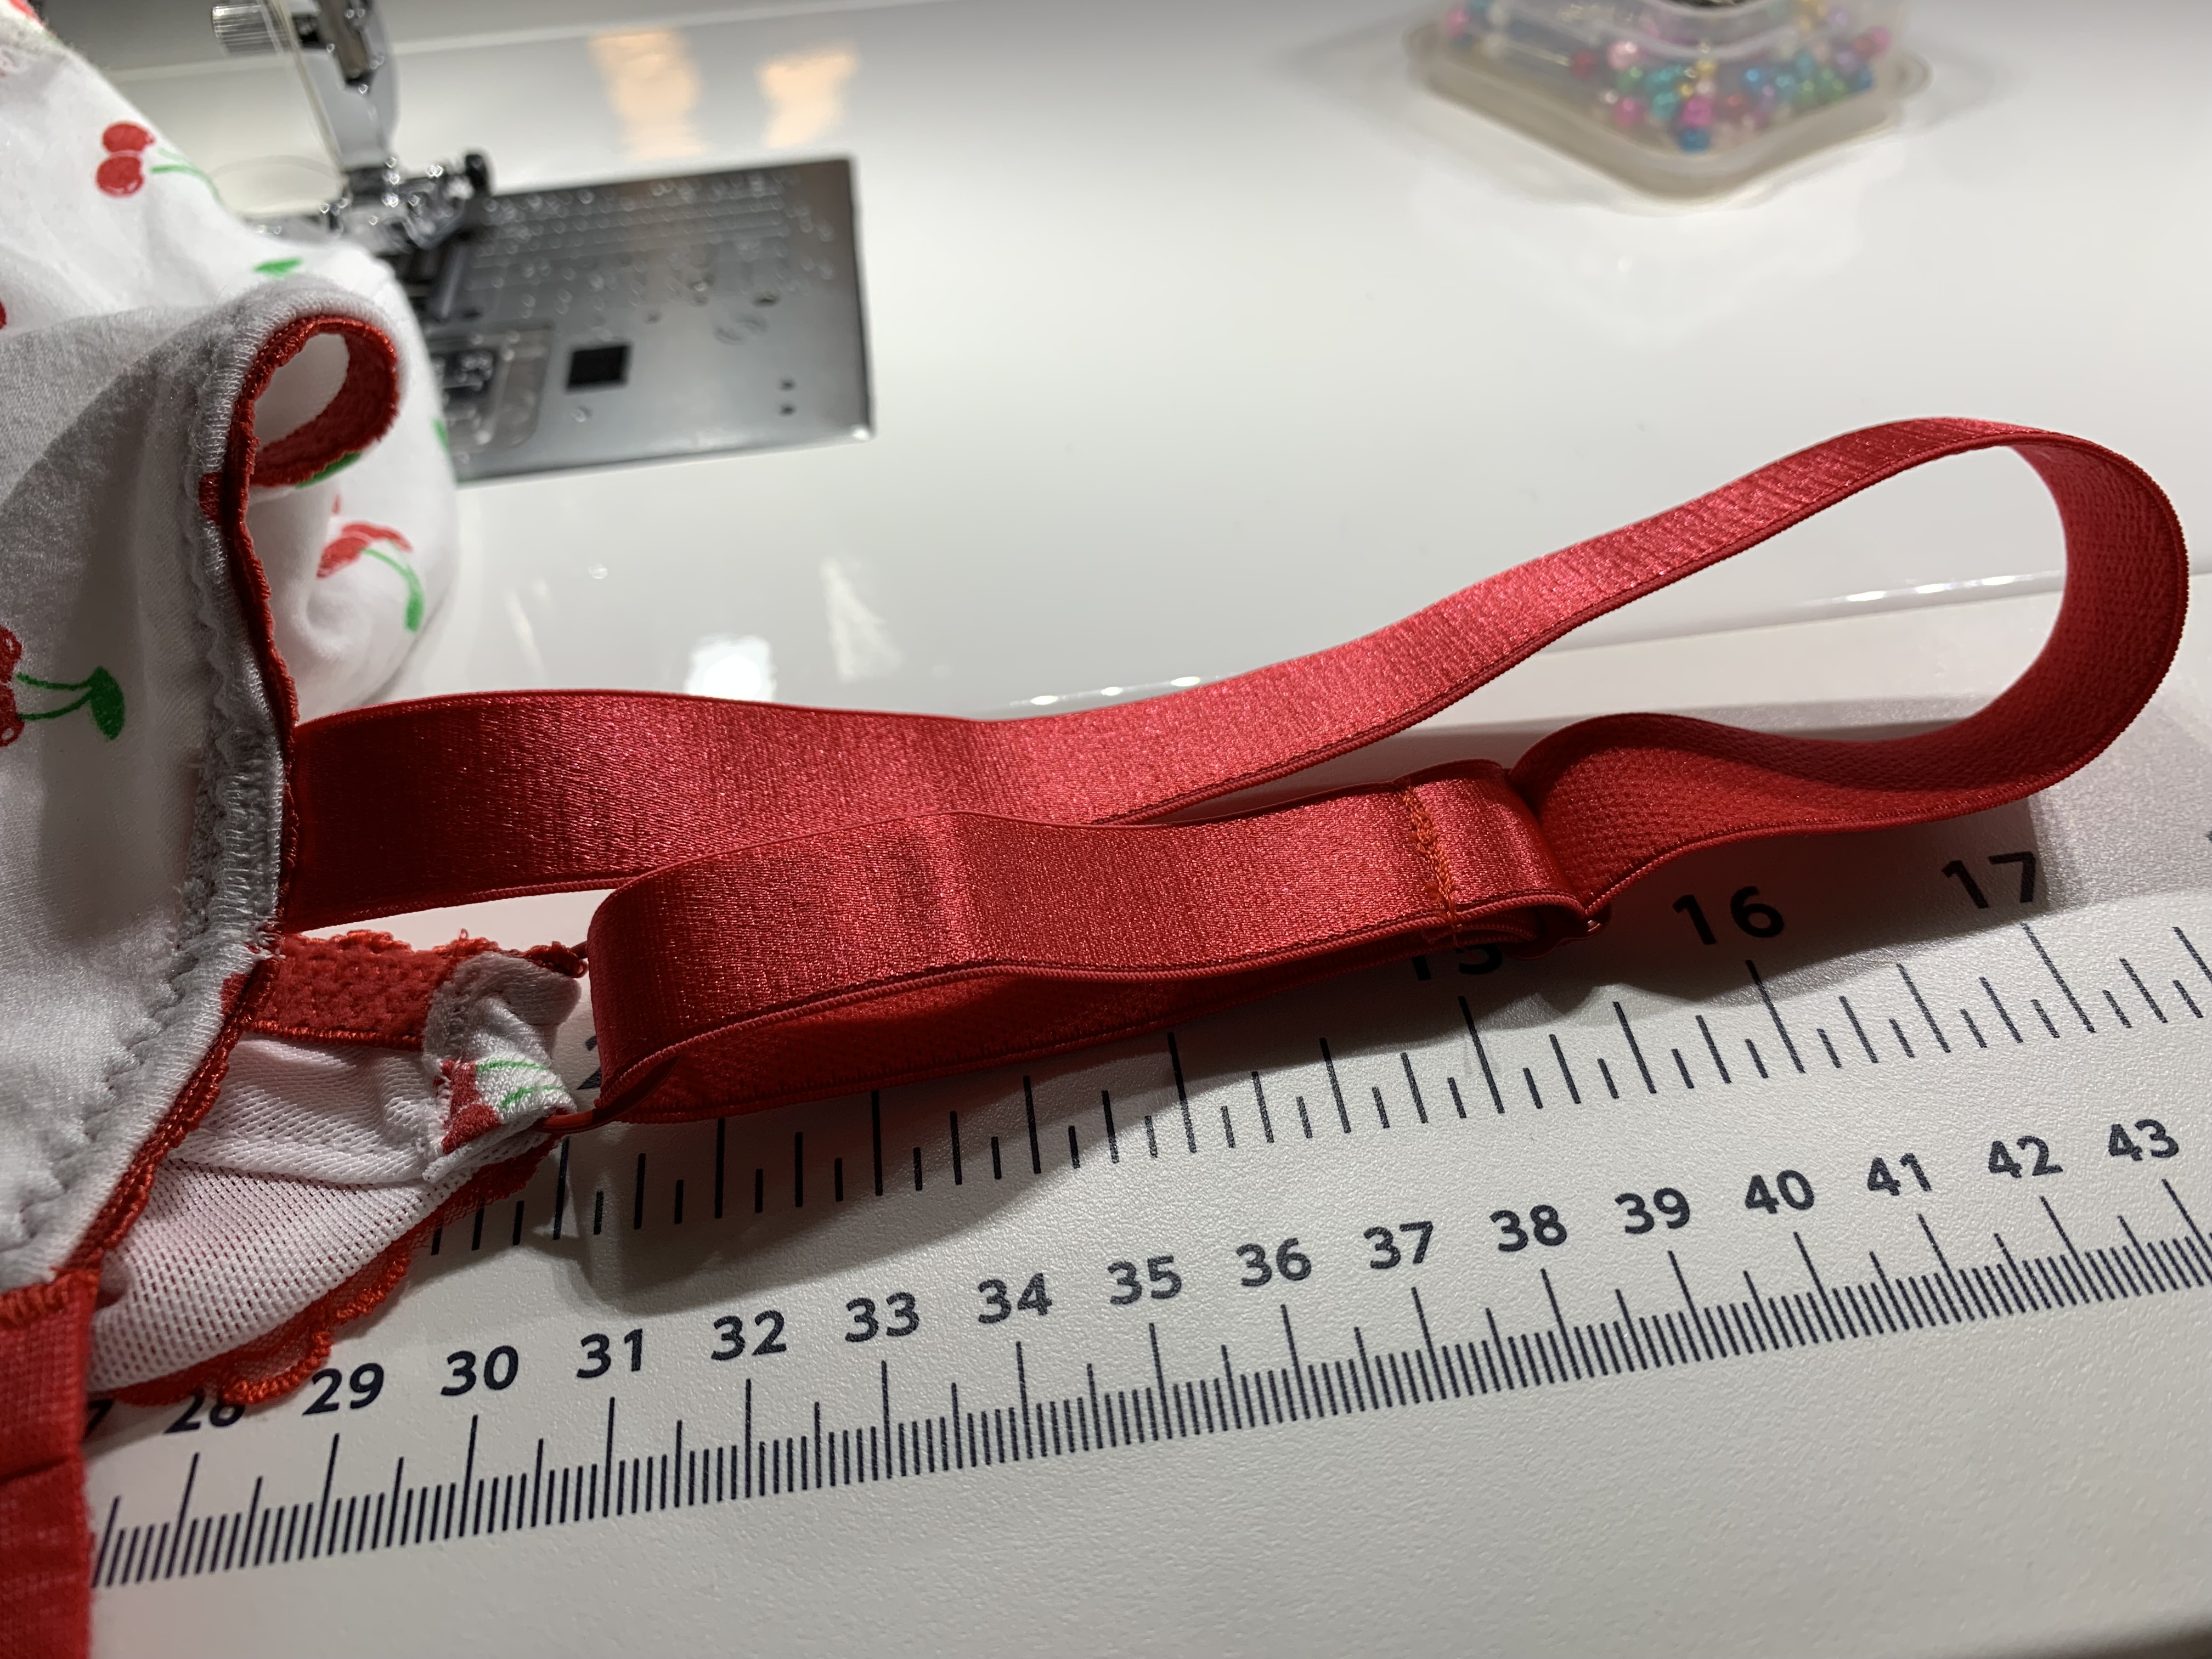
Aside from the construction of the cups (which followed the Daisy construction order), the rest of the bra was made following the Mysa instructions. I had to lower the back a bit because I only had a 3×3 hook and not a 4×3 hook, but that was a minor adjustment.


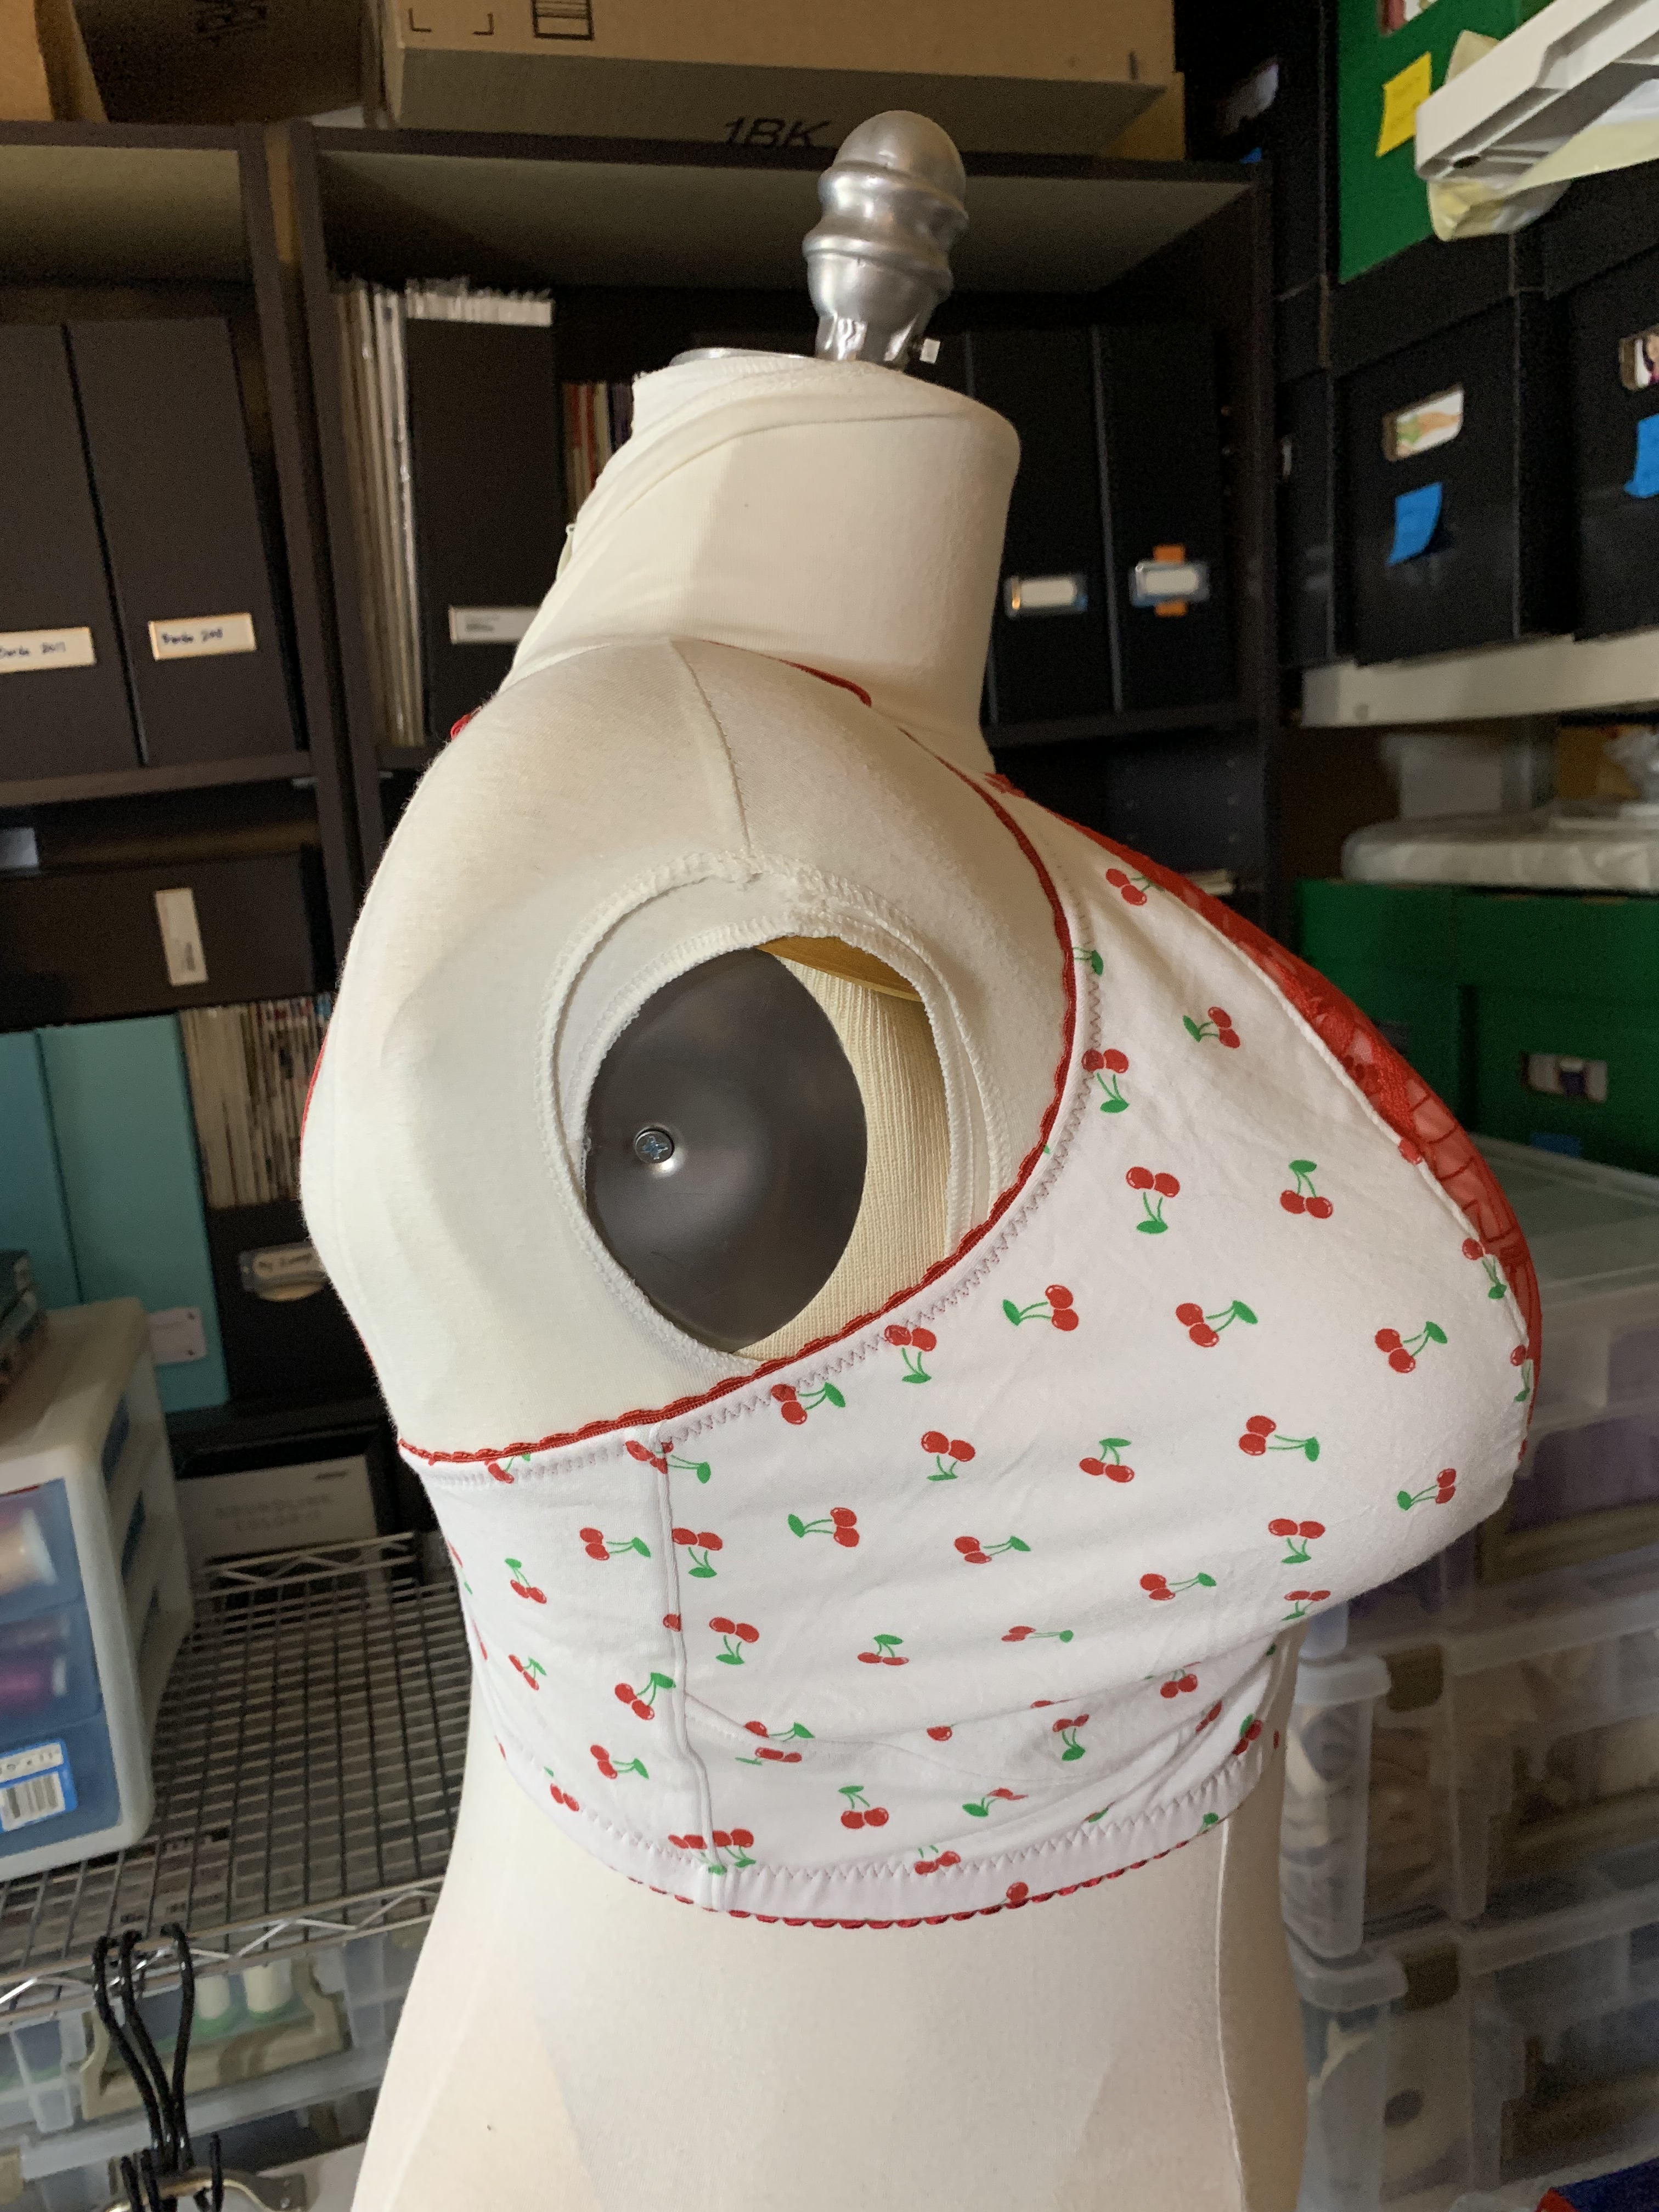
Overall it was a really simple pattern adjustment and a very fast sew, to end up with a bralette in a style I wanted but with minimal pattern adjustments and less fitting than re-working the curvature and projection of the Daisy. And I ended up with a super cute bralette!


Of course, since I was buying the cherry fabric by the yard and not in a kit cut, I had a lot more of it than I needed for a since bralette project. So I started working on what will probably end up being the start of a very robust cherry lingerie mini wardrobe. Since I already have several underwear patterns worked out, I started with two of those – the Bravo Bottoms #2 and my self-drafted Craftsy Class panties. Since I was working from stash and not from a kit, I pulled out some of my fancy wide elastics for the waistbands. I really like the wide daisy elastic from Bra Builder because it’s very robust in the wash. I’m going to have to see how my more delicate lacy elastic turns out after use, but it is super cute!


So I’ve got a few options for this set and I think overall everything looks super cute and cohesive! I’m really happy with how well everything matches.


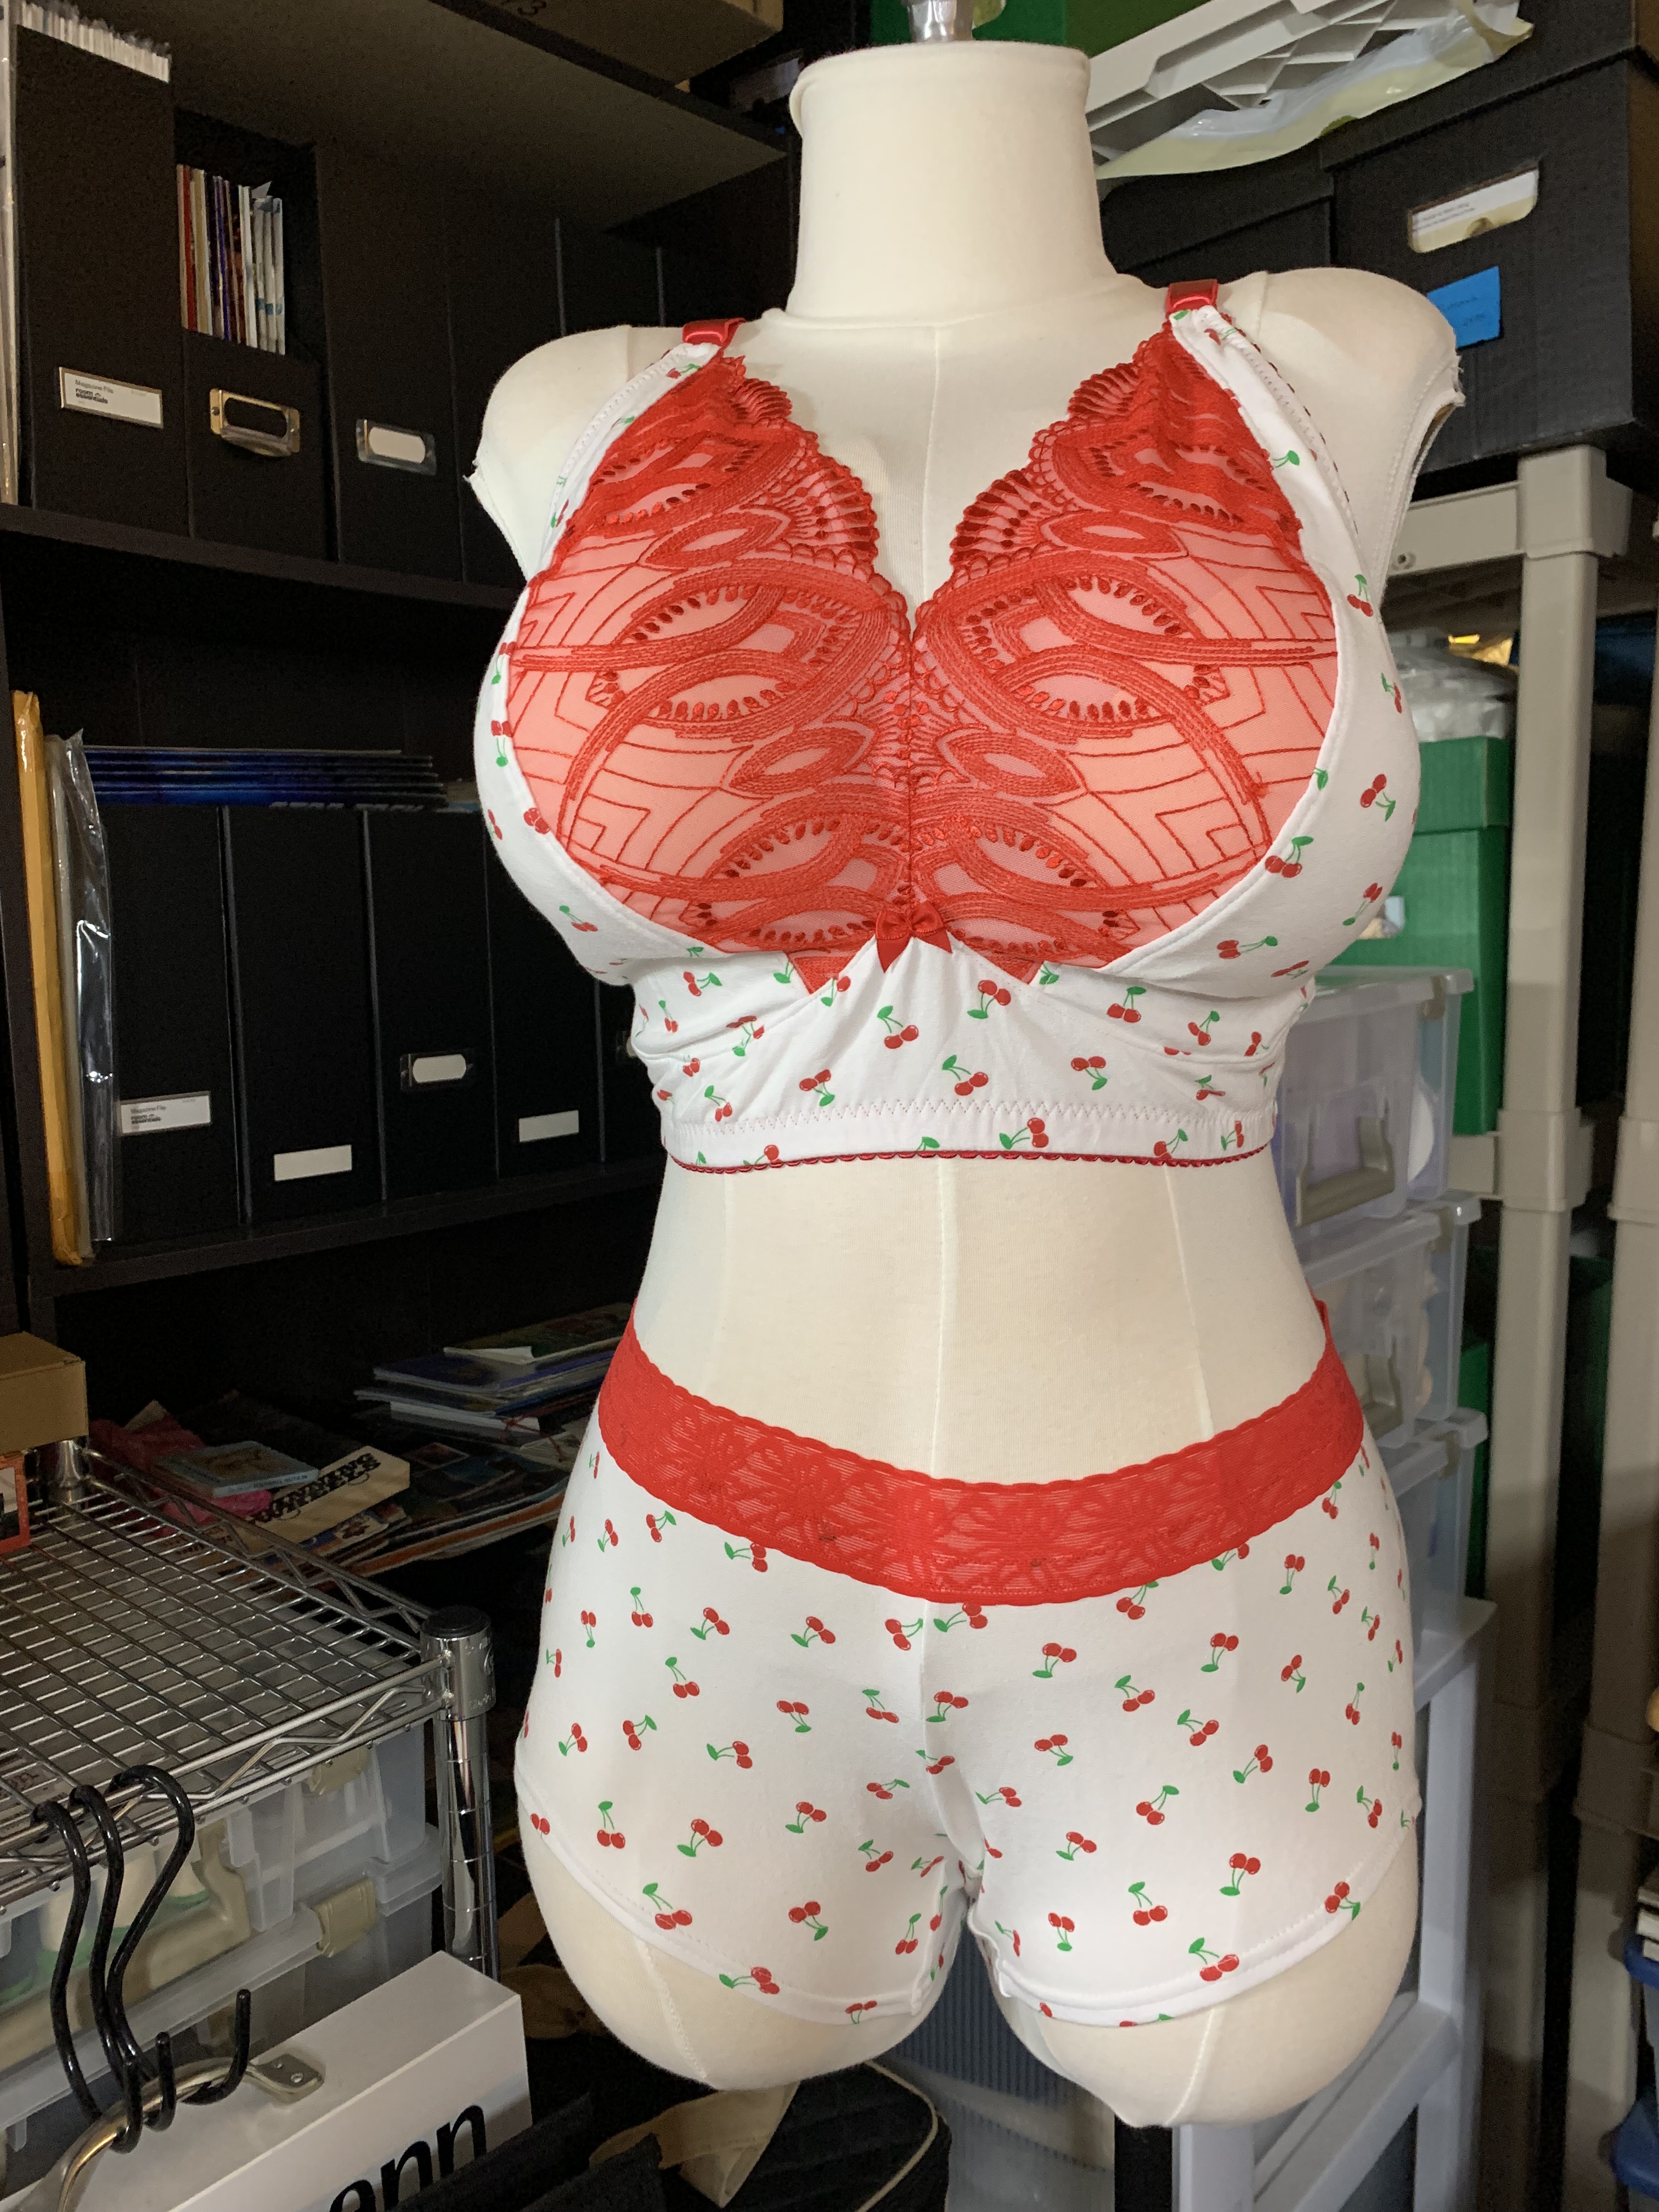

I’ve still got some cherry fabric left, as well as more of the lace, so I’d love to add a Friday French Cut option to the bottoms and add a few wired bra options for the top (I’m thinking one with a lace upper cup and one that’s just the cherry fabric, if I have enough). Although I had thought I’d be working on these right away, I’ve got some other things coming up that I’m going to need to pivot my sewing plans for, so once again the cherry fabric will be on hold for a little while. But don’t be surprised to see it have a comeback later this year – even though I still can’t consider this very cutesy cherry print “my style”, I think it’s ok to have something fun that just makes you happy in a wardrobe. And it really doesn’t have to go with things, it just has to go under things, so I’m sure my cherry mini-wardrobe is going to get a lot of use.

Amazing as always! The great thing about undergarments is it’s like a secret identity
LikeLiked by 1 person
Definitely!
LikeLike
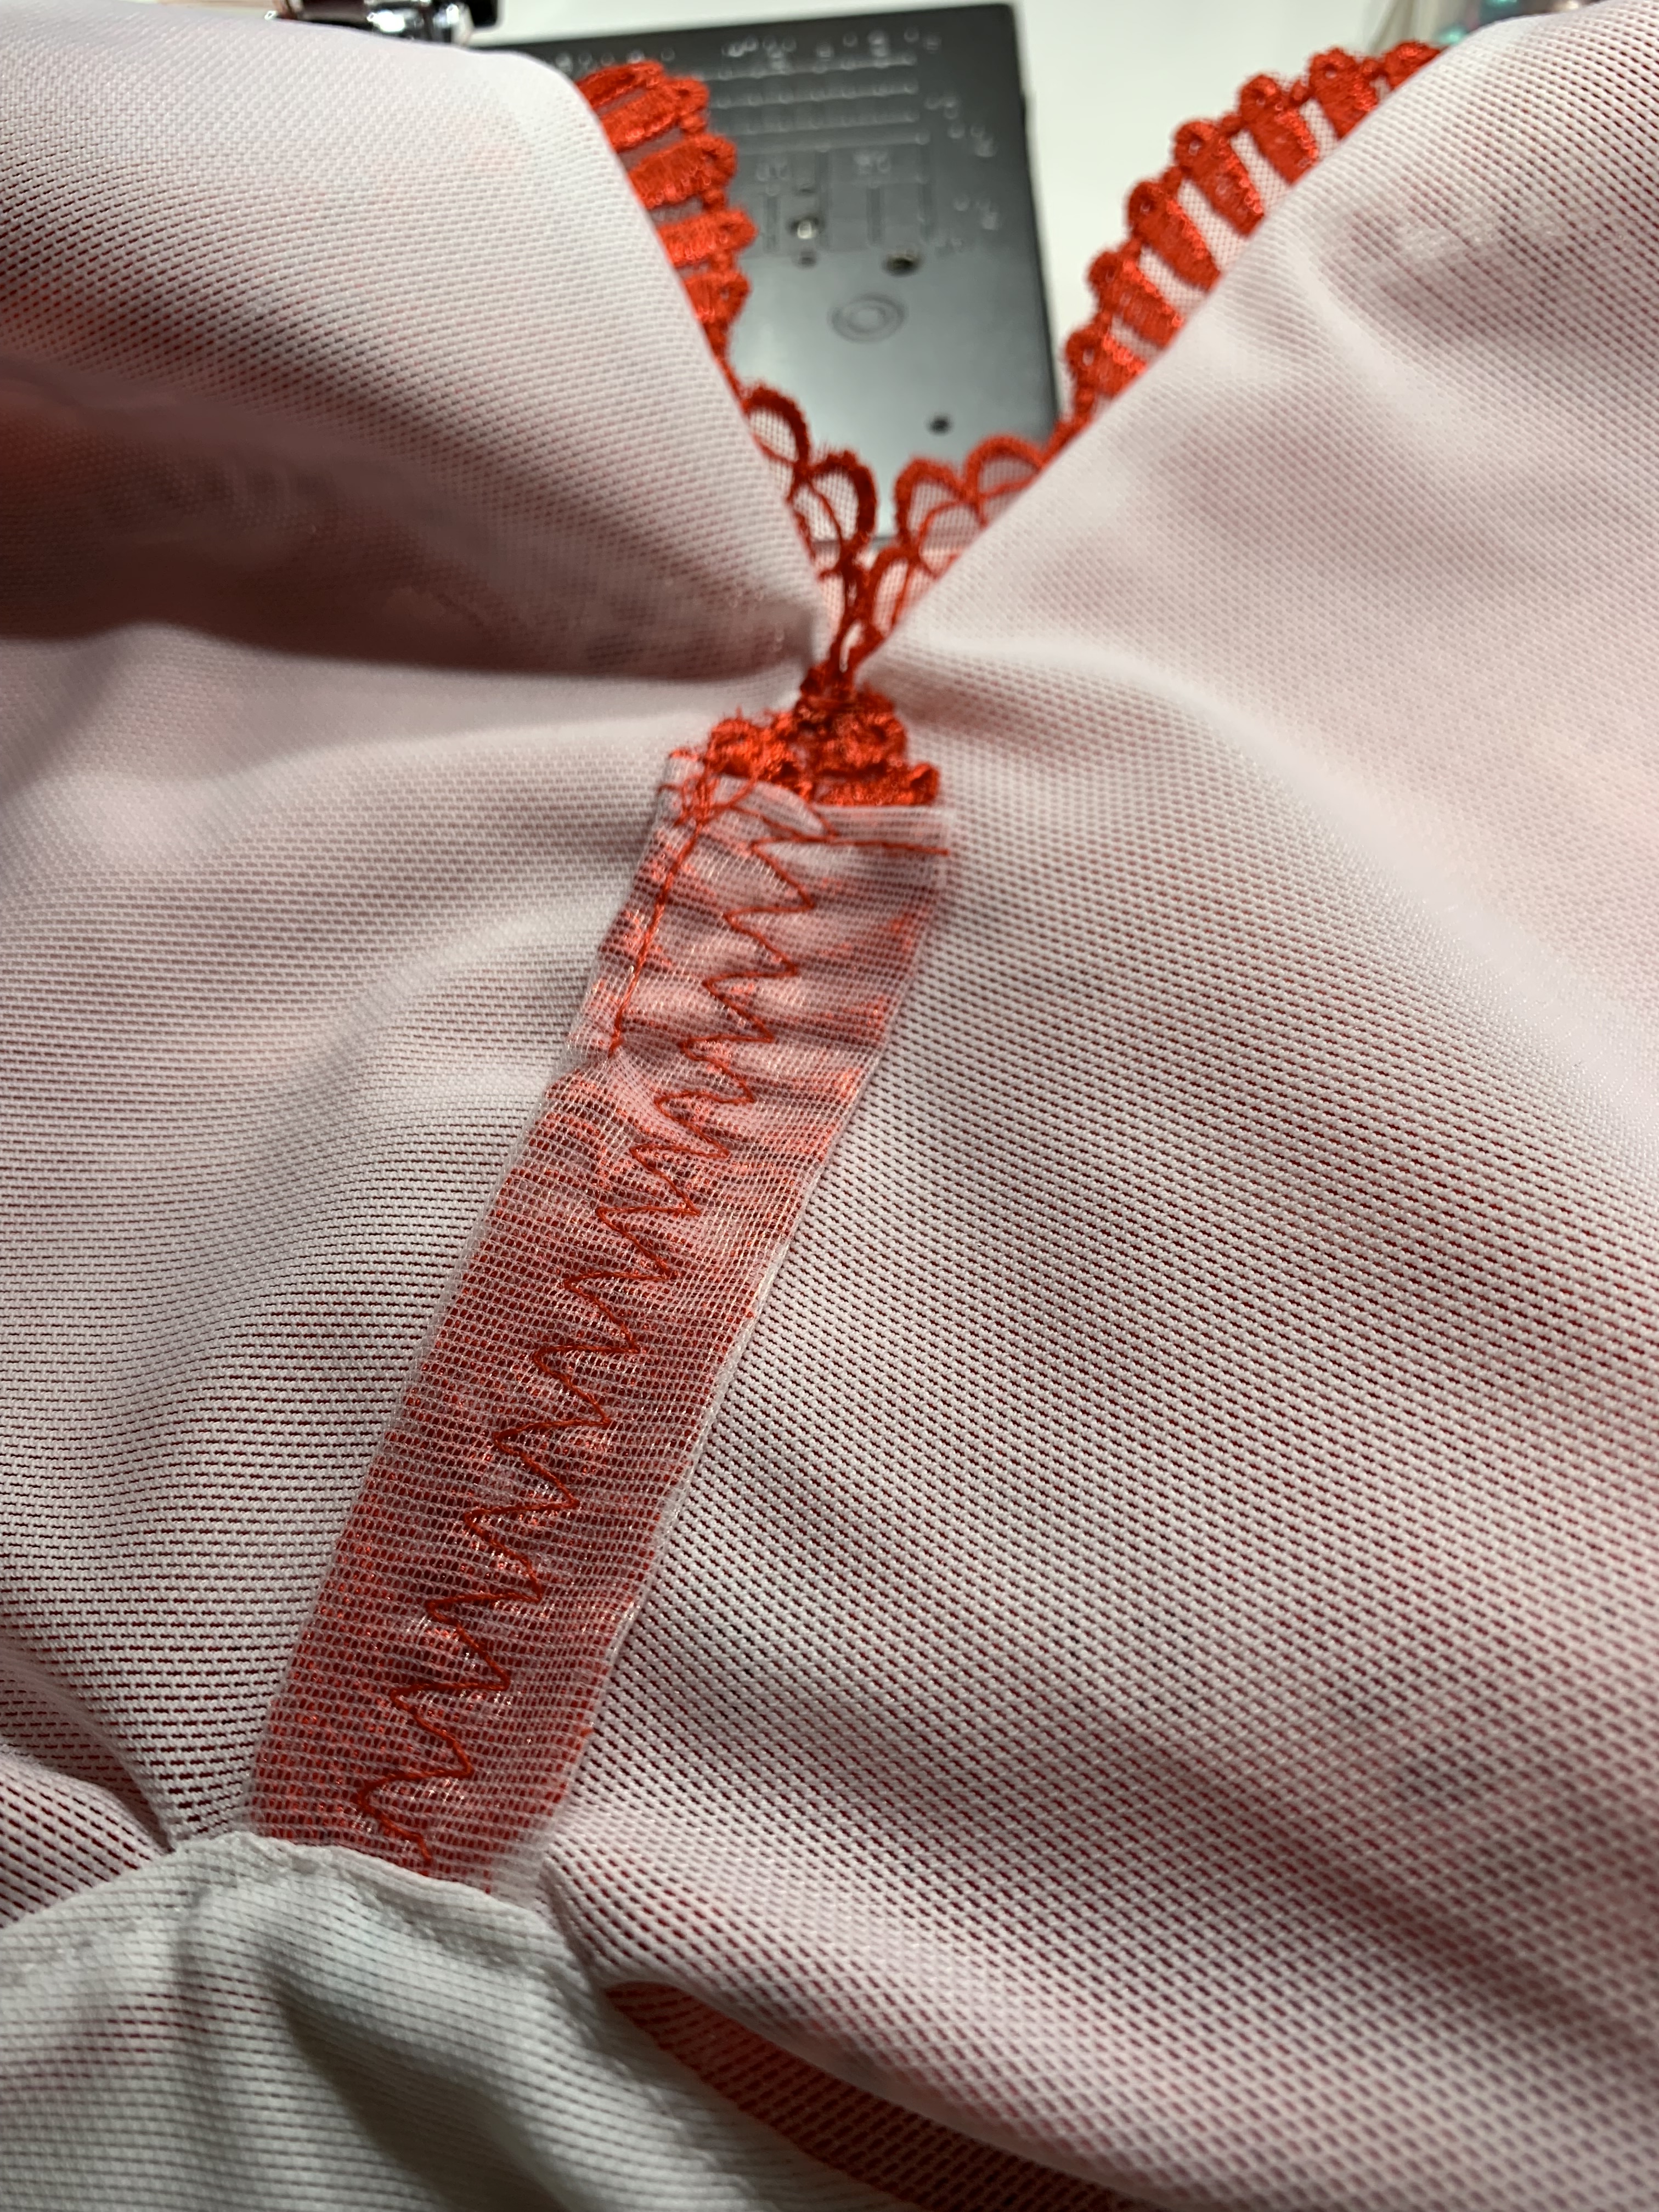
Very cute indeed, and the red lace in the middle is a nice accent. I like a big hook bar but I’ve found that 3 is plenty for me, support-wise.
LikeLiked by 1 person
I’ve found I prefer 4 and probably need it if I really want a lot of support, but I can get away with 3. Since this isn’t a wired bra or sports bra the 4-high would probably help the tension around the body but also isn’t totally critical for the types of activities I’m planning (or not planning?) to do while wearing it.
LikeLiked by 1 person
Oh I love the support, too, but it gets a little harder to do the hooks up the more of them there are. I went to 5 (!) on one recent bra and it’s too many for someone who doesn’t have a lady’s maid to dress her.
LikeLiked by 1 person
Hahaha that is a very valid point.
LikeLiked by 1 person
where can I get my own copy of this pattern ??
LikeLike
where can I get a copy of this pattern??
LikeLike
Here is a page that links to all three size packages: https://www.lilypadesigns.com/blog/mysa-pattern-launch?srsltid=AfmBOopChgjvBJJEtfdDRnXjgR9drOiD569NWPnLNqbDoEZUoN5zViFP
LikeLike