As seems to be my modus operandi of late, this post is going to be a bit long. I suggest tea and cookies if you want to get to the end because instead of breaking things down like a logical blogger aiming to increase post counts I’ve dumped 4 months of mini quarantine projects into one massive blog post. Ah well. I’m feeling too lazy to go back and chop it up into bite sized nuggets at this point so I’m going to leave it as is. Tea and cookies – you have been warned!
* * *
So, while I’d been needing to re-organize my sewing space for quite a while, quarantine actually give me the time to start working on it in a somewhat productive way. The thing that was really motivating me to make this update was my thread storage – it was both too compact and too spread out, and not super functional in terms of actually accessing thread colors I needed or seeing what I had available to me.

Starting the endeavor of fixing my thread storage, of course, had the unintended consequence of me falling down a rabbit hole of reorganization, furniture purchasing/building, and just general chaos in my sewing space for the first few months of quarantine. It’s part of the reason I feel like I haven’t been super productive in the sewing realm during this year of COVID, though I don’t think this reorganization process can take all of the blame for that. Anyway, I thought I’d share some of the ways my storage has changed over the course of this four month endeavor. And while things in my sewing space are currently not in their “final state” of organization, I’m at least back to being quasi-functional and able to work, so hopefully this means more productivity soon. I’m currently back to mask making, but after I finish another round of masks for the family and a few crafty projects for friends I really want to sew something frivolous for me because it’s definitely been a while.
Anyway, on to what I’ve been doing to my sewing space!
So, one of the first things I decided to do was to get a different sort of thread storage so that I could easily see the colors and types of threads I had. I went with a combination of boxes from ArtBin. I looked at a lot of other thread storage options on Etsy and from thread companies, but most of them seemed geared towards fitting specific thread brands or were larger, more permanent storage solutions, whereas I wanted something modular and movable, as I knew I’d have to basically use space in front of my book and pattern storage space, so I’d need to be able to move things around more easily. Anyway, here is what I got from ArtBin:
- ArtBin Double Deep Super Satchel for serger cones
- ArtBin Cone Thread Tray for serger cones
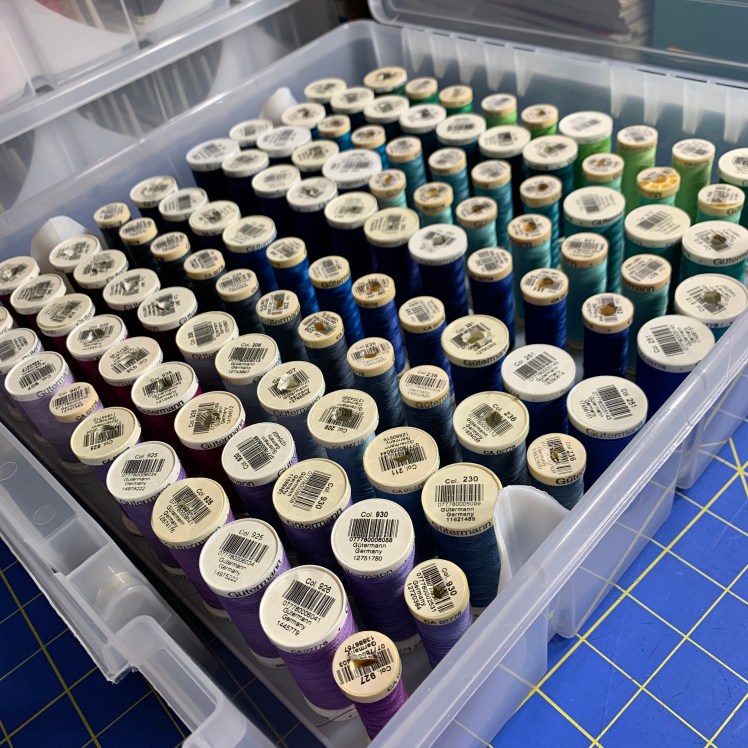
- ArtBin Super Satchel Thread Box for regular thread spools
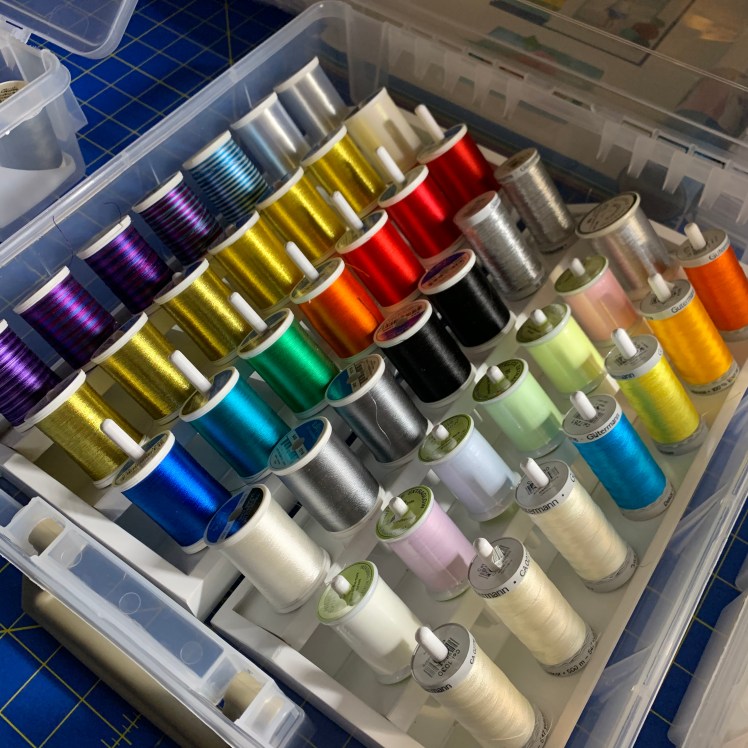
- ArtBin Thread Storage Tray for wide embroidery thread spools

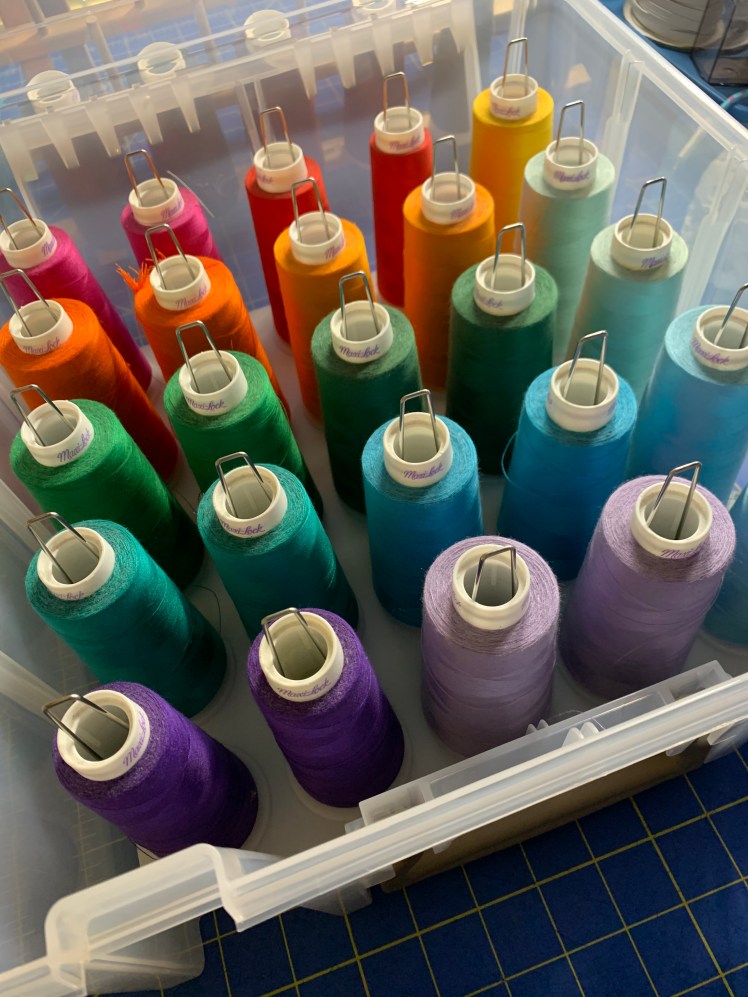


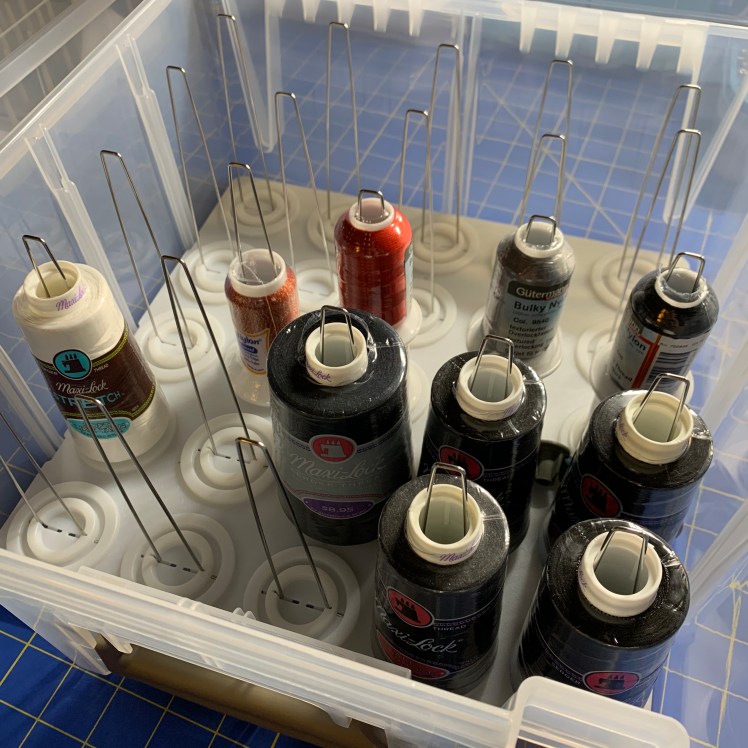

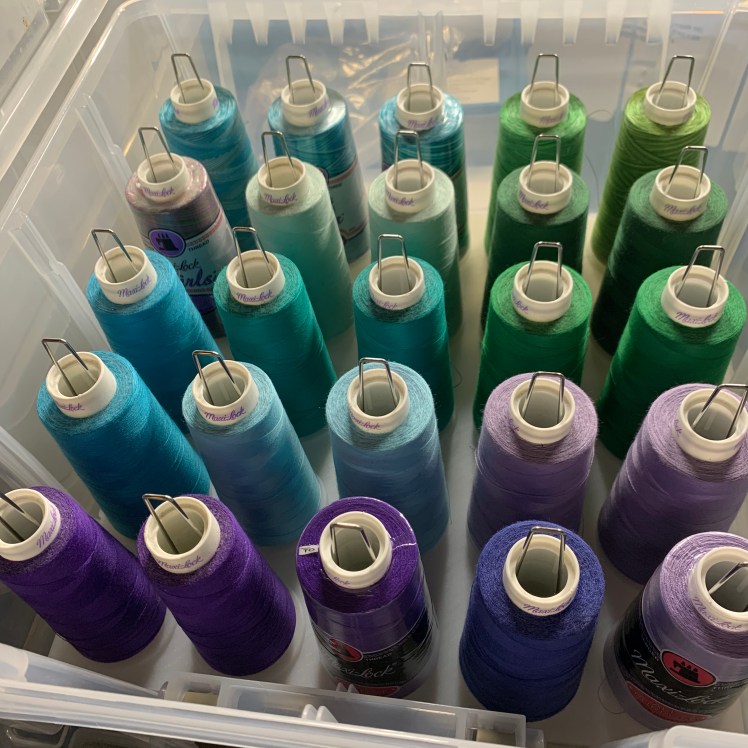
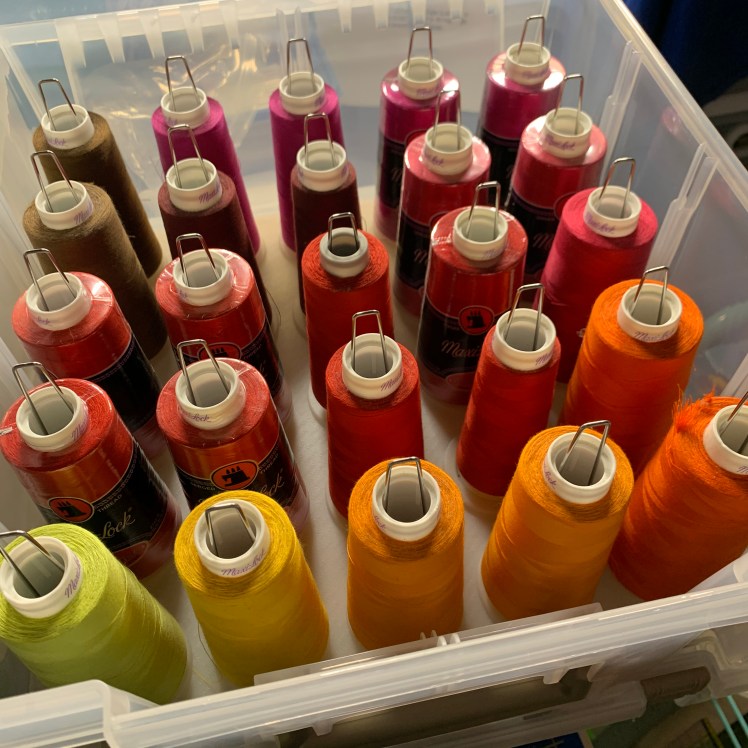

I have to admit that having rainbow serger threads really does “spark joy” in a way that my previous thread storage could never hope to manage. Now, I’m well aware that I have a lot of serger thread, but I also used to make skating costumes on commission, so it’s a collection I came by somewhat organically and accidentally. Also, yes, I’m totally one of those people who changes the serger thread for every project.
I don’t think this is necessarily the most space efficient way to store thread – especially the larger spools that don’t fit compactly next to other spools in the boxes, but in terms of being able to quickly see what’s in a box, it’s great. And the bins all stack perfectly, which is also pretty awesome.
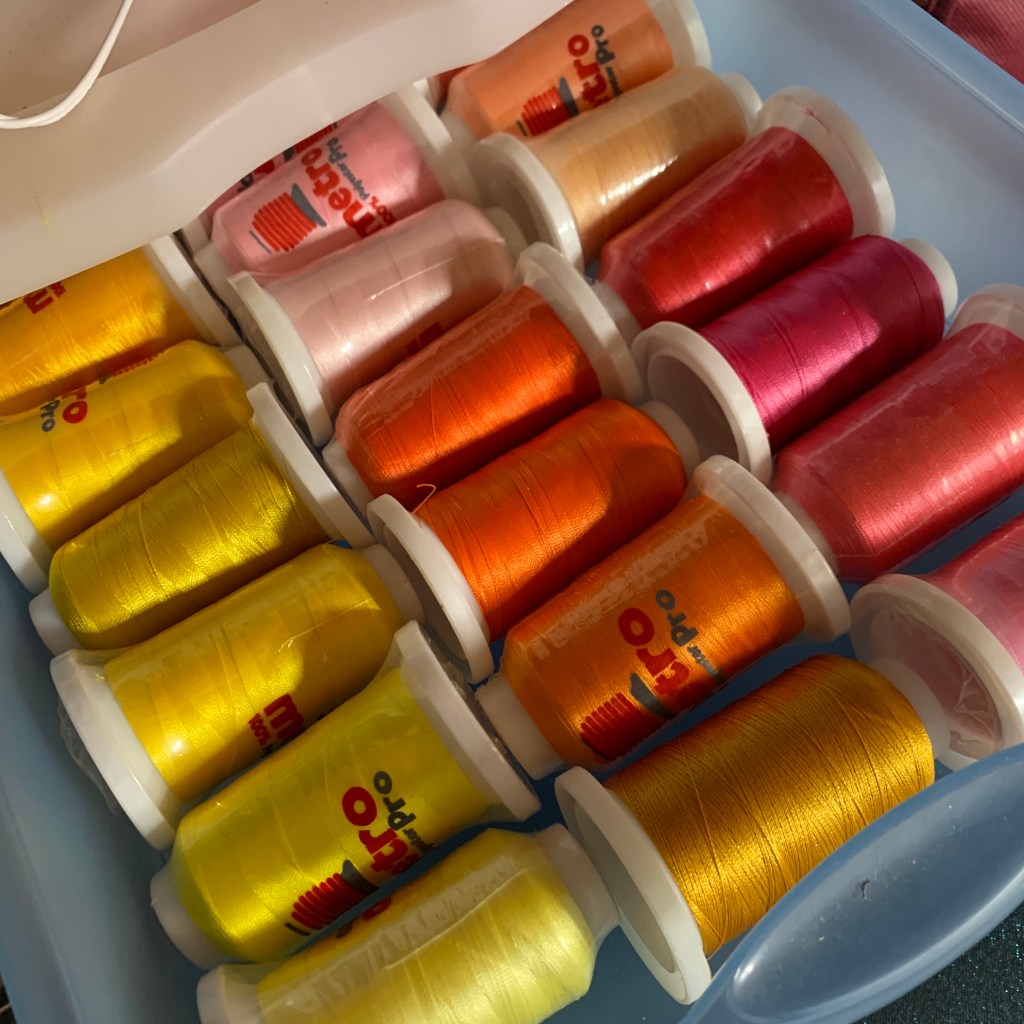
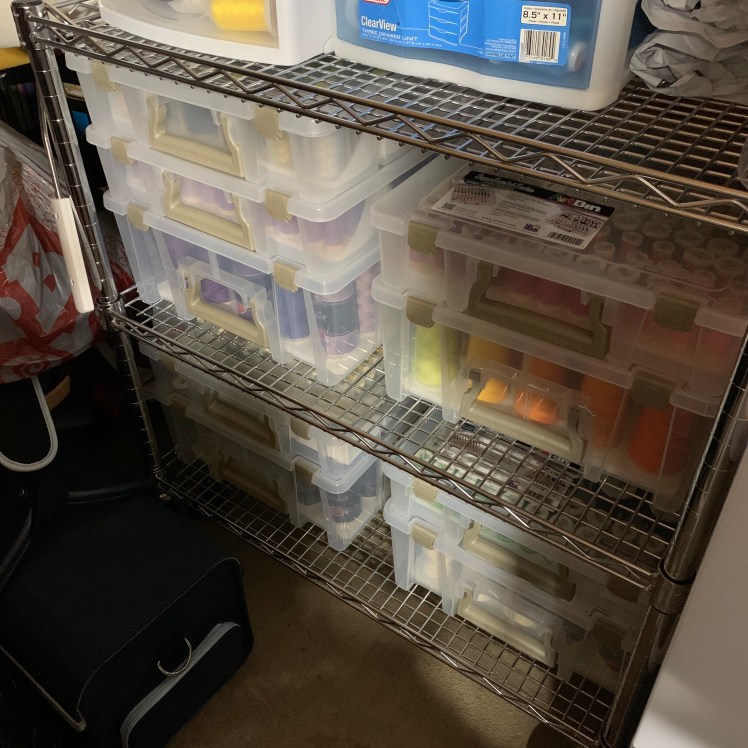
Aside from normal sewing thread, I’ve also got a fair deal of embroidery thread, which I placed in my old plastic drawer system (no longer available), which makes it much easier to both see all of the colors and keep the thread protected from dust and fiber particles in the air.


I’ve also reorganized my bobbin thread using a combination of two storage solutions and DIY-ing it a bit:

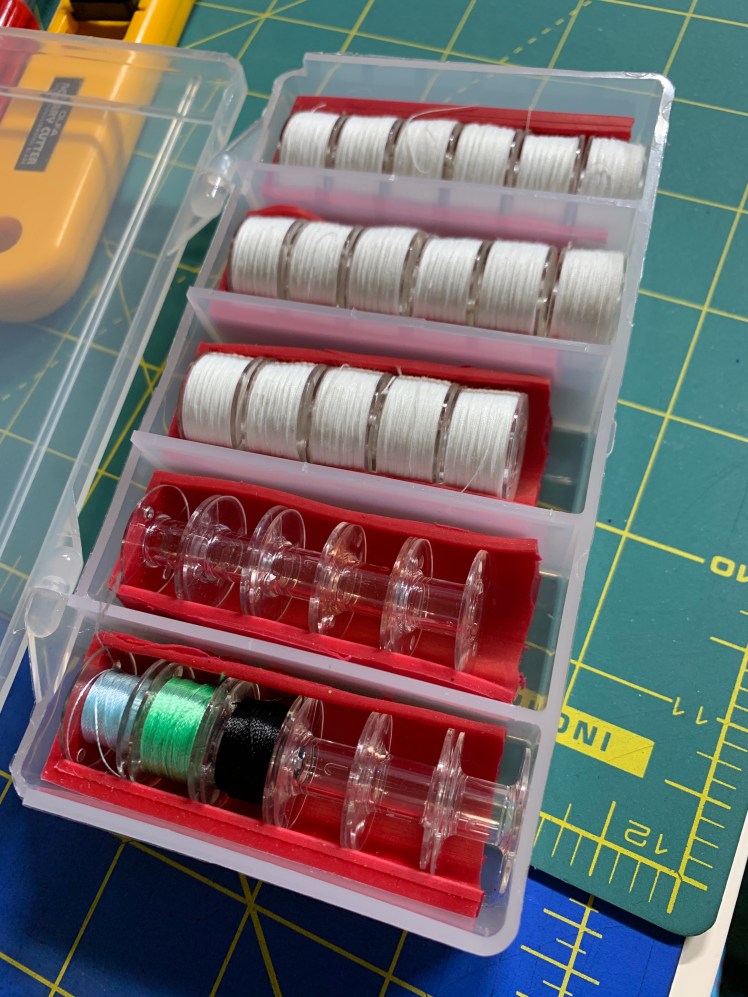

My machines use plastic bobbins, and I’ve had these ArtBin boxes since I’ve started sewing, but I’ve always hated how much the bobbins jiggle around and the threads get tangled. I really liked the rubbery Bobbin Saver, but the large square shape didn’t fit nicely in my drawer like the bobbin boxes did. So I did a bit of a (literal) hack job of chopping it up and using the bobbin saver as a lining in the bobbin box. Now, if you look at the actual inserts I cut out, they are really rough and horrible looking on the backside, so this might not be the solution for those of you who want everything to look just perfect. It was also quite a bit of work to literally saw these apart with old rotary blades, box cutters, scissors, and exacto knives (yes, I used all of these tools), but this solution ultimately does the job I needed it to do and so far it has been great at preventing bobbin threads from tangling, so I’m happy.
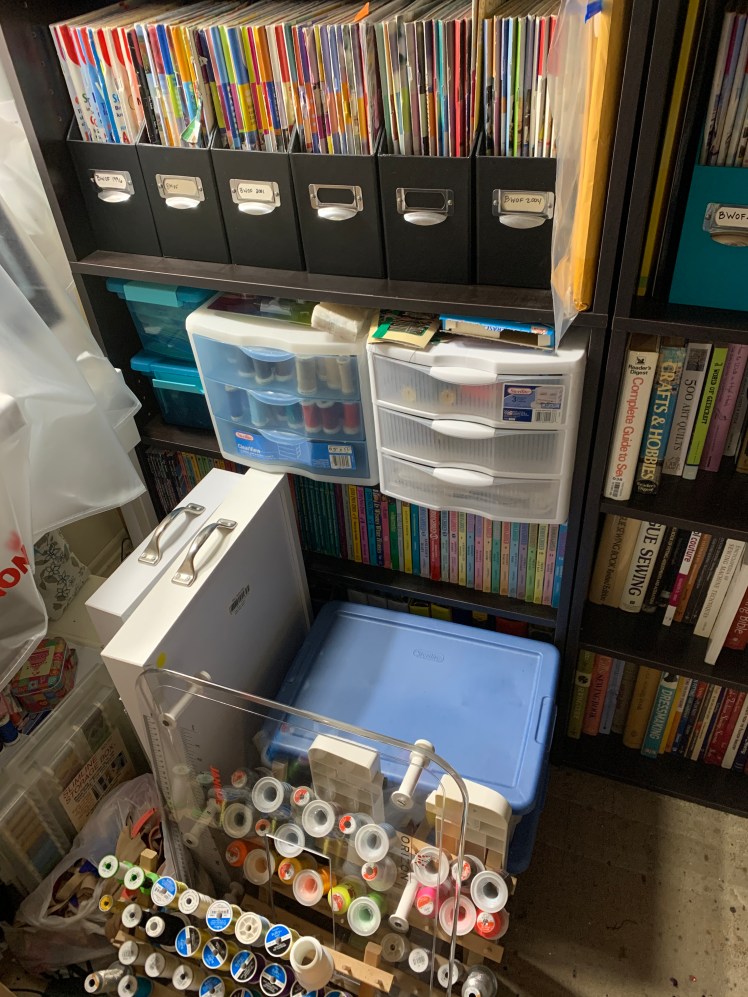
But my favorite thing about all of this thread storage is how I’ve combined it – into my thread cart!

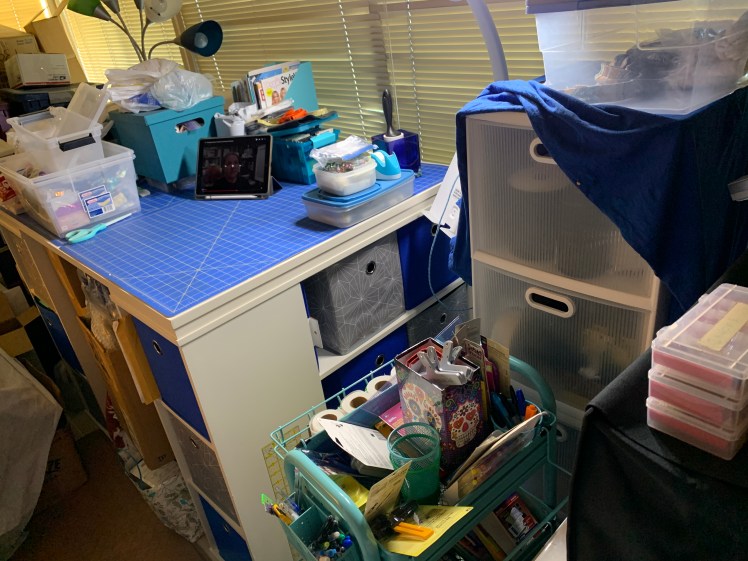
The rolling cart idea is going to be a recurring theme in this post – my space isn’t tiny, but it’s also not that large either. At least, the dimensions aren’t typically to the way lot of sewing rooms are set up. I’ve watched a lot of sewing room tours and looked at a lot of sewing room design posts, and one thing I lamentably don’t have that I’d love to utilize is a lot of wall storage space or a large closet space. I don’t really have a sewing “room” as such – it’s more like a corner of a family room/dining nook that’s next to the kitchen, so my space is sort of weirdly shaped but also very (very) full of windows and near to the stovetop cooking area. The tiny section of wall that I do have isn’t particularly well suited to supporting something substantially weighty like a pegboard, so I’ve needed to find other ways to maximize my space – both vertical and horizontal. Rolling carts are awesome because I can push them out of the way when I don’t need them and pull them out when I need to access something behind them, which has been a really fantastic revelation for me. Behind the thread cart is my pattern storage (I use comic book boxes), which makes it relatively easy to get to when I need them at the start of a project, but my thread (which I need to access more often while I’m sewing) is closer at hand.

Next up, after moving all of my thread bins I decided to organize all of my sewing magazines and sewing books.
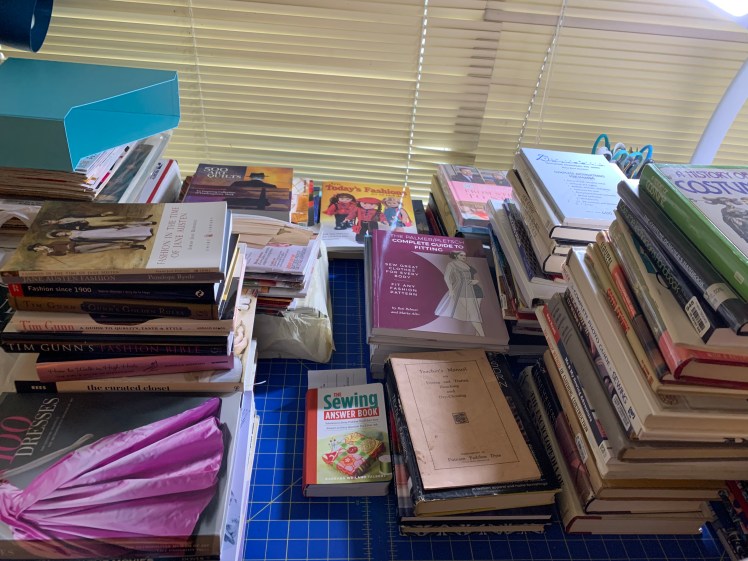
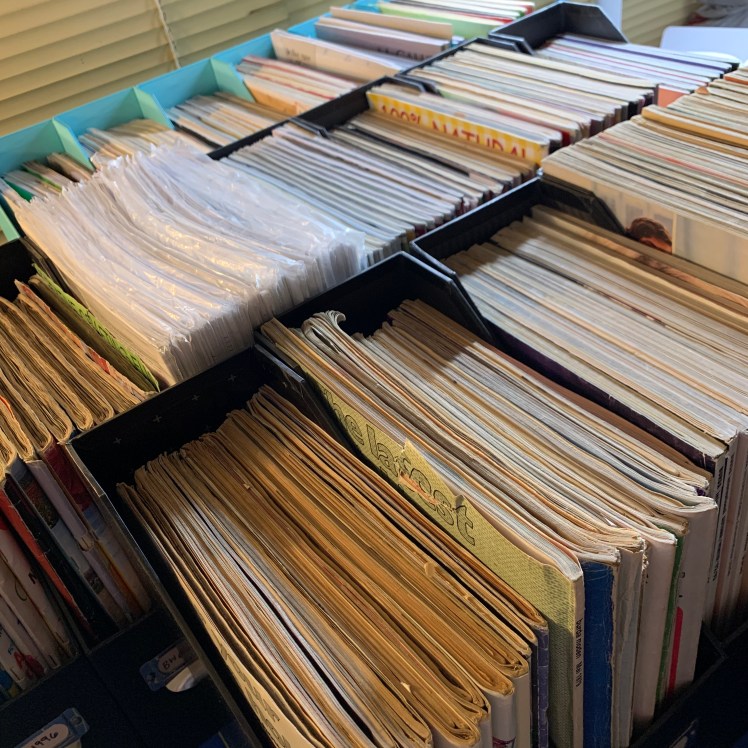
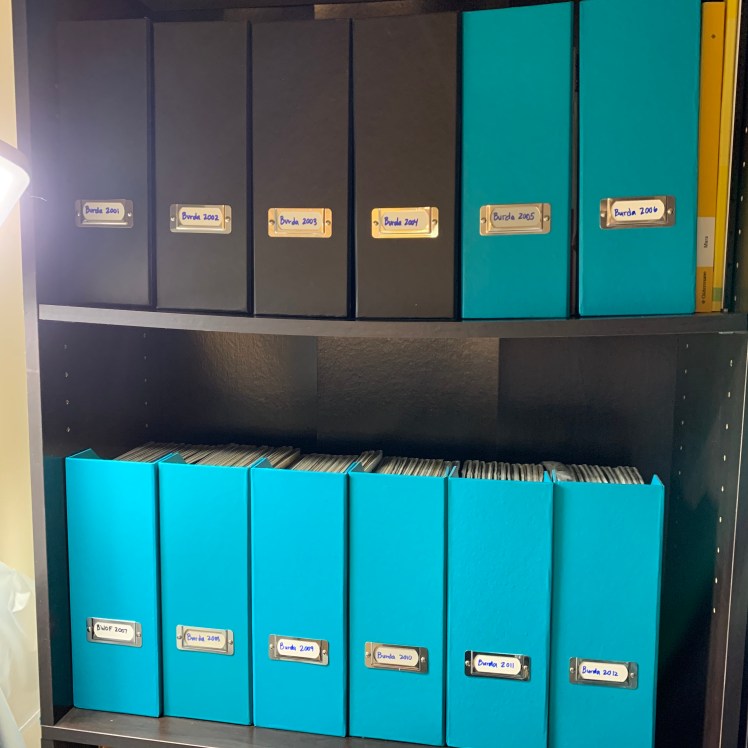


I have a lot of sewing books. What can I say? I was a book person before I was a sewing person… My organization didn’t have to change too much here, but by moving my threads I was able to reorder my books and magazines in a slightly more logical way, and I had an extra shelf to use for book storage, which was great!
Going back to the idea of mobile storage solutions, I continued down the path to cart town by buying one of the ubiquitous teal craft room carts that literally nearly everyone who has ever done a sewing room YouTube tour has in their sewing space. I’m mainly using it to hold my drafting and cutting tools that I constantly need to have at hand, and I’m storing it in front of some drawers that house notions like elastics and trim, which I don’t need to access nearly as often. So far, being able to easily roll it out of the way to access other storage areas is working out brilliantly.

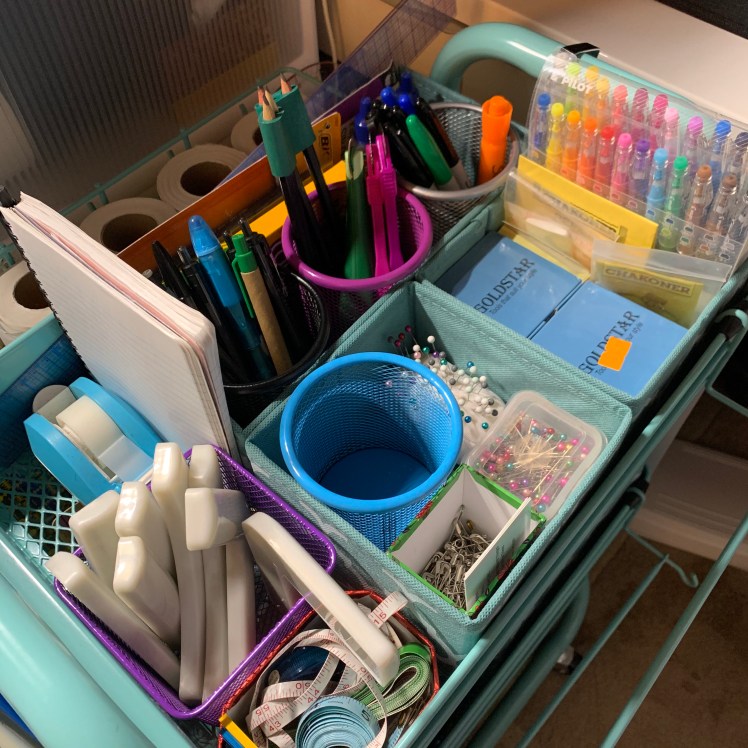

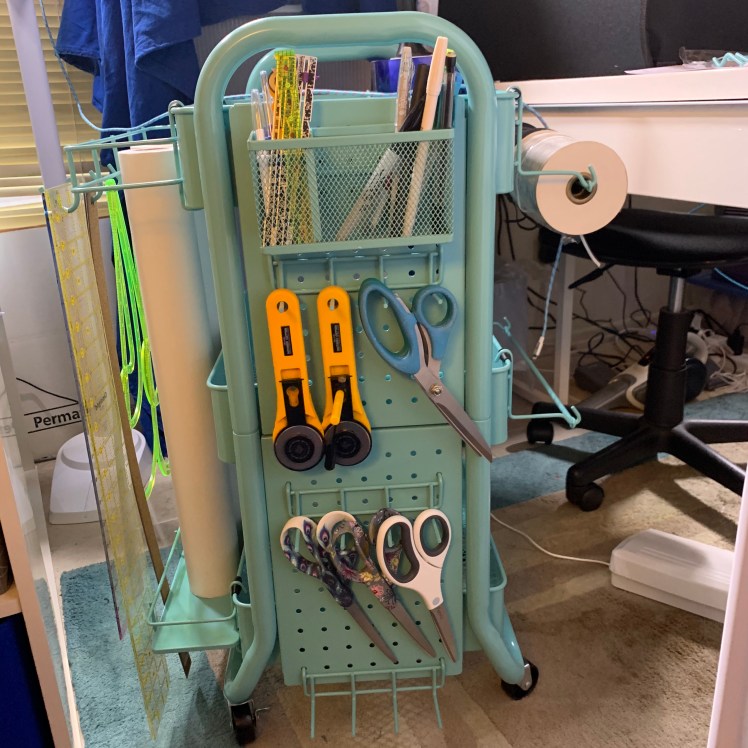

I’m also obsessed with the “wrapping paper” storage I’m using to hold my patterning paper, and the mini pegboard side that’s holding all of my cutting tools. I used a lot of old gift boxes to create mini-storage sections in the cart shelves, along with some other assorted organization cups that we had around the house.
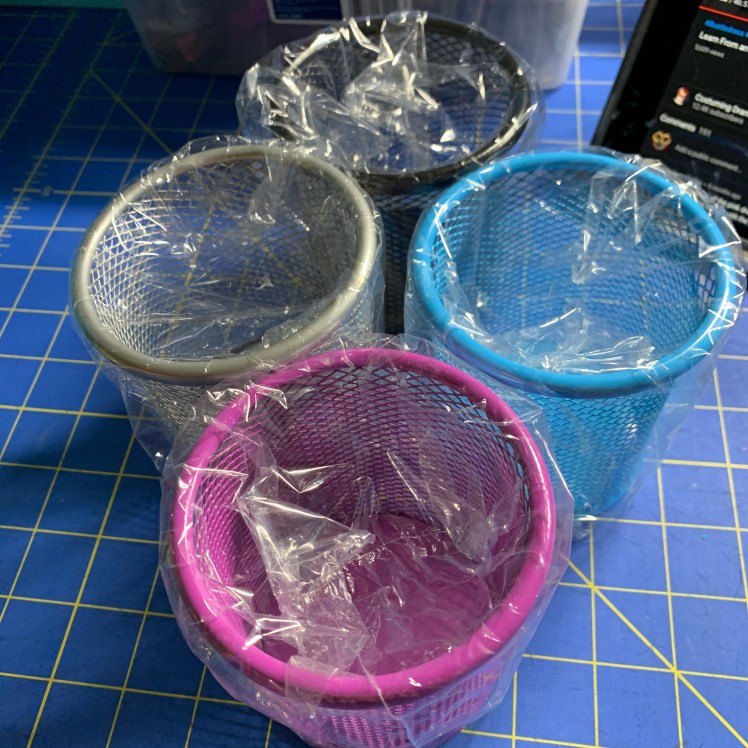
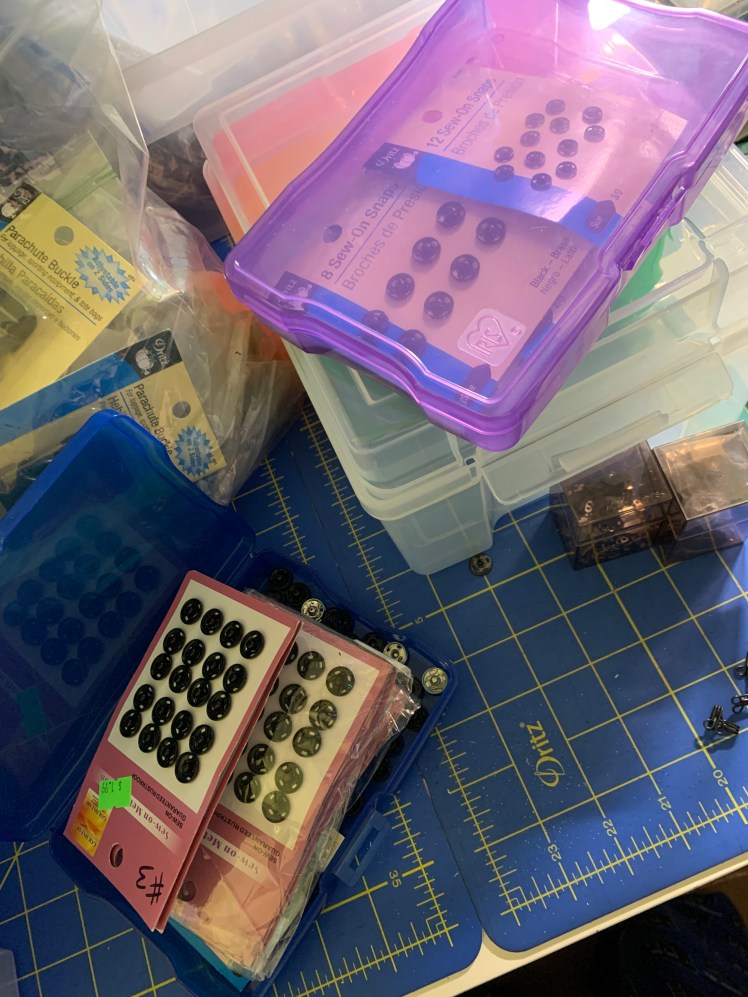
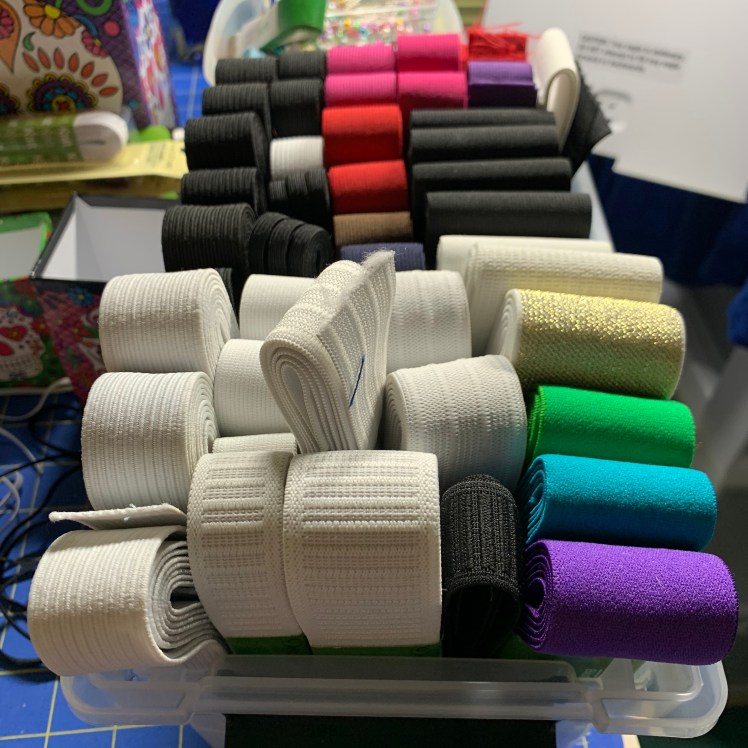
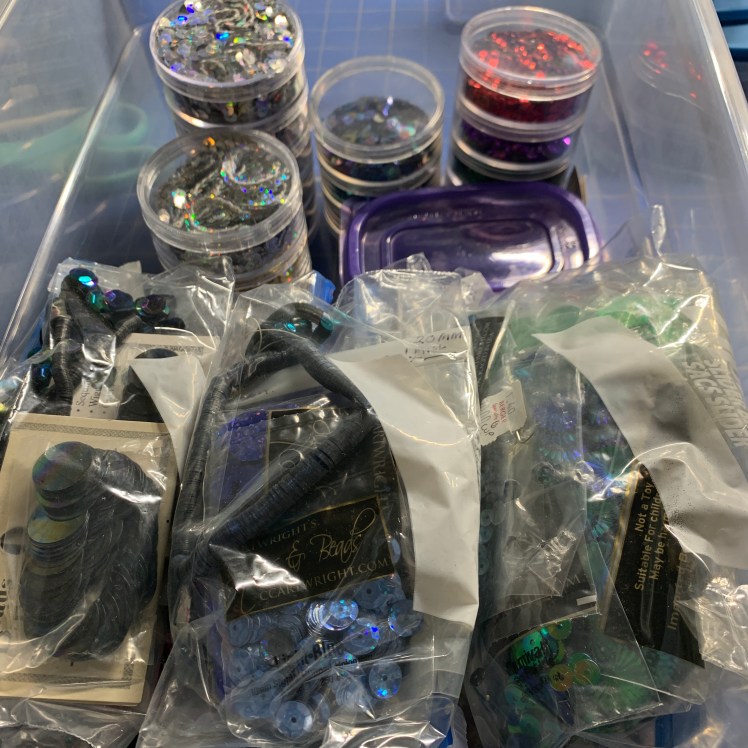
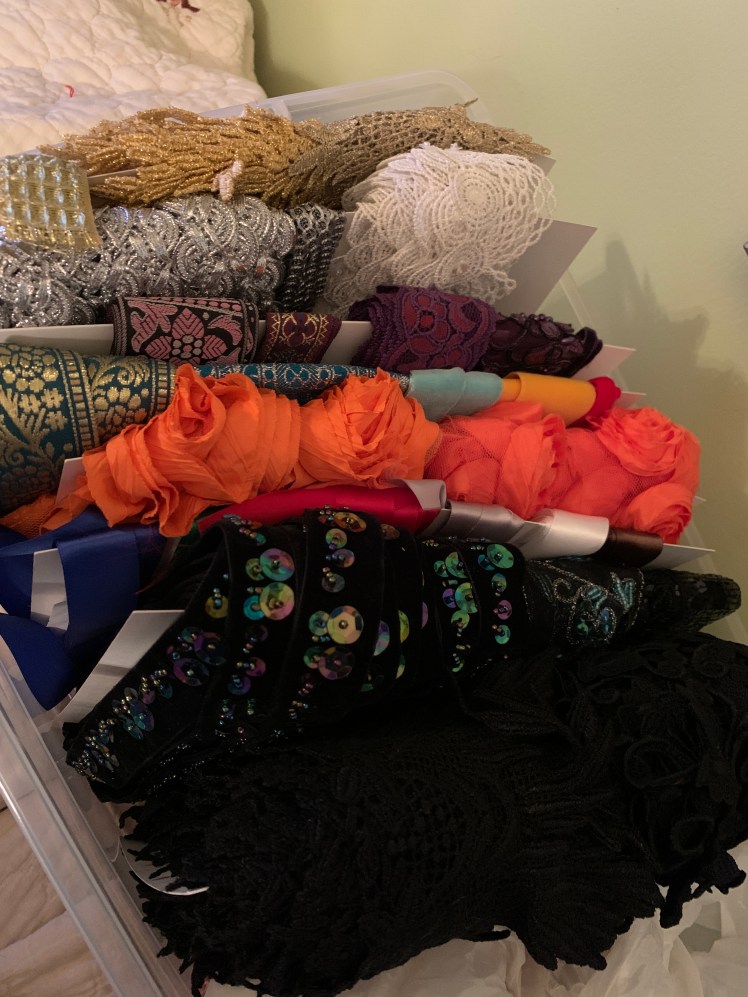
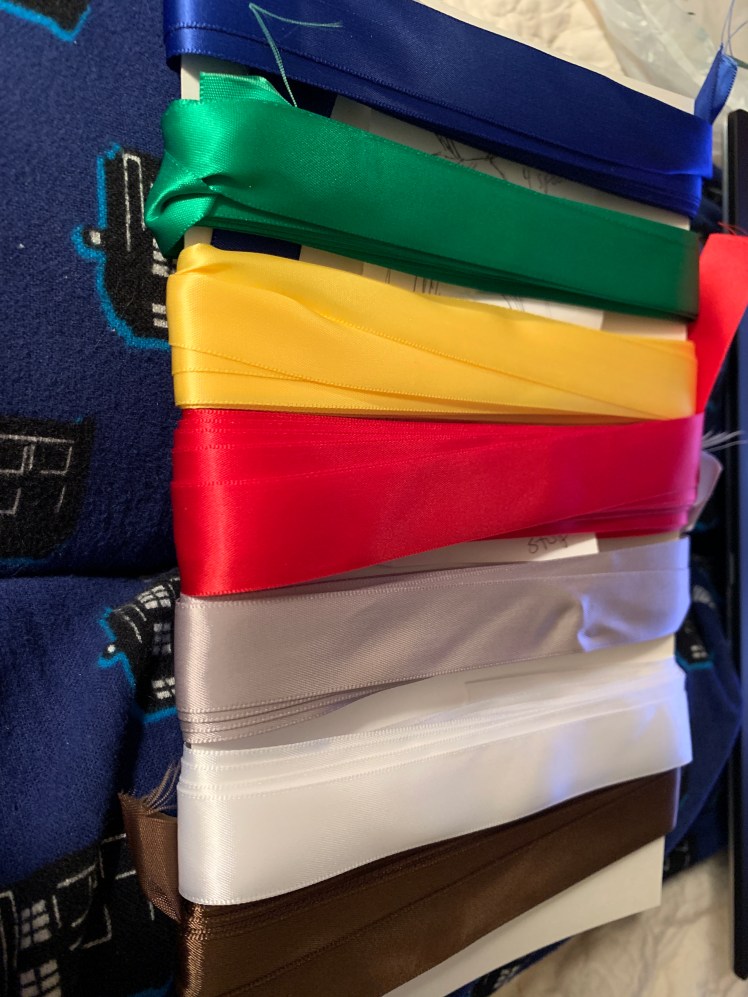
I also took this time to completely reorganize all of my various sewing notions, as I’ve collected quite a bit over the years and they’d all ended up in weird “wherever it fits” locations. A lot of these items were gifts from other people clearing out their sewing stashes or are leftovers from a lot of the costumes I made over the years:


After sorting through all of this I ended up getting yet another cart to house my Cricut and its assorted tools:


I wasn’t super impressed with the way this one went together; one of the shelves really didn’t line up so it’s not as stable as it should be. But it’s also not holding a ton of weight so it’ll get by. Plus it’s the perfect width to house my Cricut maker, which was actually a surprisingly difficult size to find despite the many (many) cart options out there. I’ve also recently started using it to hold my coverstitch machine, because I really didn’t have enough table space to effectively use it before. I still need to test out this setup, but so far I’ve really enjoyed having more table space for my sewing machine and serger, and I’ve been using small hooks to hold the cutting mats on the sides.
I also fell down into the “stereotypical craft room” hole a little bit by buying some of the Ikea Kallax cube storage shelves:
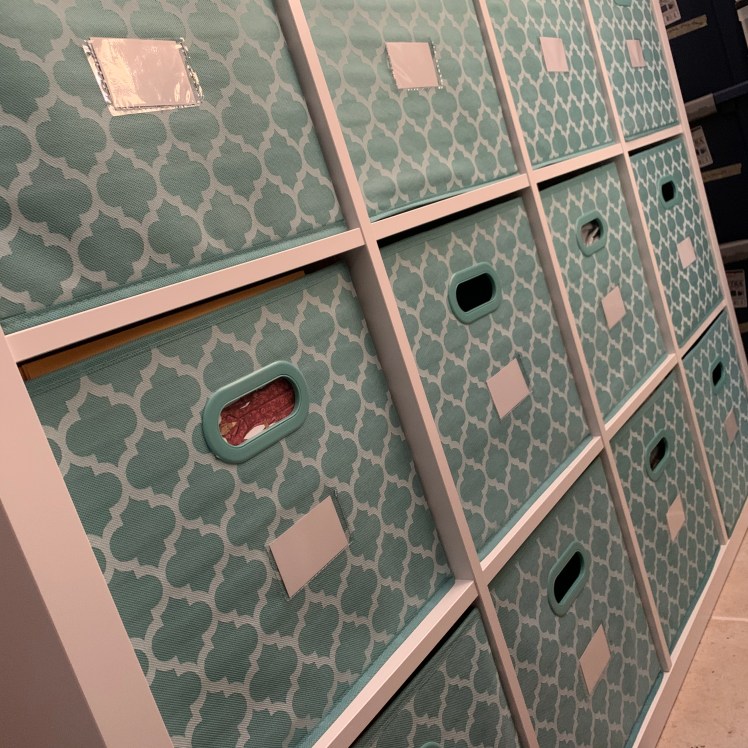
Because of the way my space exists next to the kitchen, I’ve actually made the decision to hang some bath curtains behind these shelves to help protect the sewing area from the issues of being located so close to where all of the cooking happens. So far it’s seemed to be working quite well:
Finally, I’ve splurged a bit to upgrade my ironing setup. I’ve been using the same $20 Black and Decker iron since I started sewing (I’ve gone through 2 of them so far) but I was inspired by the brilliance of Bernadette Banner’s sewing room redo to utilize a similar solution in my space and to upgrade to a gravity feed iron system.
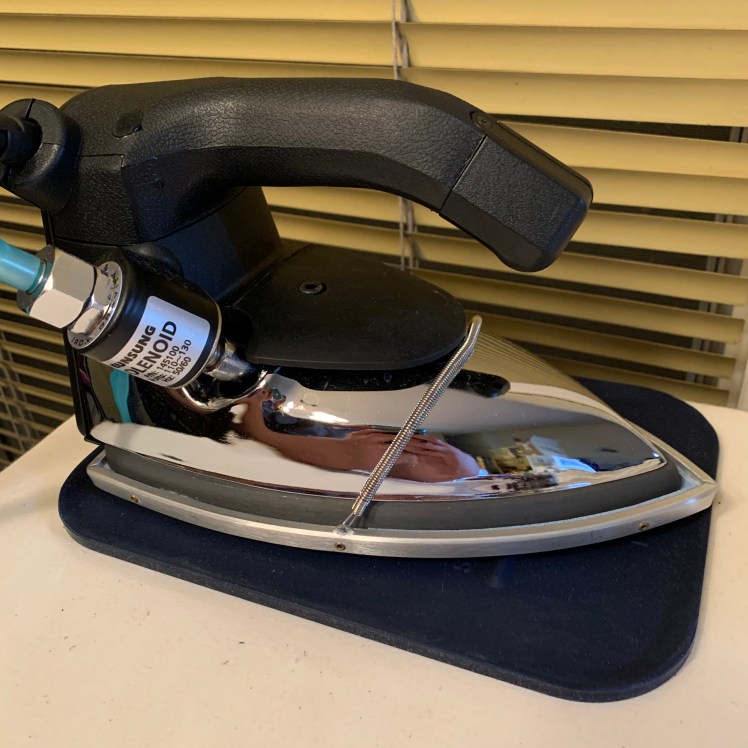
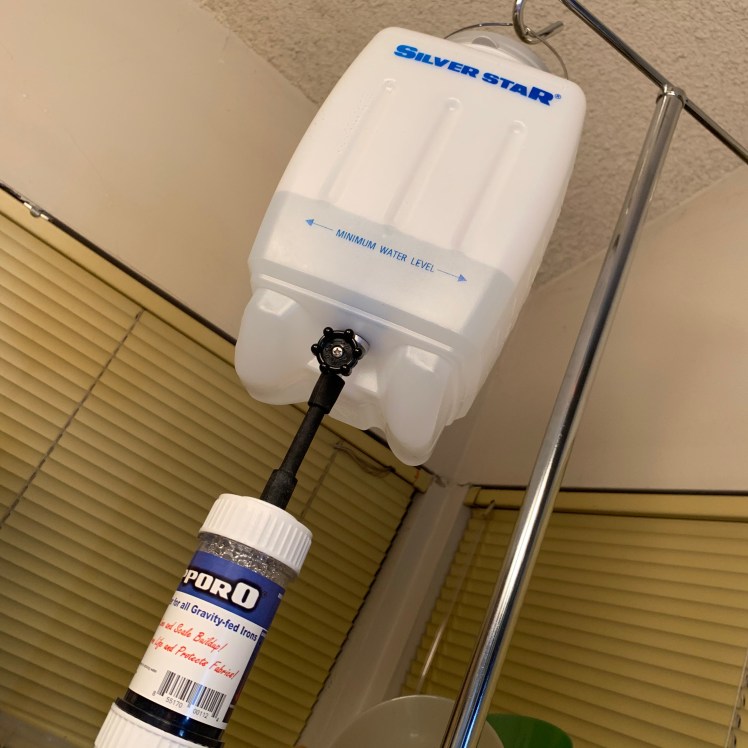
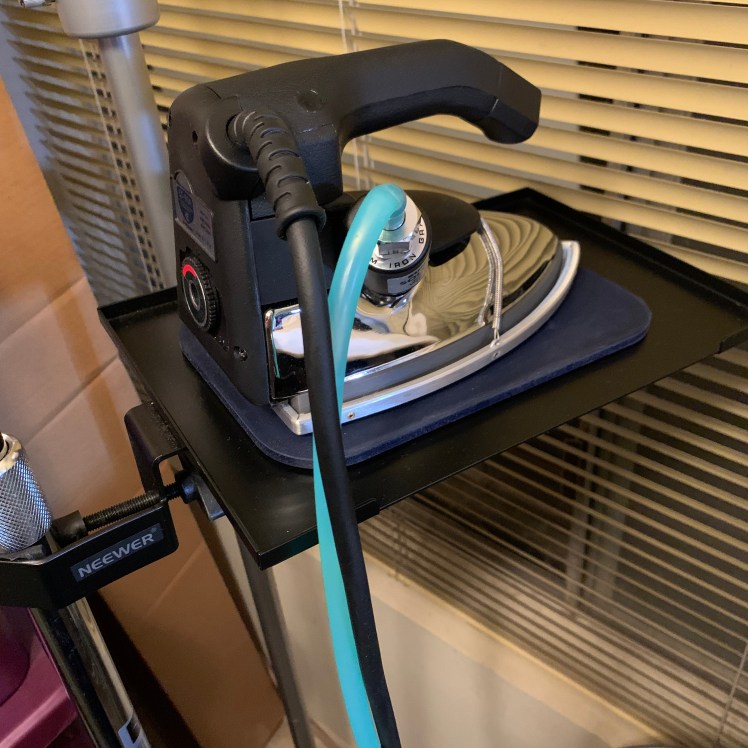


I plan to write up a more in-depth review of the gravity feed iron in the future, but, spoiler alert – I love it! We have the evil asbestos ceilings in this house, so a proper ceiling mount wasn’t ever going to be an option, which is why I’d never even considered one of these until I saw the IV pole solution on YouTube. It’s a bit rickety, but it’s got the added benefit of being portable, and thus far has managed to keep itself upright (even through a minor earthquake) so I’m pretty pleased overall.
In addition to overhauling the iron, I was also so over using the wobbly old ironing board I’d had since grad school, so I borrowed some more YouTube tutorial ingenuity to converting yet another rolling shelf/cart unit into a pressing table:


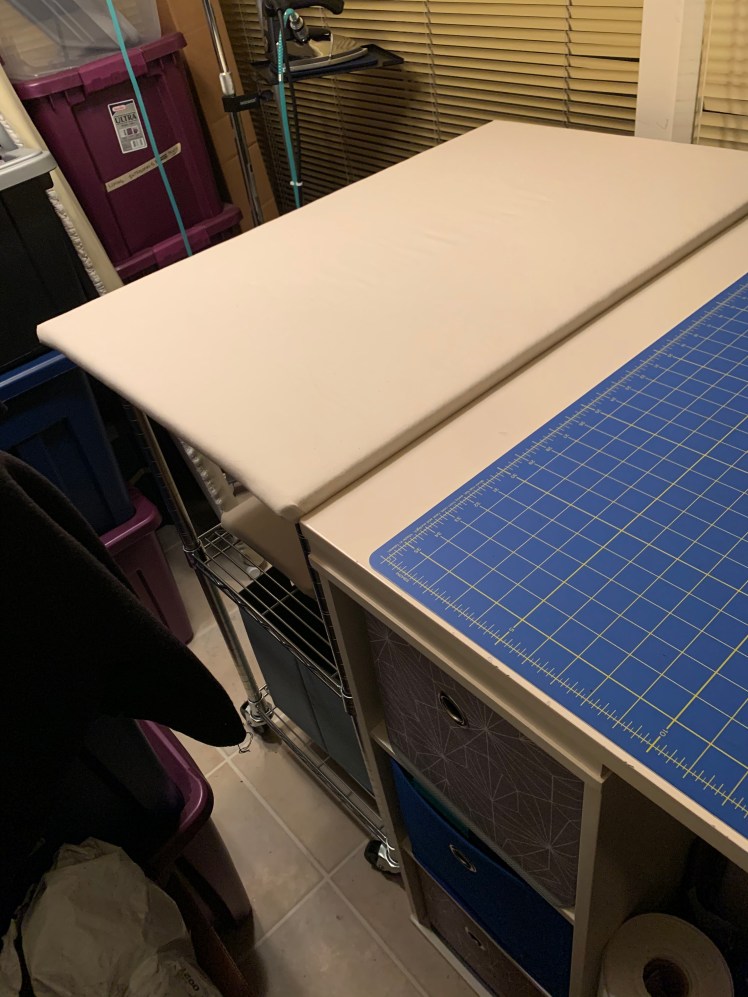

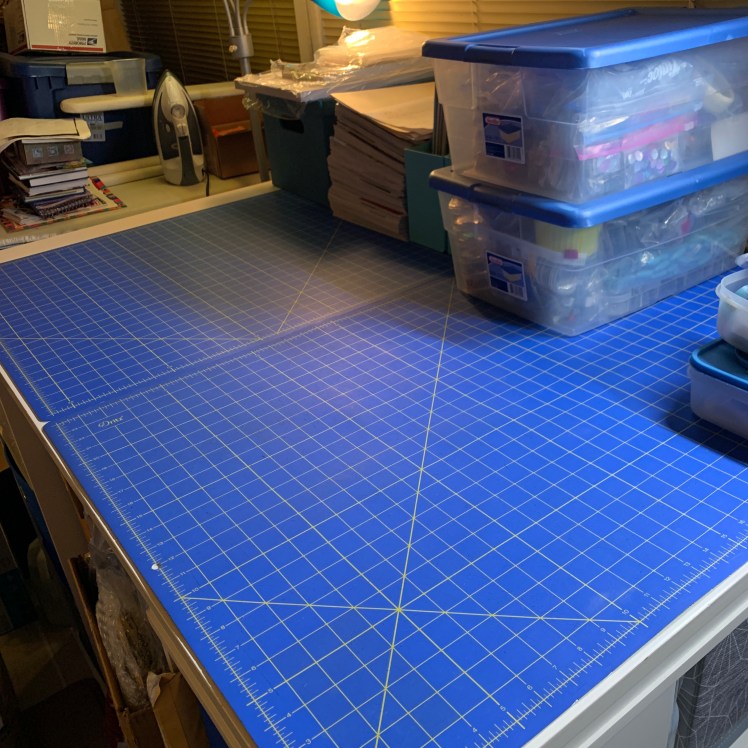
To make the bottom I took some pipe cutters to a rolling shelf until to cut it to the right height, and to make the top I covered a plywood board with batting and cotton muslin to make a pressing surface. IT. IS. AWESOME. I’ve used some hooks on the side to hang my rulers so they are easily accessible when I need to draft patterns, and by placing it at the end of my cutting table I’ve essentially extended the table length. My original goal was to have them the exact same height so I could throw a third cutting mat on top of them, but my pressing table is about 3/4″ too tall right now. It’s something I think I might correct in the future, but it’s working alright for now. The large pressing surface is great, and I love how stable it is compared to the ironing board I had before. Plus, it’s got 2 shelves for storage, so I can house all of my pressing tools and supplies right where I need them, which is not something I’d been able to do at all with the previous setup. On top of that, because it rolls, I can easily move it over to access the shelves that are built into the side of the cutting table. I’ve put the least used craft supplies there, so I don’t have to move it often, but it’s already much more accessible than it was when I had boxes of interfacing piled in front of it.
I’m still working on my fabric storage. I have way too much fabric, and I hate having it stored out in the sewing space because there are so many windows I worry about sun damage. I’ve got several opaque boxes, but moving things around (both to increase walkway space and to potentially find a better storage location in general) is a work in progress (you can see a lot of the organization in progress chaos in the background of some of the iron photos), and is pretty much the one remaining area of organization I feel I need to address before I’ll consider the space to be “done.” Right now I’m sorting and folding things to be a more uniformed size using a method I saw on the Instagram story from Renee of Miss Celie’s Pants (I’m linking to a post about her awesome cutting table because you can see her fabric storage bins in some of the photos, but you should also follow her on Instagram because she has great ideas in her stories). She used Life magazine sized comic book boards to fold her fabric and I’ve shamelessly copied her method to tame my own stash.

I’ve got a long way to go with this, and, honestly, I don’t think the fabric storage is going to be in any way “#aesthetic” or live up to the beauty that is Carolyn’s fabric collection (which is absolute sewing room goals), so I doubt it’ll be posted about when I finish. I might do more of a final sewing space photo shoot at that time, but hopefully by then the sewing space will be back into a happy state of chaos from project-making and not just stuff-sorting.
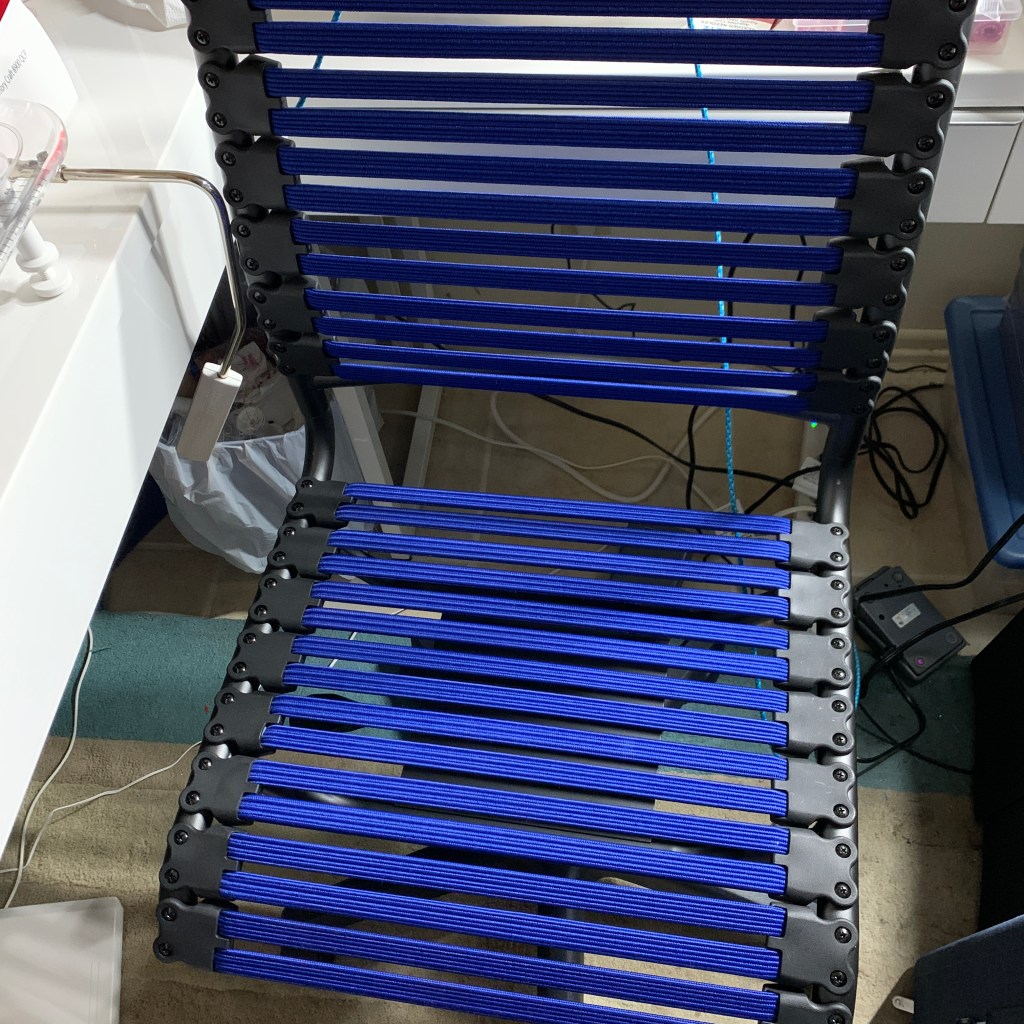
Oh, and as a bonus my sewing chair (which was really my sister’s old college desk chair) decided to give up under the weight of me man-handling my t-shirt quilt under the machine, so I ended up upgrading that as well. I’d already been on the hunt for a proper desk chair for my new work from home status because I was having problems with my left leg from sitting so long, so I decided to go out on a limb and try one of the newfangled “European bungee chairs” for my sewing space. I haven’t done a ton of sewing in it yet, but so far I find it surprisingly supportive for the lower back. I might have more thoughts as I use it more, but, so far I like it.
So, while my organizational efforts are not exactly what I’d call “done,” I’m at least back to working on sewing things and not just using my “sewing time” to build, organize, or shuffle around my accumulated sewing stuff. At least now it’s much easier to get to all of my stored things because of my rolling cart setup, and I’ve also gotten rid of a lot of unnecessary detritus that had built up in the sewing space because I went through literally everything in terms of the notions and tools I had in my sewing area. This has been an endeavor, but thus far I think it has been well worth it. Of course, the real test will be to see how it all functions moving forward, but hopefully I’ll have some more fun sewing projects coming up soon to test it out!

I recently got a gravity-fed iron and I love it too!
LikeLiked by 1 person
Wow, that is a serious reorganisation. I bet going through everything gave you a tonne of inspiration for new projects.
LikeLiked by 1 person
I’m definitely inspired to work on some new things! This process also let me see a lot of things that I had planned forever ago and may have “moved past” at this point. I’m at this weird point of realizing that my style has changed a bit (maybe not changed so much as having become a bit more focused?), so I’m sort of grappling with what to do with things that I have for projects I’m not sure if I still want to pursue. This has more to do with my fabric (which I’m still working on), but after reorganizing everything else I’m now feeling the need to do a very focused closet purge/overhaul as well. I sort of started my current job with 4 shirts and 3 pairs of “emergency” work pants and I’m finally having the mental space to really sort through what I have/need for life post COVID, which I just didn’t have the time to do before. So new projects are definitely starting to enter the planning stages!
LikeLiked by 1 person
Yeah, I have a stack of fabric that was bought for projects I now realise I won’t wear. I’m trying to find it new homes where someone will sew it up.
LikeLiked by 1 person
Wow! You have a lot of thread. I like the looks of your chair. I’m using an old office chair and it’s not the best. I’ve used my kitchen chairs in the past and those are better, but … kitchen needs chairs too. Will be interested to hear how your chair works for you. Great organization.
LikeLiked by 1 person
Great job! I recently organized my threads so they are lying down in removable trays, the trays being some of those clear plastic box picture frames from long ago. That way, I can lift the tray out, take it to a good strong light and determine the color. My eyesight is compromised because of age & eye loss and I use lots of subtle colors, so this works well for me. Stronger colors are stored in recycled cigarette display trays which are under the clear plastic trays.
LikeLiked by 1 person
Now that was some clean up! Every time I try to clean up I’m only about 50% successful. I always find stuff and then get distracted with it and that’s the end of the clean up!
LikeLiked by 1 person
Such impressive work and results!
I have managed to avoid “that teal trolley” because my sewing space is shared with my grand piano. The trolley does not fit under the piano. Instead I have plastic tubs (on castors) filled with fabric. I’ve done something similar to yourself with threads.
I also love things on castors, both my sewing cabinet and cutting table are on castors. Now that I think about it, so is the piano 🙂
LikeLiked by 1 person
Yes! Rolling things are the best!
LikeLike
I made it through sans tea and cookies. =) Well, I had tea earlier, but not during the read!
I cackled at “…I continued down the path to cart town…” lololol
Your thread storage situation is on point; I’ll have to look into ArtBin. So wait, people *don’t* change serger thread between projects?!
Good job on the reorganization!
LikeLiked by 1 person
Apparently some people are afraid to change serger threads? The internet informs me that this is “a thing” so I try to respect that. Some people also say you only need like 3 neutral colors and that is “enough” because you don’t usually see serger threads. I’m obviously not one of those people 😂
LikeLike
I love those artbin cases! I don’t have any but I always fawn over them!
You really got things set up nicely!! Hopefully you’ll find the perfect fabric storage solution (I haven’t. I shuffle bins around too…).
I’m considering a gravity feed iron and keep thinking about mounting a holder for my tracing paper so I can just pull it directly into the cutting table. We’ll see 🙂
I am always so excited when someone shows their sewing space so thanks for sharing.
LikeLiked by 1 person
I always enjoy seeing what other people do too! I highly recommend the gravity feed – it’s a little scary at first but I love it now! And a wall mounted tracing paper rack would be so cool!
LikeLike
Nice ! I also have a tiny space but I love that I have to keep it under control. Every so often I have a huge sew up (like now) when I try and only sew from stash it’s always fun and usually ends up with a few gifts for others. Right now it’s another pair of shorts for hubby then it will be a rashie for me and probably some girly things for my awesome neighbors girls – having two boys myself means I don’t get to sew many pretties so it’s always a nice change to do ruffles and frills 😁
LikeLiked by 1 person
I apologize if I end up commenting twice, I had log in issues! I love this, I could definitely blow my budget on that art bin site! Can I ask where you got your real cart?
LikeLiked by 1 person
I got it on Amazon but it looks like they are out of the teal color: https://www.amazon.com/dp/B0829V9ST5?ref=ppx_pop_mob_ap_share
I think it is more expensive than a lot of other cart options but I thought the extra storage for the paper rolls and pegboard was worth it.
LikeLike
Great post! I love seeing sewing room organization stories! Did you end up decluttering and getting rid of anything after reassessing what you had? This usually happens to me whenever I reorganize my little sewing space.
LikeLiked by 1 person
I did find a lot of duplicate magazines and patterns. It wasn’t a massive declutter but I think when I hard core organize my fabric there might be a lot more decisions in terms of what stays and what goes.
LikeLike
Ooh, anything you are considering selling? I’d be curious about the duplicate mags.
Not related to the above, but are you planning to enter the wardrobe contest over on PR?
LikeLiked by 1 person
I might consider selling if I find the time to post/list/ship them… which is something I’m in short supply of right now.
Of course that being said I’ve pulled my patterns for the wardrobe contest and have delusions of being able to get that done in the next two months. 😂 It’ll at least get started though!
LikeLike
Wow… Can’t wait to see what new sewing projects you’ll do now! Love your book library ♥
LikeLiked by 1 person