First of all, let me say the encouragement over my last project was much appreciated. I finally got up the nerve to wear it out, and I have to say I have decided I really like my color blocked coat. It is super comfy and ridiculously warm, which has been great since I have been dealing with the flu since basically the start of the year. I think my main hangup was trying to figure out what to wear it with, since the seams offer shaping, but it isn’t quite as fitted to my figure as I usually like to wear, so when I tried it with my wide legged trouser the proportions were a bit off. In the end I pretty much looked like the magazine model – skinny jeans and flats. I think the coat almost demands a fitted skinny legged pant in order to balance out the body shape. Which means I need some more skinny legged trousers (and, to put things in perspective, two years ago I would NEVER have even thought about wearing a skinny legged pant at all, so sewing has changed my sense of style, and quite a bit). Of course, it has been in the 90s this past week, so the coat might have to wait around a few months to be of use again, but that is alright. At least next time it is cold I won’t dither over which coat to pull out.
In any case, this post is supposed to be about something more exciting than which pants I have been wearing. Yes, actual sewing, it has happened! Yet another Burda pattern – the long awaited teal blazer that I have been planning ever since the 2011 July BurdaStyle magazine came out – BS-07-2011-119:
 |
| BS-07-2011-119 |
This is my third pattern from that particular magazine – it was clearly a great issue for me! And this is definitely the most detailed project I have made so far this year. Though I must admit I am sort of torn over this one. Not because I don’t like it; I mean, let’s face it – a teal blazer is probably the most “me” an article of clothing could possibly be. No the reason I am feeling a bit conflicted is because the construction process was fraught with headache, frustration, tears, screaming, threats, and more seam-ripping than actual sewing. And the finished item is a bit less perfect than all that effort should have yielded. Pretty much everything that could go wrong did go wrong, but at least I learned a few things from this process:
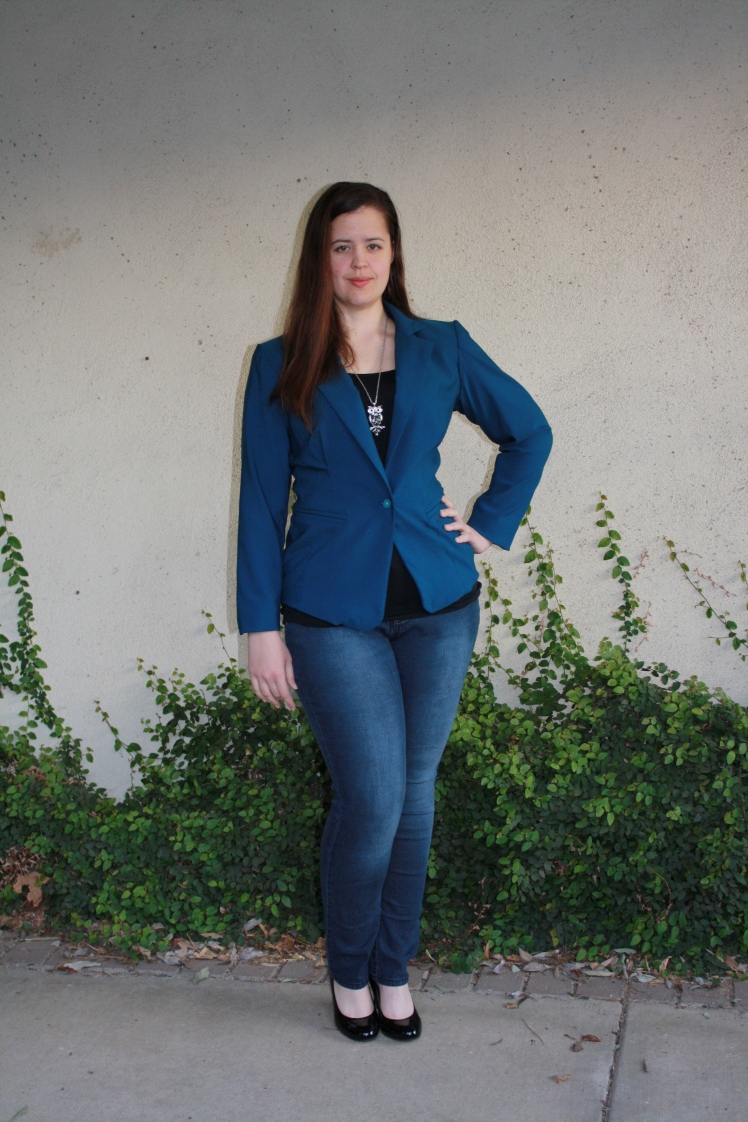 |
| Teal blazer! |
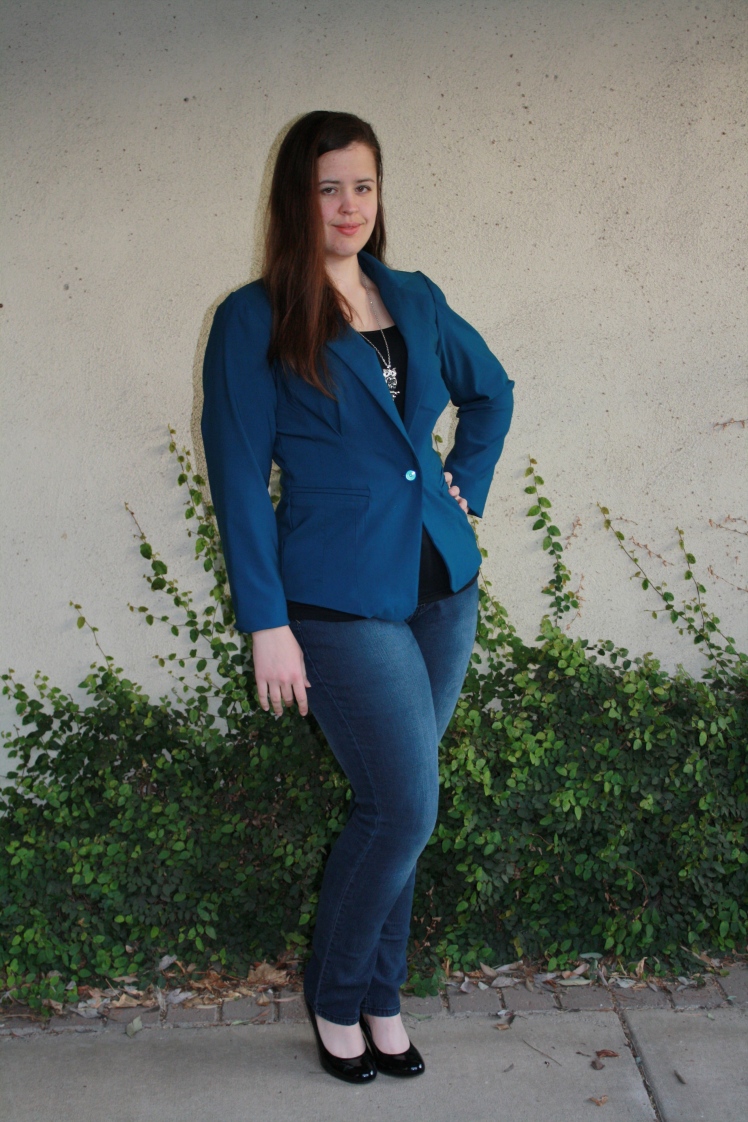 |
| I love the style of this pattern. It can be formal buttoned up… |
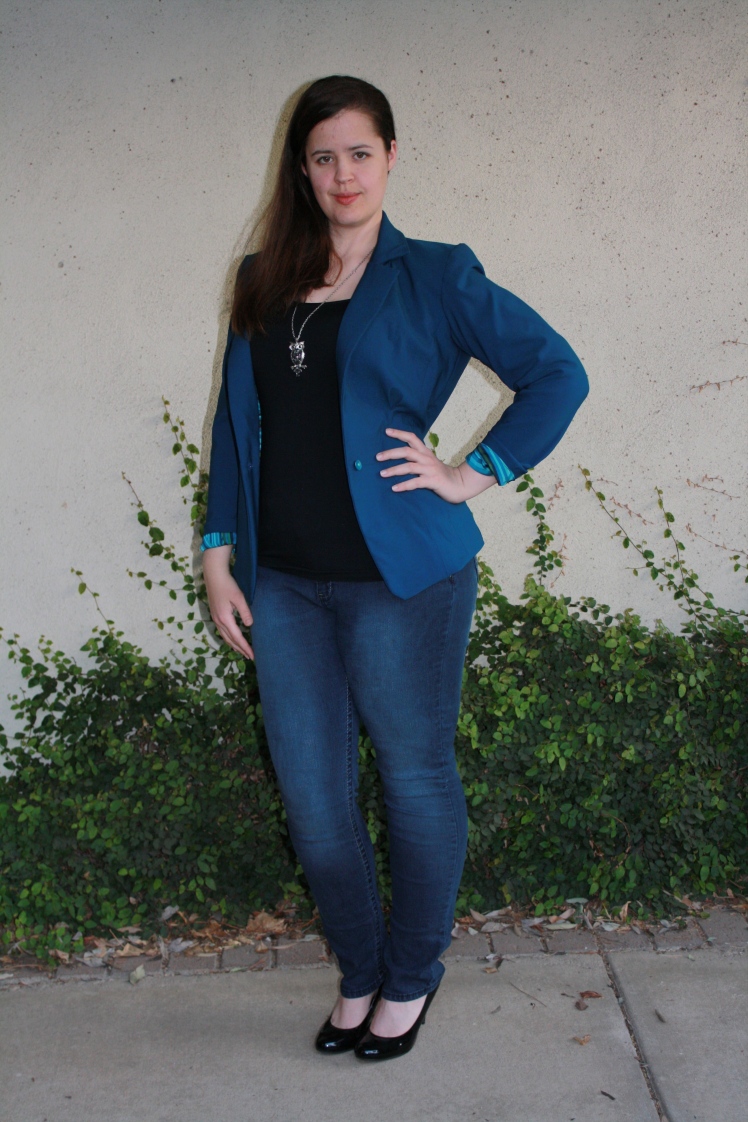 |
| …or casual unbuttoned with rolled sleeves. |
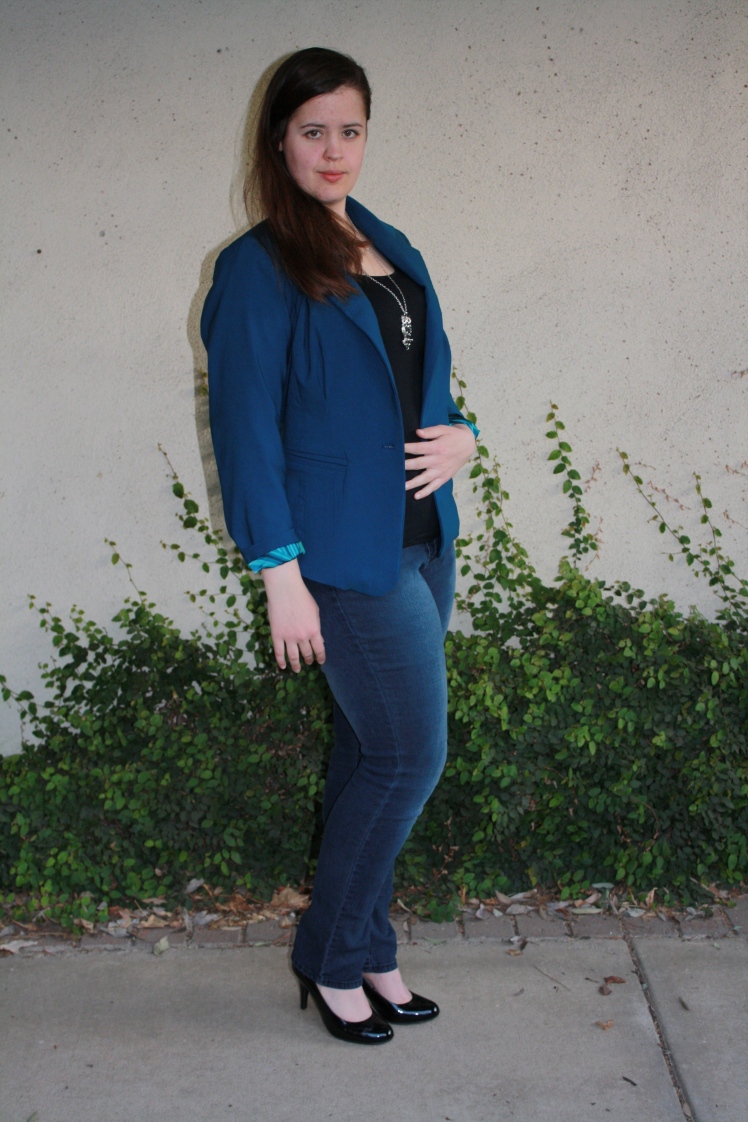 |
| I love the angled hem and welt pockets. |
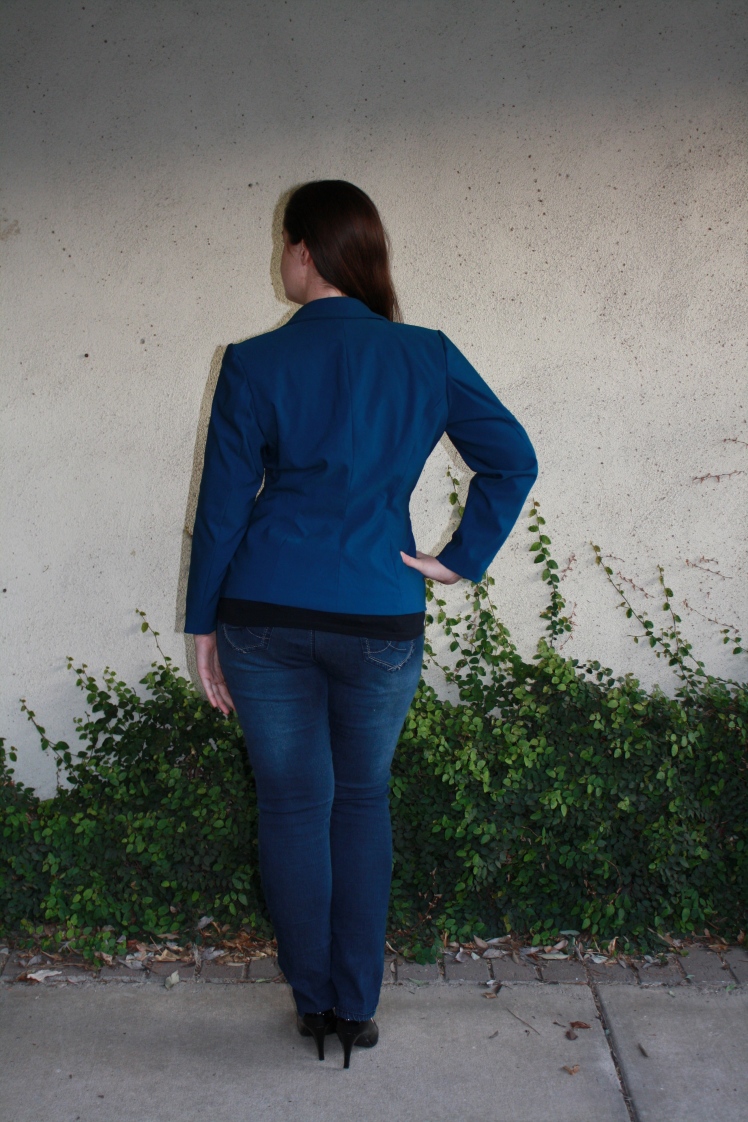 |
| The back… looks way worse in the photo than in real life. But the fit is comfy – this jacket passes the reach test. |
 |
| Of course, being me, the lining couldn’t be boring… |
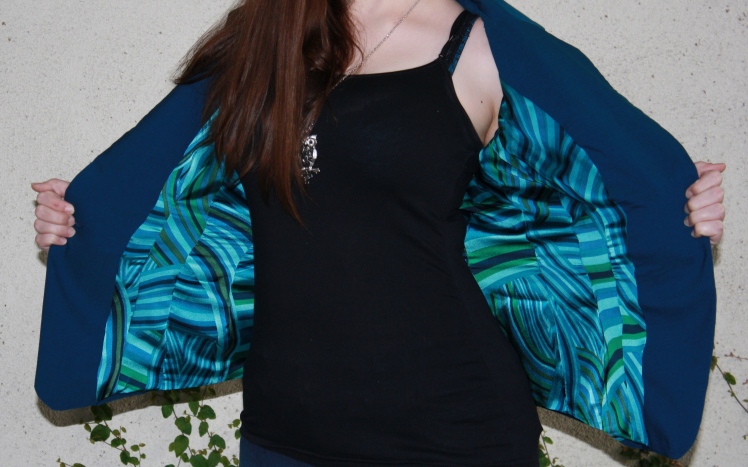 |
| Looks pretty snazzy for diving in bargain bins at the Michael Levine Loft. |
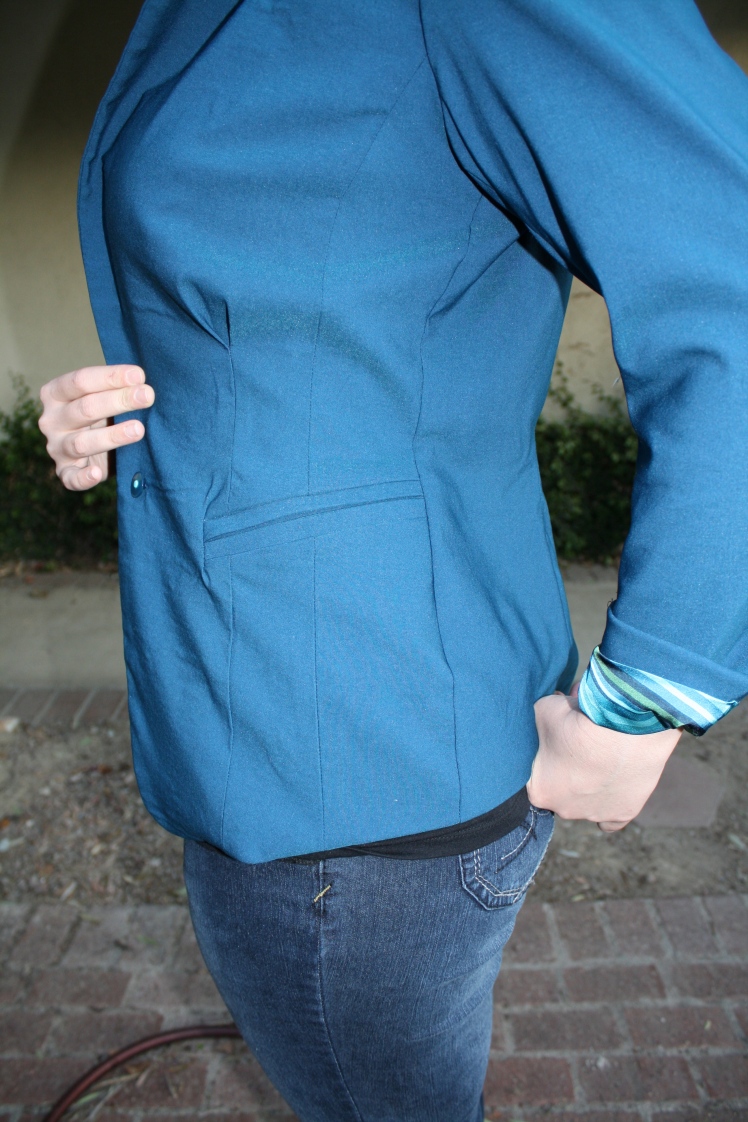 |
| Welt pocket close up! Also, you can see how the fabric was really not happy about being interfaced, especially on the wrinkly front panel. |
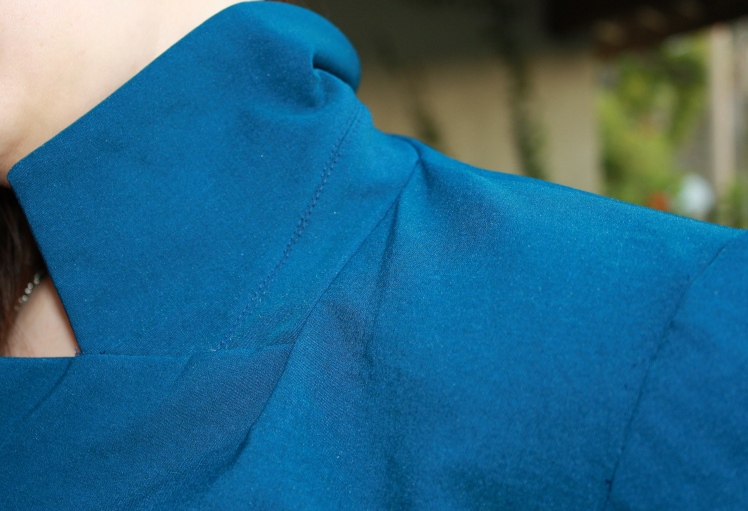 |
| Collar with collar stand. I had to fix the collar piece so it fit correctly… |
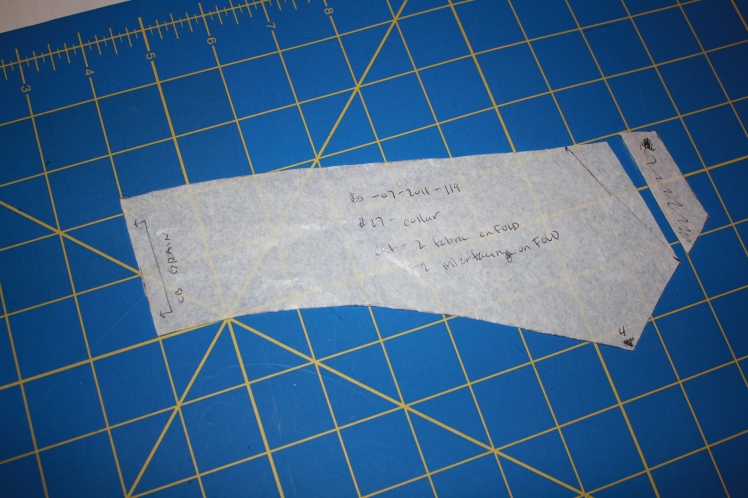 |
| Collar piece #27. You can see how I had to cut off the end so it would properly fit into the jacket lapel opening. |
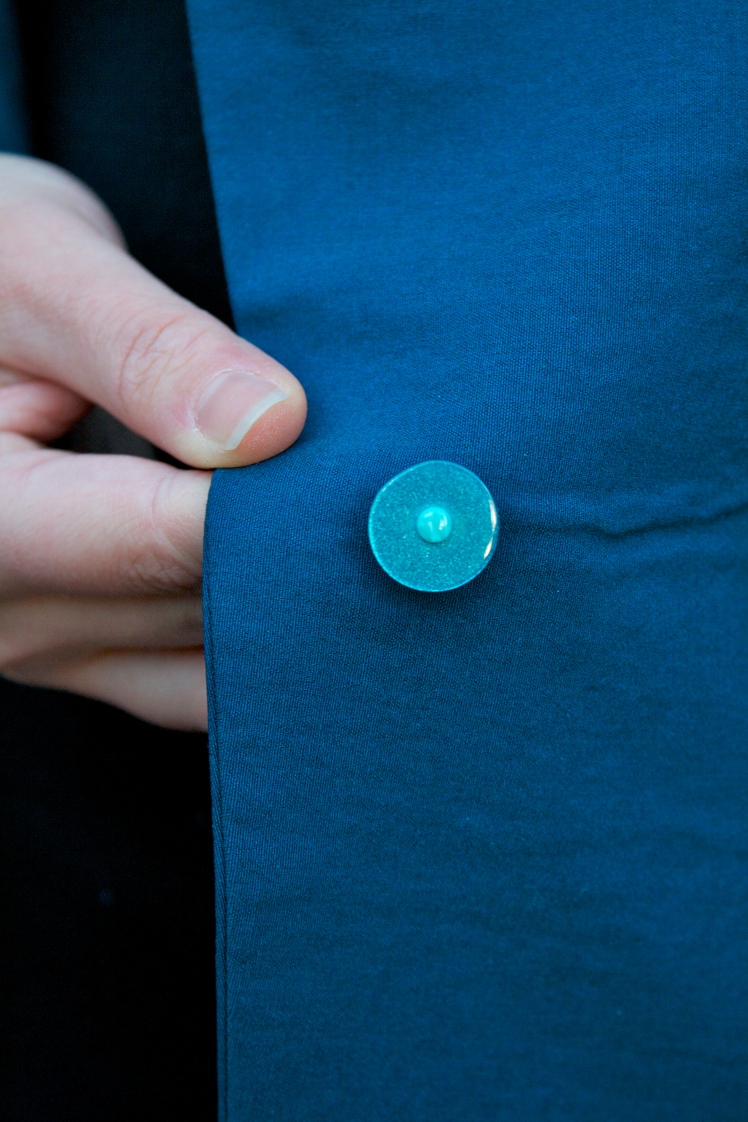 |
| Sparkly teal button! I love how it matches my lining… |
Pattern Sizing: Burda sizes 36-44. I traced a size 40, but I had to make some adjustments for fit (see adjustment section). I felt like the sleeves on this pattern were much tighter than on any other Burda pattern I have tried, but the rest of the sizing felt very consistant with Burda’s typical fit. I have recently been experimenting with being more liberal with my multi-sizing in tracing, but since I had traced this pattern a while ago I didn’t make use of the multiple sizes. Now I know better, so I probably wouldn’t have had to make quite so many adjustments.
Were the instructions easy to follow? I thought that for the most part the instructions were very good BUT there was a mistake in the instructions for the welt pocket. The magazine says that the folded edge of the welt should be placed along the abutting line (aka the line you will cut to make the pocket opening) but in reality you should placed the raw edges of the welt along the abutting line. That way when you flip the welt to the inside the folded edges line up to cover the pocket opening. Also, you will be making welts that are 1/2″ thick, not 1/4″ thick (at least, that is how it ended up on my version). The collar instructions are also a bit confusing (though I think the main problem was that the pieces weren’t fitting together properly due to a drafting error – once I changed the collar piece then everything made sense, but by then I had been staring at it for a few hours, so perhaps I had just worked it out in my head). Otherwise the instructions are pretty good. Though I didn’t follow them exactly since I decided to make a full lining instead of finishing the seam allowances and using a half lining.
Did it look like the photo/drawing when you were done with it? Yes, very much so! The finished jacket has very distinctive lines and shape, and my version has all of these great qualities. I really love the design of this pattern. I only wish my fabric hadn’t misbehaved and created so many puckery messy issues.
What did you particularly like or dislike about the pattern? Likes: I really love the style of this jacket – it has plenty of seam lines to use to adjust fit, and the softly tailored style makes this piece really easy to wear as part of a business suit, or with jeans for a more casual but put together outfit. It really is a versatile style and I love everything about the design of it. I also like that is has only one button both because it was fast to finish the closures and because I like the way a single-button jacket looks on me. I love the welt pockets (very easy to make because they close in the side seam so you only have to make half of a welt pocket really), and I really love the collar with the collar stand. Although the pattern pieces didn’t quite fit together correctly, the collar stand gives a fabulous shape to the neck of the jacket. Dislikes: I didn’t like that this was only supposed to have a half lining (although since it was part of the summer issues I undertand why), so I had to draft my own lining pieces. Also I think that the collar piece was not drafted correctly (see alterations section) and that caused a lot of frustration during the construction process. Since Burda made their version out of stretch material the sleeve also seems much smaller than any of the other Burda patterns I have used. Finally, the errors in the instructions (see above) were rather annoying, though I should have known better than to waste so much time puzzling them out.
Fabric used: A lot of mystery bargain fabric. I believe it is some sort of poly/lycra stretch poplin for the outer shell of the jacket, which I got for $3/yard. The lining was also a bargain bin find (about $0.50/yard), but I am pretty sure it is a very thin poly charmeuse print. I used muslin for interior structure, and I also used several weights of fusible interfacing. Overall I have to admit that I originally thought the stretch poplin would be a great choice and hopefully mimic the stretch of the jersey and sweat-shirting material Burda used in their original versions. Unfortunately my particular fabric was prone to stretching out, melting with use of the iron, and puckering rather than pressing. It was not the best choice for attempting a tailoring project. With a different fabric choice I think this could have been a project of total win instead of one leaving me with mixed feelings. Ah well. Live and learn.
Pattern alterations or design changes you made: For fit I took in the seams on the back (swayback adjustment), I adjusted the size of the upper sleeves because the original pattern felt quite small, and I made a square shoulder adjustment (it was obvious I needed one on my muslin, but I think I may have been a bit overzealous with this adjustment for the final version). I used instructions in High Fashion Sewing Secrets to draft my own back stay and additional interfacing pieces. As far as adjustments to the pattern I drafted a full lining instead of only using the half lining called for by the pattern. I also had to adjust the collar (pattern piece #27) because I think it was drafted wrong. The collar matched up well the the collar stand (pattern piece #28) at seam marking 4, but then the edge of the collar that fits along the lapel seam is too long. I measure the opposite edge that was supposed to be the point on the collar which is the correct length to fit into the lapel seam, and used that measurement to shorten the edge that is caught in the lapel seam. I adjusted the collar piece accordingly by cutting off a parallelogram shaped segment so that the collar would retain its intended shape. In the end I think my collar is just a bit smaller than the one pictured in the magazine, but it looks close enough that I don’t think the change is really noticeable.
Would you sew it again? Would you recommend it to others? I would definitely sew this again. Maybe not anytime soon (so many patterns, so little time as we all know) and I will definitely use a different type of fabric next time around, but I LOVE this style and I want one in every color! I think I might want to re-trace the sleeves again using a combo of the 40/42 sizes for extra room, rather than using my adjusted sleeve pattern, and I might also need to add half an inch to the sleeve length. Otherwise I am very happy with the pattern and I would love to make another one. I would also recommend this pattern to others, but only if they have sewing experience since the instructions have a few errors, and because the collar pieces don’t quite match up. It isn’t exceptionally difficult, but it is time consuming and there are lots of details to deal with. It is definitely a pattern that takes a lot of effort, but the result is totally worth it.
Conclusion: Fabulous design, but the pattern and instructions have a few errors. Also, my fabric choices really screwed up the polish of the final product, but that was poor judgement on my part. I really love the look and style of the jacket, so I think I will have to make some more of these in the future. It isn’t exactly the perfectly tailored blazer I was hoping for, but I love the style of the jacket so much I expect I will still be wearing my version quite a bit. All in all I have to say that with the pattern issues and the poor fabric choice I am not as crazy about the finished product as I should be, but I still like the result more than I should considering how many construction problems I had with it. So in the end I think this will see quite a bit of use in my wardrobe, because I love the style, but I will probably need to replace it eventually with another version made in better fabrics with slight pattern adjustments.
And that’s that! Another project down. Also, I am going to count this as one of the items for my year long Sewing Challenge of creating seasonally appropriate wardrobe staples. This blazer really is very versatile and I expect I will wear it a lot, despite the mistakes. It was really supposed to be the blazer from last year’s Tim Gunn inspired sewing challenge, but I didn’t find the time to complete it last year. Of course, this only highlights how quickly I get around to my planned projects since I had bought the main fabric for this project back in 2011 when the magazine came out. I had the pattern traced last fall, but school and life got in the way. I am happy it is finished though, even if the end result isn’t quite as fantastic as I had hoped it would be. At least I have a wearable garment, I learned a few valuable lessons, and now I can move on to the next project. Which ended up being a bit of a surprise sewing event due to something of a surprise party invite. Review to come after I get in a fully decked-out photo shoot. After that… well, it is a bit up in the air right now, but I have been sorely tempted by quite a few of the patterns in the recent March Burda magazine, so don’t be surprised if a lot of those designs start showing up in the next month. And egads it is March already! I have a lot of skating sewing to get done… mostly for other people so there will probably be a lot of sewing but not a lot of showing in the upcoming months. Hopefully I can squeeze in a few selfish projects as well though – with any luck a few more finished objects to round out my wardrobe will be finding their way to the blog soon!

Jackets with notched collars are always really tricky, but you did it! I love the waist shaping on your jacket and of course the colour. God knows Burda has it's faults but I've always found the patterns to be well drafted so it's worrying you found an issue with the collar. I'm sort of tempted to dig out my copy and see if I have the same issue, if I get a blazer like yours at the end of it it would be a worthwhile exercise!
LikeLike
I have just read every word of this post and am in awe of you! You look stunning in this jacket, colour and style are just brilliant – super sewing…J
LikeLike
Notched collars are my nemesis.
I never understand Burda instructions. I can only sew them when I already understand the construction.
This sounds like it was an epic sew.
This jacket looks GOOD in the pictures! And I like the colour on you too. Well done!
LikeLike
That's a great jacket on you. I don't think I could have carried on through the problems you had – it was bad enough sewing a pair of PJ pants with a poor fabric choice – I think a jacket would have been thrown out the window!
LikeLike
Yeah, this is the first time I had ever had problems with their drafting. I had considered that maybe the collar stand was labeled upside-down, but that didn't seem to make any sense when I was trying to re-figure how to make the collar. I spent a long time staring at the line drawing and model photo before I decided I need to change the pattern itself.
LikeLike
I can be really really stubborn when I want to be. I was grumbly about some of the mistakes and my mother was like, “You don't have to wear it.” My response: “No, I have to show it who is boss!”
In an ironic twist of events I ended up wearing it to a Kohl's department store on its first outing because I needed to get some tights. I was asked if I worked there because I looked so put together.
LikeLike
Yeah, it was pretty epic. I was playing John WIlliams music during the construction so it even had the dramatic background as well. And, somewhat ironically the back looks a wrinkled mess in the photos but fits nicely in real life. The fabric has teal and navy fibers cross-woven, so when my sister was taking photos the flash made it look a bit odd. But then the puckers and wrinkles on the front didn't look as bad. Is an odd thing, the camera.
LikeLike
Thanks!
LikeLike
Great jacket and persevering! I love reviews like this because of all the helpful ideas for a beautiful pattern with problems.
LikeLike
Ooh, there's nothign much I love more than a good blazer. And this is going to be one hellava practical pull out for all occasions! Love the colour, and how wonderfully it accentuates all the right curves on you 🙂 An absolute winner!!
LikeLike
That's a great color on you and I love all the design details. Sorry it was such a bear to sew.
LikeLike