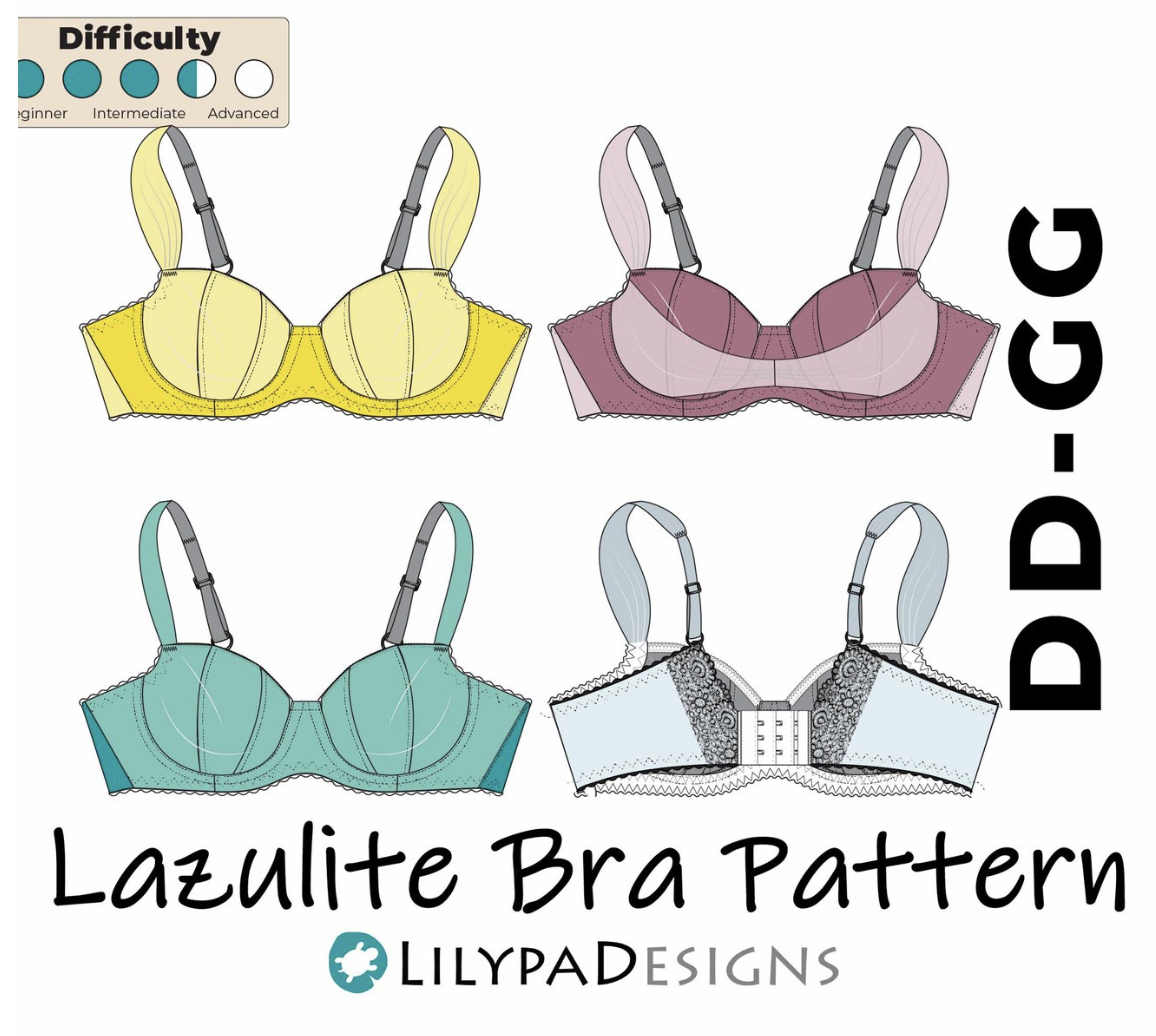
The LilyPADesigns Lazulite bra was released earlier this year, right around the time that I decided I wanted to do a deep dive into fitting a bunch of the LilyPAD patterns. When it came out I was enamored with it – it’s such a pretty design with a lot of fun design options. I’ve been super excited to try it, and I’m really happy I finally got around to making it!

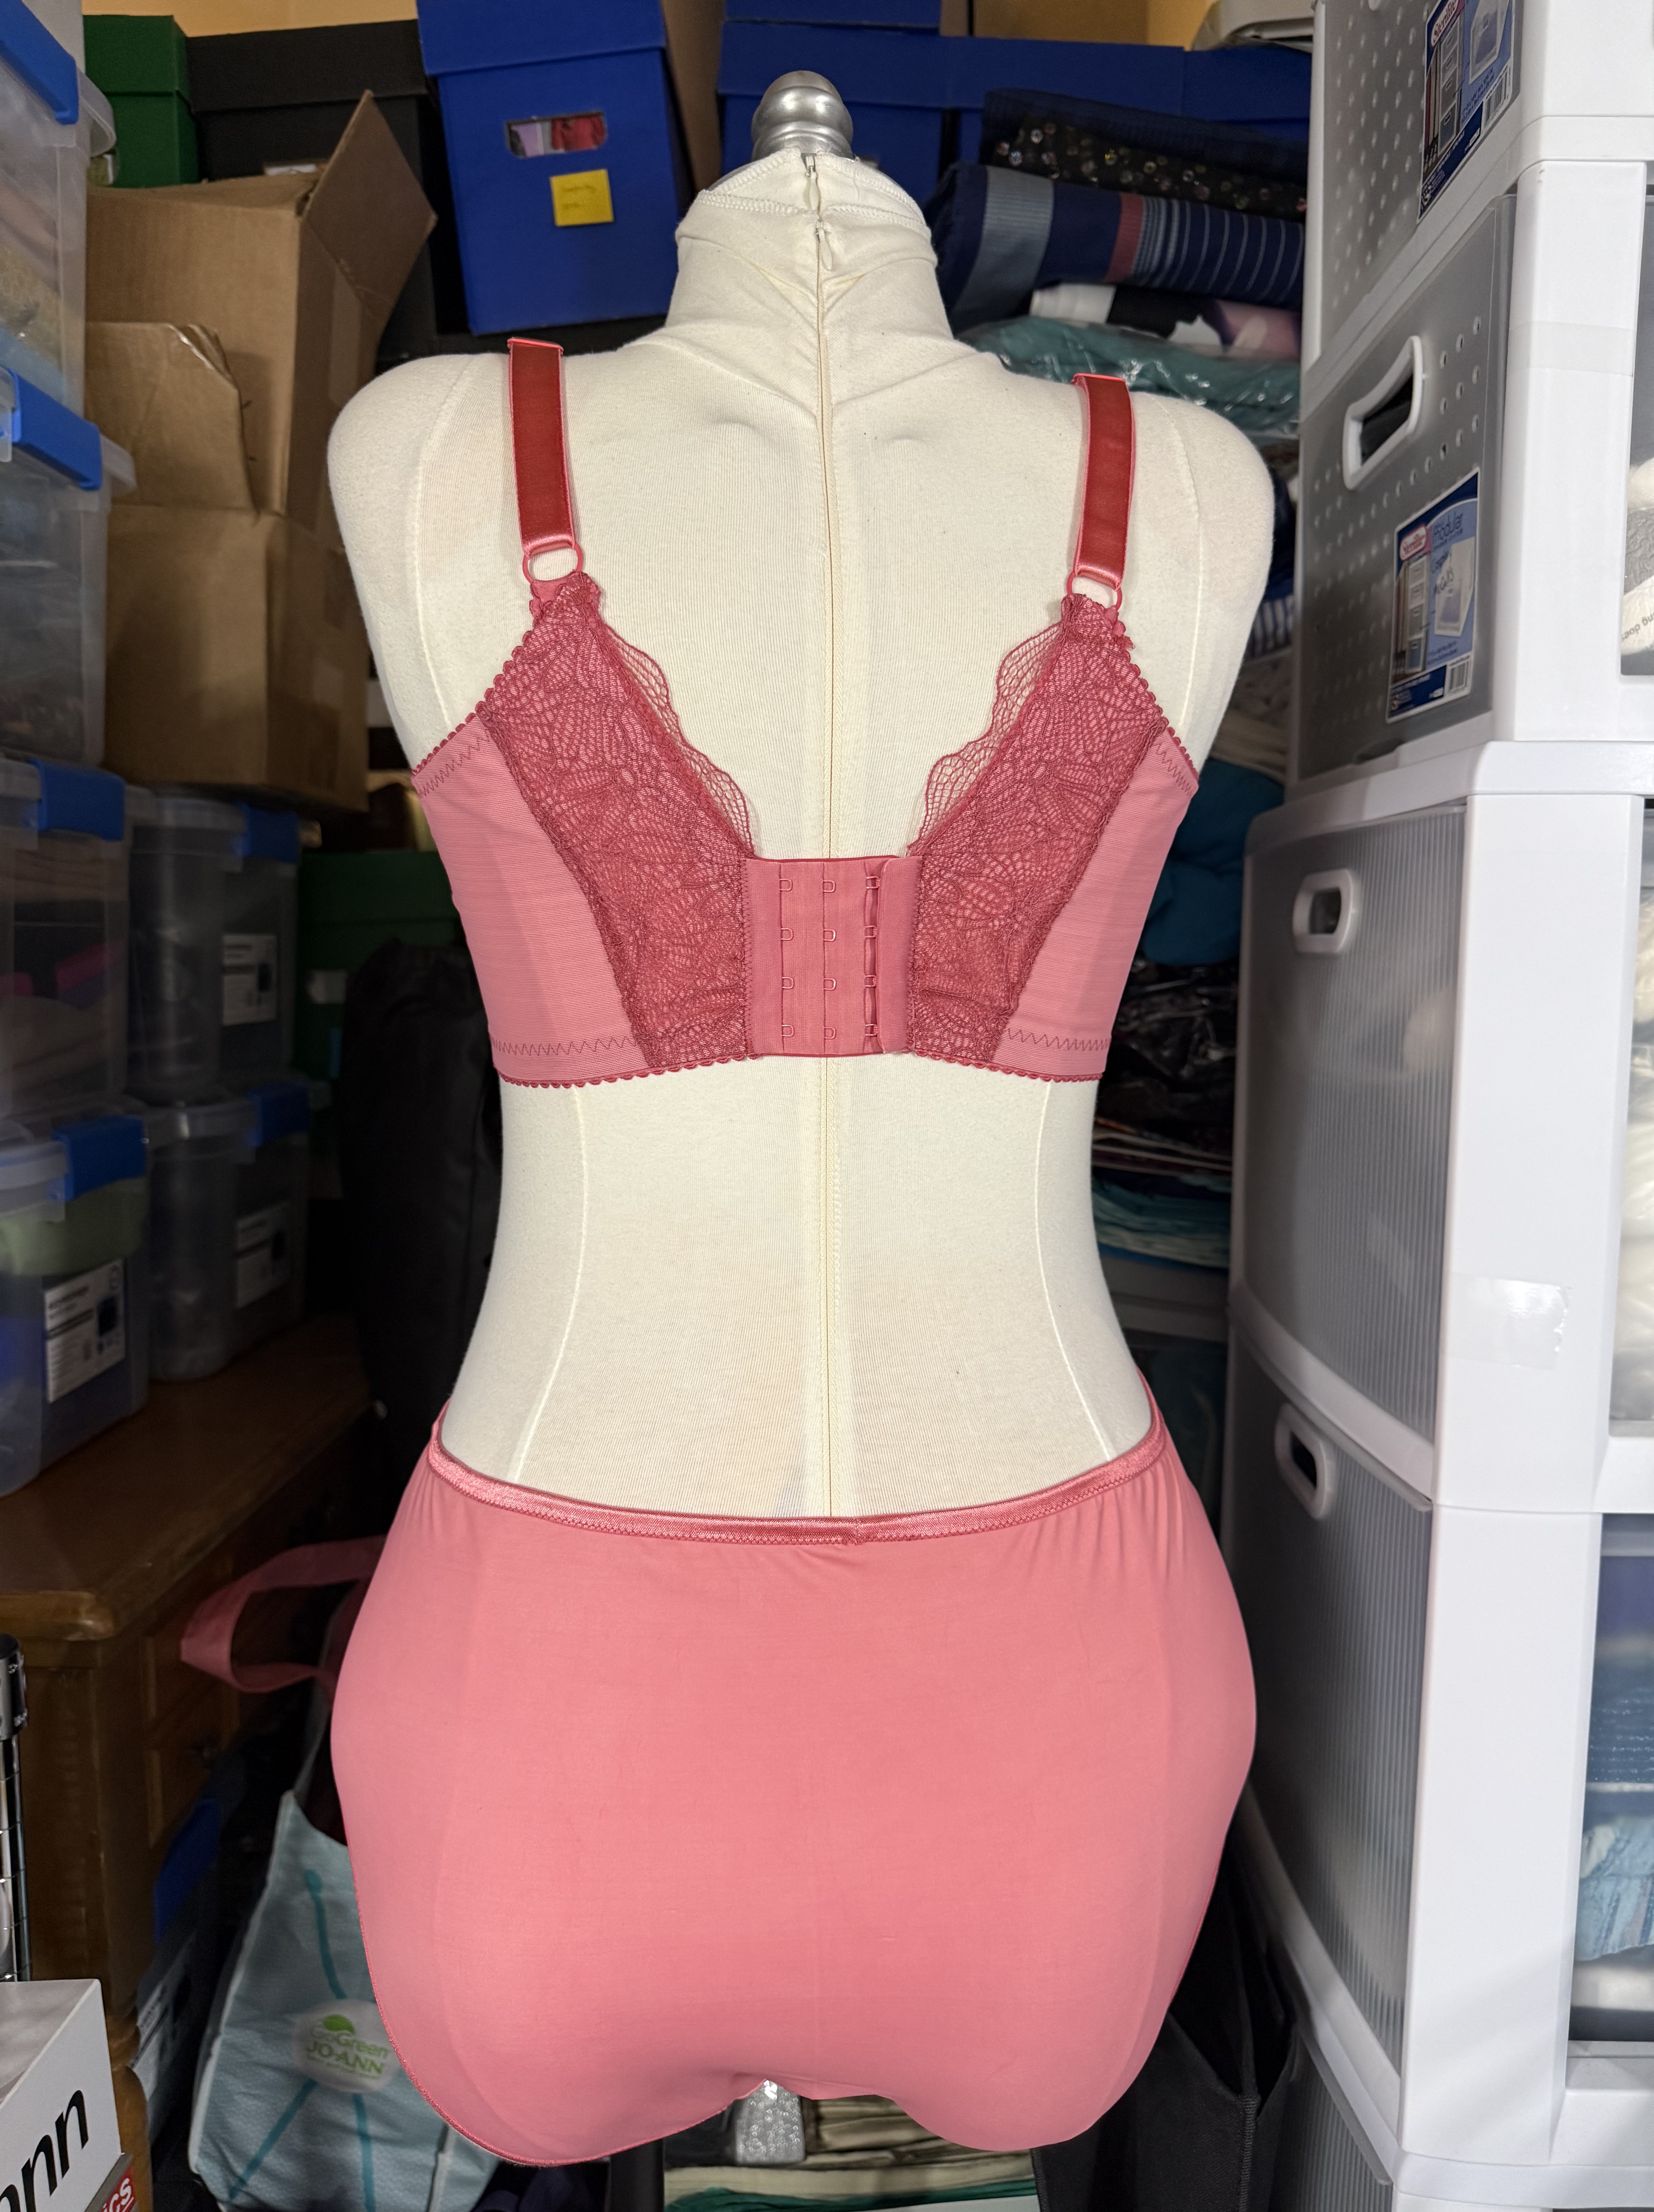
The Lazulite is a three-piece vertical seam cup, with options for lace cups, lace detail on the back, and decorative swag detail on the front. I feel like there are a lot of vertical seam cup patterns for smaller sizes, but not as many in larger size ranges (B,Wear patterns being a notable exception), so it was exciting to see this style available from LilyPAD since they have such an extensive size range. I’ve made the Angie’s Twin and the Jessica’s Twin from B,Wear in the past, and I really thing the vertical seams are quite pretty, so I was happy to try another variation of this style for comparison.
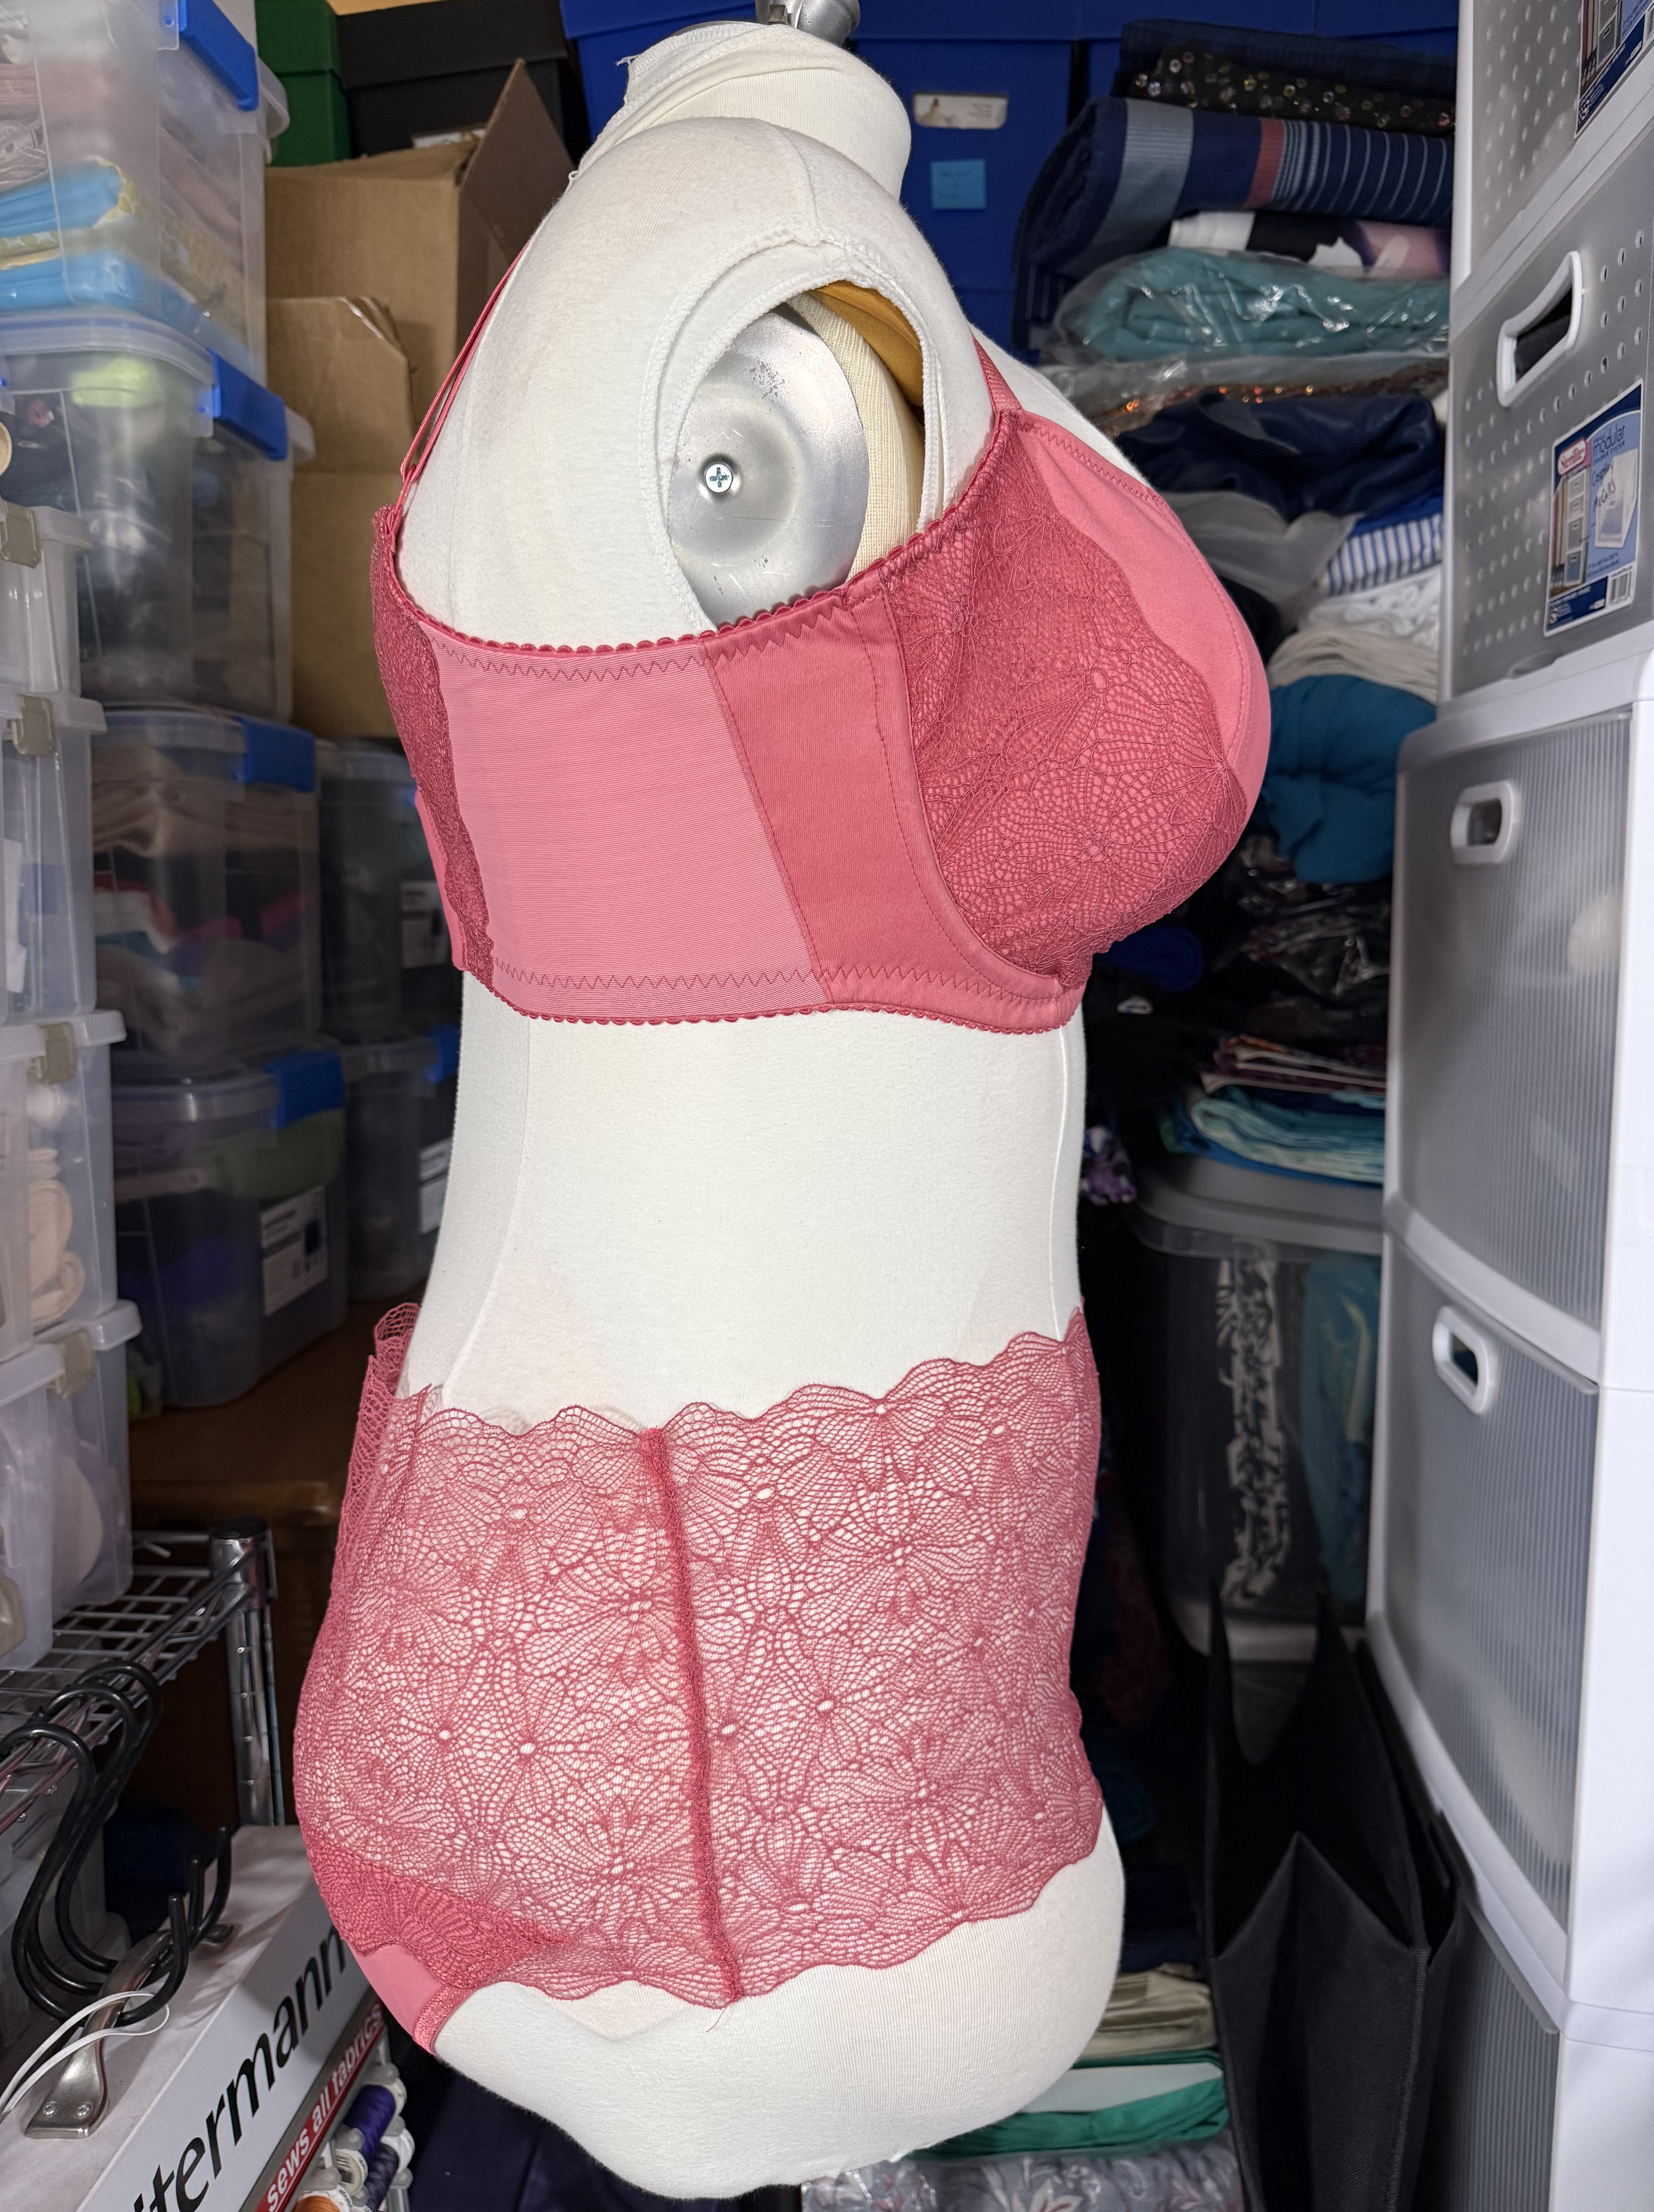
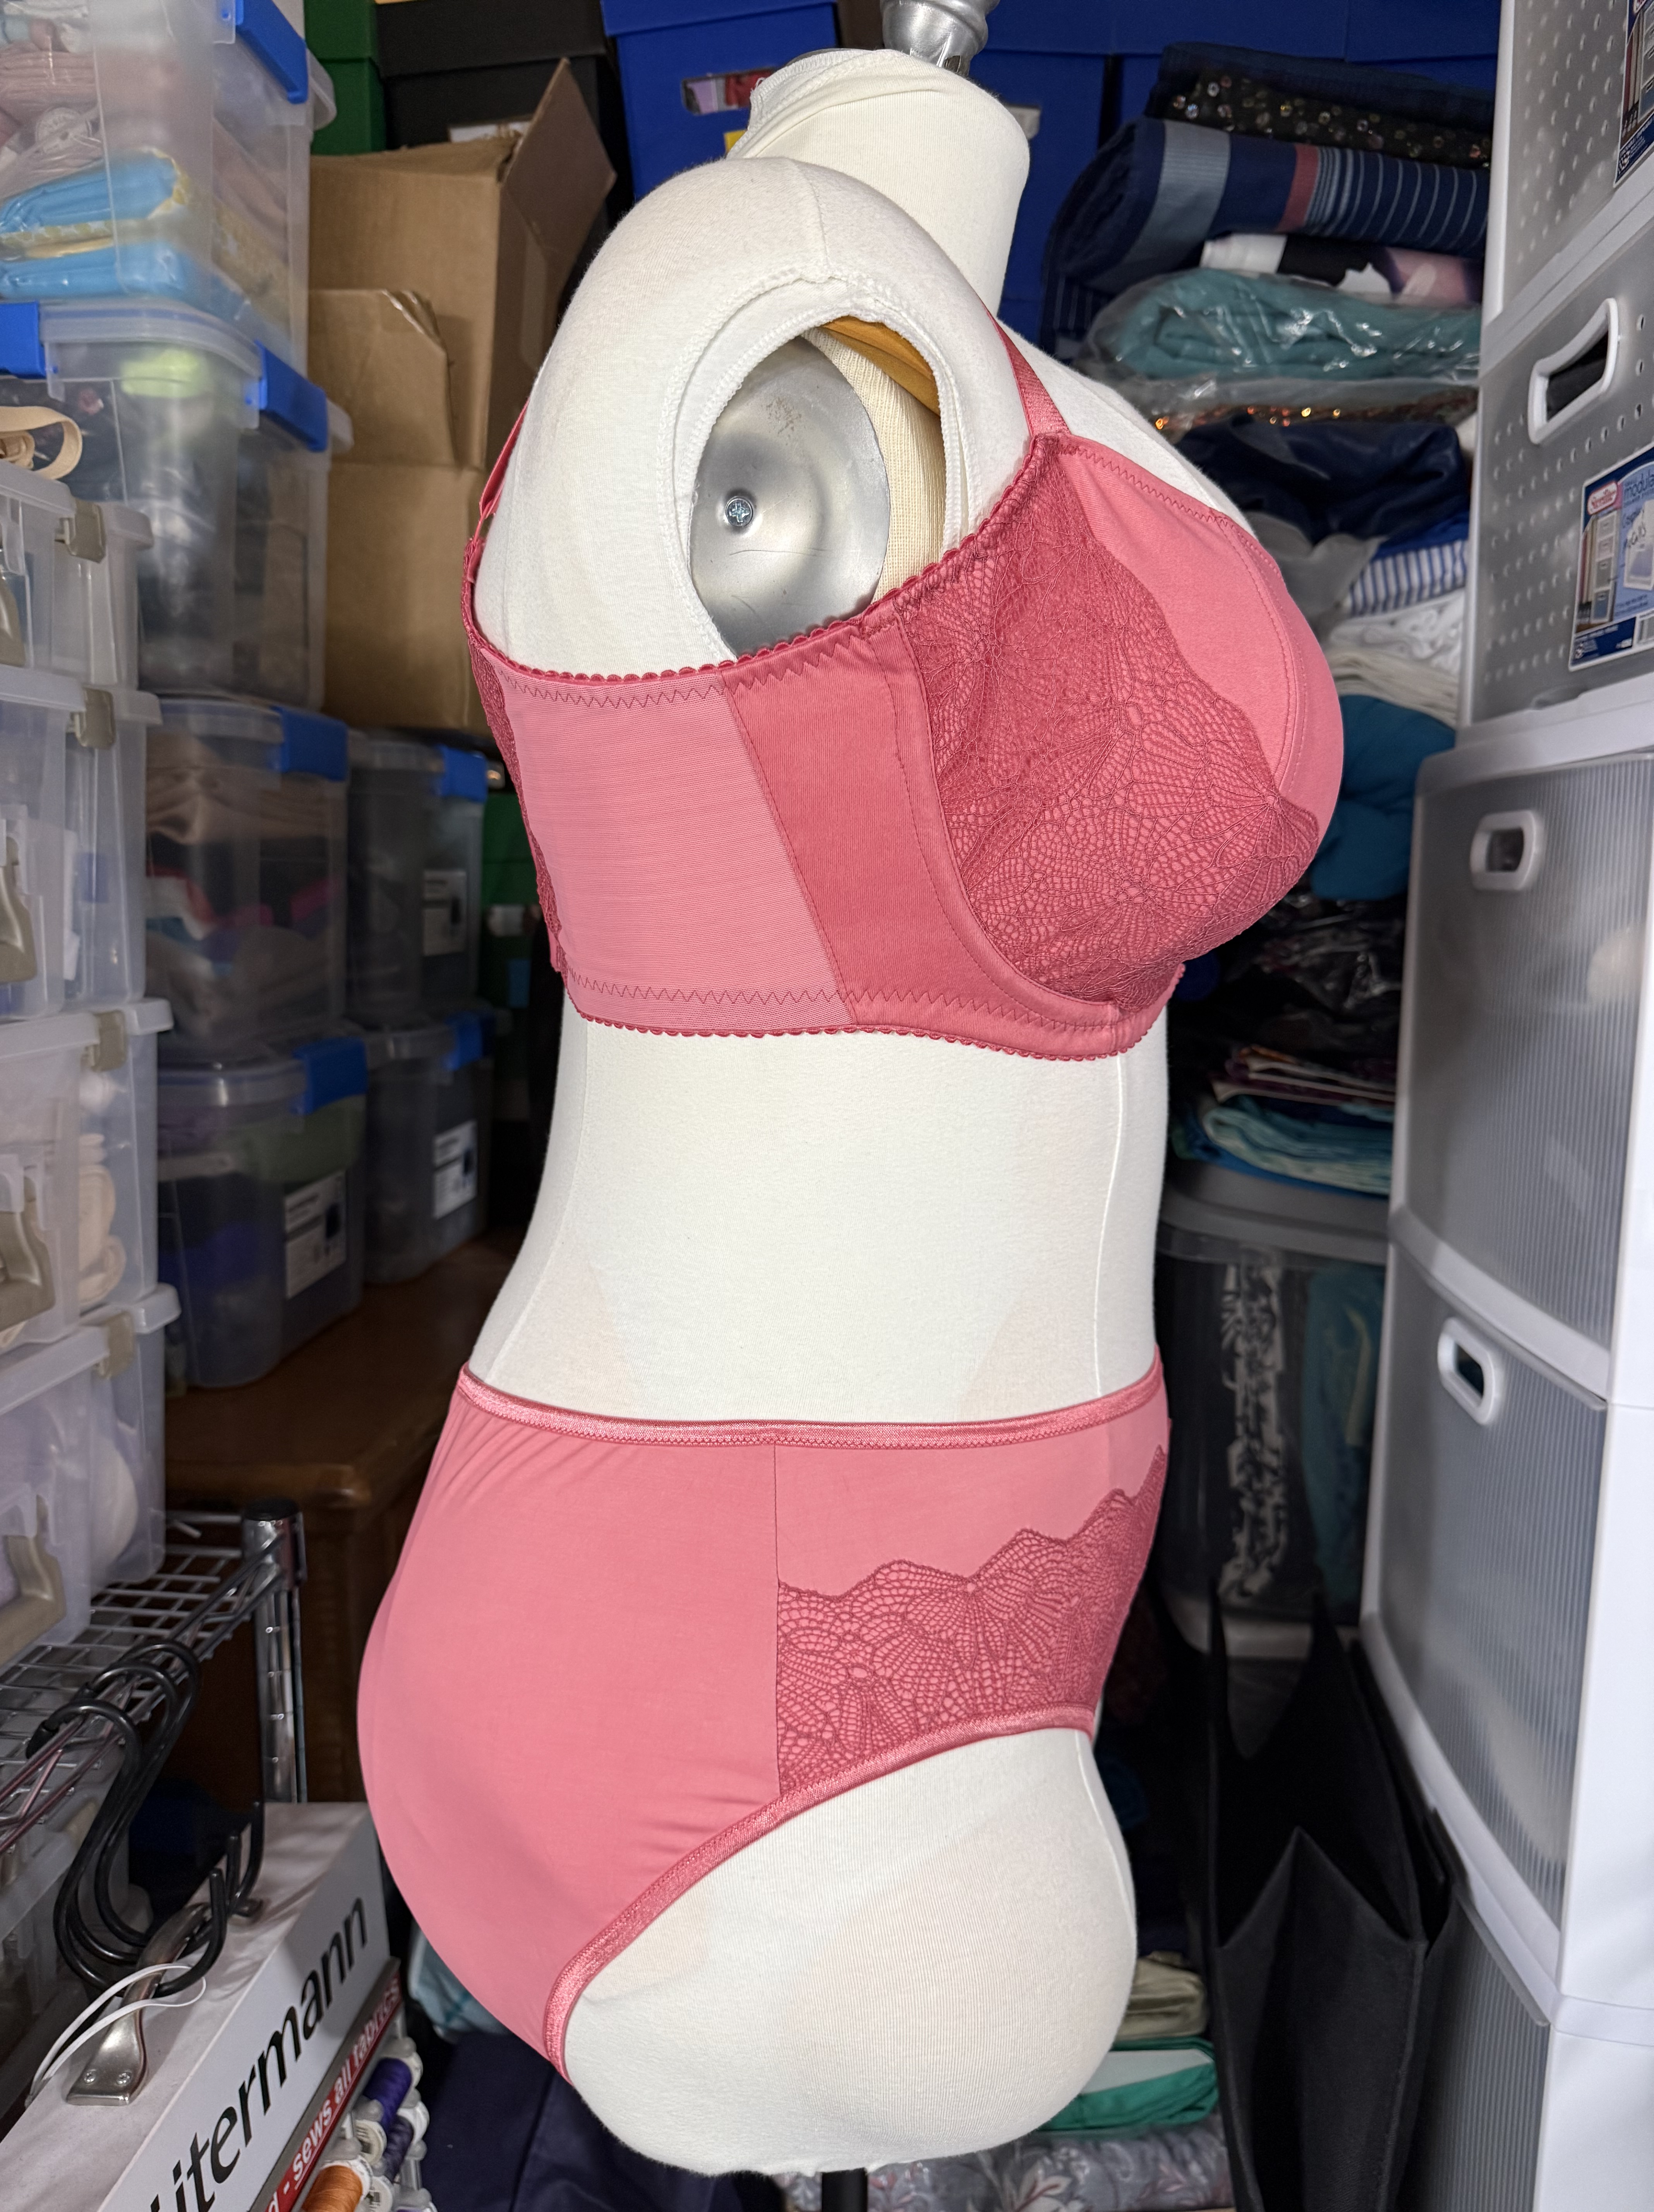
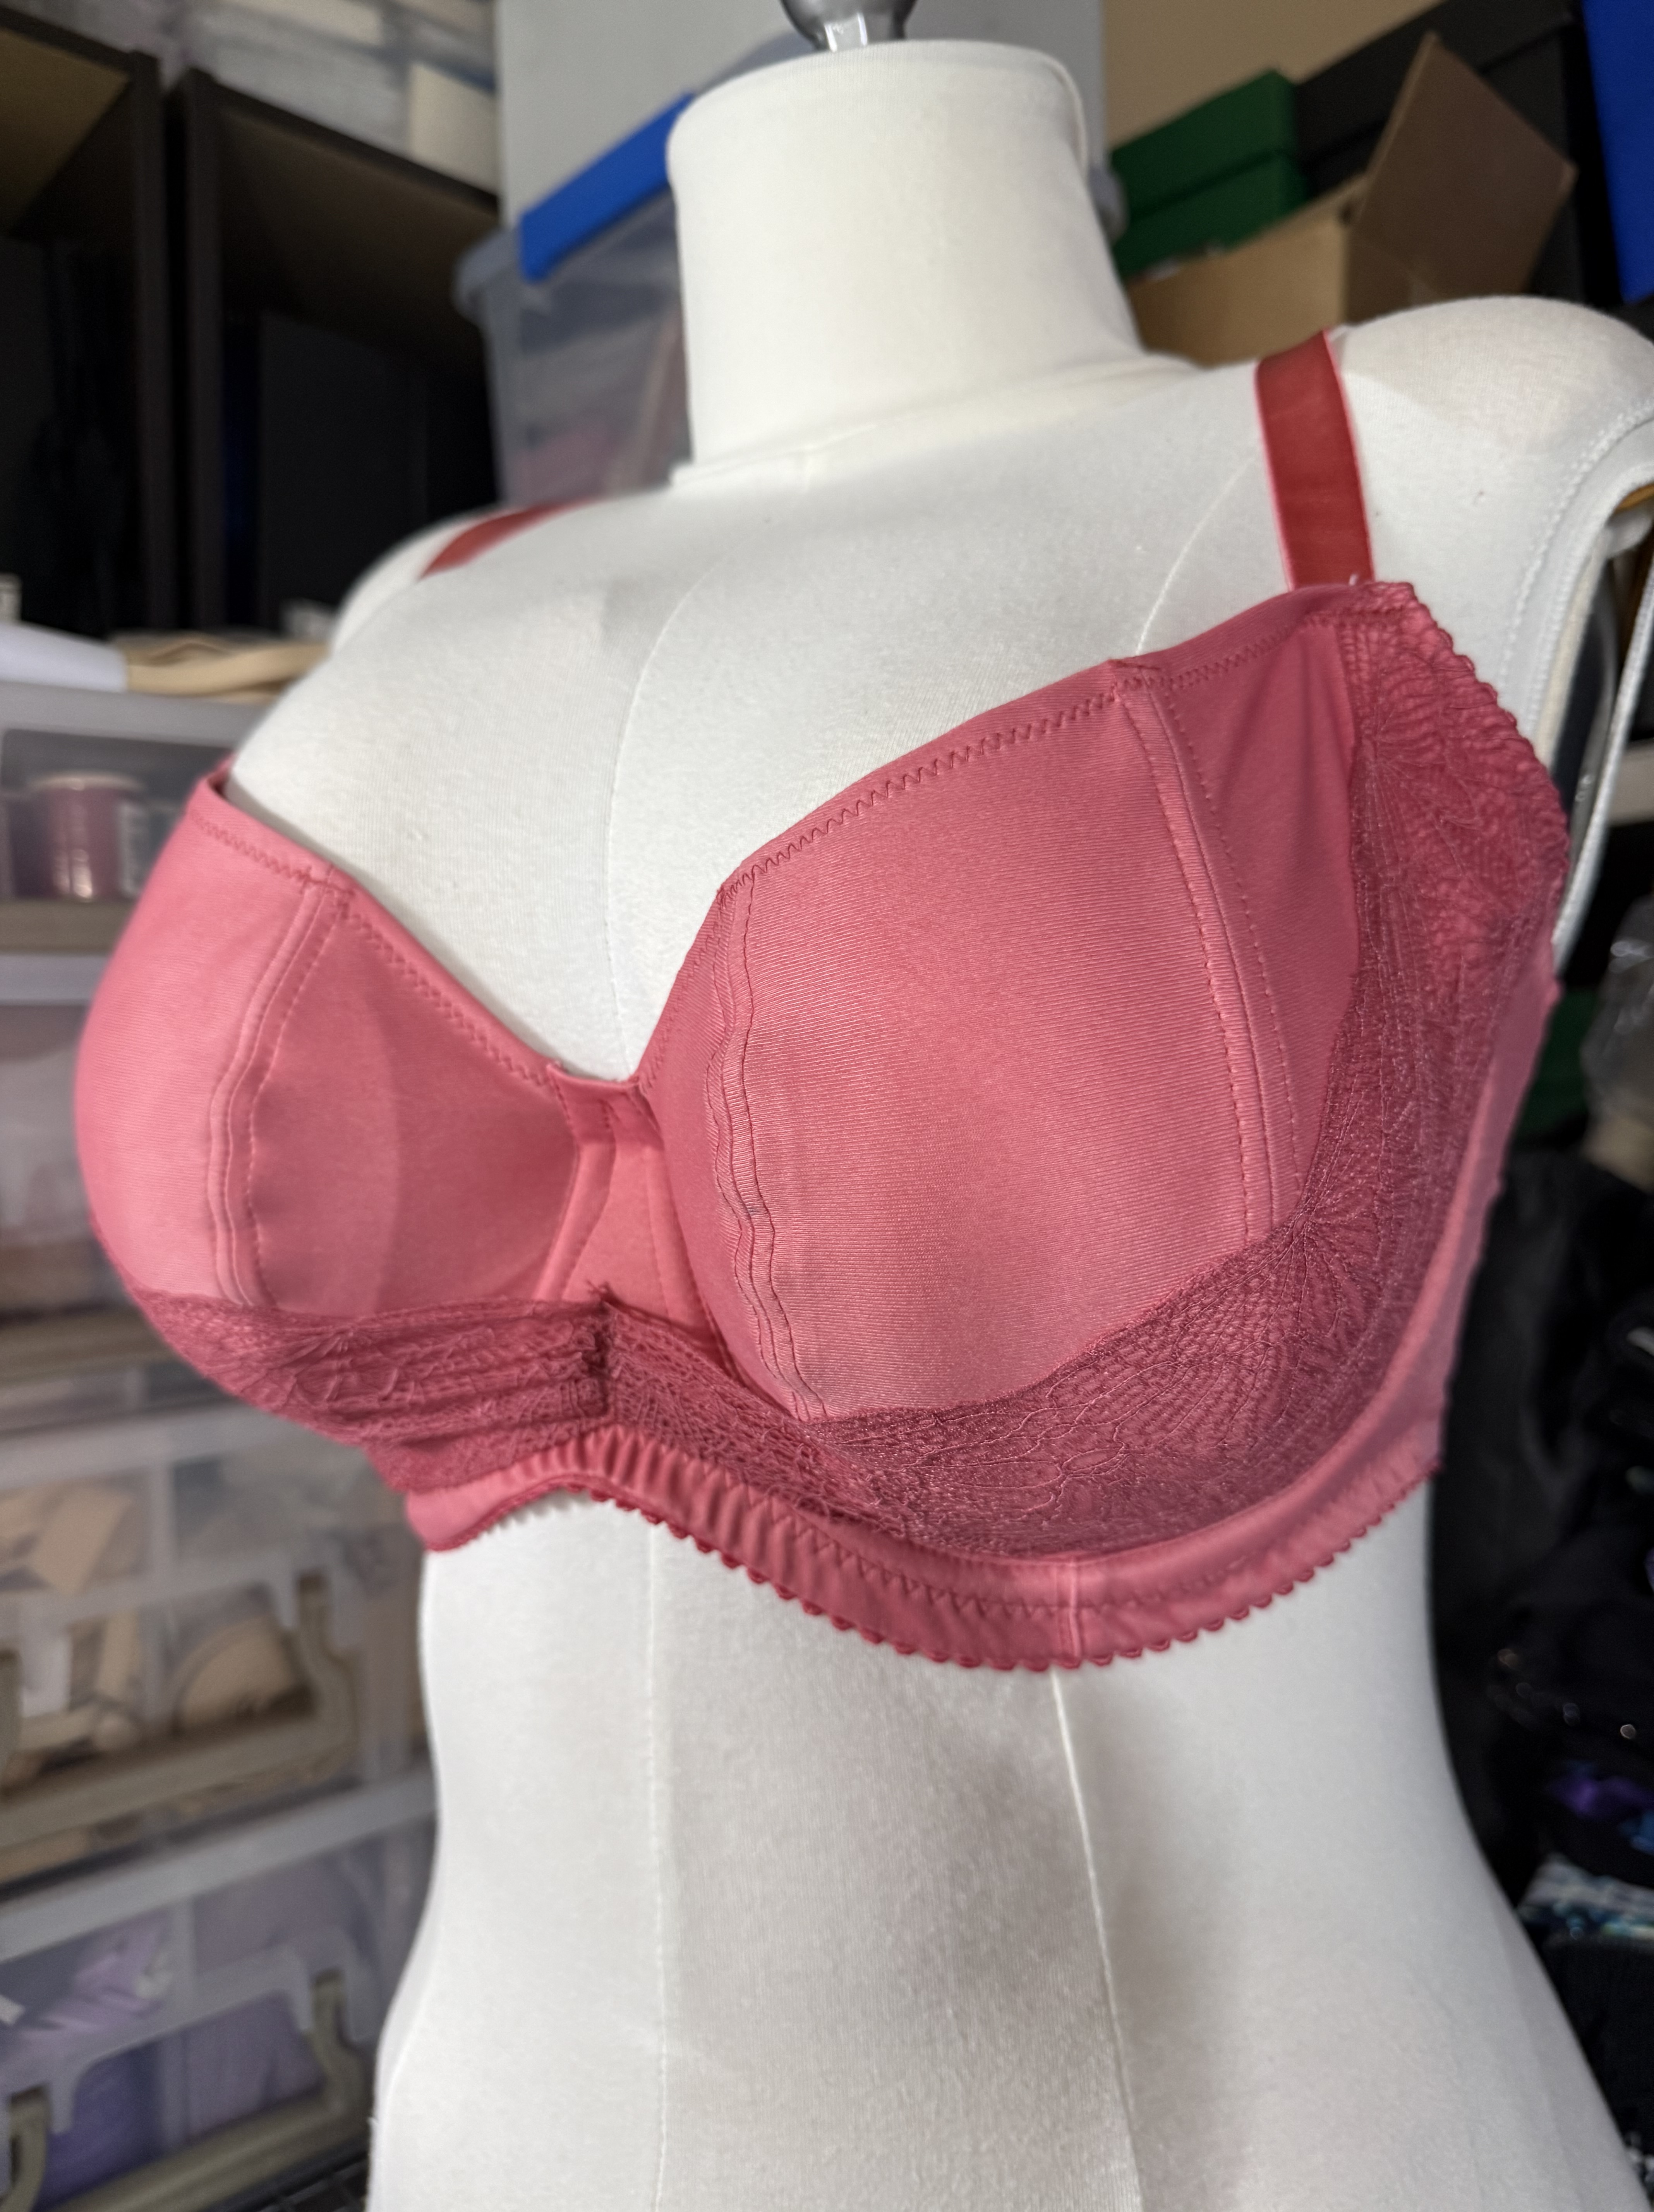
I will say that, although I want to go back and re-fit the B,Wear patterns because the bras I made several years ago are starting to get a bit small in the cup, the style of the Lazulite and the Angie’s Twin are very different. Angie’s Twin is a bit more full coverage, and has an extra seam with extremely curved pieces. The Lazulite is more of a balconette style, with less neck coverage and a bit more wide and open along the neckline. The best way I can describe the effect is “Regency Boobs” (or “Bridgerton Boobs” if you really want to go for the alliteration). I think this pattern could be really great for something to wear under a fancy dress or party clothes that might have a wider neckline.
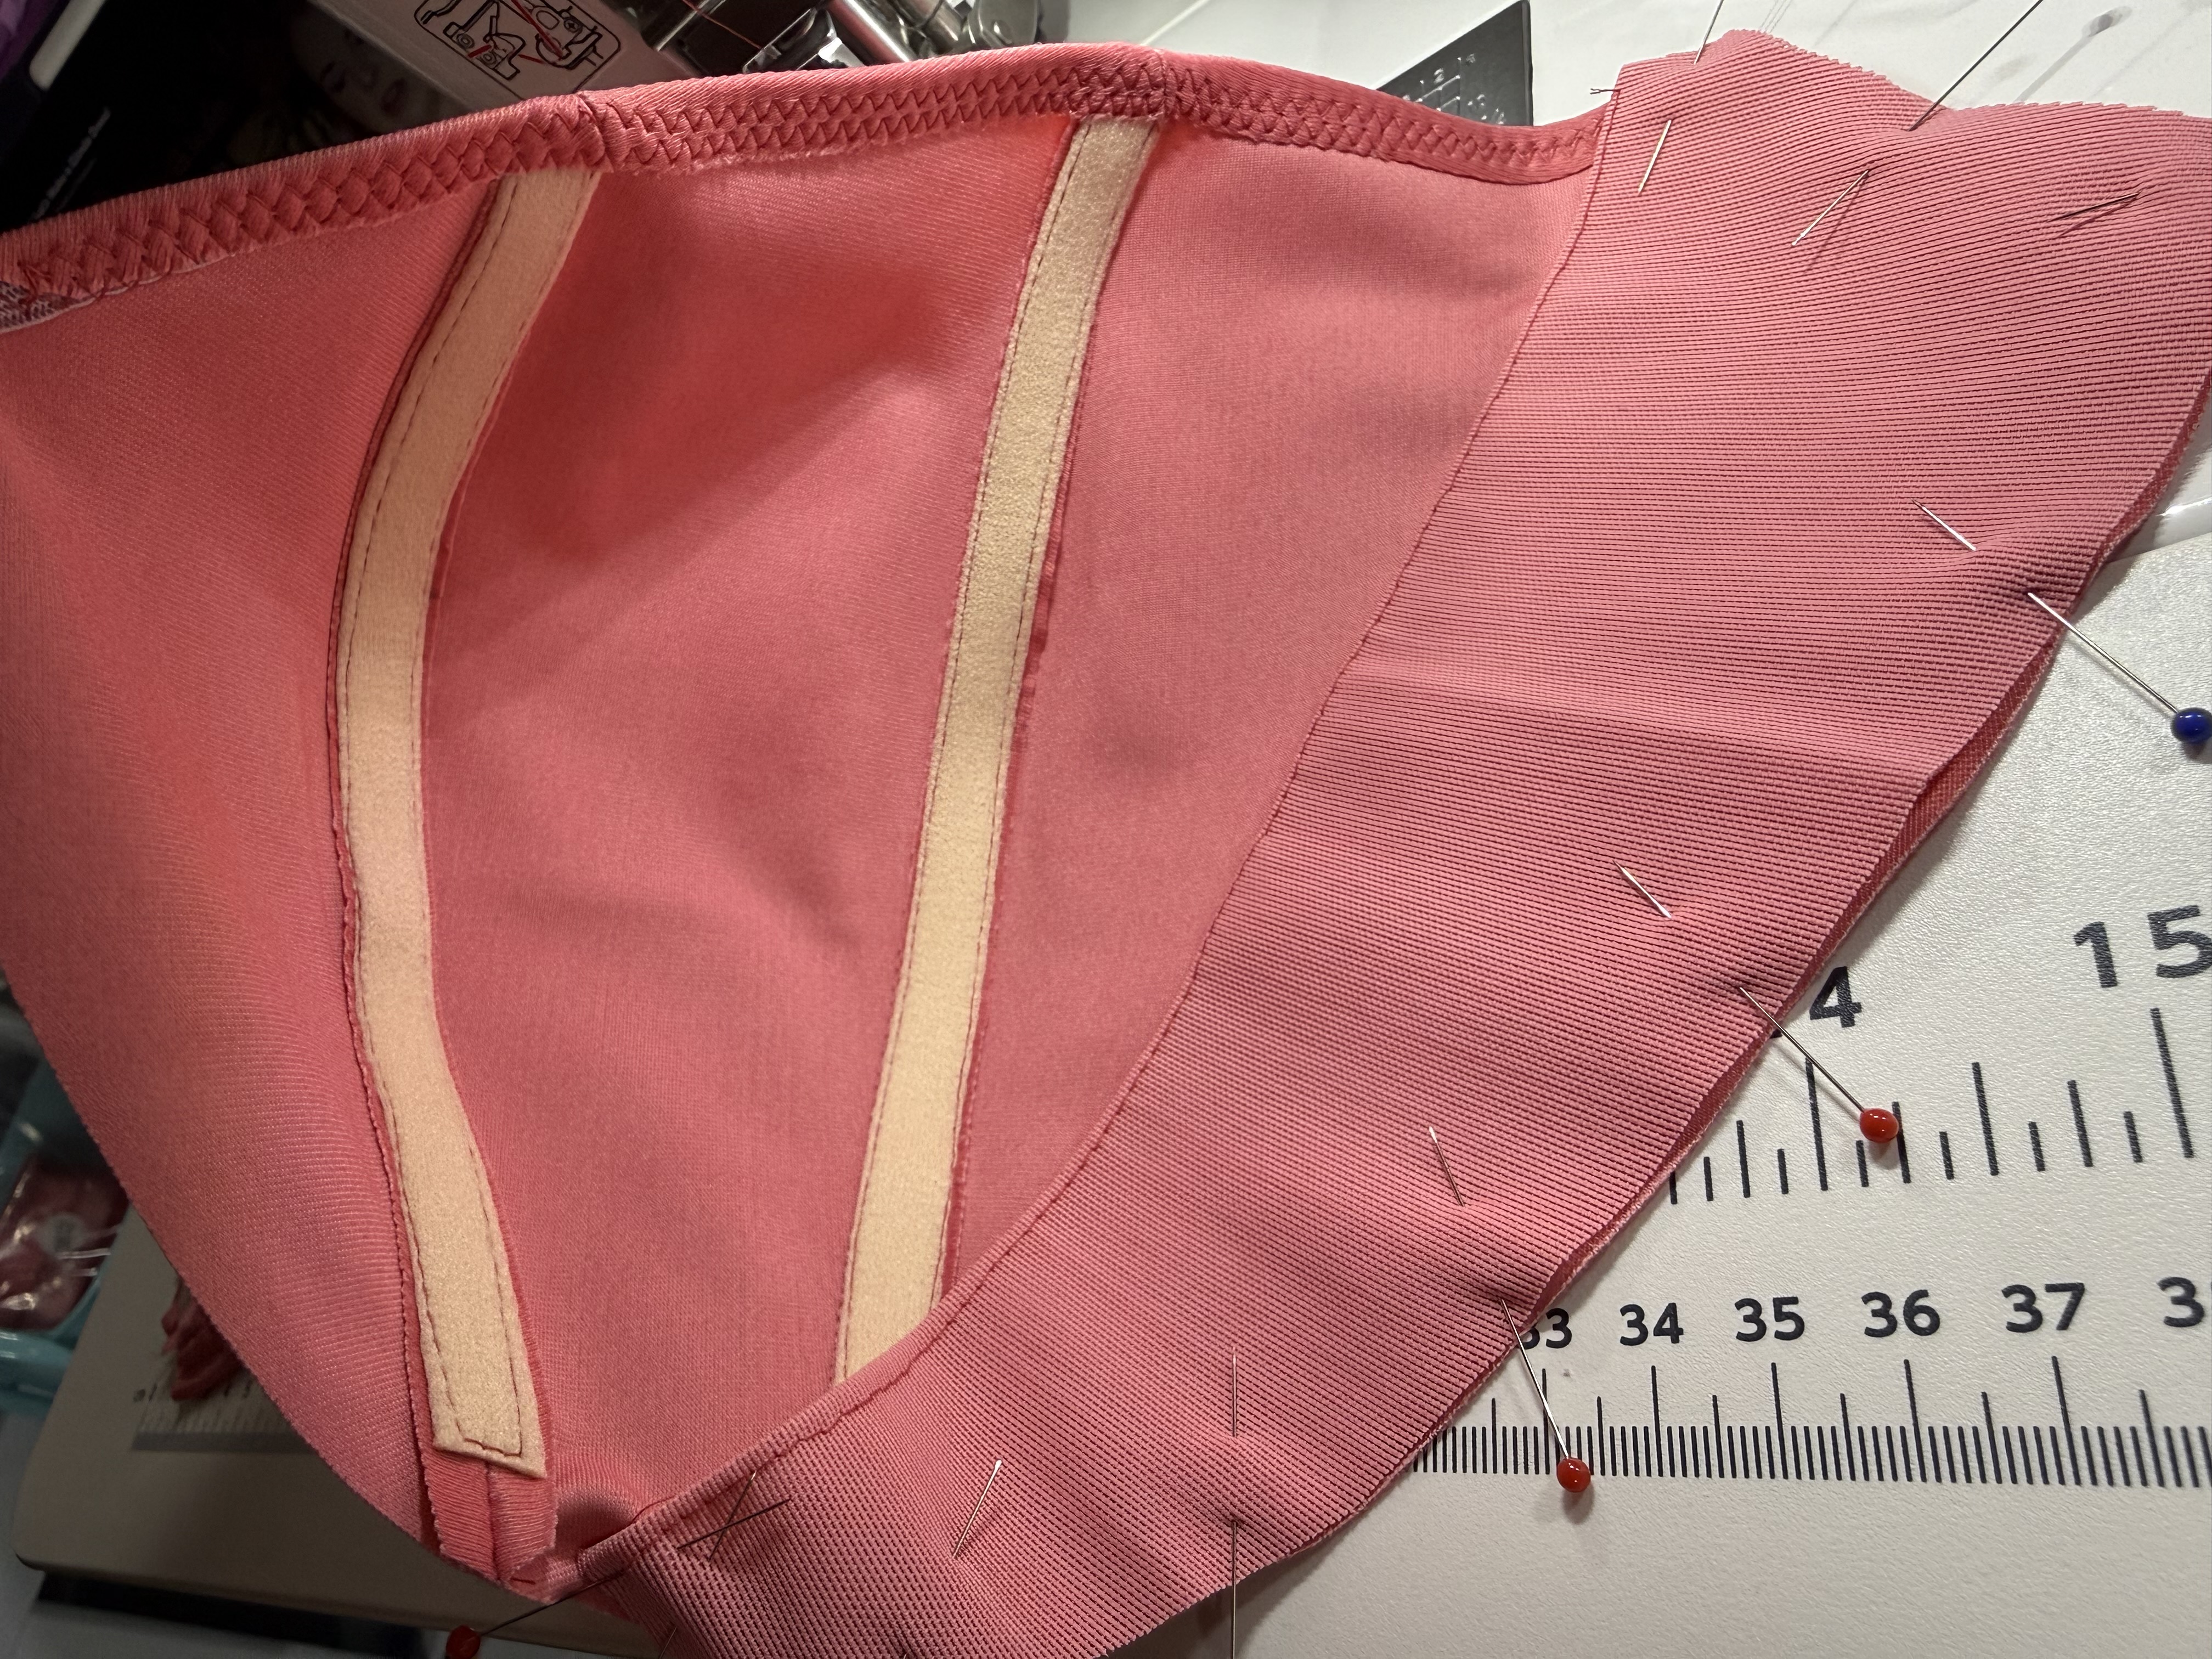
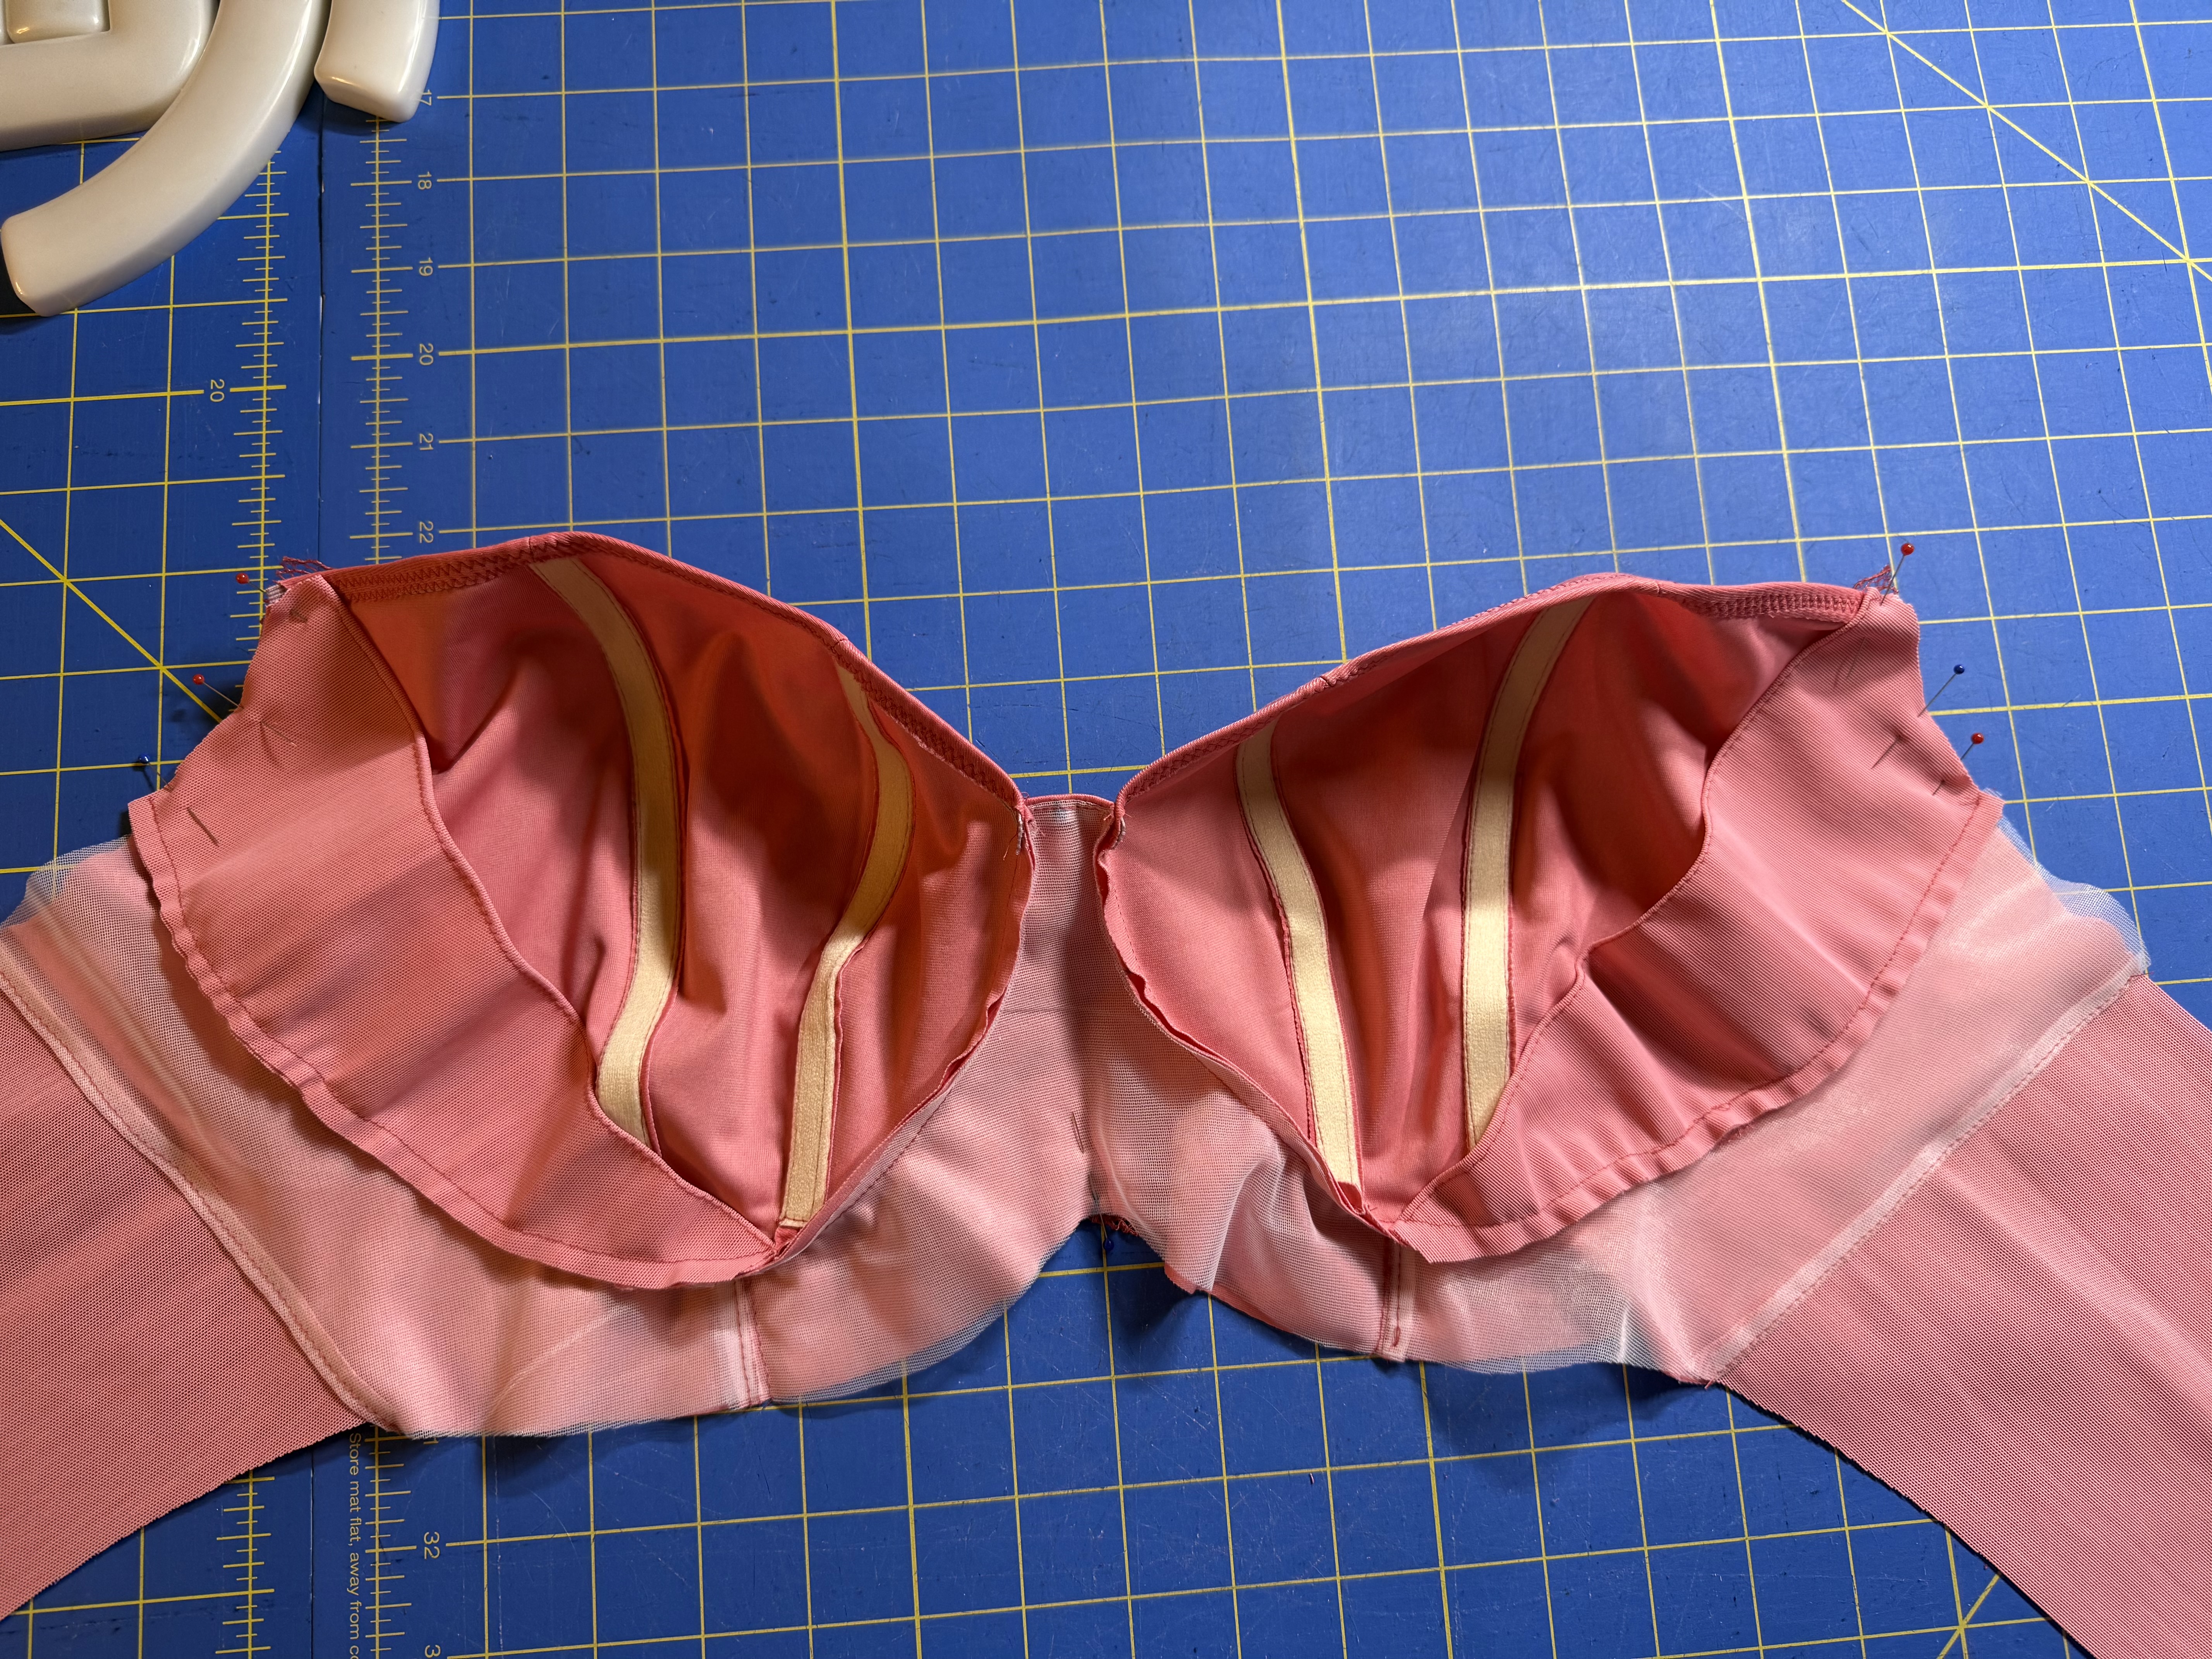
I think because this pattern is so low cut, it has a lot of recommendations for how to add support to the cups. The patterns especially recommends adding boning to the cup seams, and adding internal slings. I didn’t have the right size channeling for my boning, but I though maybe just using the channeling would be enough to provide support along with the slings. (Spoiler alert: in hindsight, I don’t think this was the wisest choice, but I’ll get to that in a bit.) You can see from the early construction photos the channeling alone did help give the cups some additional shaping.

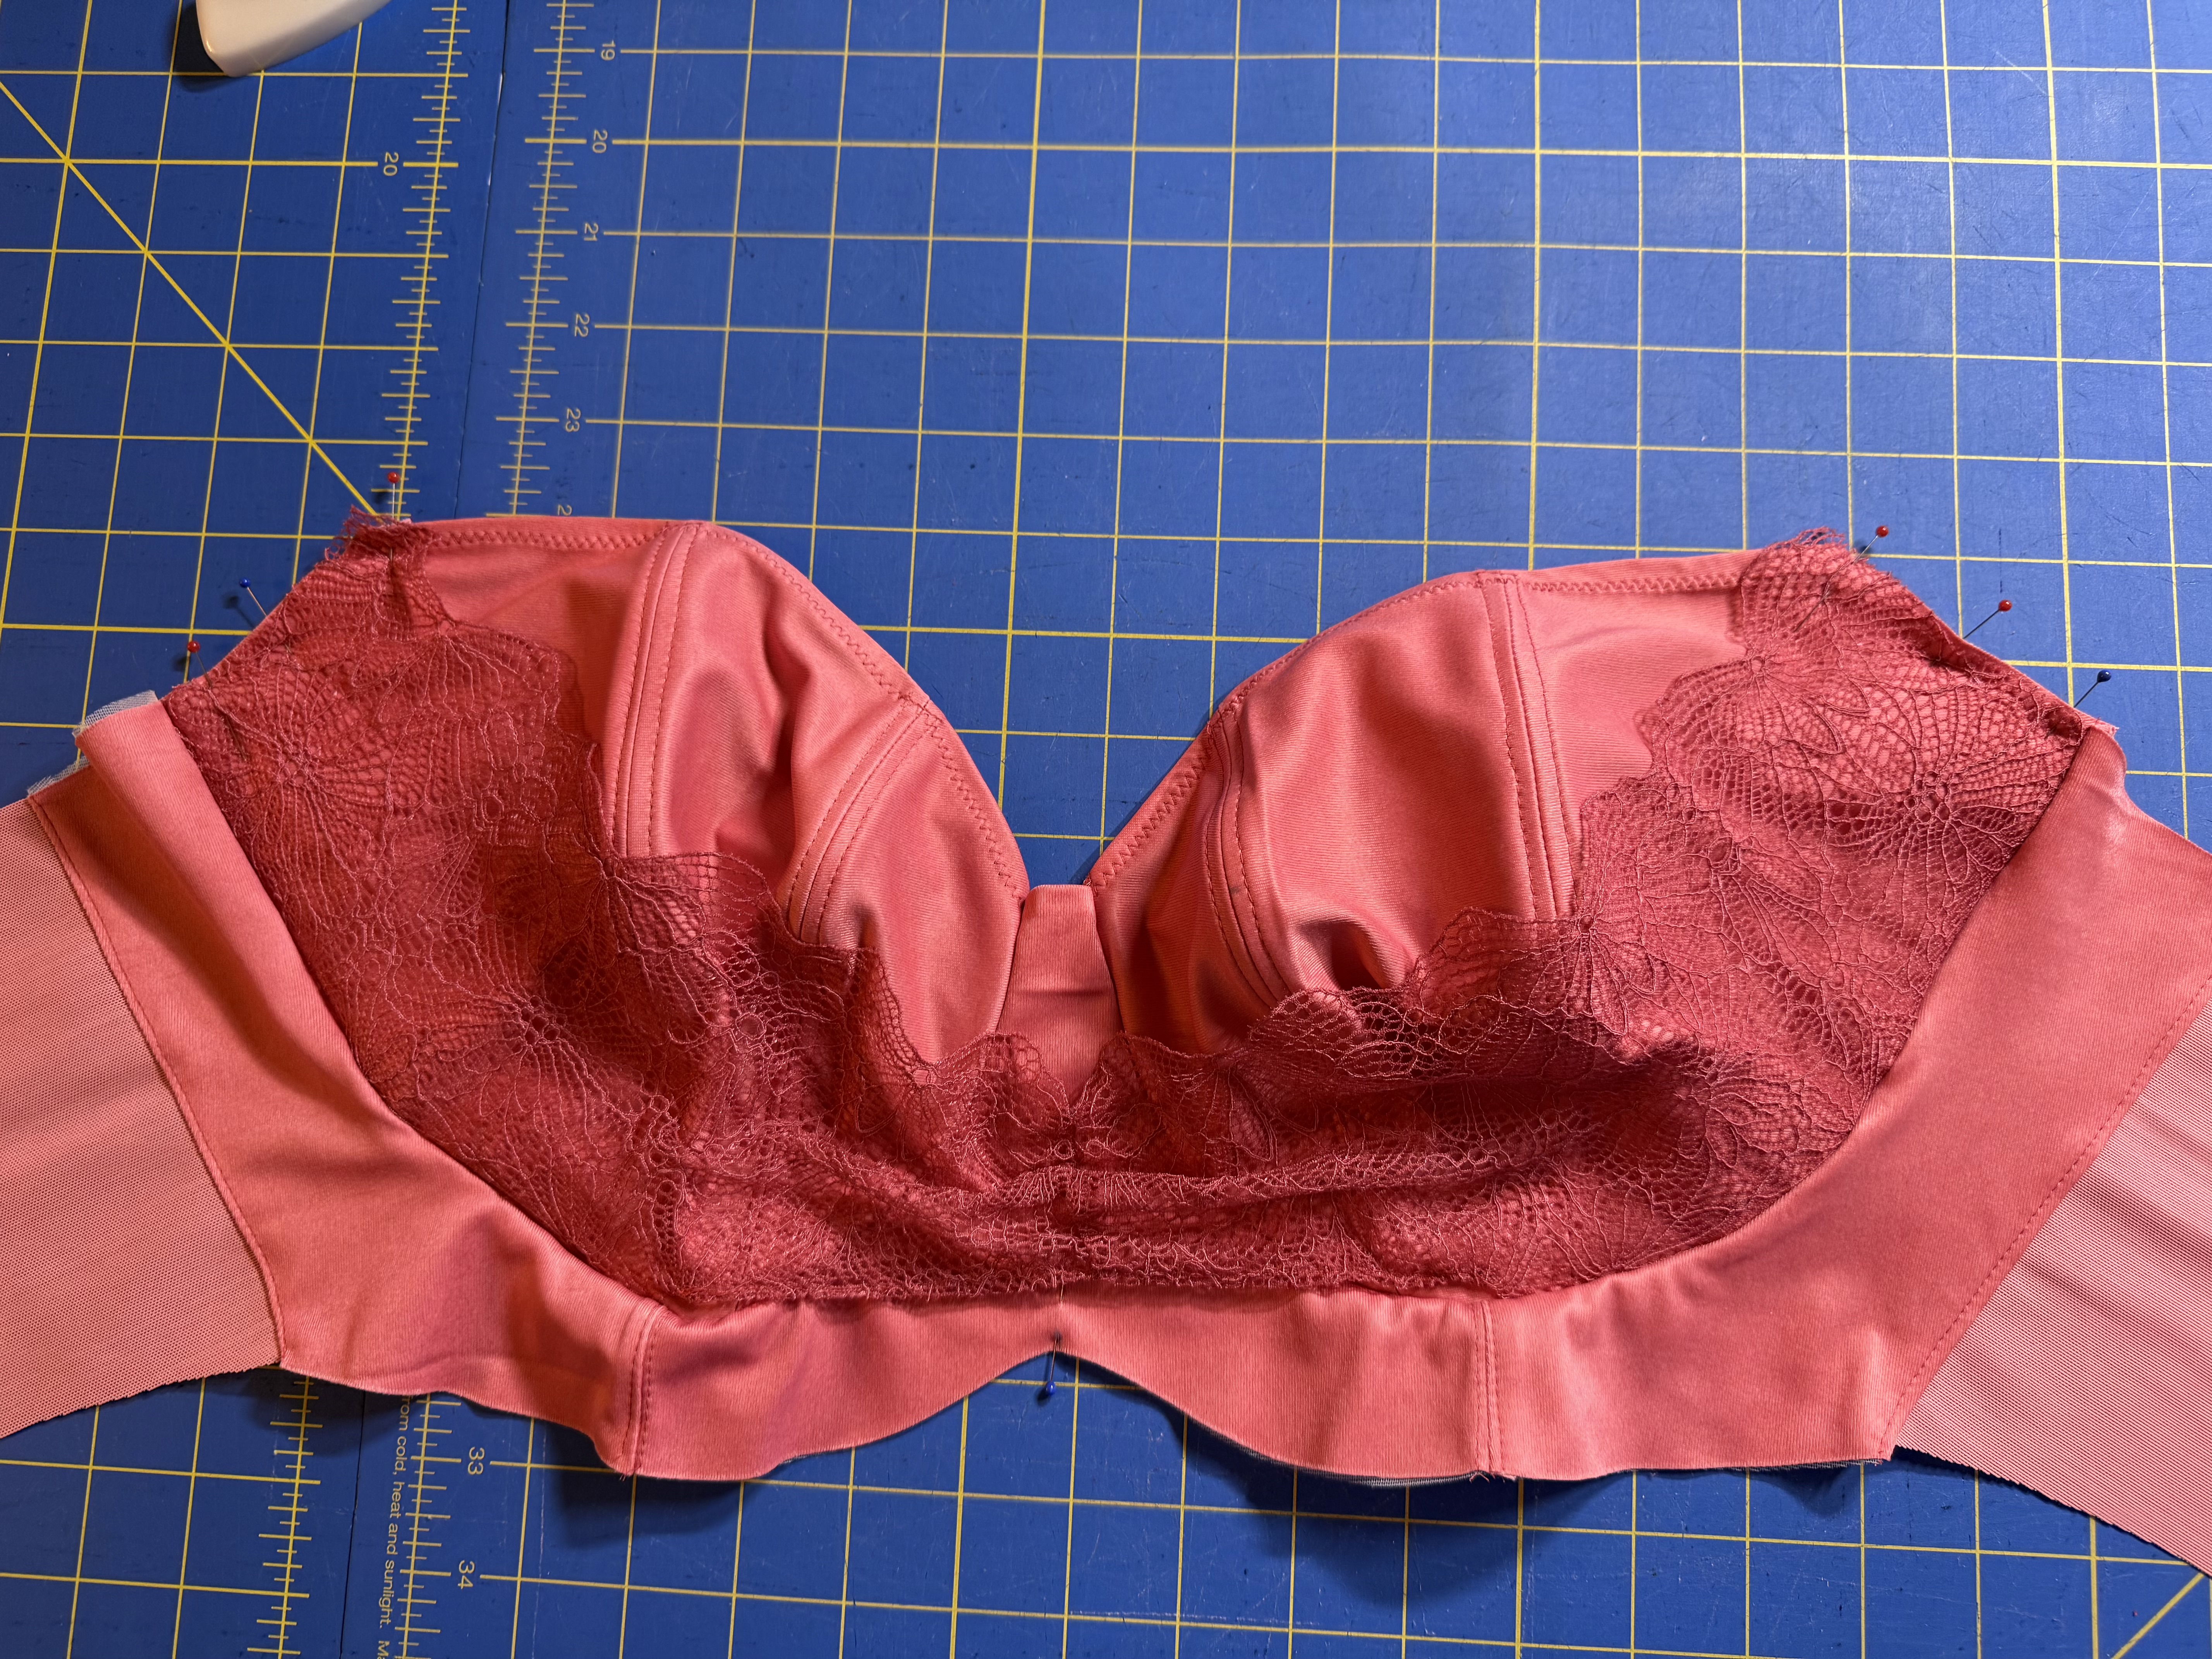
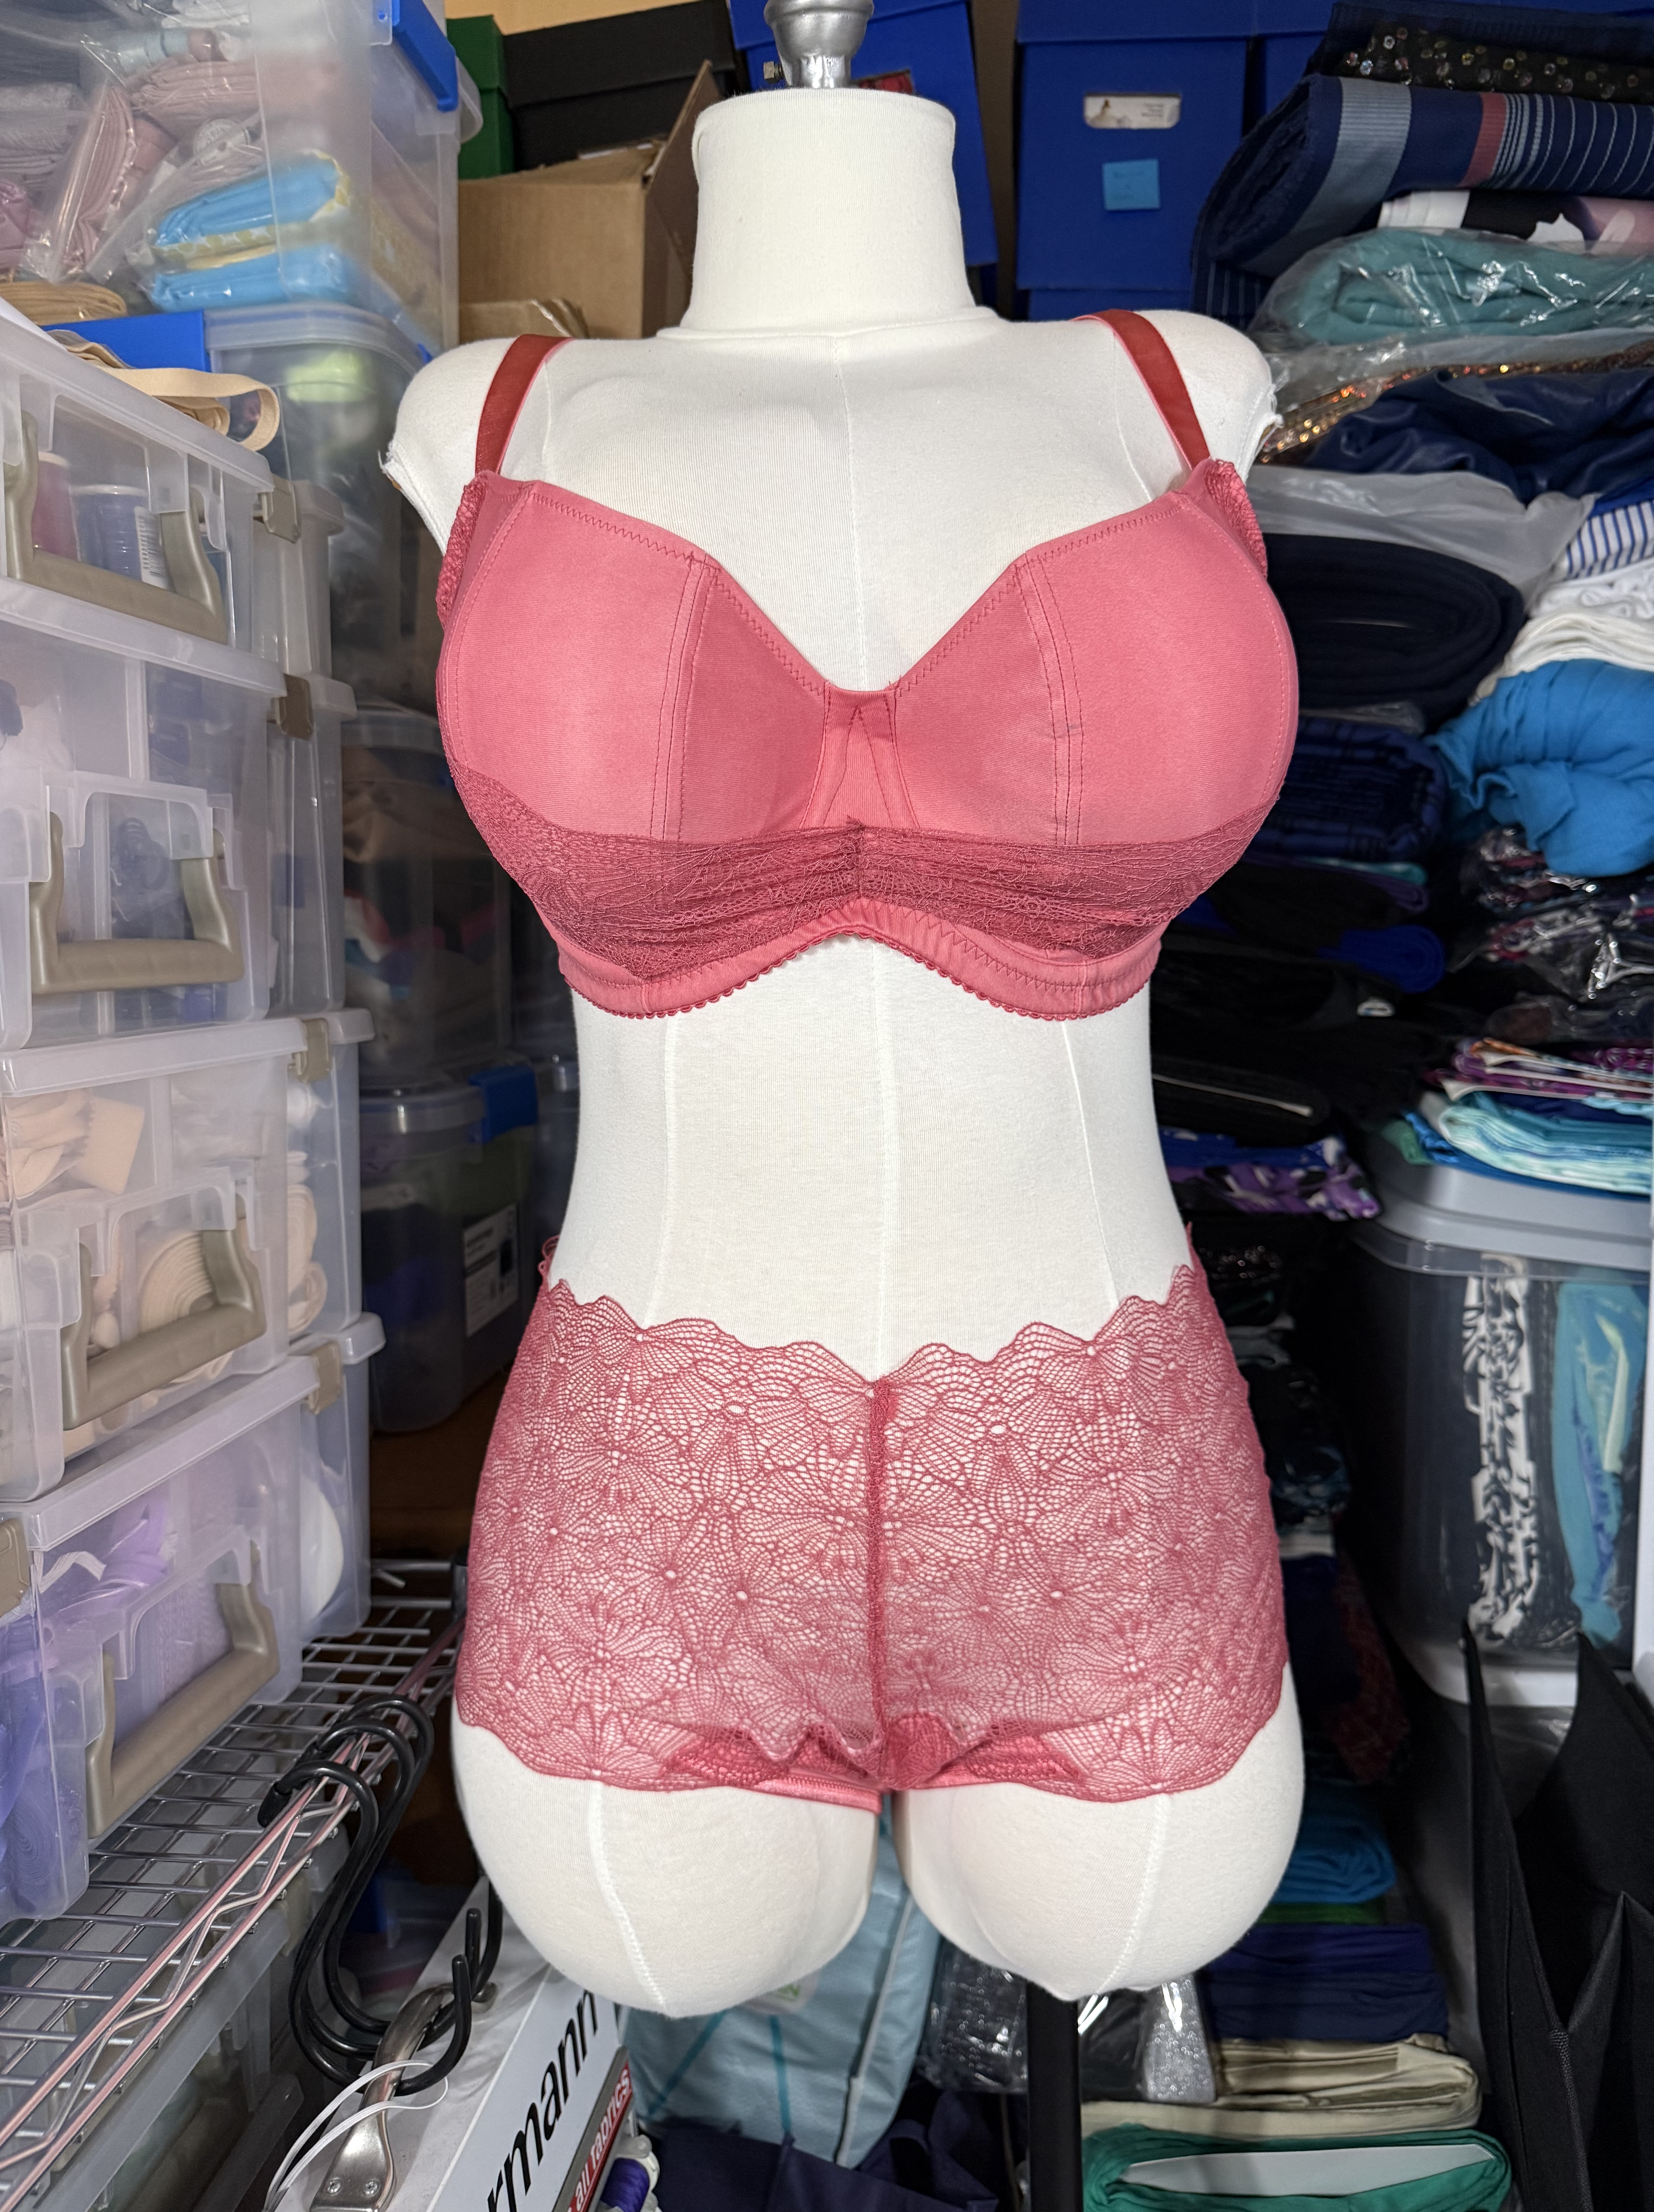
I also decided to add the decorative swag feature in the front, which made the construction a bit more challenging because I had to move it out of the way constantly during construction, but it wasn’t too bad as long as I was mindful about what was actually going under the needle. The pattern recommends using a fabric on the fold to make the swag feature, but I decided to use the lace from my kit in a single layer, rather than folded as a double layer. It’s probably not as robust, but I think it’s really pretty.
I usually want to put all of the lace on everything to use as much as possible, but for this I really wanted to let the emphasis be on the design element, so I showed a lot of restraint, which honestly made the construction of the band a lot faster. I used my HP foot to do a lot of the construction of the main bra (before attaching elastics), and it continues to be my new favorite tool for this process. The rest of the construction was really straightforward, and I had enough lace to make another version of the Haru Knickers and the Kisa Knickers to go with the bra.

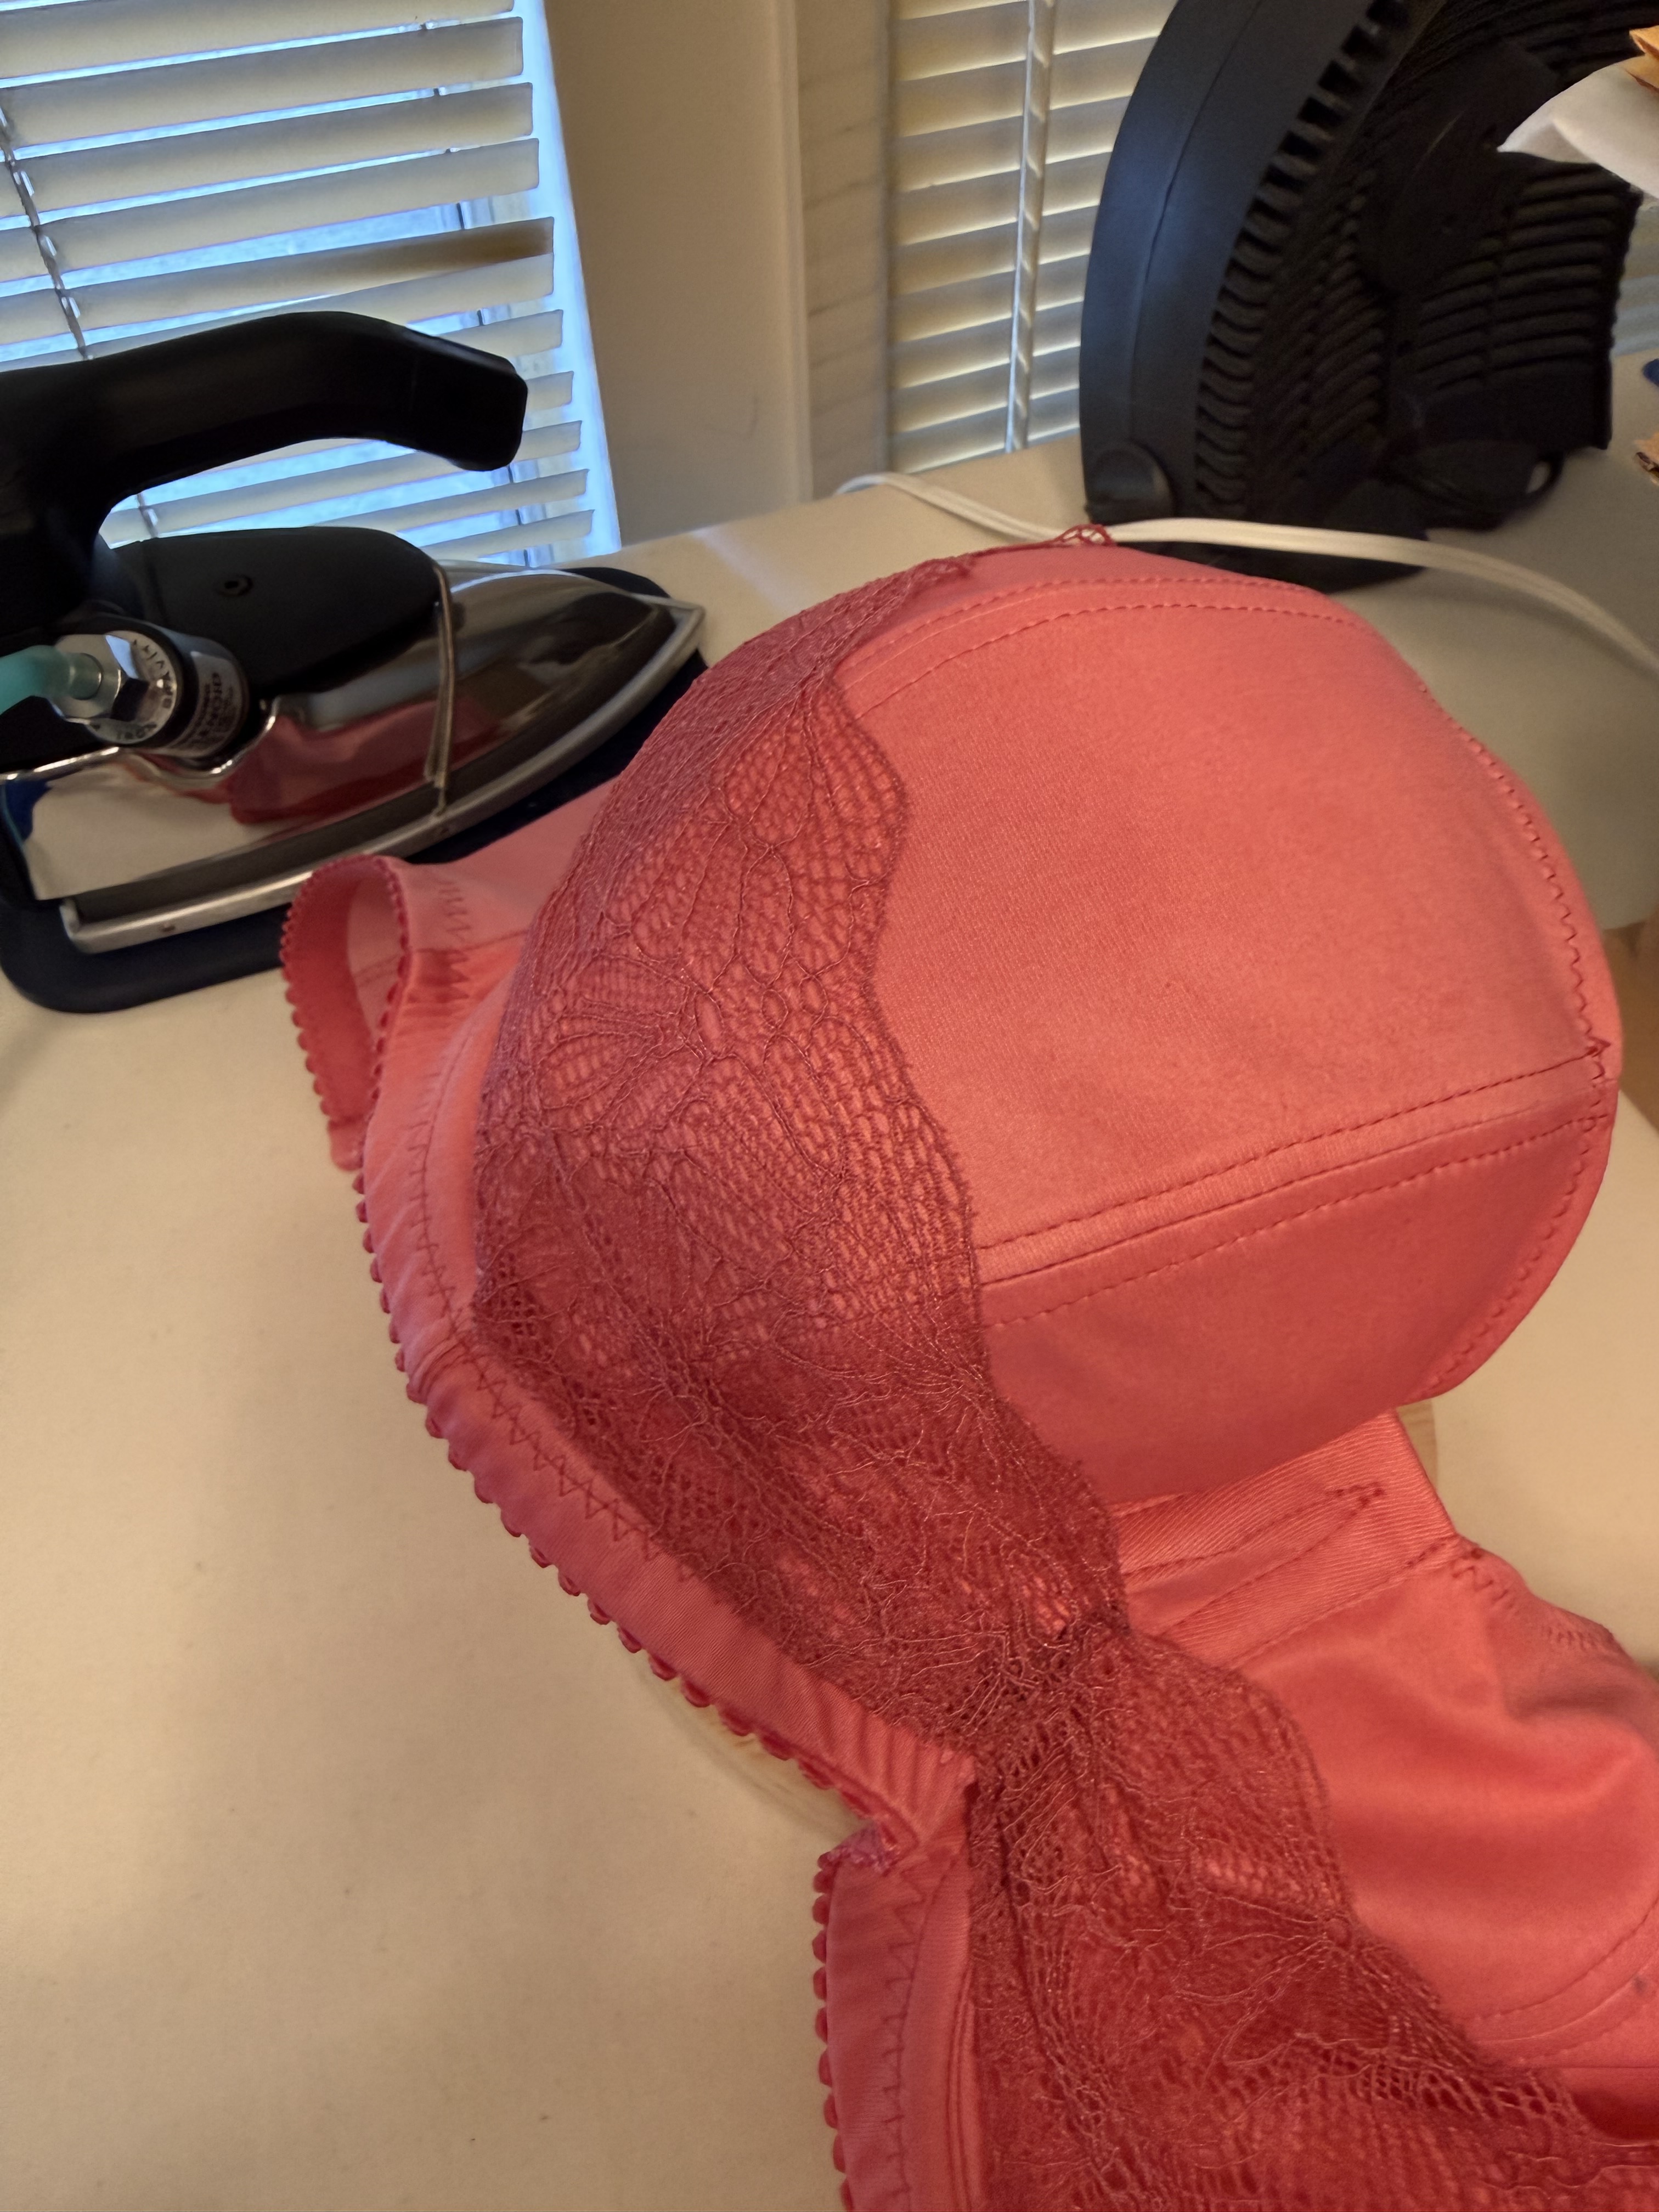
Overall, I think this set looks really pretty, but there are definitely a few things that I have in my notes to change for next time. Starting with the Lazulite, my plan to just use channeling in the cup ended up not being the best. Without wire or boning, the channeling really wanted to ripple on the seam. I’m not usually one to press my bra or underwear projects (I find topstitching takes care of most of the seams that would need to be pressed, and a lot of the materials don’t take well to an iron; they either don’t press or the melt, so it’s easier to just skip that step), but when I saw how ripped the seam were I was a bit devastated, and was willing to try anything. So I pulled out my boob ham and iron to see if that could help the channeling. And while it’s not 100% perfect, it did get much better. In the images below, the before is on the right and the after is on the left. Center is the cup after pressing on the ham.
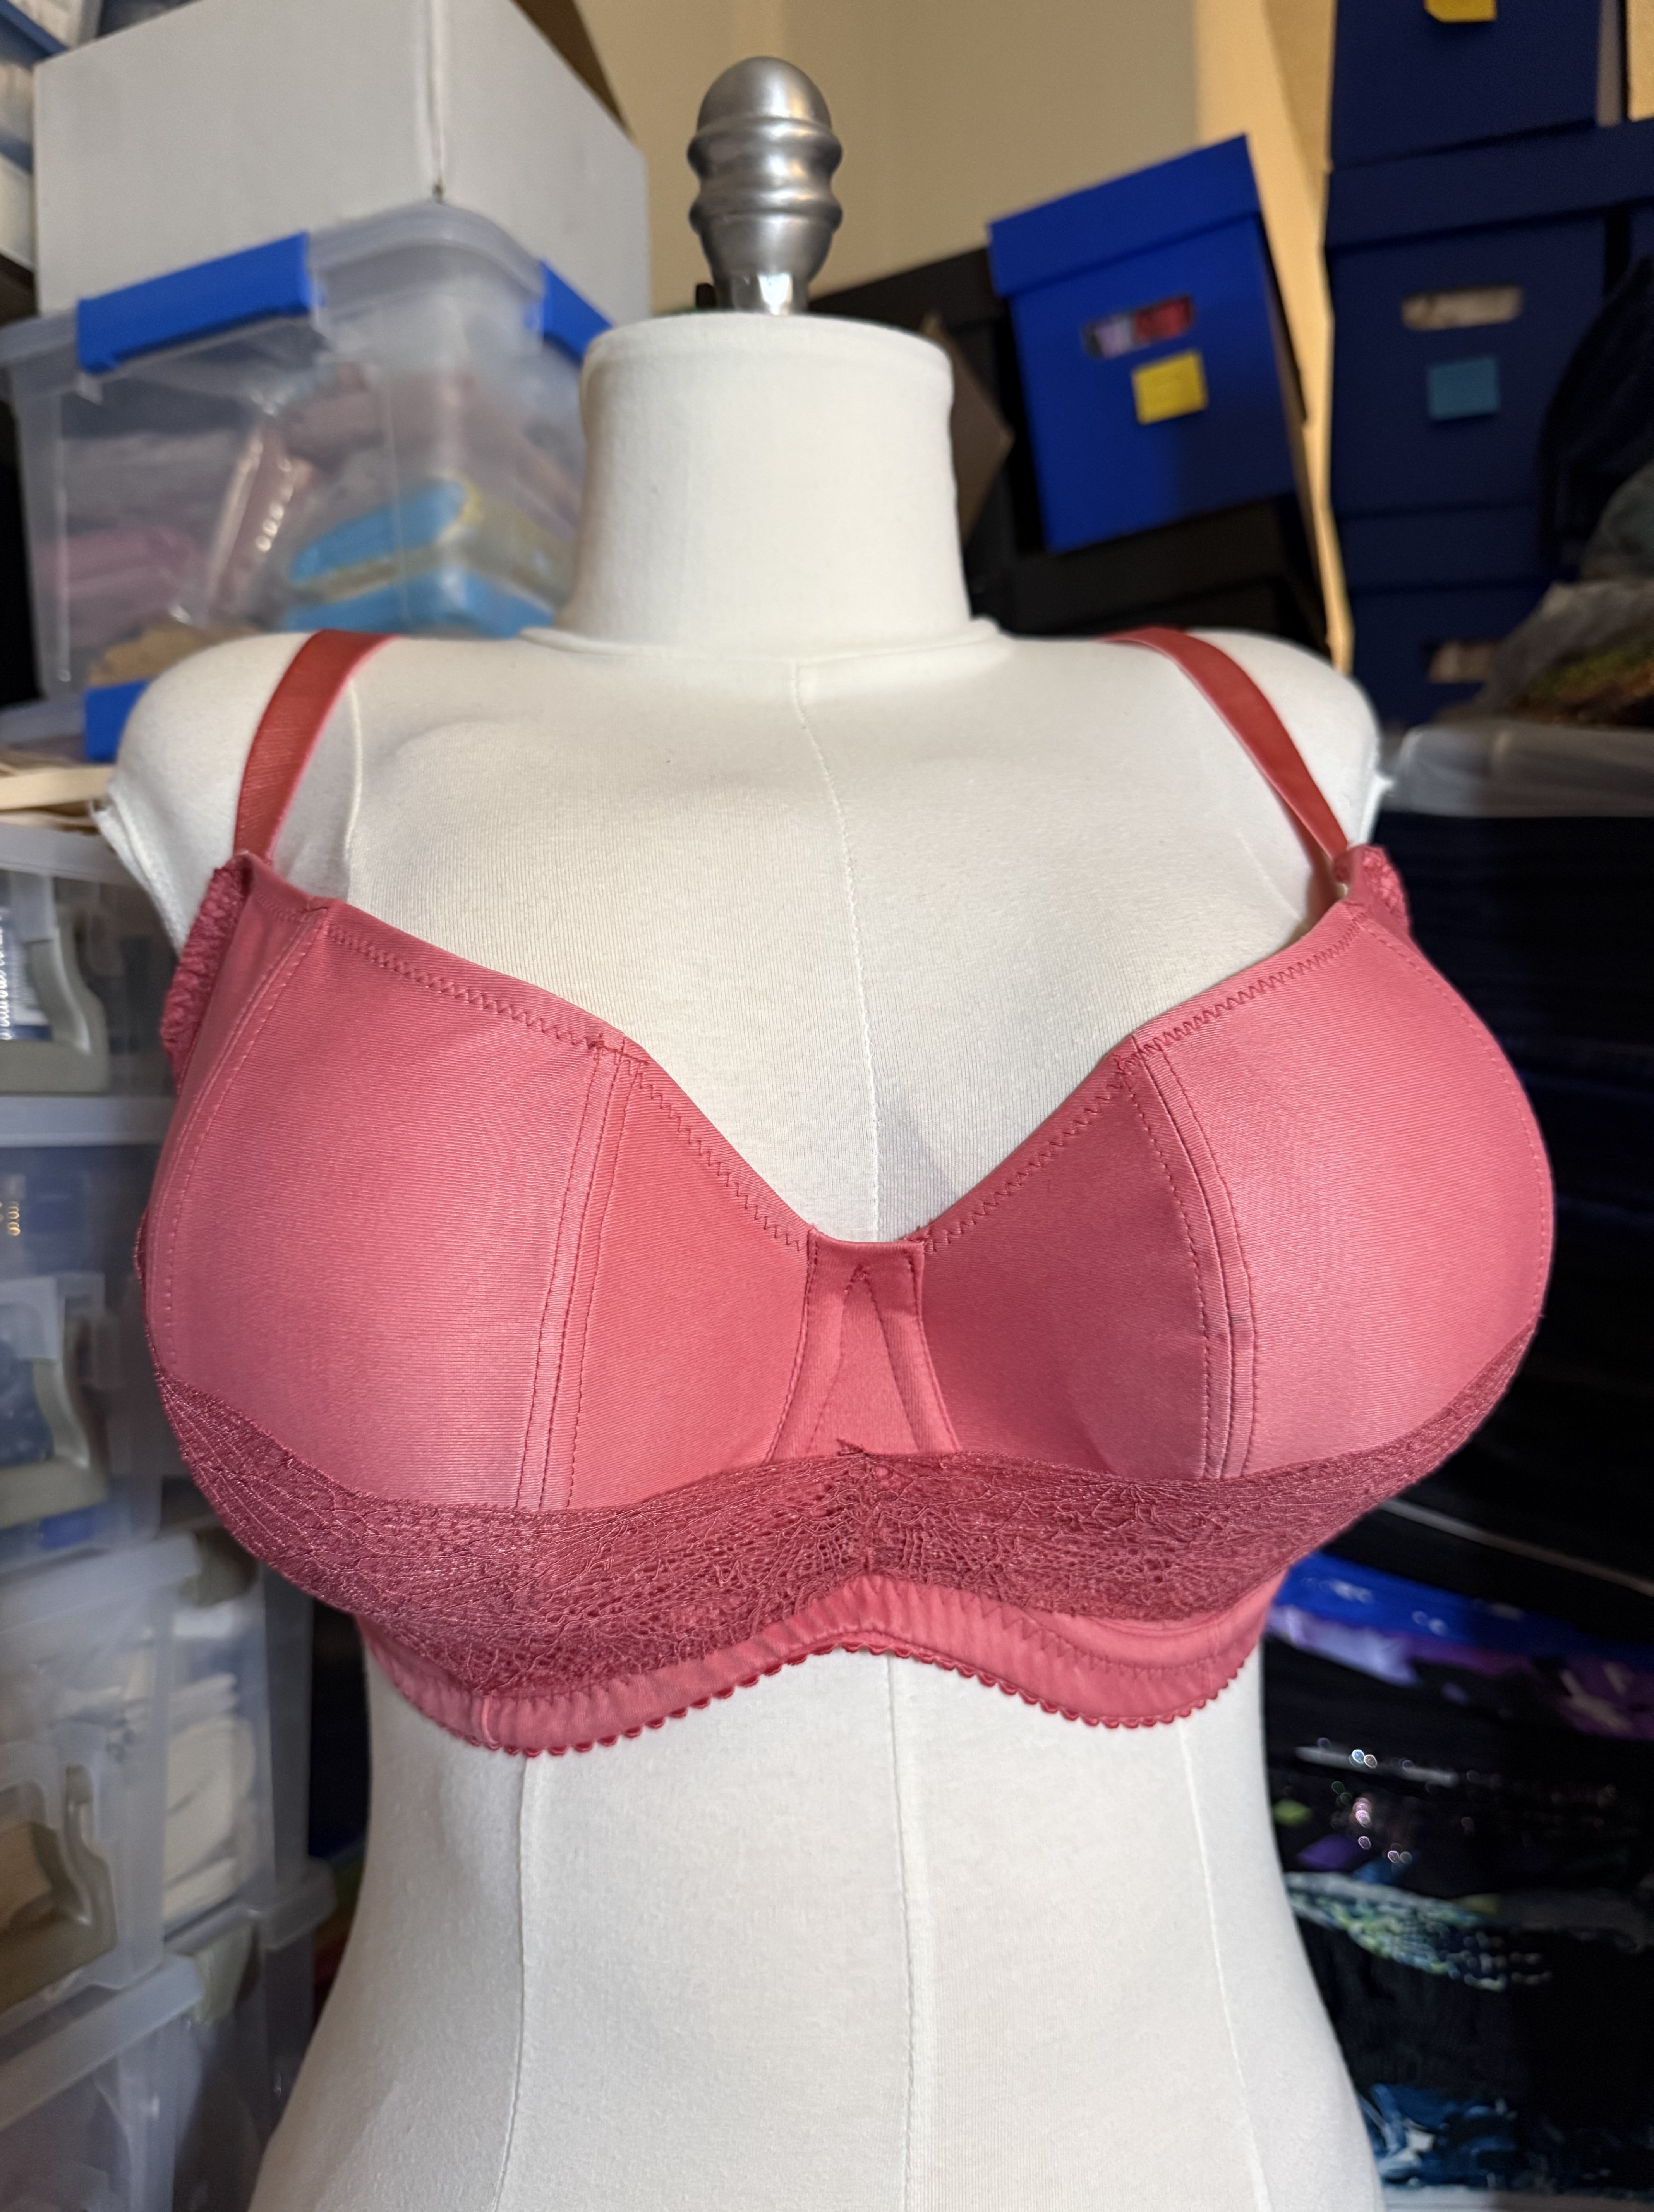
After wearing and washing, the channeling has gone much more limp, but also much less rippled. I’m not sure how much support it’s actually providing. And after wearing this bra and seeing what happened with the un-boned channeling, I think the future versions of this bra that I make are going to need to be boned, and preferably using a foam cup technique like is applied in the Marei Strapless bra pattern I made last yearI really think that because these cups are so low and open, they need the added structure for the support and to keep a smooth shape. That being said, even this version of the bra gave quite a bit of lift and created a really round shape, so those are both wins in my book. I think what I made is really pretty, and it’s definitely wearable, but after wearing the Labellum, I think the Labellum feels more like it could become an everyday bra pattern for me, whereas the Lazulite is definitely something I would tend to pull out for special occasions.
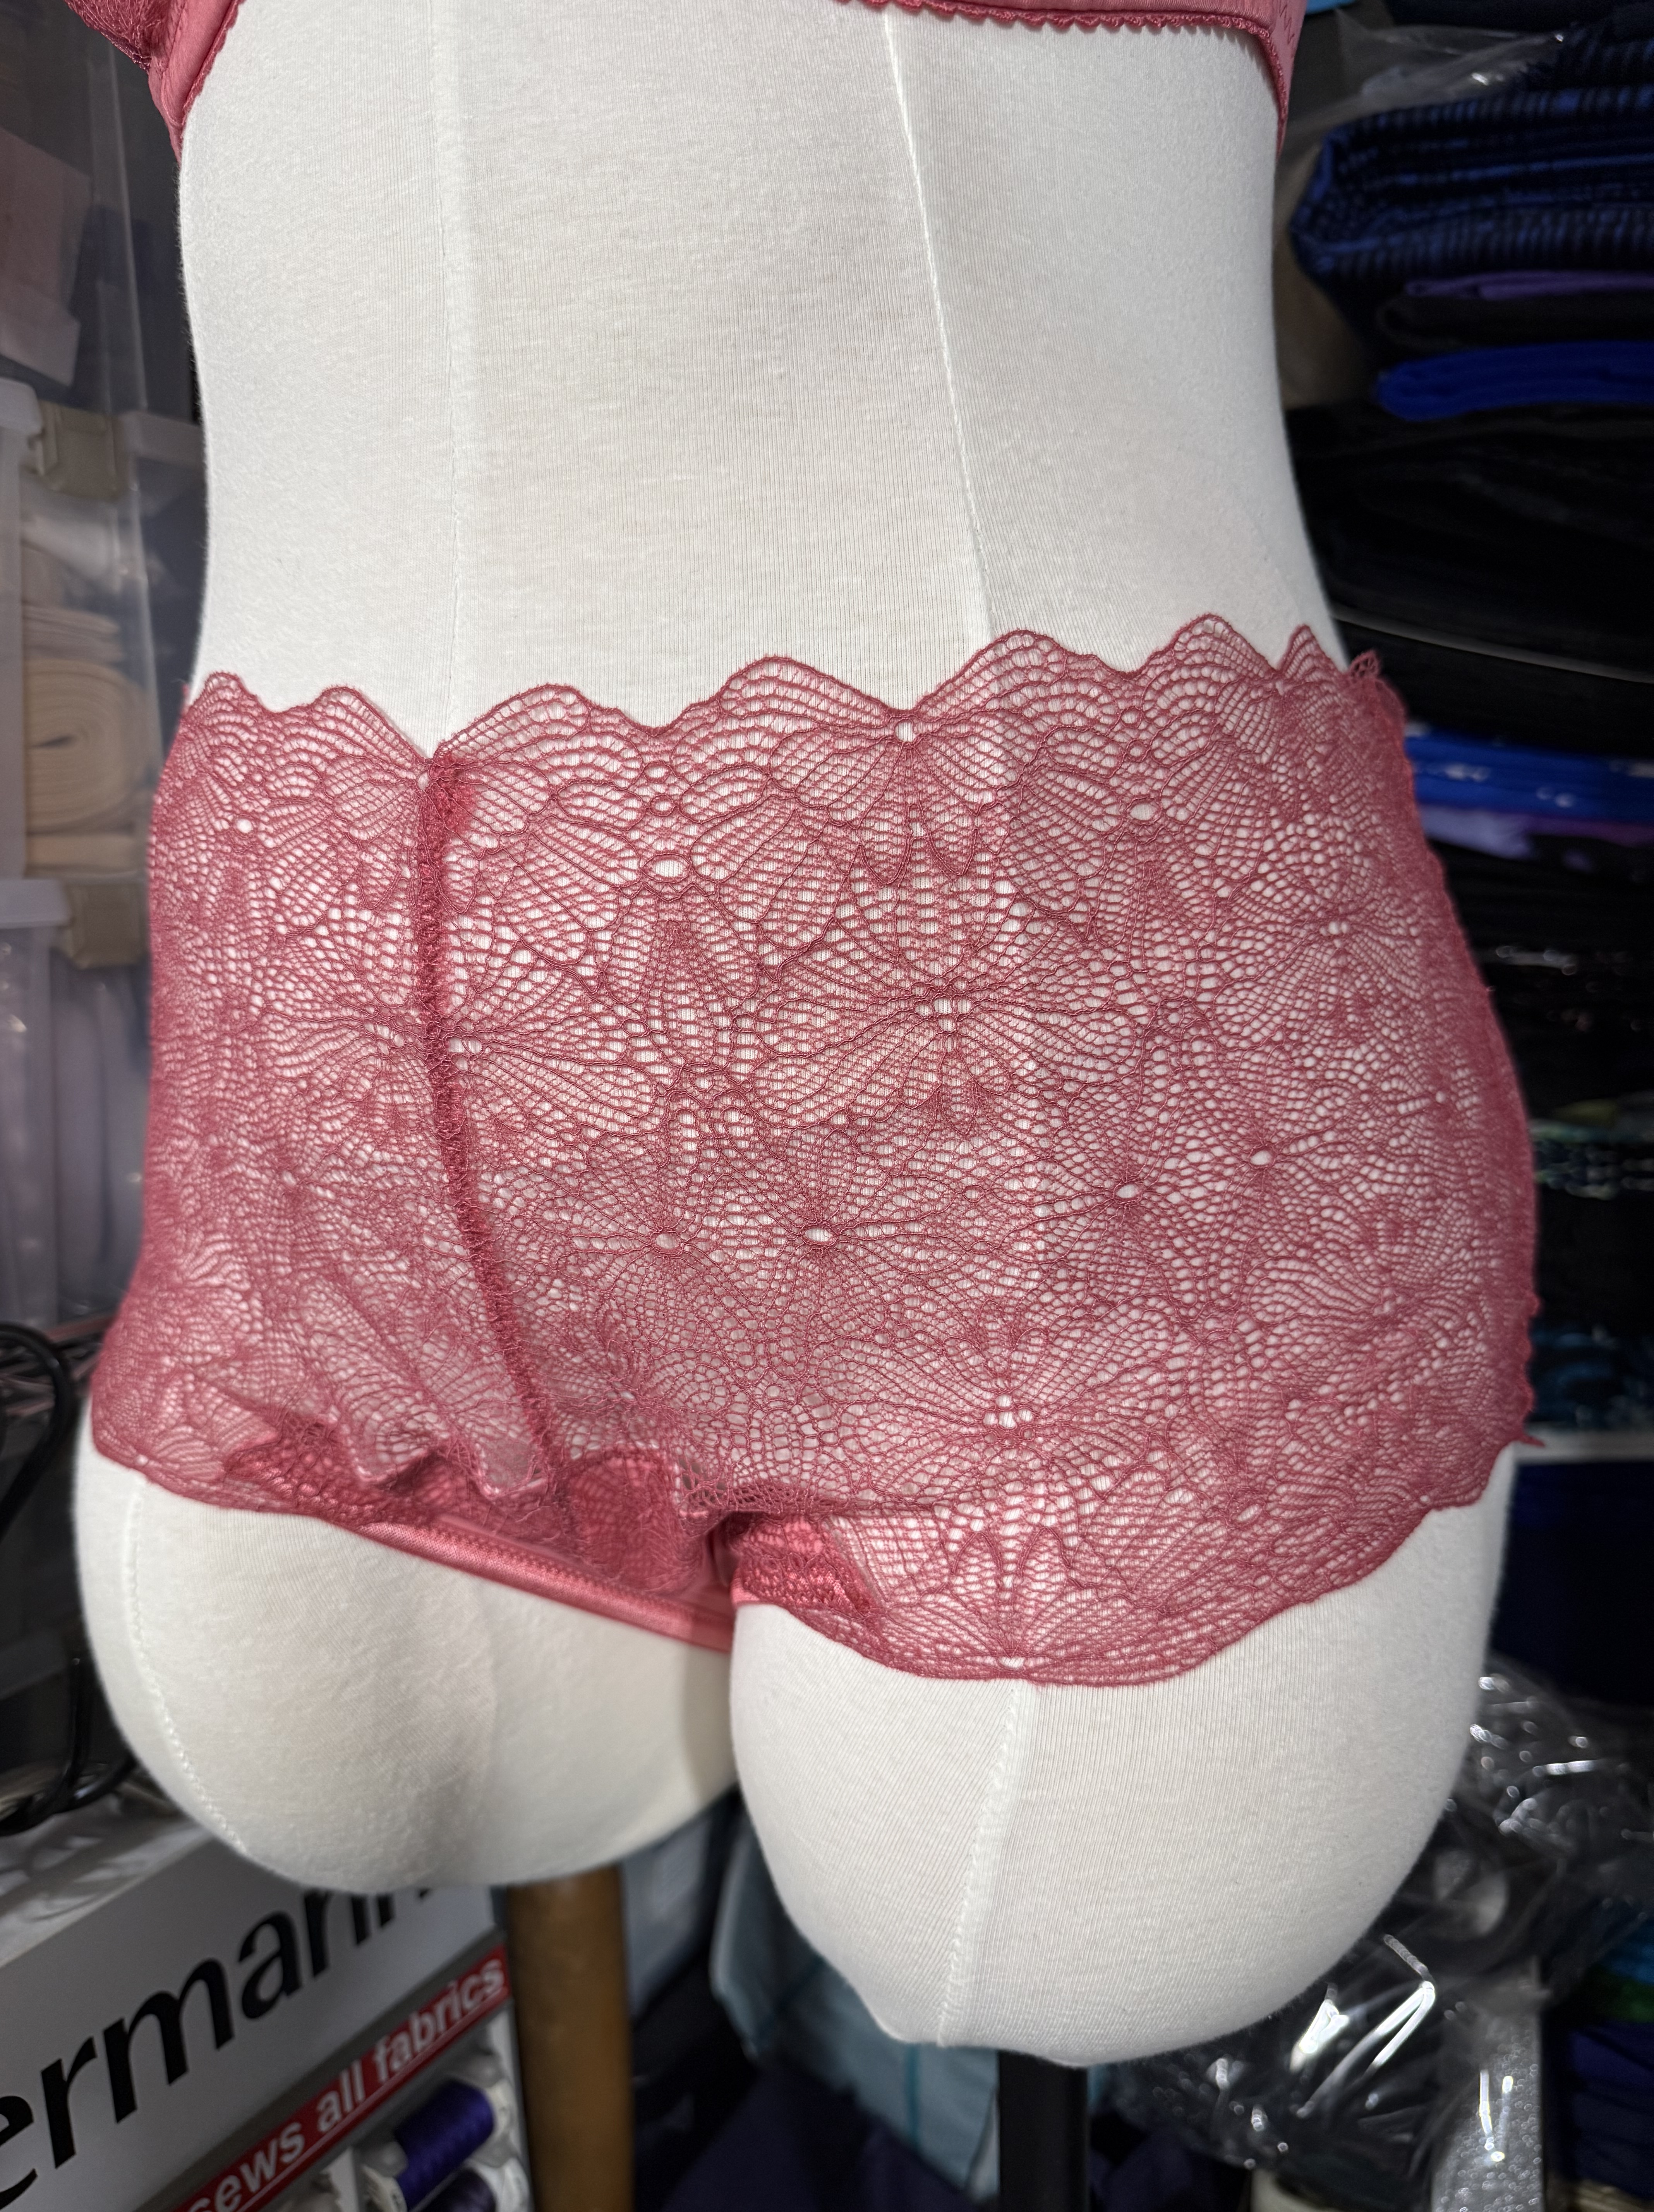
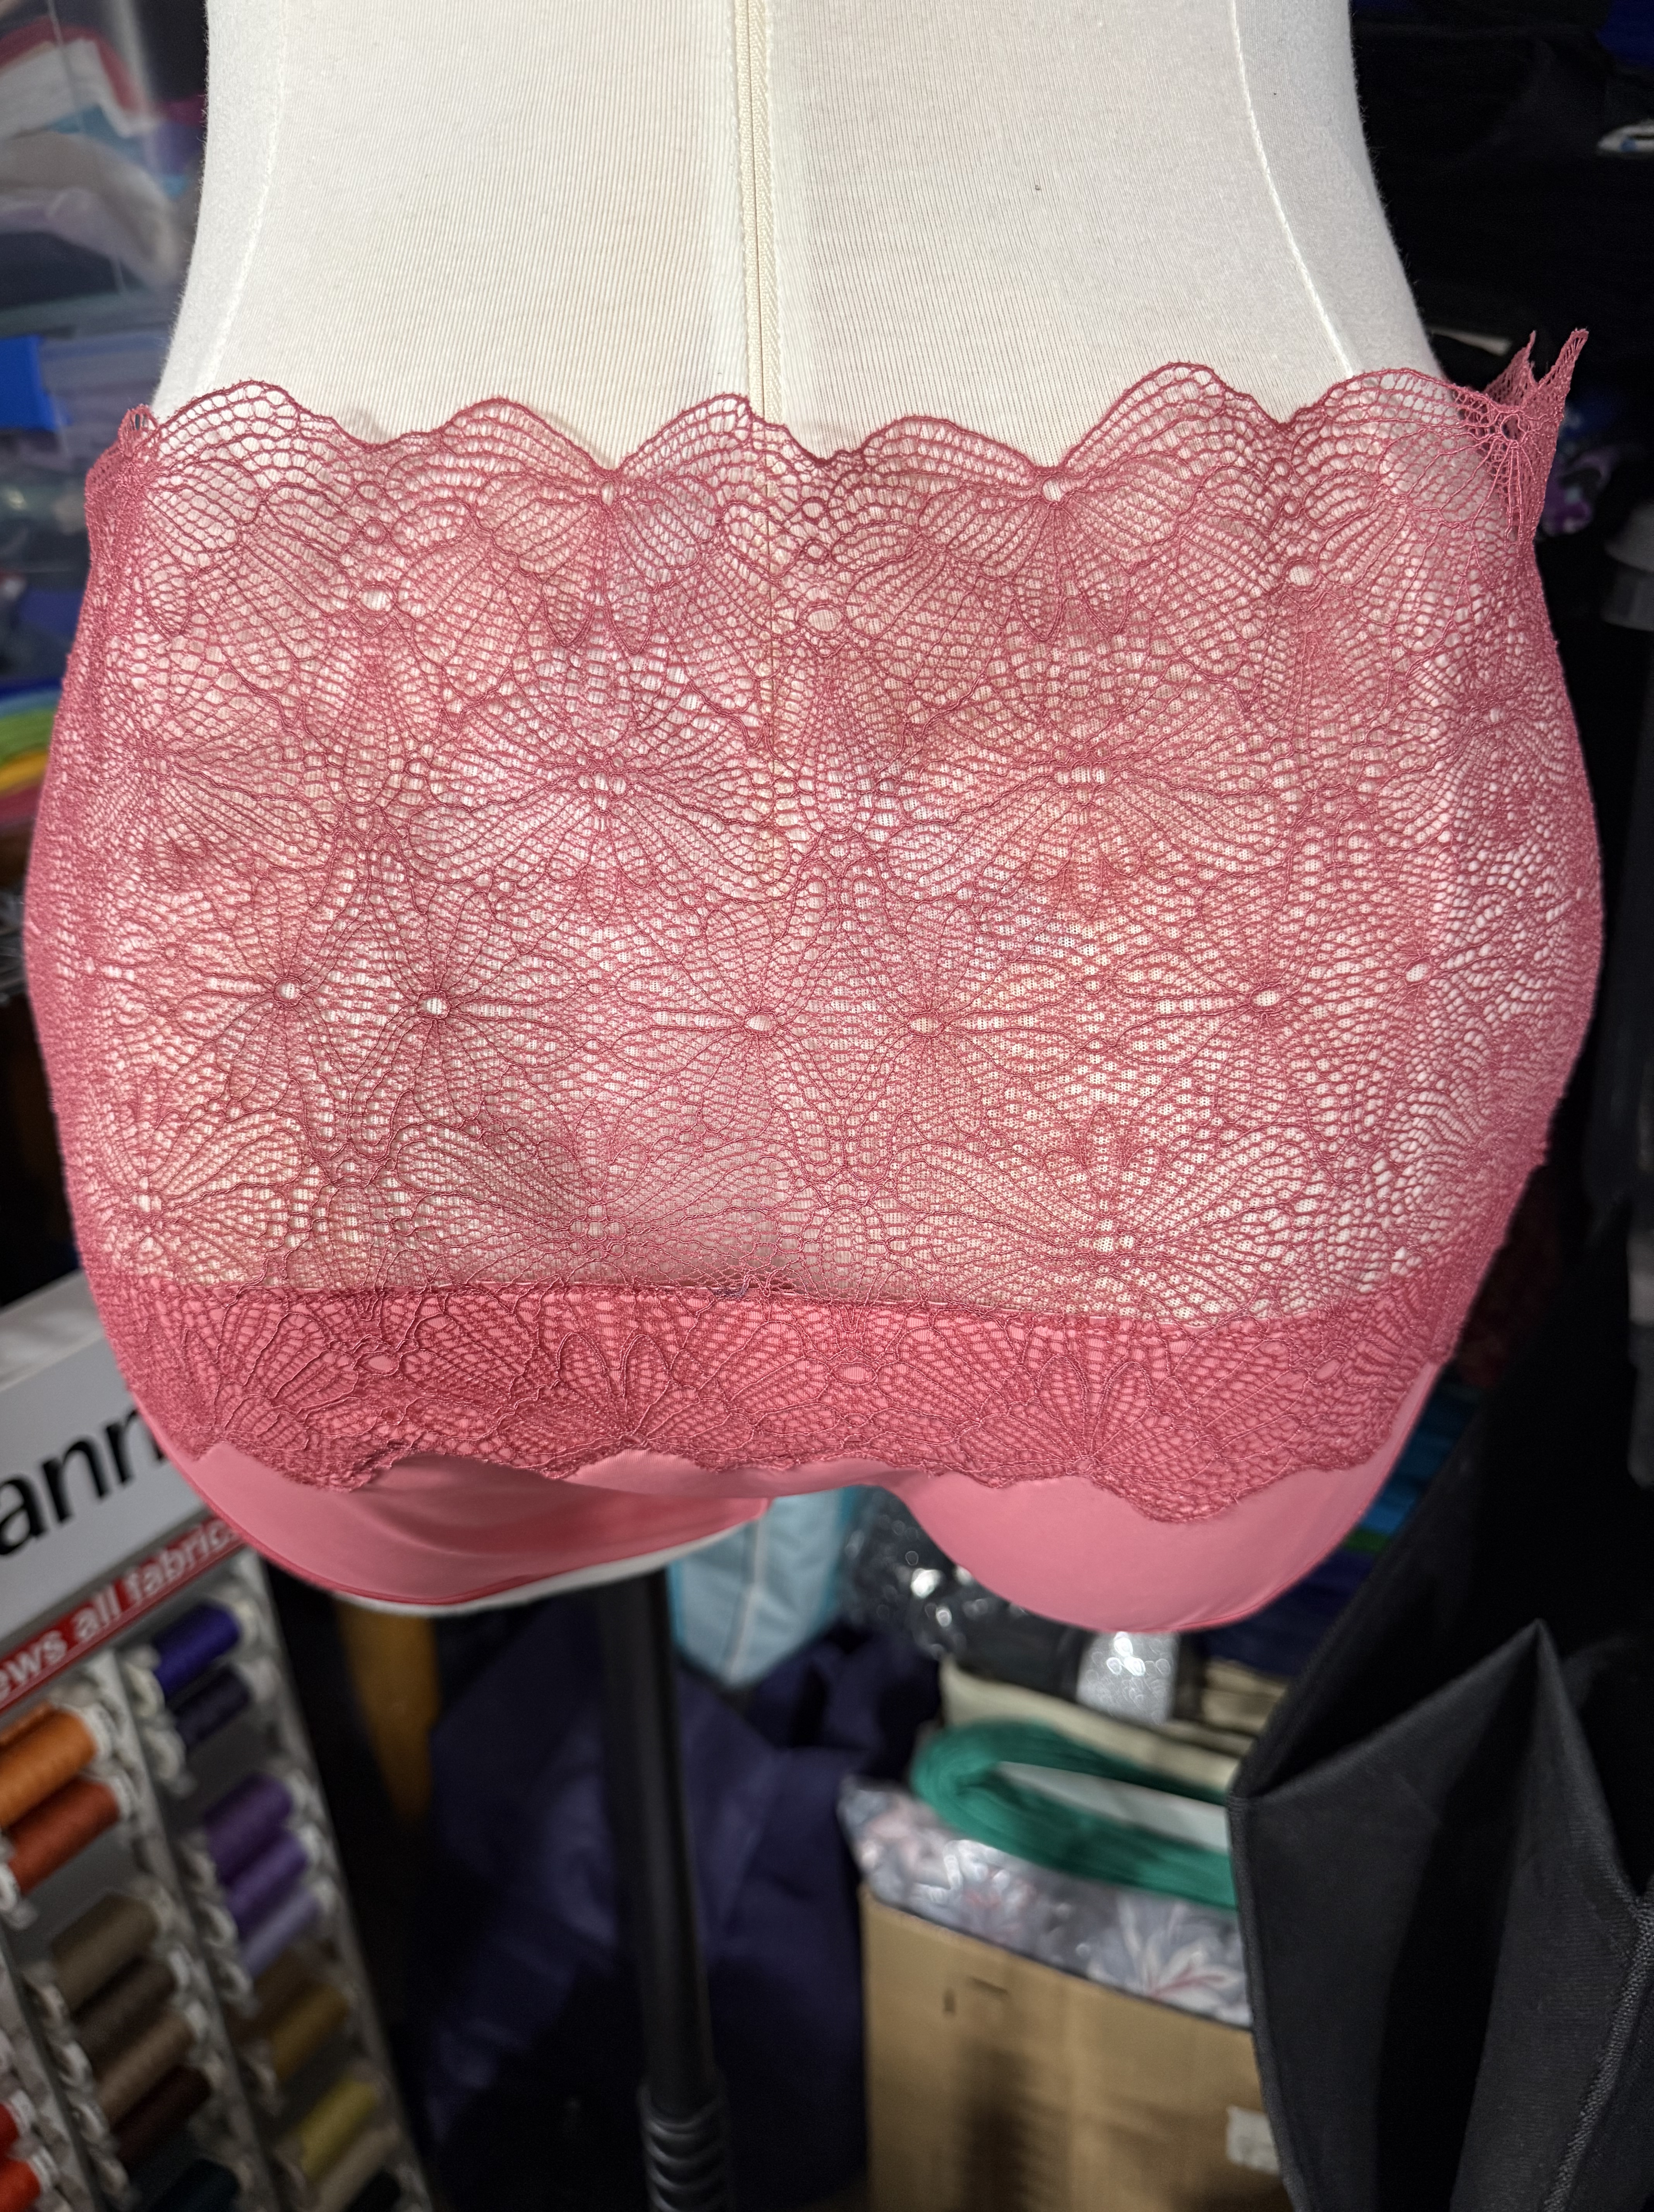
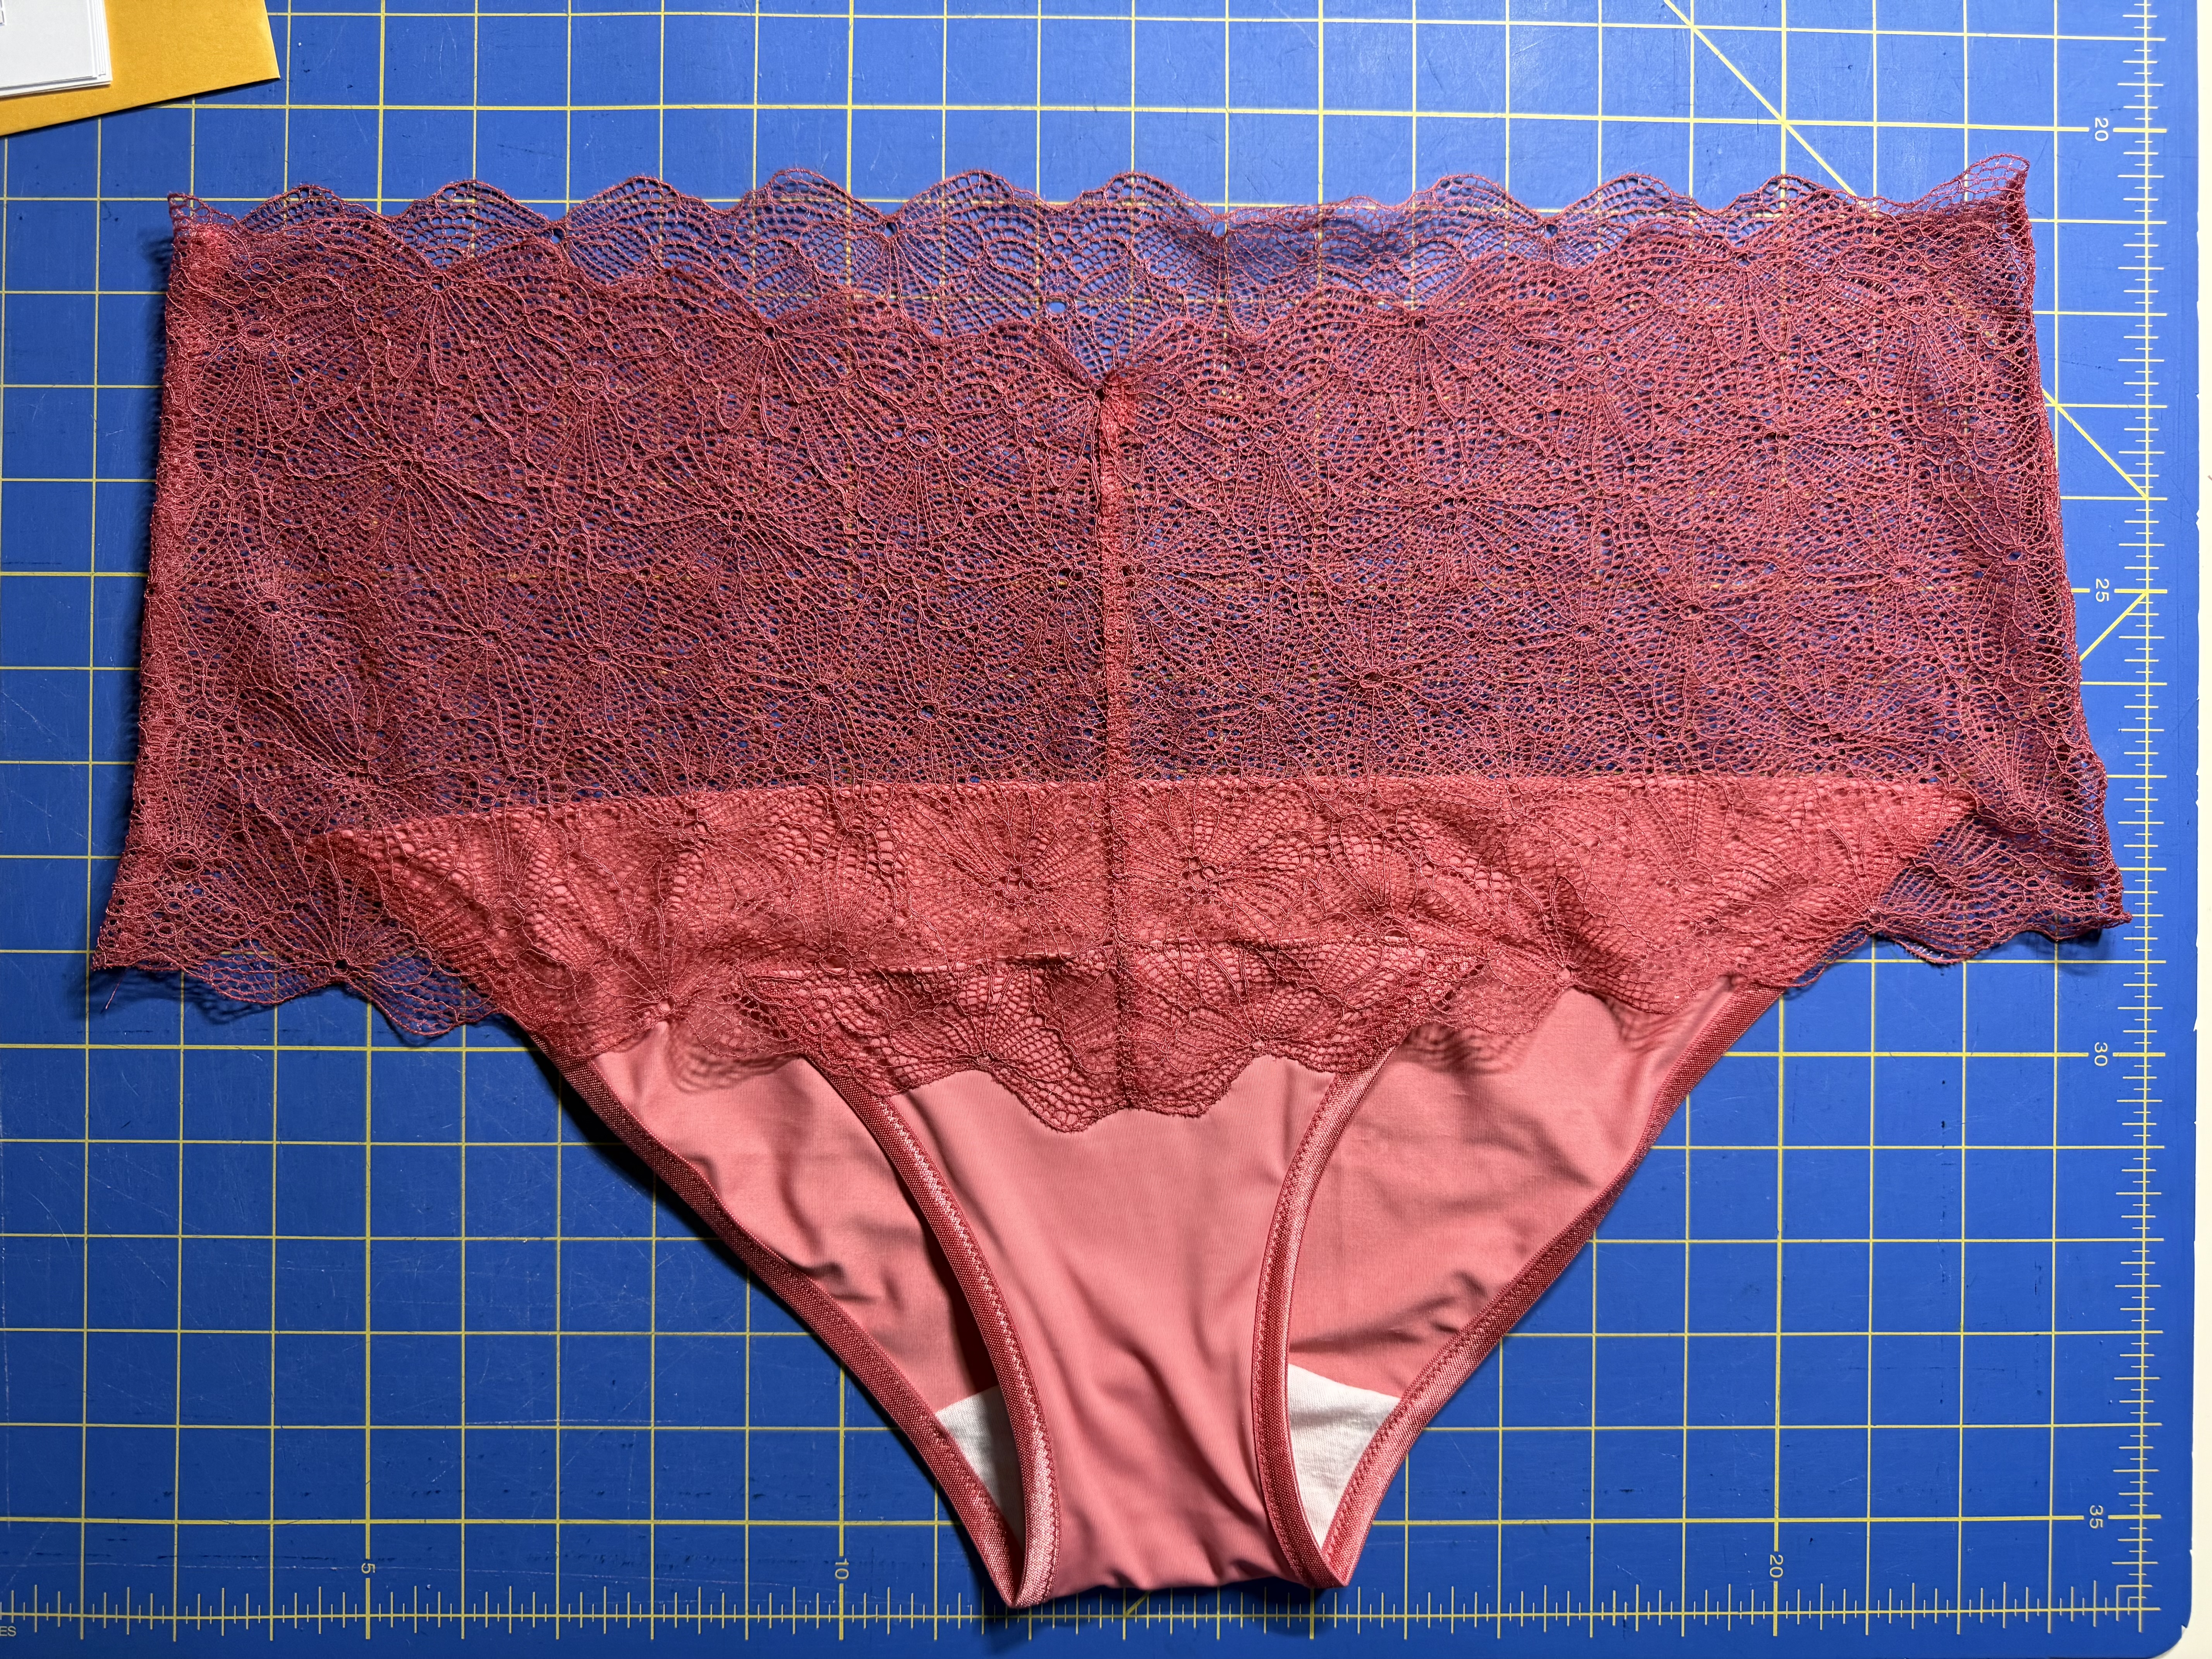
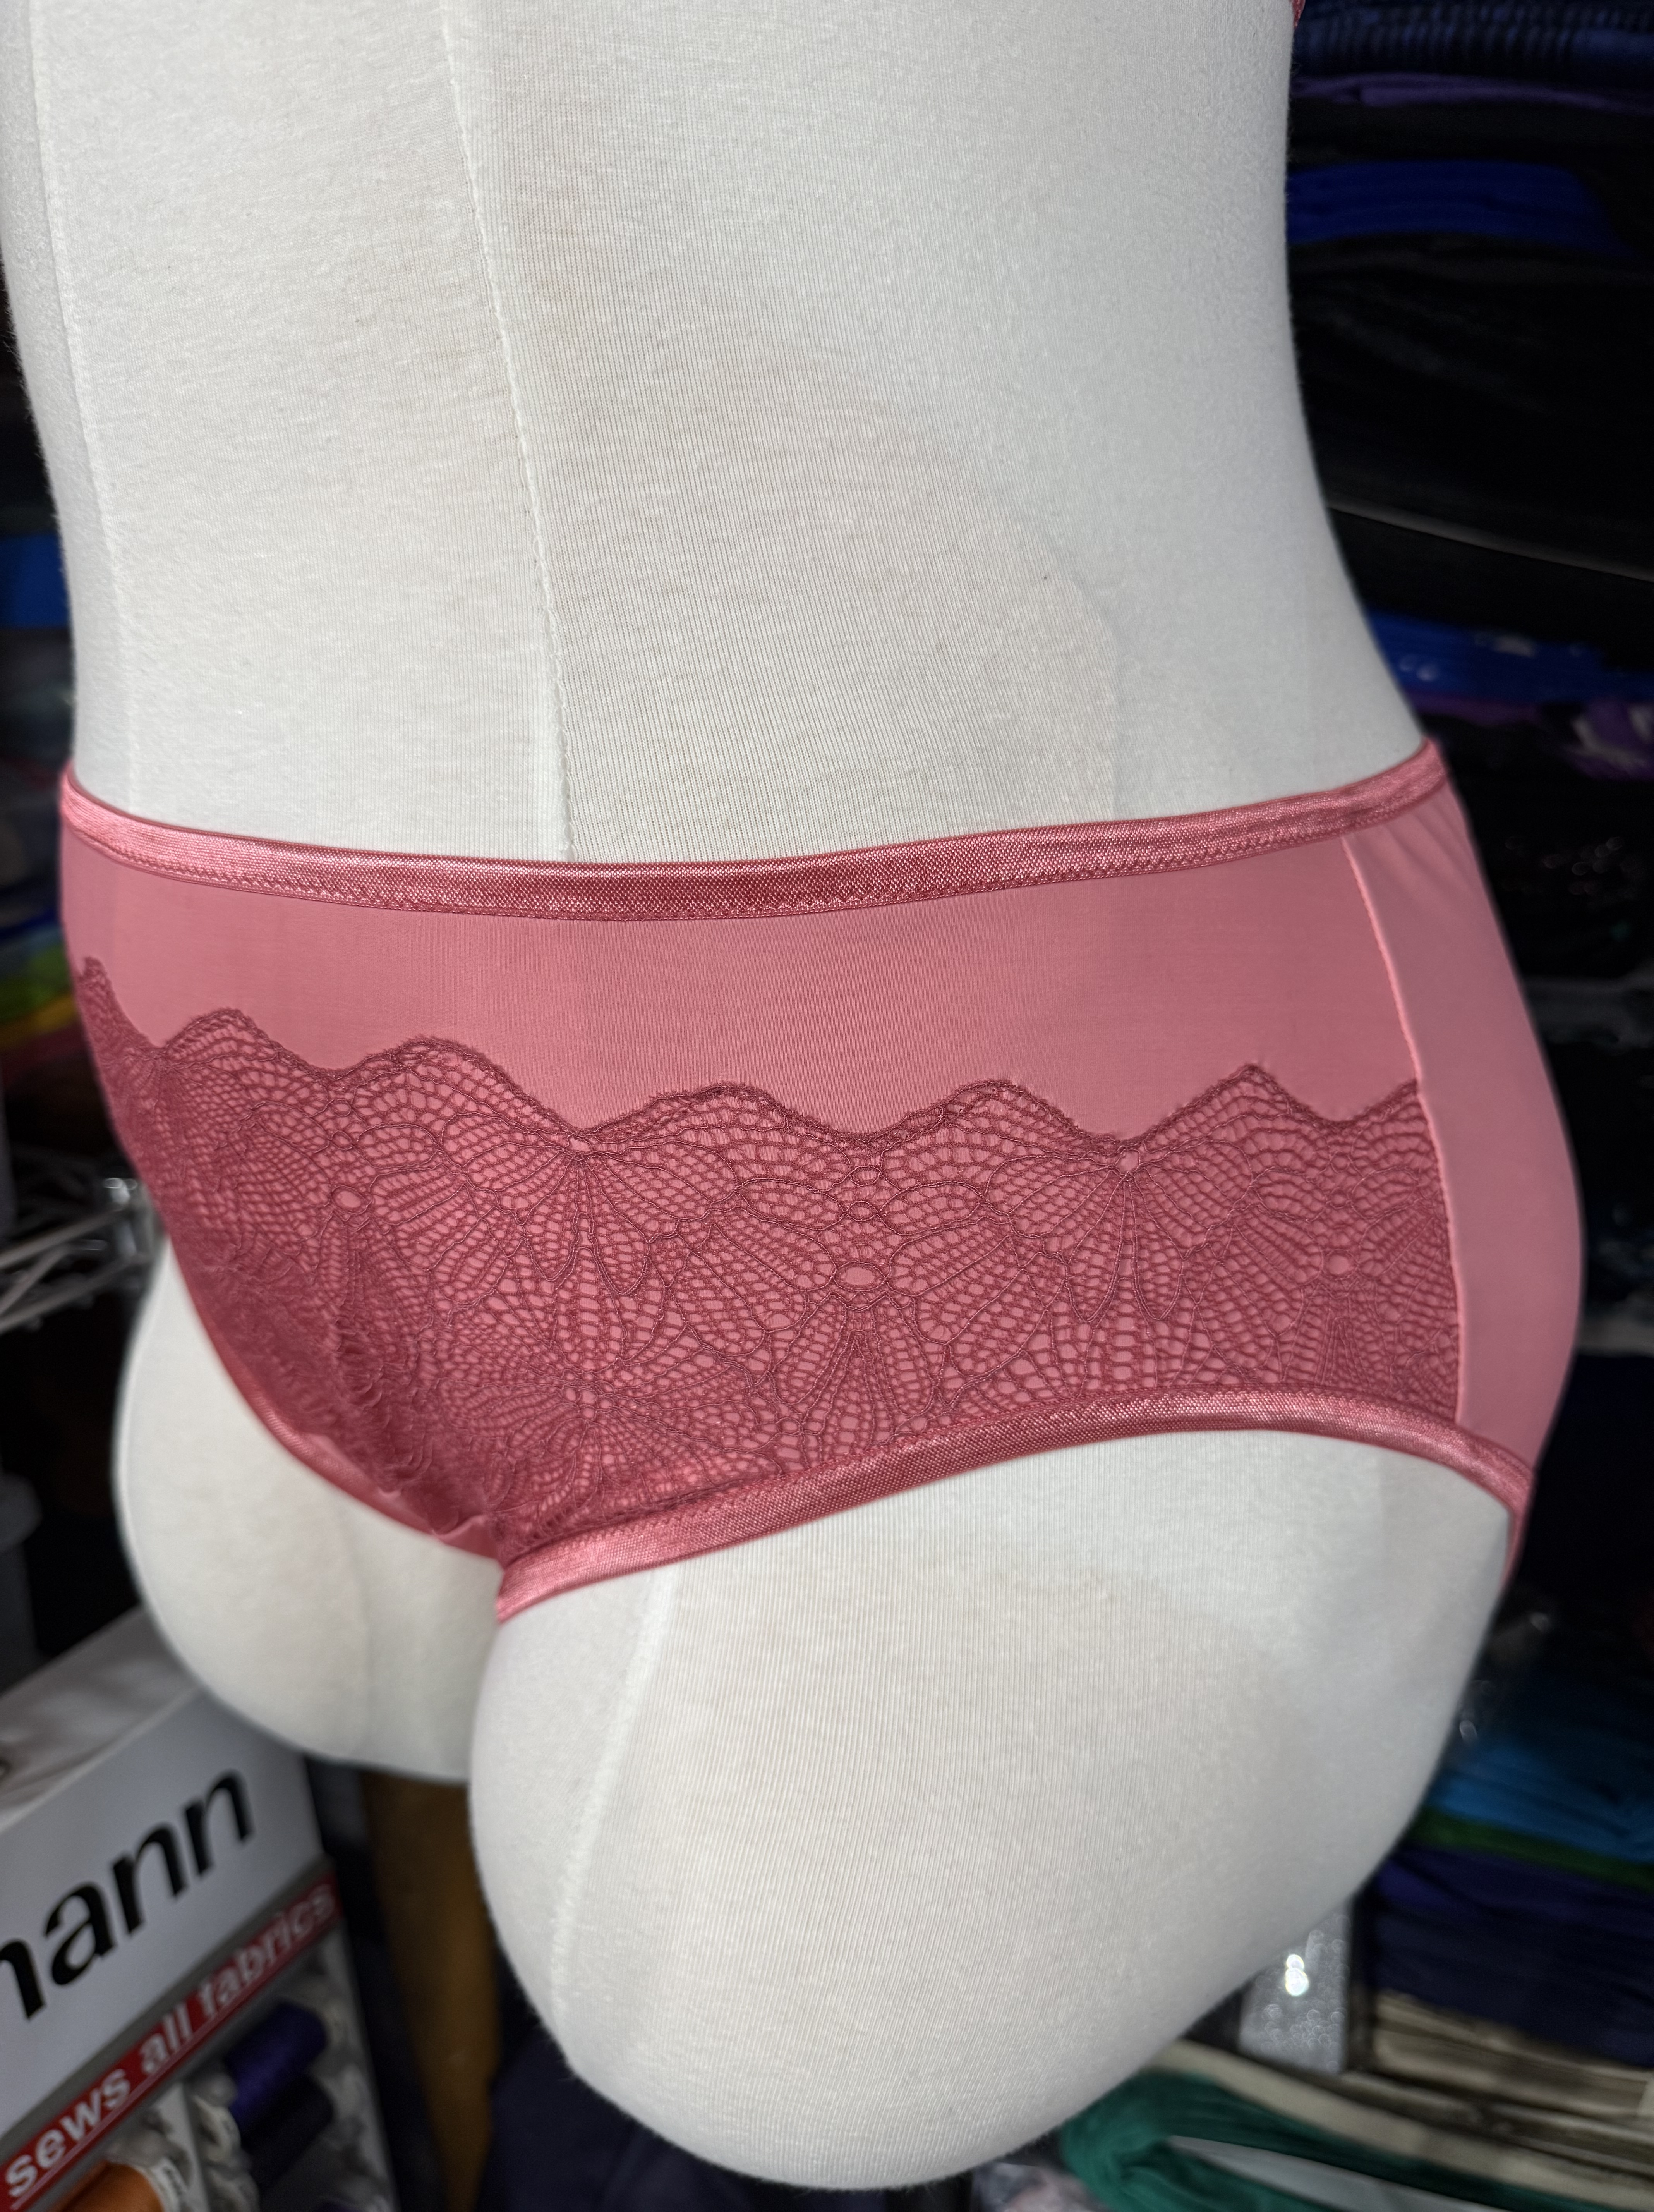
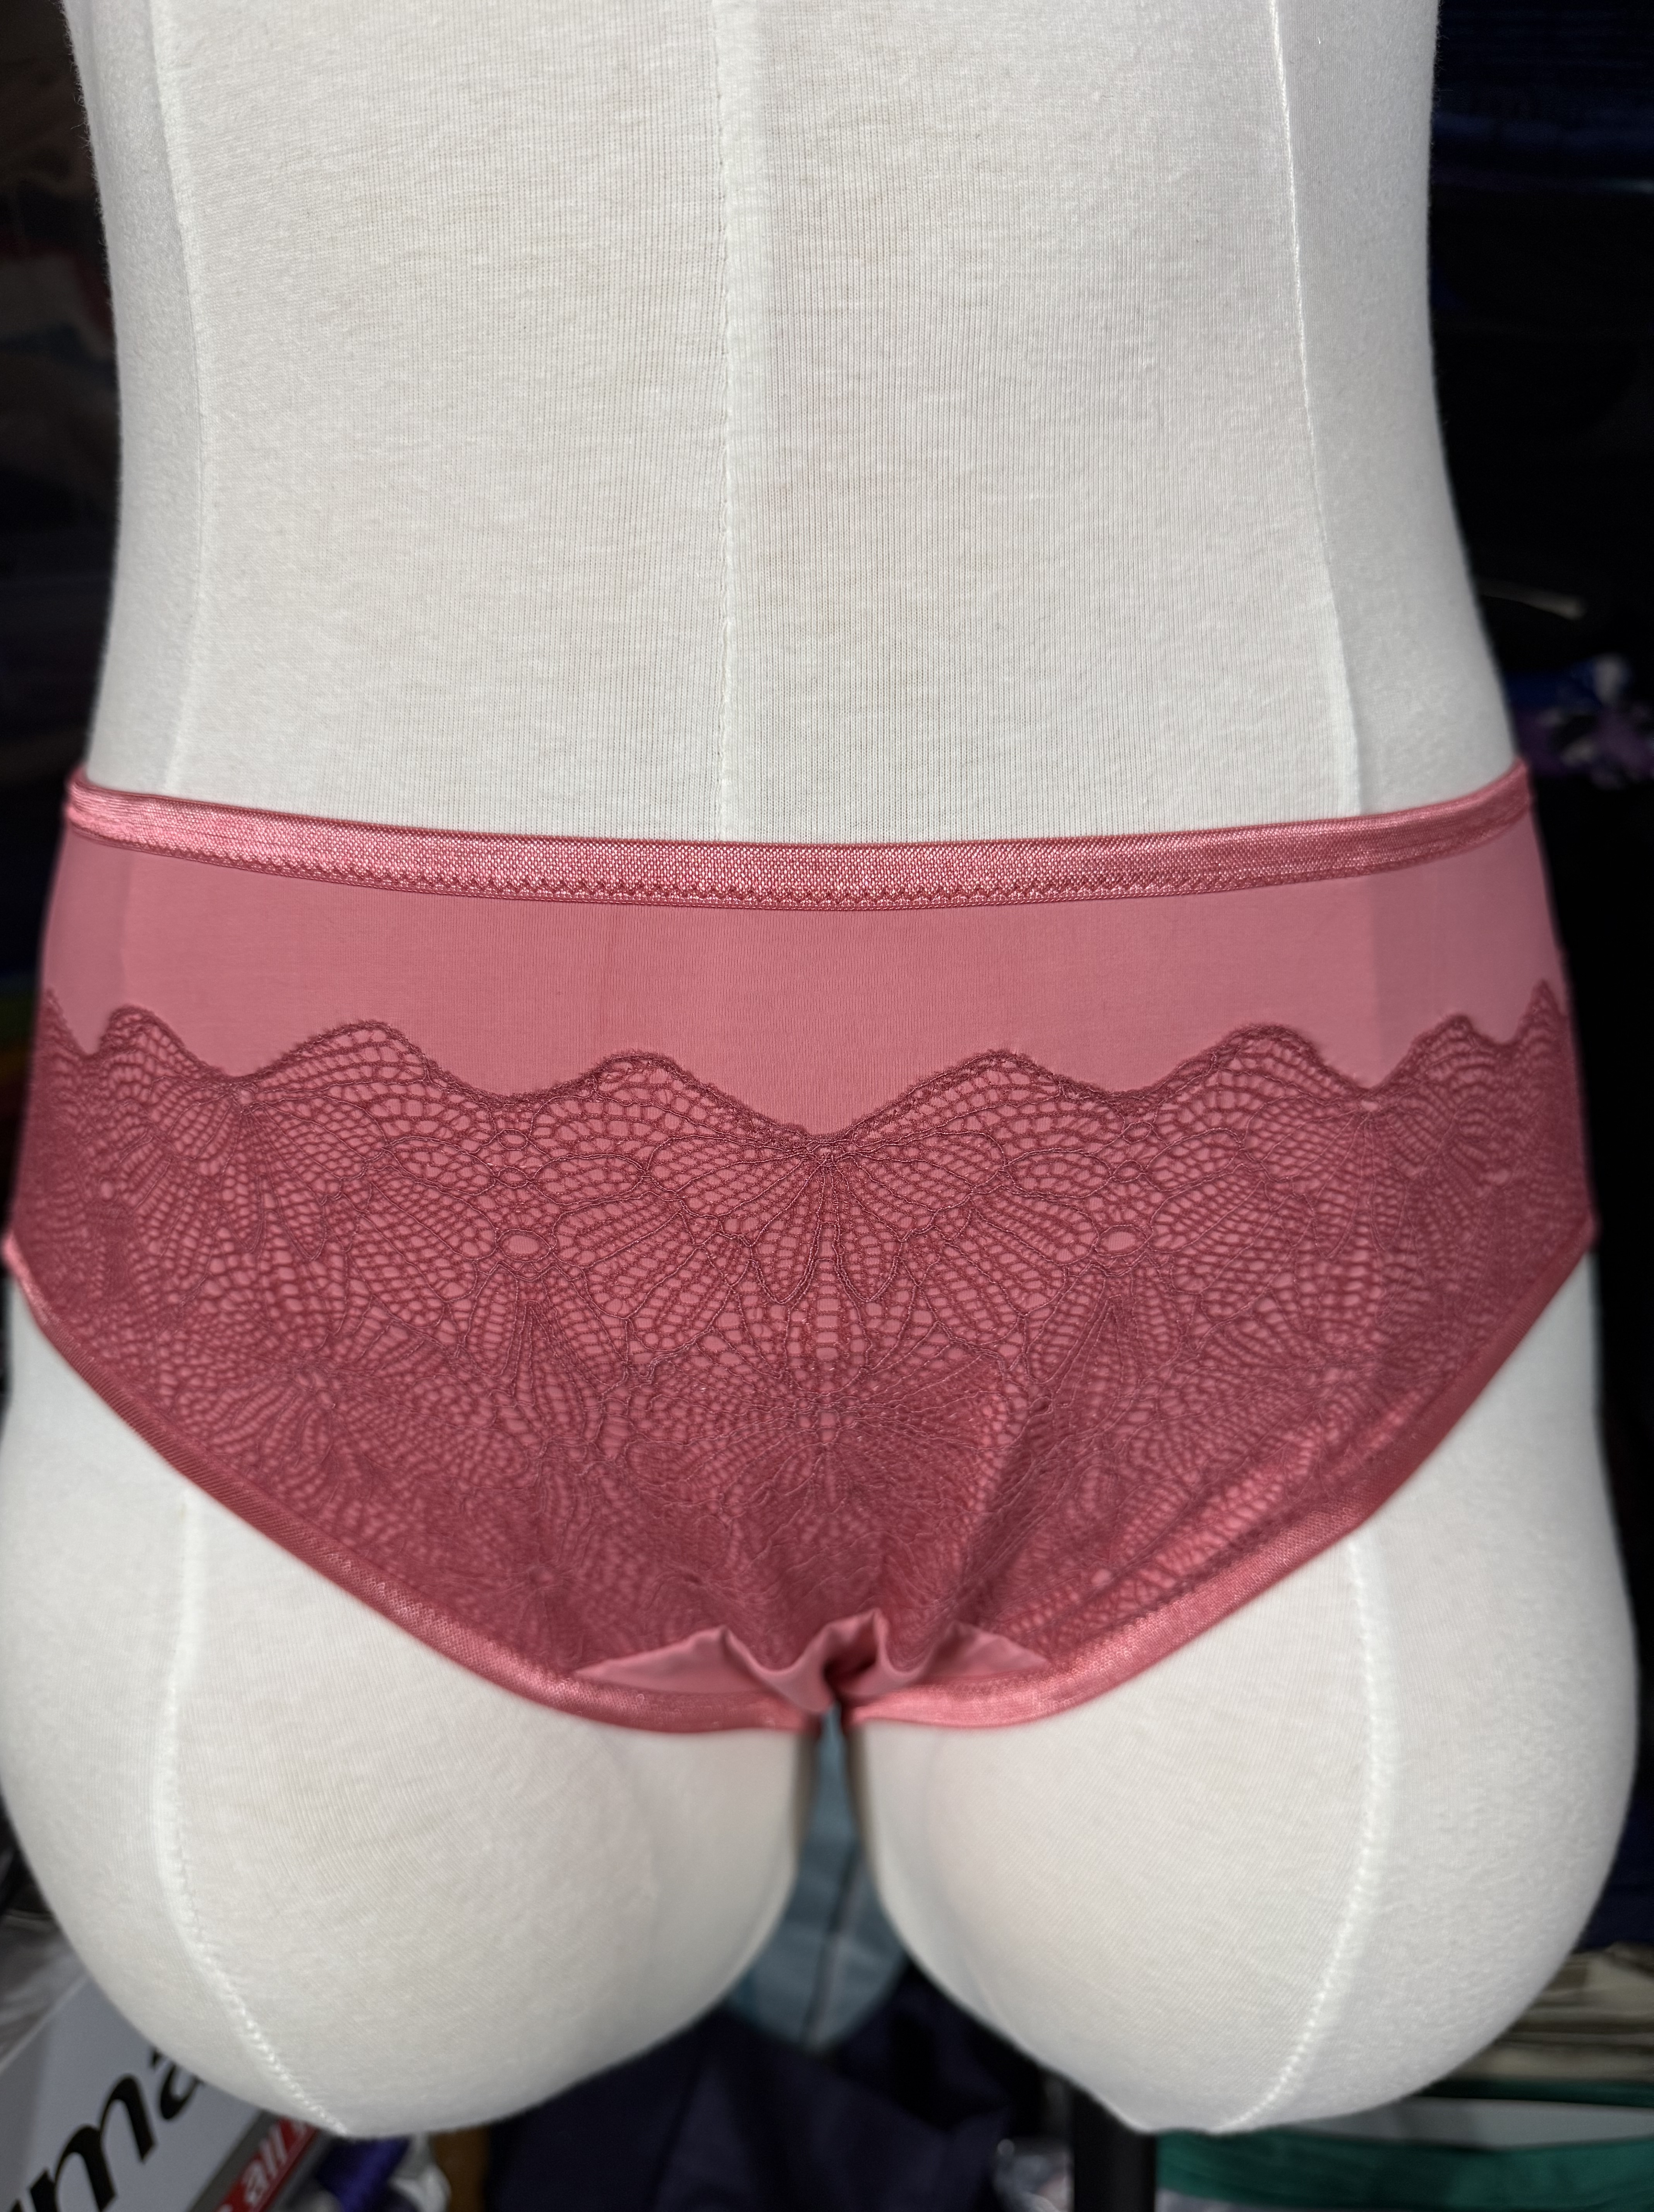
Version #2 of the Haru Knickers also has a few small things to tweak before I use the pattern again. I loved the lace with this kit from Bra Builders (now sold out I think). It’s got a really pretty butterfly pattern along the edges with flowers in the middle, and it’s a stretch guipure style lace. The colors are stunning, and I really wanted to keep as much intact as I could. Although this lace was wider than the Haru pattern piece, it wasn’t as wide as the material I used for the first version, and it had a stretch edge, so I decided to just have the waistband panel expand down the leg a bit lower. It gives more of a boyshort effect, which I like, but since I didn’t have the elastic around the waistband, I do think the back panel needs to be taken in a bit more at the waist before the fit is completely perfect. It’s more pronounced on the dressform than on me, but it’s still a bit big. But even without that adjustment, these are definitely wearable and really pretty.
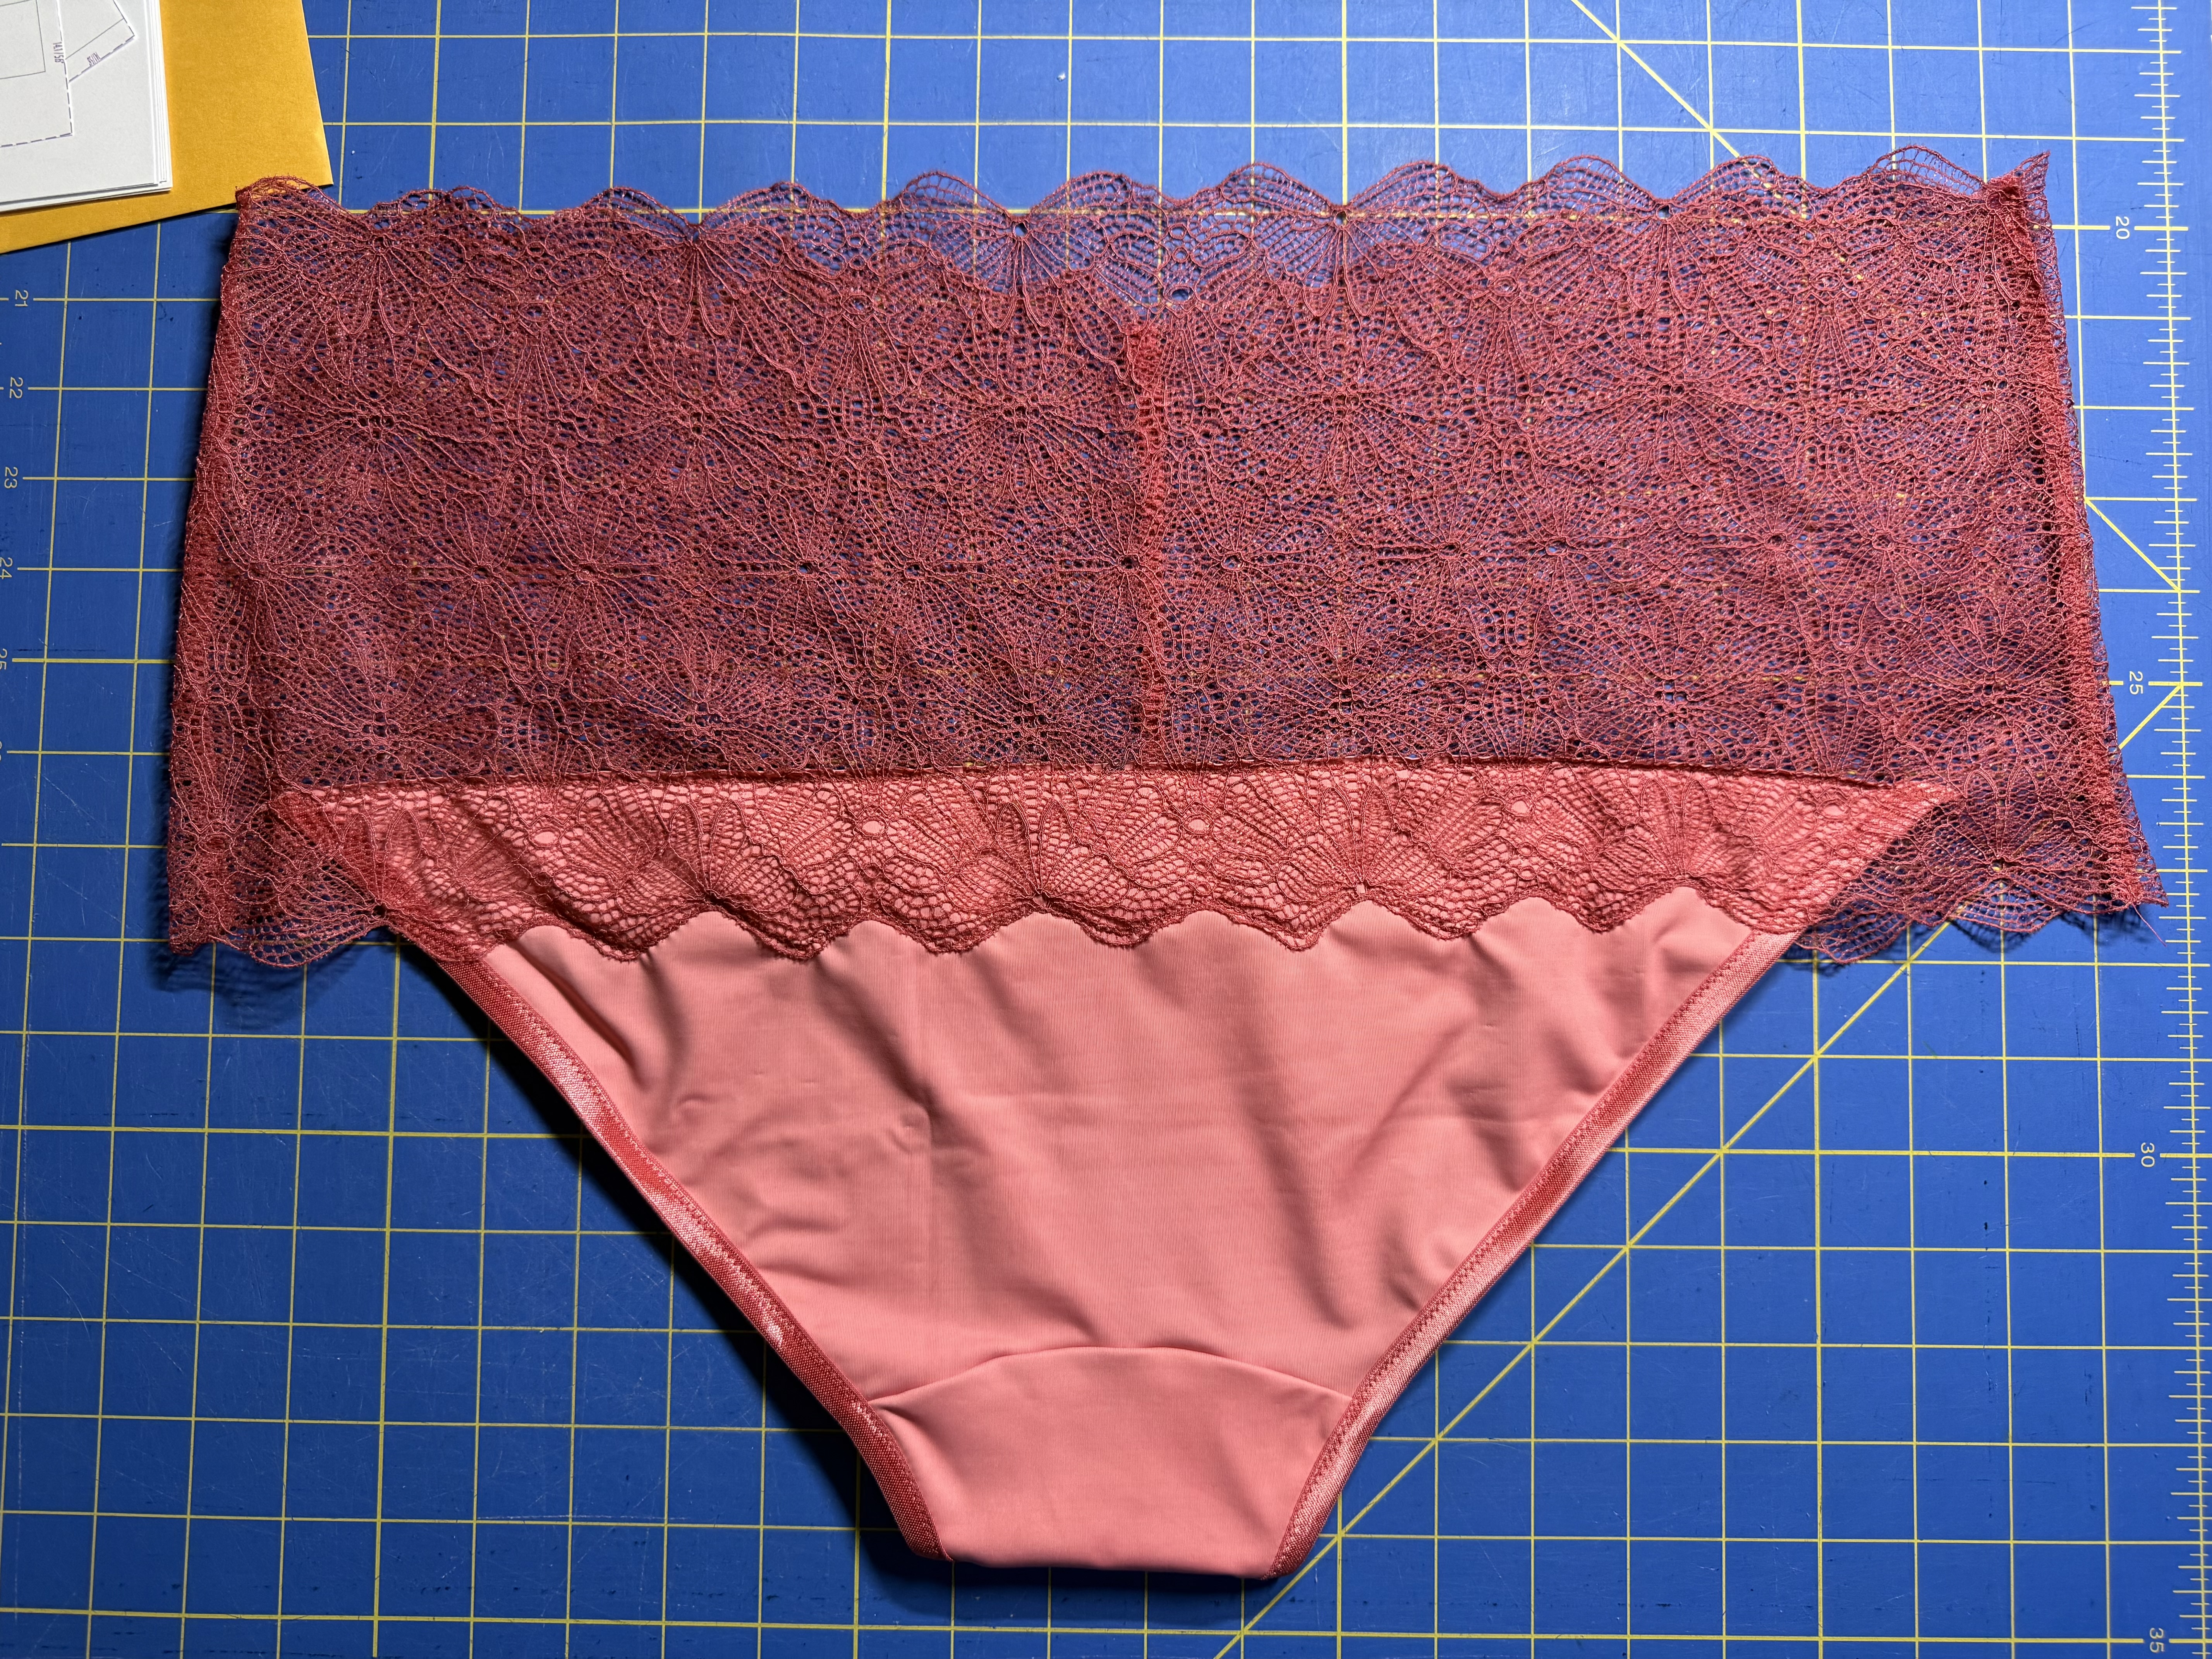
And, finally the Kisa Kinckers. Honestly, these are great and I really like them. I used one of the variation images from the pattern as inspiration, because I really wanted to incorporate as much lace as possible. I really like how the scalloped edge of the lace echoes what’s happening with the bra, and I got another really clean elastic finish on the waistband, so no complaints there. The minor issues I had on my first version were fixed by adjusting the gusset seam placement and a few other tweaks, and the overlocker behaved for these projects, so no wonky seam finishes! Wins all the way around!

So overall this maybe wasn’t the most successful project, but there are aspects of it I really like, I feel like I learned a lot and got to try some new techniques, and I’m generally pretty happy with the results. At the very least, everything is super pretty!
Pattern Review
Pattern Description: A three piece vertical seam underwire bra with overlay options. From the designer: “The Lazulite Bra is a supportive, underwired bra with options! This wardrobe staple features 3 piece cup with vertical seams, in-cup boning, gathered strap, optional overlay, and lots of lift. Great for adventurous beginners and intermediate sewing skills. Ideal for Intermediate sewers but also tenacious beginners. This pattern is available in 3 size sets: A-DD, DD-GG or GG-KK.” I used the overlay and the lace feature on the back band for my version.
Pattern Sizing: LilyPADesigns uses a combination of bottom cup depth (BCD), horizontal hemisphere (HH), and underbust band sizing in their patterns. The Lazulite comes in 3 size ranges: A-DD, DD-GG, and GG-KK. All size ranges have 26-52 band sizing, with A-DD 2.9”-6.2” BCD and 7.2-13.8 HH, DD-GG is 4.0-8.4 BCD and 9.0-16.8 HH, and GG-KK 5.6-9.1 BCD and 12.4-20.7 HH. I started with the DD-GG pattern sizes and used a 36 band with the size 5.6 BCD for the cups.
Were the instructions easy to follow? In general I think the instructions are really good, though I did find a few errors while I was sewing the pattern. The instructions always have great diagrams and are also great in terms of learning how to choose a starting size and how to measure for a bra. I also appreciate the instructions for the optional features like the internal sling and cup boning. However, I did notice that a few of the instructions (such as for when to attach the swag piece to the center front) showed up multiple times throughout the instructions. There was also an error at the bottom of page 20 when you attach the elastic to the back edge of the wing. The instructions tell you to attach the elastic with the right side of the bra face up (this is the typical construction method), but you should actually have the bra wrong side up for the application because the elastic needs to be applied behind the lace and not on top of it. It’s pretty simple to figure out, but could be confusing for someone who doesn’t have a ton of experience.
Did it look like the photo/drawing when you were done with it? Yes, it looked a lot like the line drawing! I did make a style choice based on the materials in my kit to make the swag out of lace and leave the cups plain. I think in the future I would follow the suggested design and make the cups out of lace, but it was fun to try this style technique with the lace for this version.
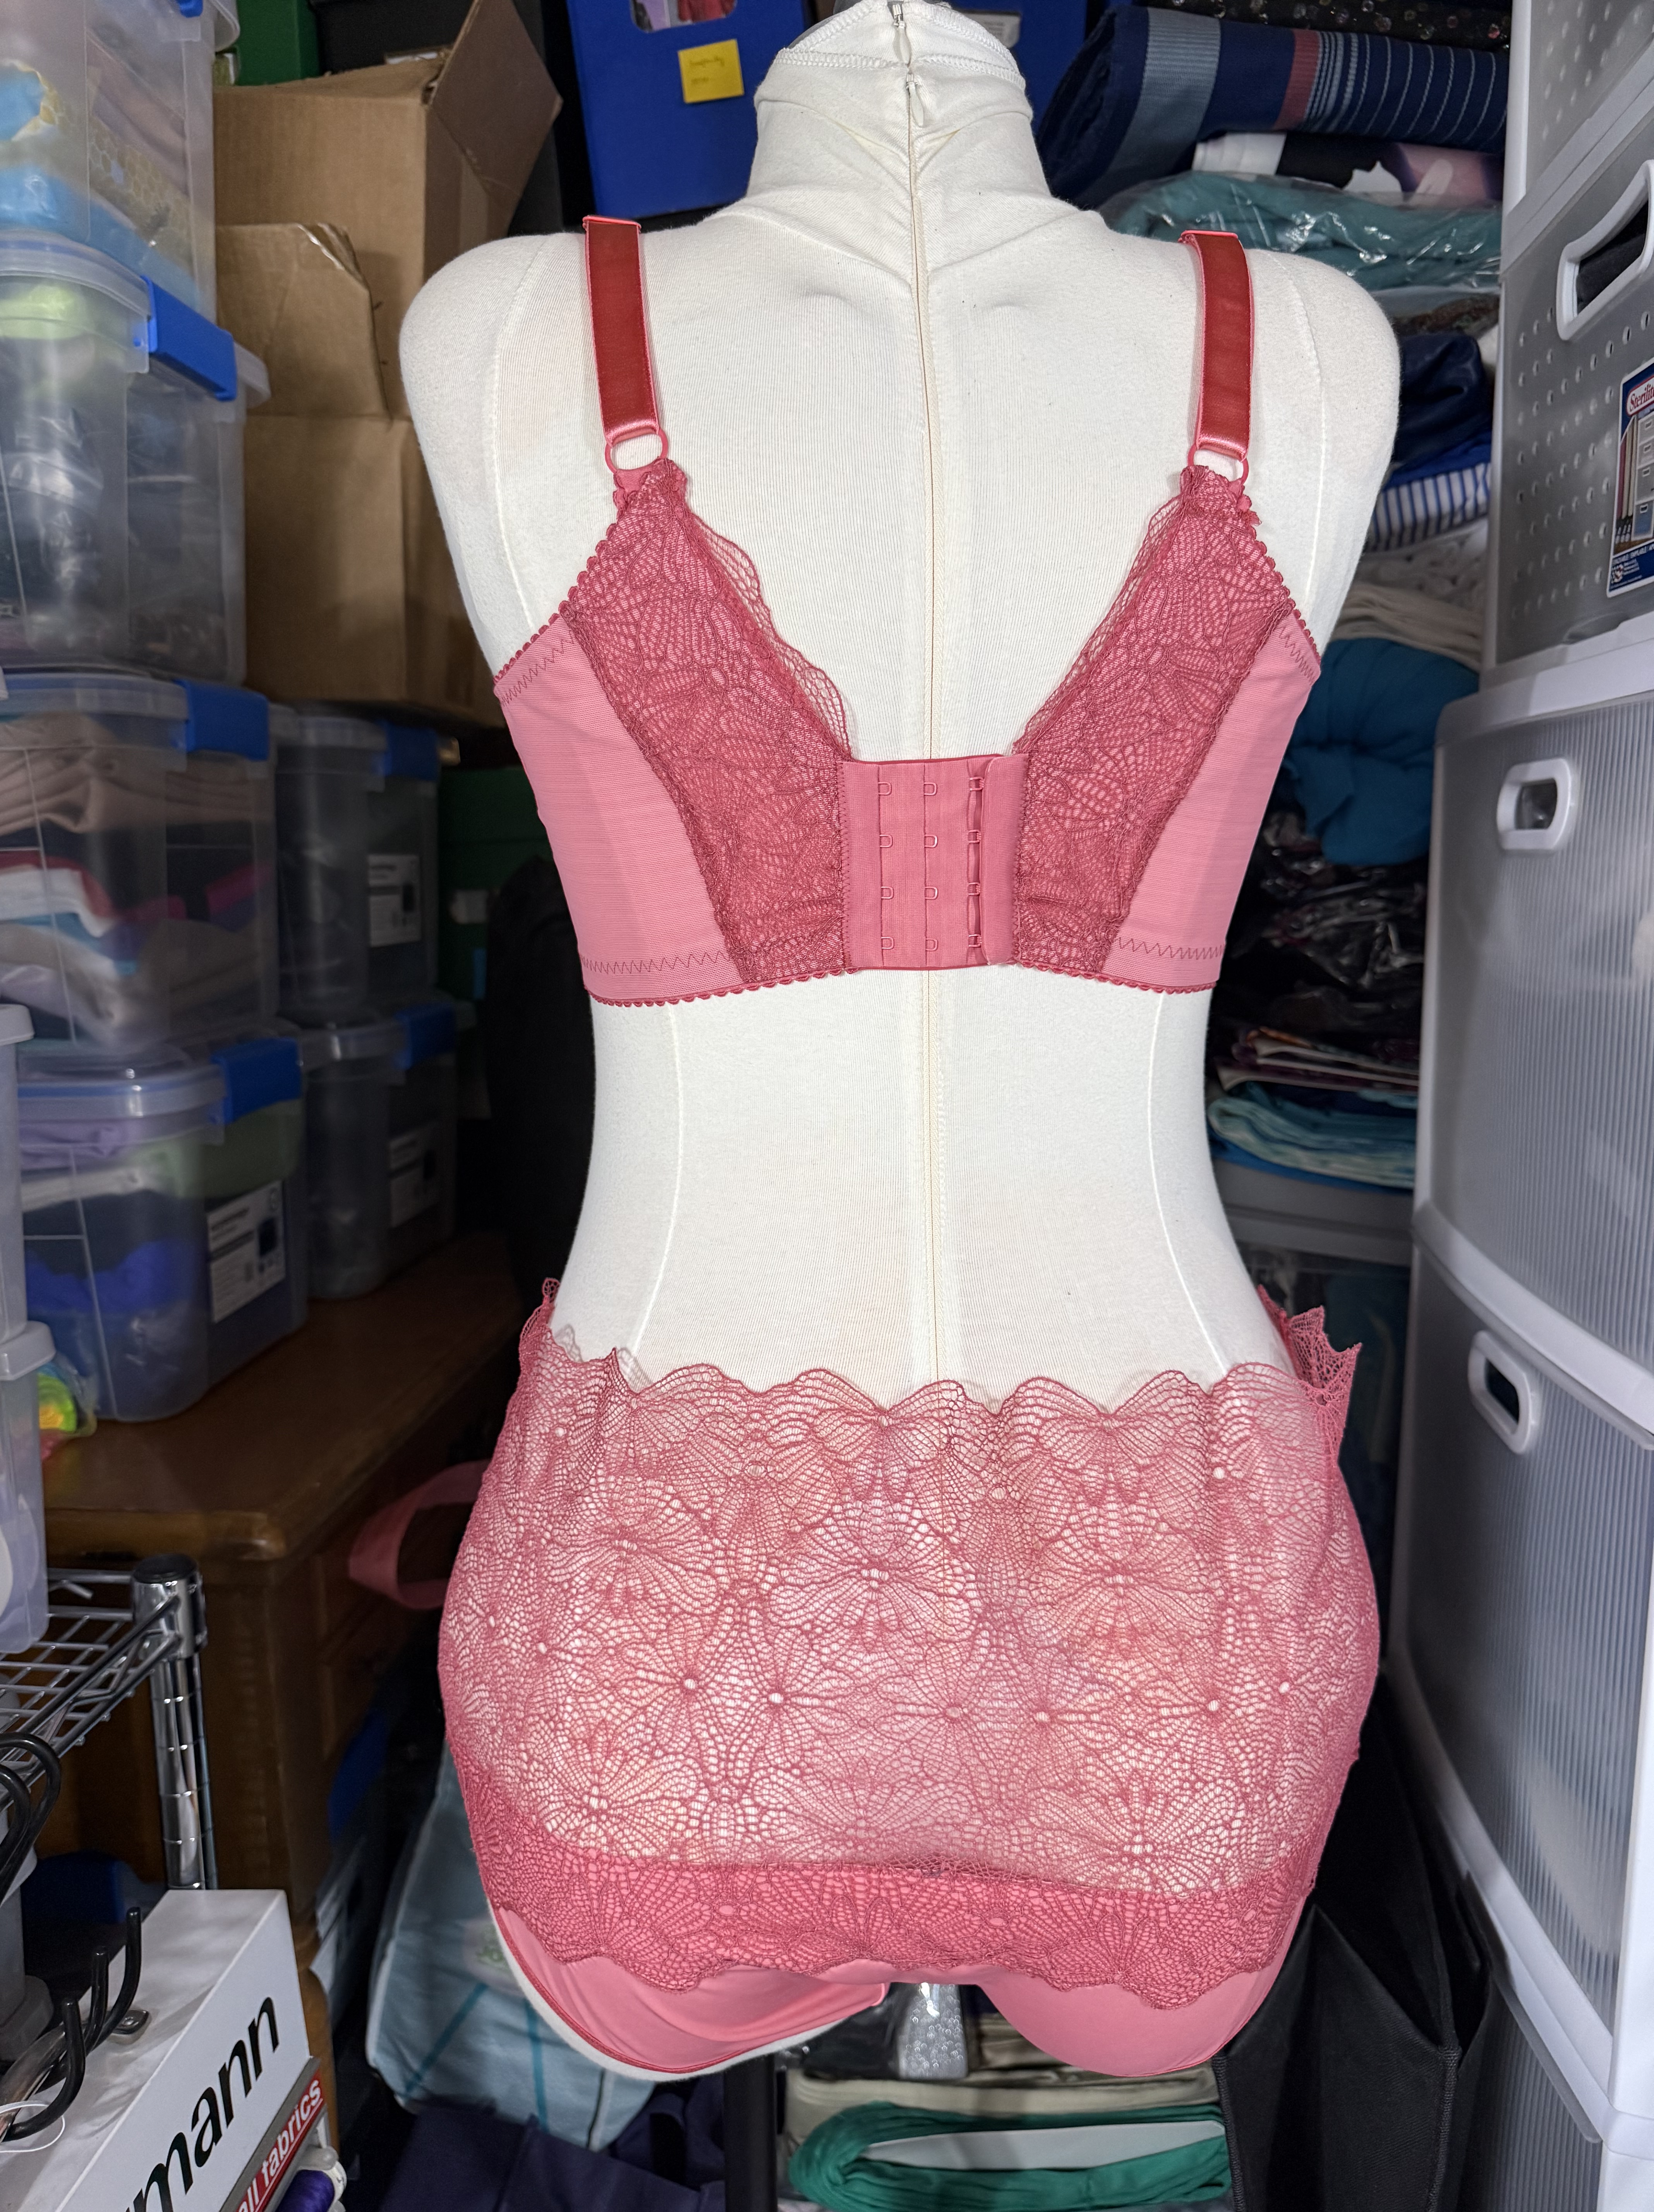
What did you particularly like/dislike about the pattern? I like the style of this bra – it’s really pretty and great to show off fancy lace. I also like how high the back band is – I don’t see that commonly on a lot of other patterns but it helps a lot to provide support. I also like that this pattern is drafted for a narrow root with lots of projection; I find a lot of patterns draft for the opposite shape so it’s nice to have options for those of us with these fitting challenges! I also really like the PDF – it comes with all the sizes layered and you can turn the layers on and off before printing so you can get all of the sizes you need but none of the sizes you don’t. This is especially nice when compared with some other patterns where every size is on a different page and takes a lot of printing if you need to blend sizes for omega adjustments. In terms of bra patterns, I also appreciate the design features of this bra – the decorative swag and back lace detail are really pretty and techniques I will likely try on other patterns in the future. I will also say that this pattern is described as a balconette style and it means it! The cups are quite low cut, but still give a lot of nice shaping, so this type of bra could be great to wear under special occasion dresses or low cut tops. The pattern does recommend using boning and internal slings if you are in a larger size, and I would agree with that. Although I’m happy with how this turned out, in the future when I make this pattern again I think I’m going to use foam cups and bone them using techniques that are incorporated in a different LilyPAD pattern, the Marei strapless. On me the seams run right over the bust point, so having foam padding in conjunction with the boning will be a lot more comfortable. In this version I only included the casings and not the actual boing to help stabilize, but I think it will be even more supportive with a boned foam cup. So I don’t know that I would say this is a “dislike” so much as a caution that this pattern is likely not supportive enough without added structure for the larger cup sizes because of how open the neckline is to achieve the balconette style.
Fabric used: I used a Bra Builders kit with microduoplex and stretch guipure lace, along with sheer cup lining, firm power net, and all the typical bra finishing bits. I used the firm power net for the internal slings and found it a bit challenging to ease into the bra cup curve, but in the end it was alright. In the future I want to make the cups out of foam with boning so that they will have even more support.
Pattern alterations or design changes you made: Going through the LilyPAD patterns, I am realizing that the 5.6 BCD with a 36 band is a really good starting size for me, but I did have to make more alterations to this pattern than I did to the Labellum or the Lamina. I can see from the band shape that there’s a different base draft between the older patterns and the newer patterns. Because I was fitting the Lazulite and the Lusamine at the same time, I could see that these patterns had the same band and I had to make similar fit alterations to the cups, whereas the Labellum and the Lamina also had the same bands as each other, so the fit consistency or inconsistency between patterns made sense. For this pattern I started off by taking a 1/2” curved dart on the outer cup piece and internal sling to remove fabric from the underarm curve, raising the bottom band by 3/8”, and changing the back of the pattern to accommodate a 4×3 Hook and Eye. Unique to this pattern I also noticed that the seam between the inner cup and middle cup piece has a bit of a weird angle at the marking where they line up. When I sewed my fit sample it caused a weird bump there, so I smoothed out the curve so it didn’t have any angles at all (I probably took off less than 1/16” because I didn’t need to remove volume, just smooth out the pattern piece). Since I’m fresh off making the Lamina and the Labellum, I also decided to preemptively remove 1/4” from the length of the back band and remove 1/4” from the upper edge of the back band at the side seam. I’m glad I did because the band fit felt amazing, other than being perhaps a tiny bit too high at the underarm. I’m going to do these alterations for all of the LilyPAD patterns moving forward because it really helped to balance the tension between the upper and lower edges of the band for me. Construction wise, the pattern recommended boning the cups, but I (1) didn’t really want boning without additional padding and (2) was struggling to fit the boing I had into the channeling I had, so I decided to just sew in the channeling without the boing. It definitely adds some support, but originally caused quite a bit of rippling. I don’t usually iron my bra projects (I find it generally unnecessary to iron these fabrics because topstitching typically works better than heat) but I was desperate to do something about the rippling, so I pressed the heck out of these cups on my boob ham, and now it looks great! The channeling adds a bit of structure without being too stiff or pokey. Next time I’m definitely making foam cups so I can bone them properly though.
Would you sew this again? Would you recommend it to others? Yes, this pattern gives an amazing amount of lift and a really great shape, plus it’s super cute, so I’m sure I’ll make it again. It has a much more open neckline than what I think I would want for an everyday kind of bra, but for special occasions this will probably be my go-to pattern. I really want to make a boned foam cup version with lace because I think that would be super pretty. I will also likely cut down a long vertical wire just to get as much support as possible next time (my regular vertical 46 was a tiny bit short and it does cause a bit of collapsing at the center front). I would recommend this pattern but with the caveat that because it’s a more open balconette style, it really does need additional support if you are in the larger sizes, so I would recommend following all of the additional steps that are included for support. I also found a few errors in the instructions, so just read through and make sure you know what option you are using for finishing the back, the straps, and make sure the rest of the bra is done before attaching the front of the swag piece just so you don’t get confused.
Conclusion: I’m so happy with how this turned out. I picked this as sort of a sacrificial kit to test this pattern, but I became enamored with the color and the lace design the more I worked with it, and so I was really hoping I was properly respecting the materials and that I would get a good result. I was heartbroken with the rippling channeling when I tried it on at first, but the pressing and steaming it into place saved this project! I’m so happy and I really love it. I also really like that I actually have a balconette style that mostly fits! I have some other patterns I’m going to work on, but I know I want to come back to the Lazulite in the future.
So, as far as the Lazulite goes, I really like this pattern, but I think I’m going to need to do some more work on fitting. I think I need to add a tiny bit of volume to the cups, I definitely need to plan on using foam and boning for the next version, and I may want to lower the height of the underarm seam just slightly. I’m sure a lot of the lift and support is coming from the band, and I tend to like a lot of coverage at the side seam, but even for me this was a tiny bit high. So I think this pattern needs more fitting work from me, but I don’t know if I really want to put the time into that right now, especially since after wearing it, I really don’t see this being my everyday go-to kind of style. I’m sure I’ll come back to it in the future to make another version (it’s too pretty not to!), but for now I’m going to stick to my plan of going on a pattern tour and trying a few other styles first.

One thought on “Adventures in Bra Sewing: LilyPADesigns Lazulite Bra Pattern Review”