Continuing on from my most recent post, I’ve got another LilyPADesigns underwear pattern to review today. This post is probably going to be me spending way too long talking about the world’s simplest sewing project, but that’s sort of the vibe of this blog, so, it’s kind of par for the course. Anyway, today let’s take a look at the other LilyPADesigns underwear pattern, the Kisa Knickers.

I wasn’t really planning to buy or make the Kisa because it’s so similar to my self-drafted pattern, but curiosity got the better of me, and I really did want to see how it was drafted and how it fit. I’ve not had a ton of luck trying other standard commercial underwear patterns; while I can get them to fit, it’s actually usually quite a bit of effort. So I was curious to see if that was the same case here, because I’ve had such luck fitting the other LilyPAD patterns. And overall I will say, on the one hand, yes, it is quite similar to my self drafted pattern, but, on the other hand, I did actually get the information I wanted out of trying this pattern, so I’m considering this experiment a win.
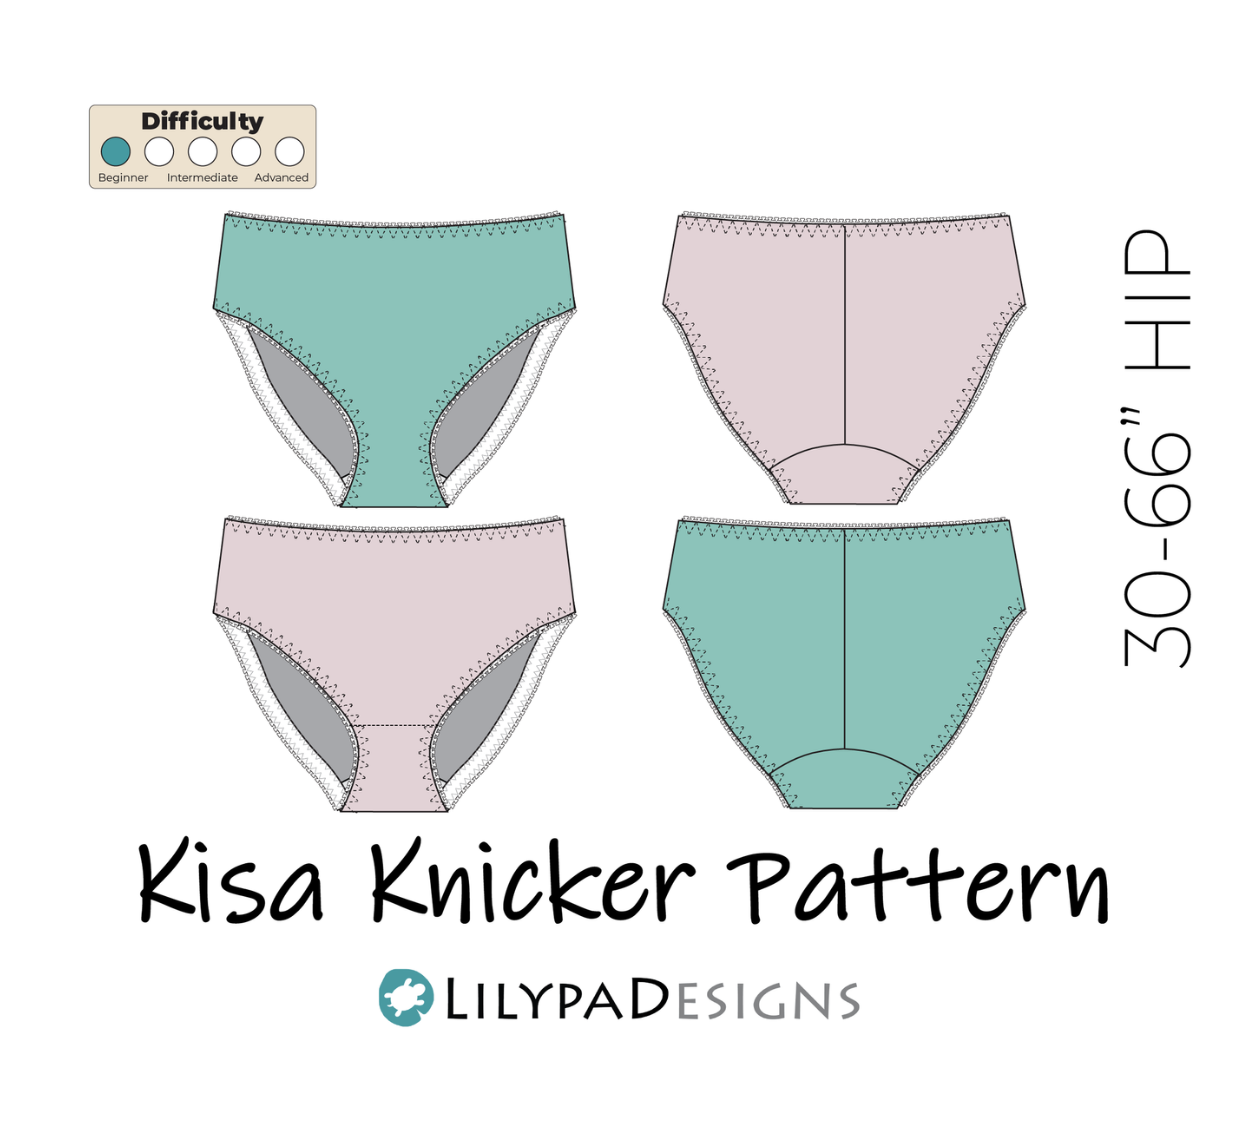
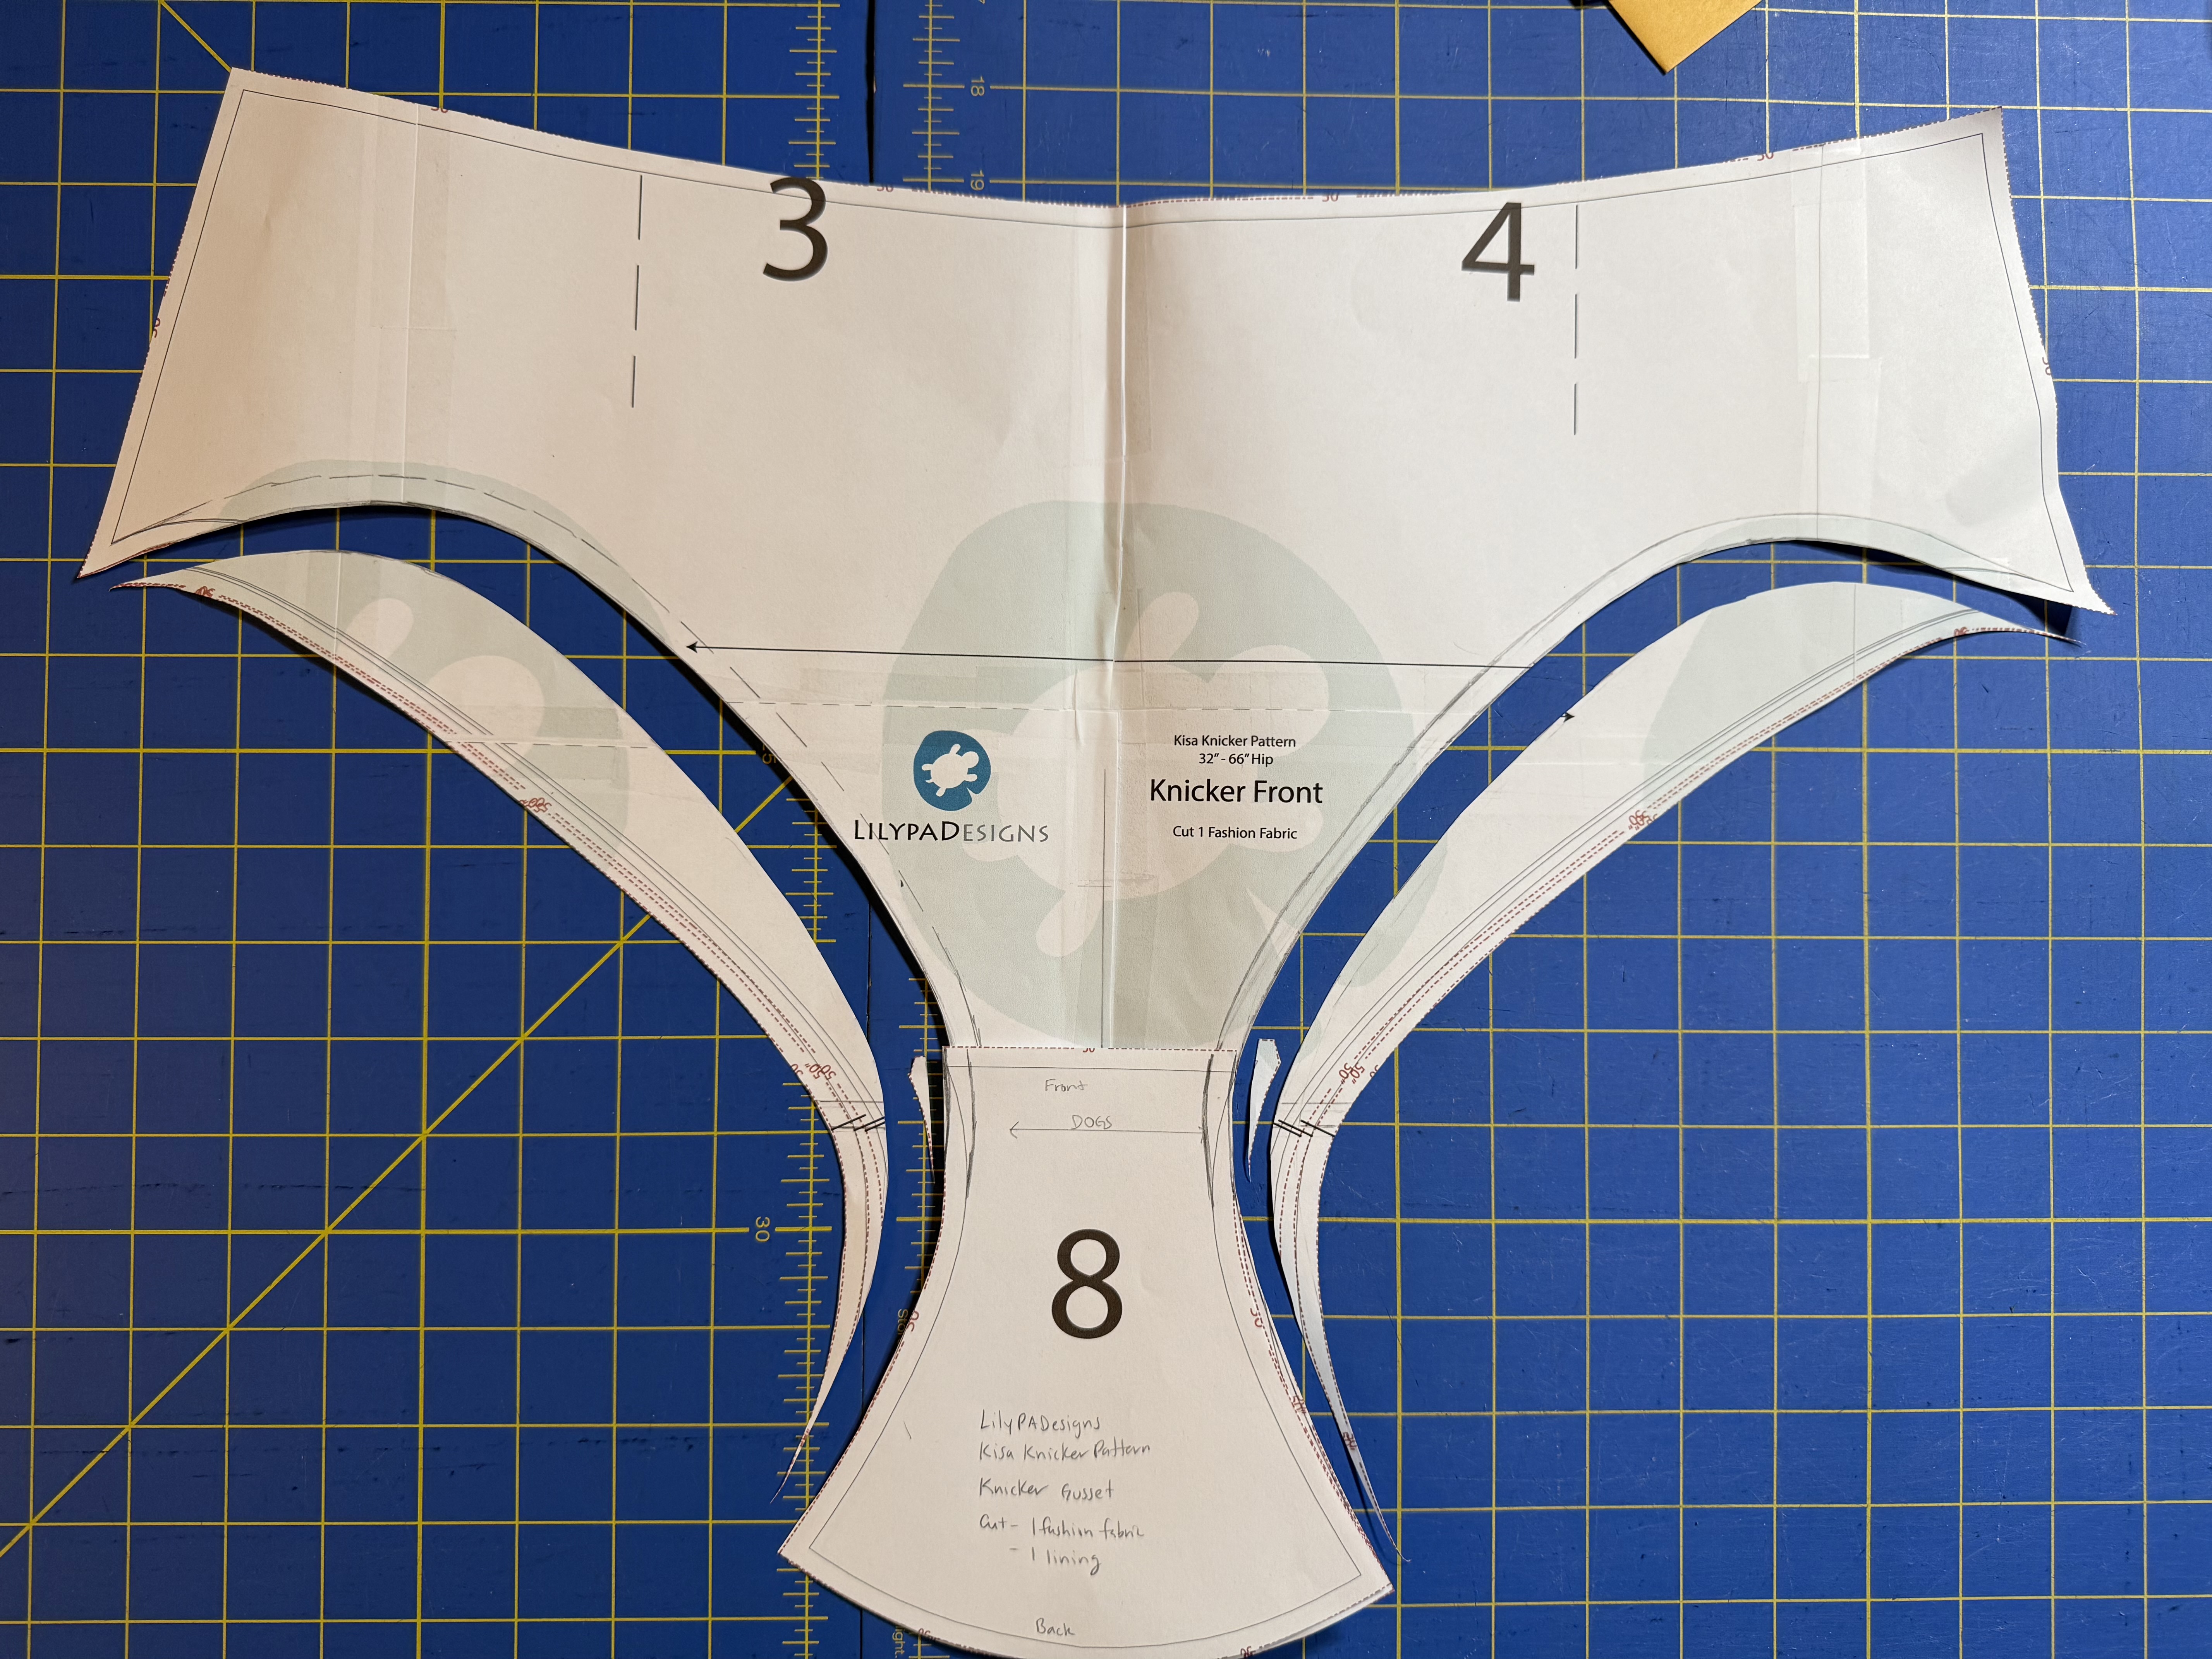
The Kisa Knicker pattern is a really basic panty brief with options for a continuous front or traditional two seamed gusset. The pattern includes inspiration for alternative design ideas you can make with this pattern, as well as markings that it doesn’t really explain, but do provide guidance if you want to use alternative style lines and seam placements. What this pattern really is though is a blank canvas that’s designed to be as easy as possible to tweak for a perfect fit and that you can hack to your heart’s content after that point. The instructions have a large section about common alterations and how to adjust the pattern for more or less coverage, swayback issues, etc. I also love that it comes with three different gusset widths marked on the pattern to also help get close to a perfect fit. I think because it is so basic it doesn’t get the hype that a lot of other underwear patterns do in the bra sewing sphere, but if you have a lot of issues fitting underwear I think this pattern should be next on your list to try.
As was my experience with the Haru Knickers, I barely had to do any adjustments to this pattern, other than making an even narrower gusset width and taking in the back waistband a bit for more shaping. Otherwise the fit was pretty great straight away.
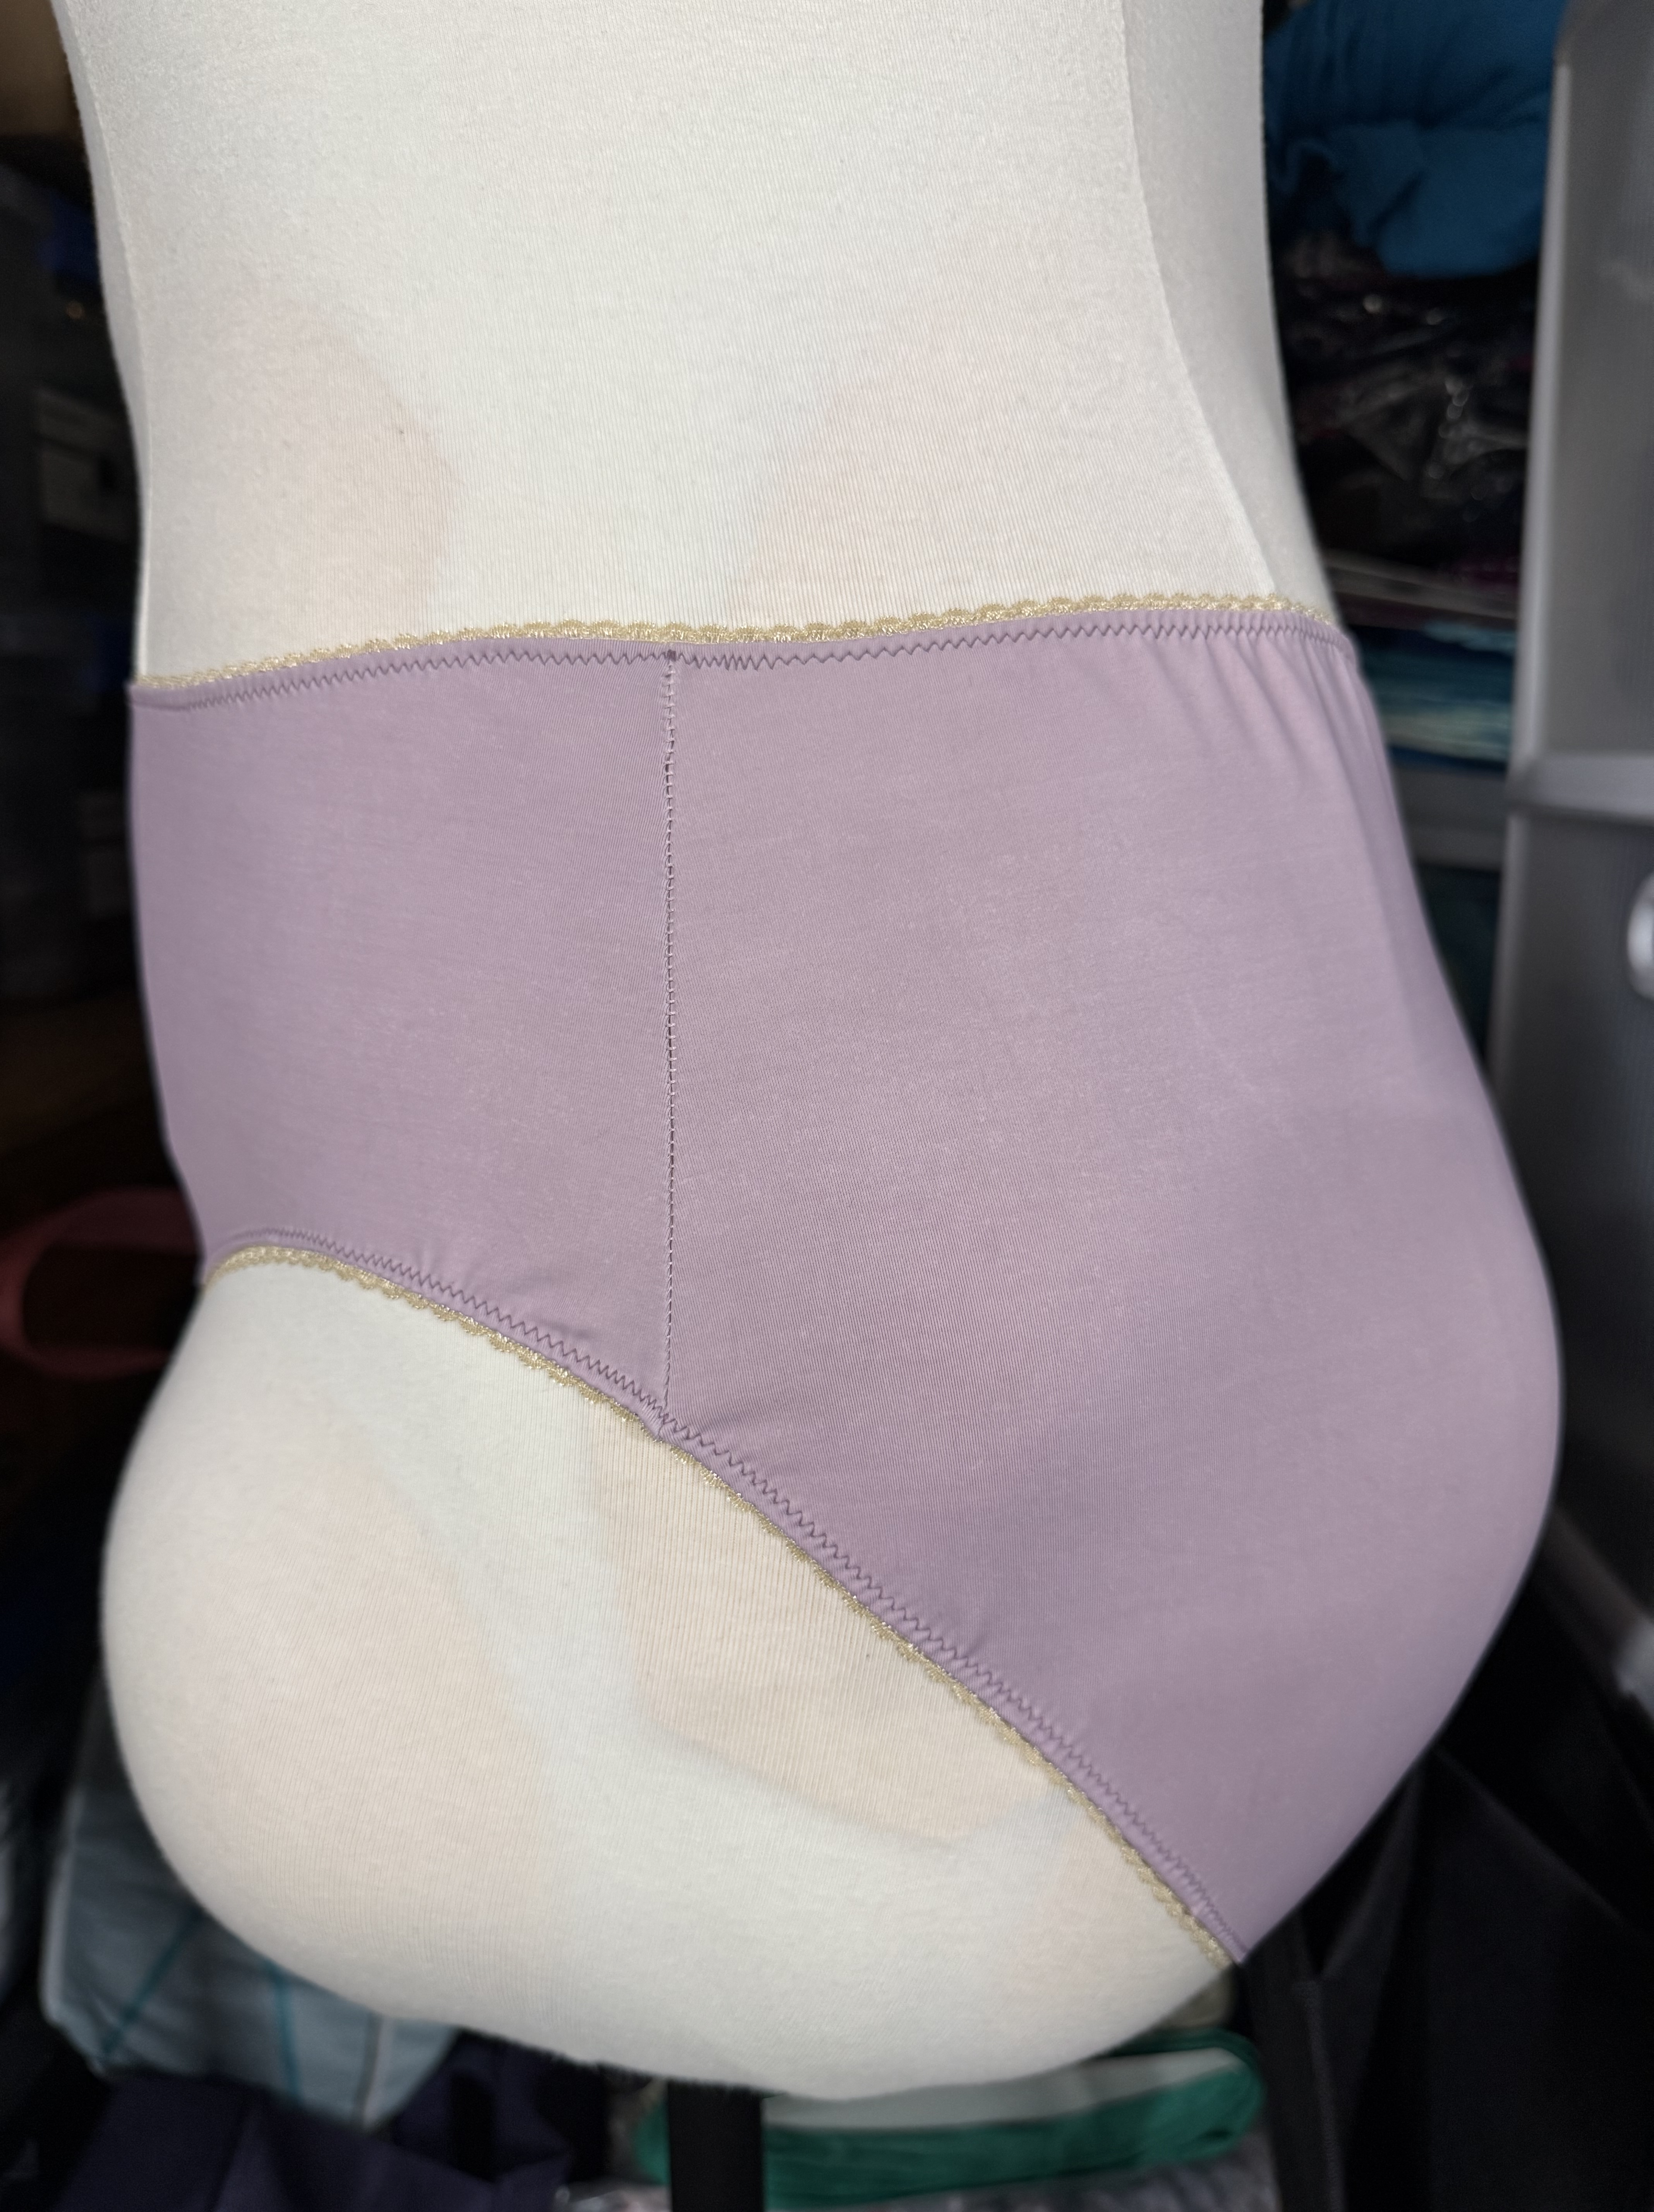
Since the Haru Knickers take up a lot more lace than they do fabric for the gusset, I had quite a bit of the microlycra left over from the kit I was using and I decided to use what I had left to make my first version of the Kisa. See my previous post for information about me waffling about the color of this kit, but I have to admit that while I was going through an existential crisis about the colors on the lace, the plain microlycra is an amazing soft purple color that I really fell in love with. I wasn’t sure if I had enough fold over elastic left (in hindsight I’m sure I did, but c’est la vie), so I also decided to pair it with some lingerie elastic I got from Wawak for pattern testing. (Well, that and I’m just trying to plan ahead for where I might be able to source materials if the tariff situation continues to be insane). Anyway, the color combination of the light purple fabric and the tan elastic is divine and I’m all about it.
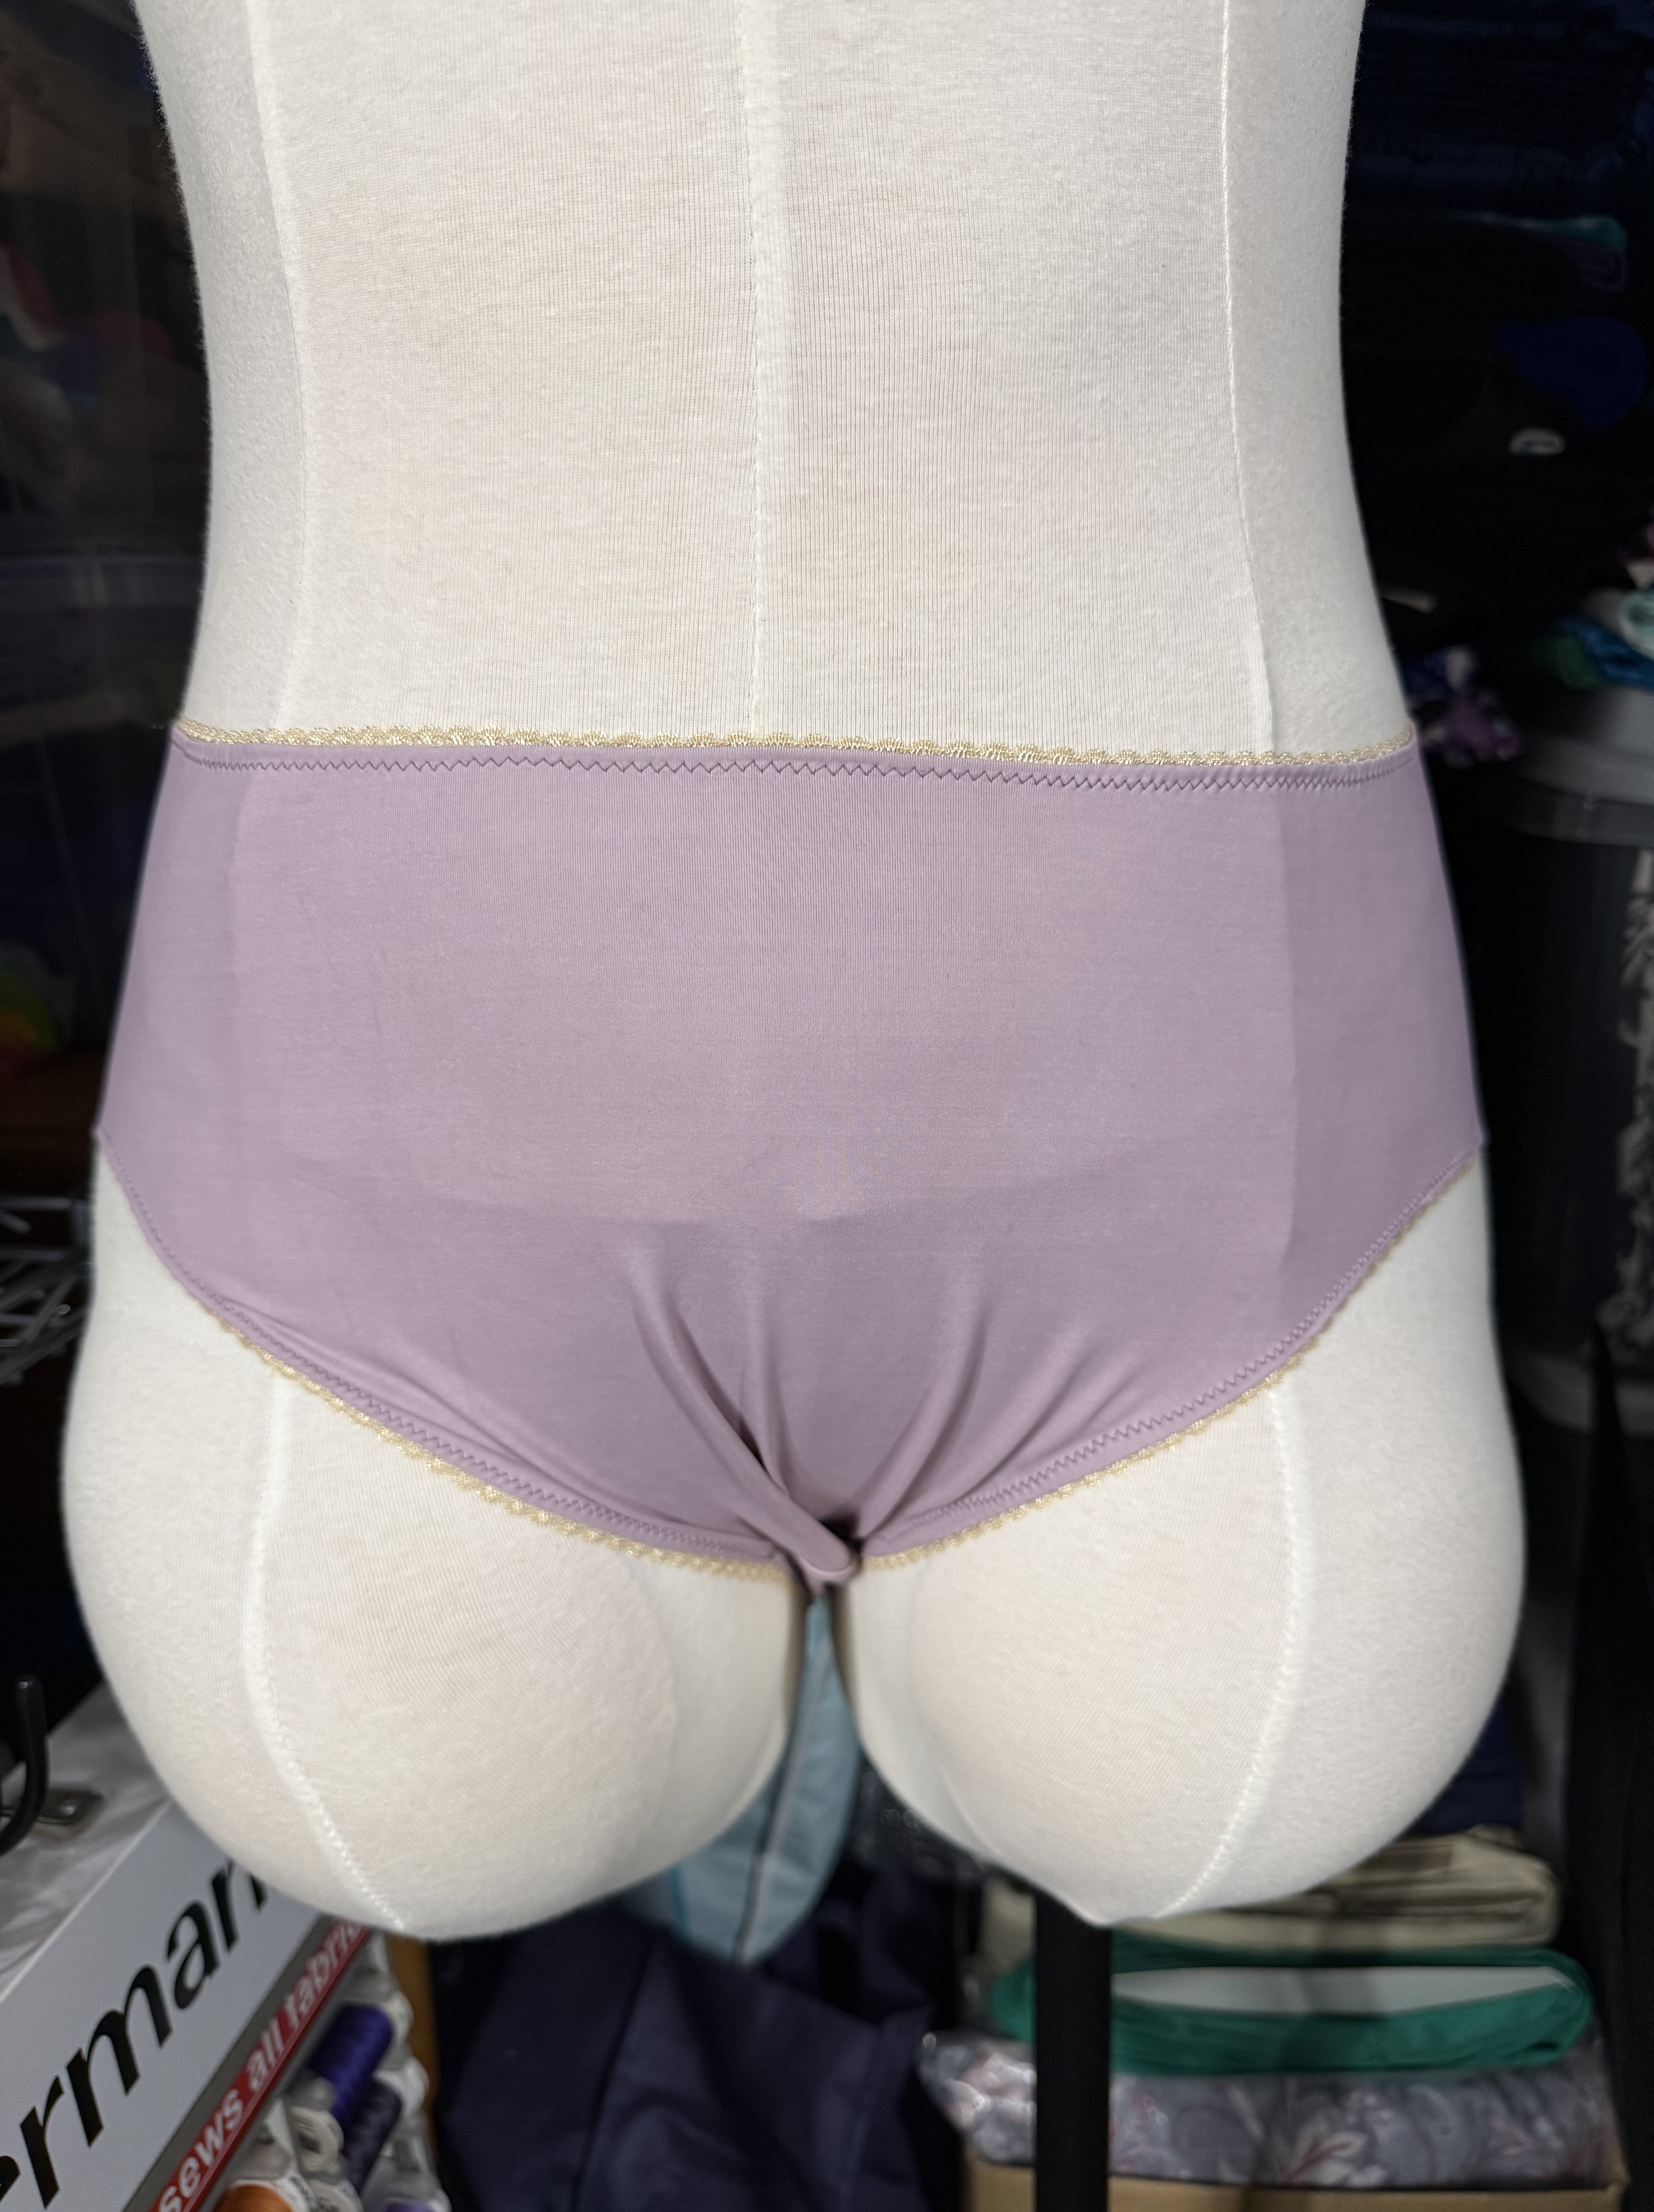
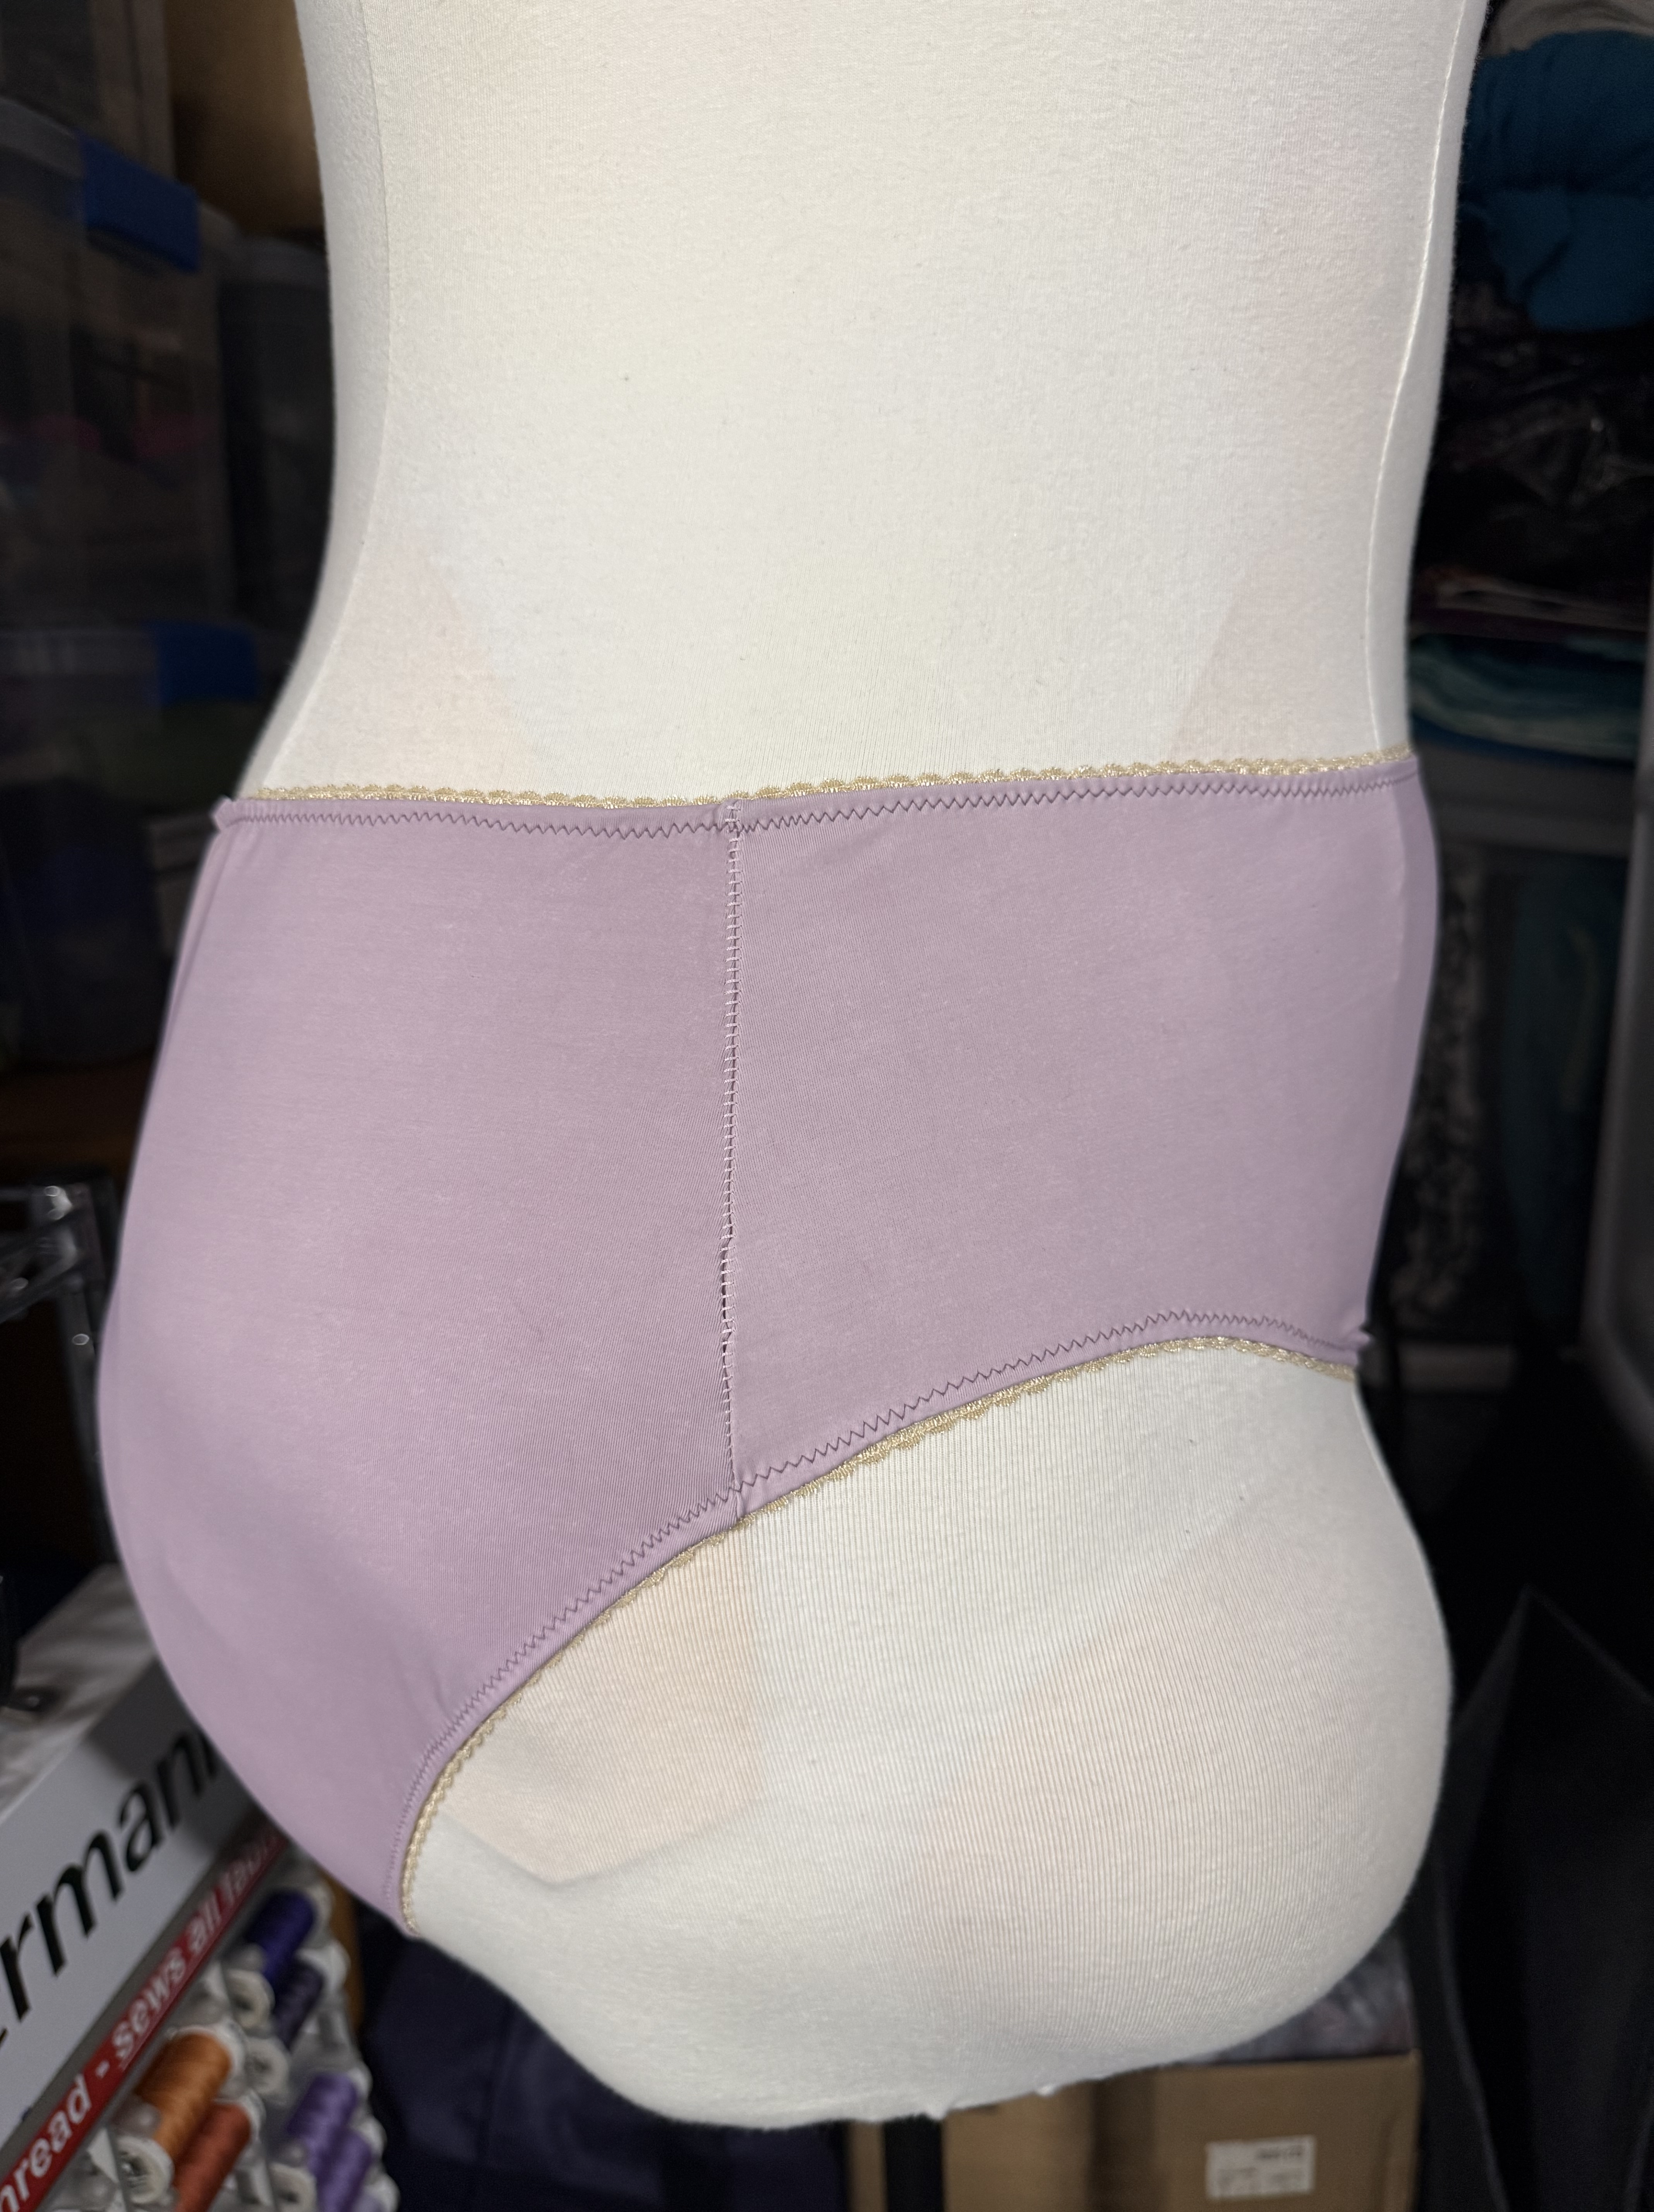
Anyway, here is the finished underwear – compared to a lot of what I make it’s truly basic.
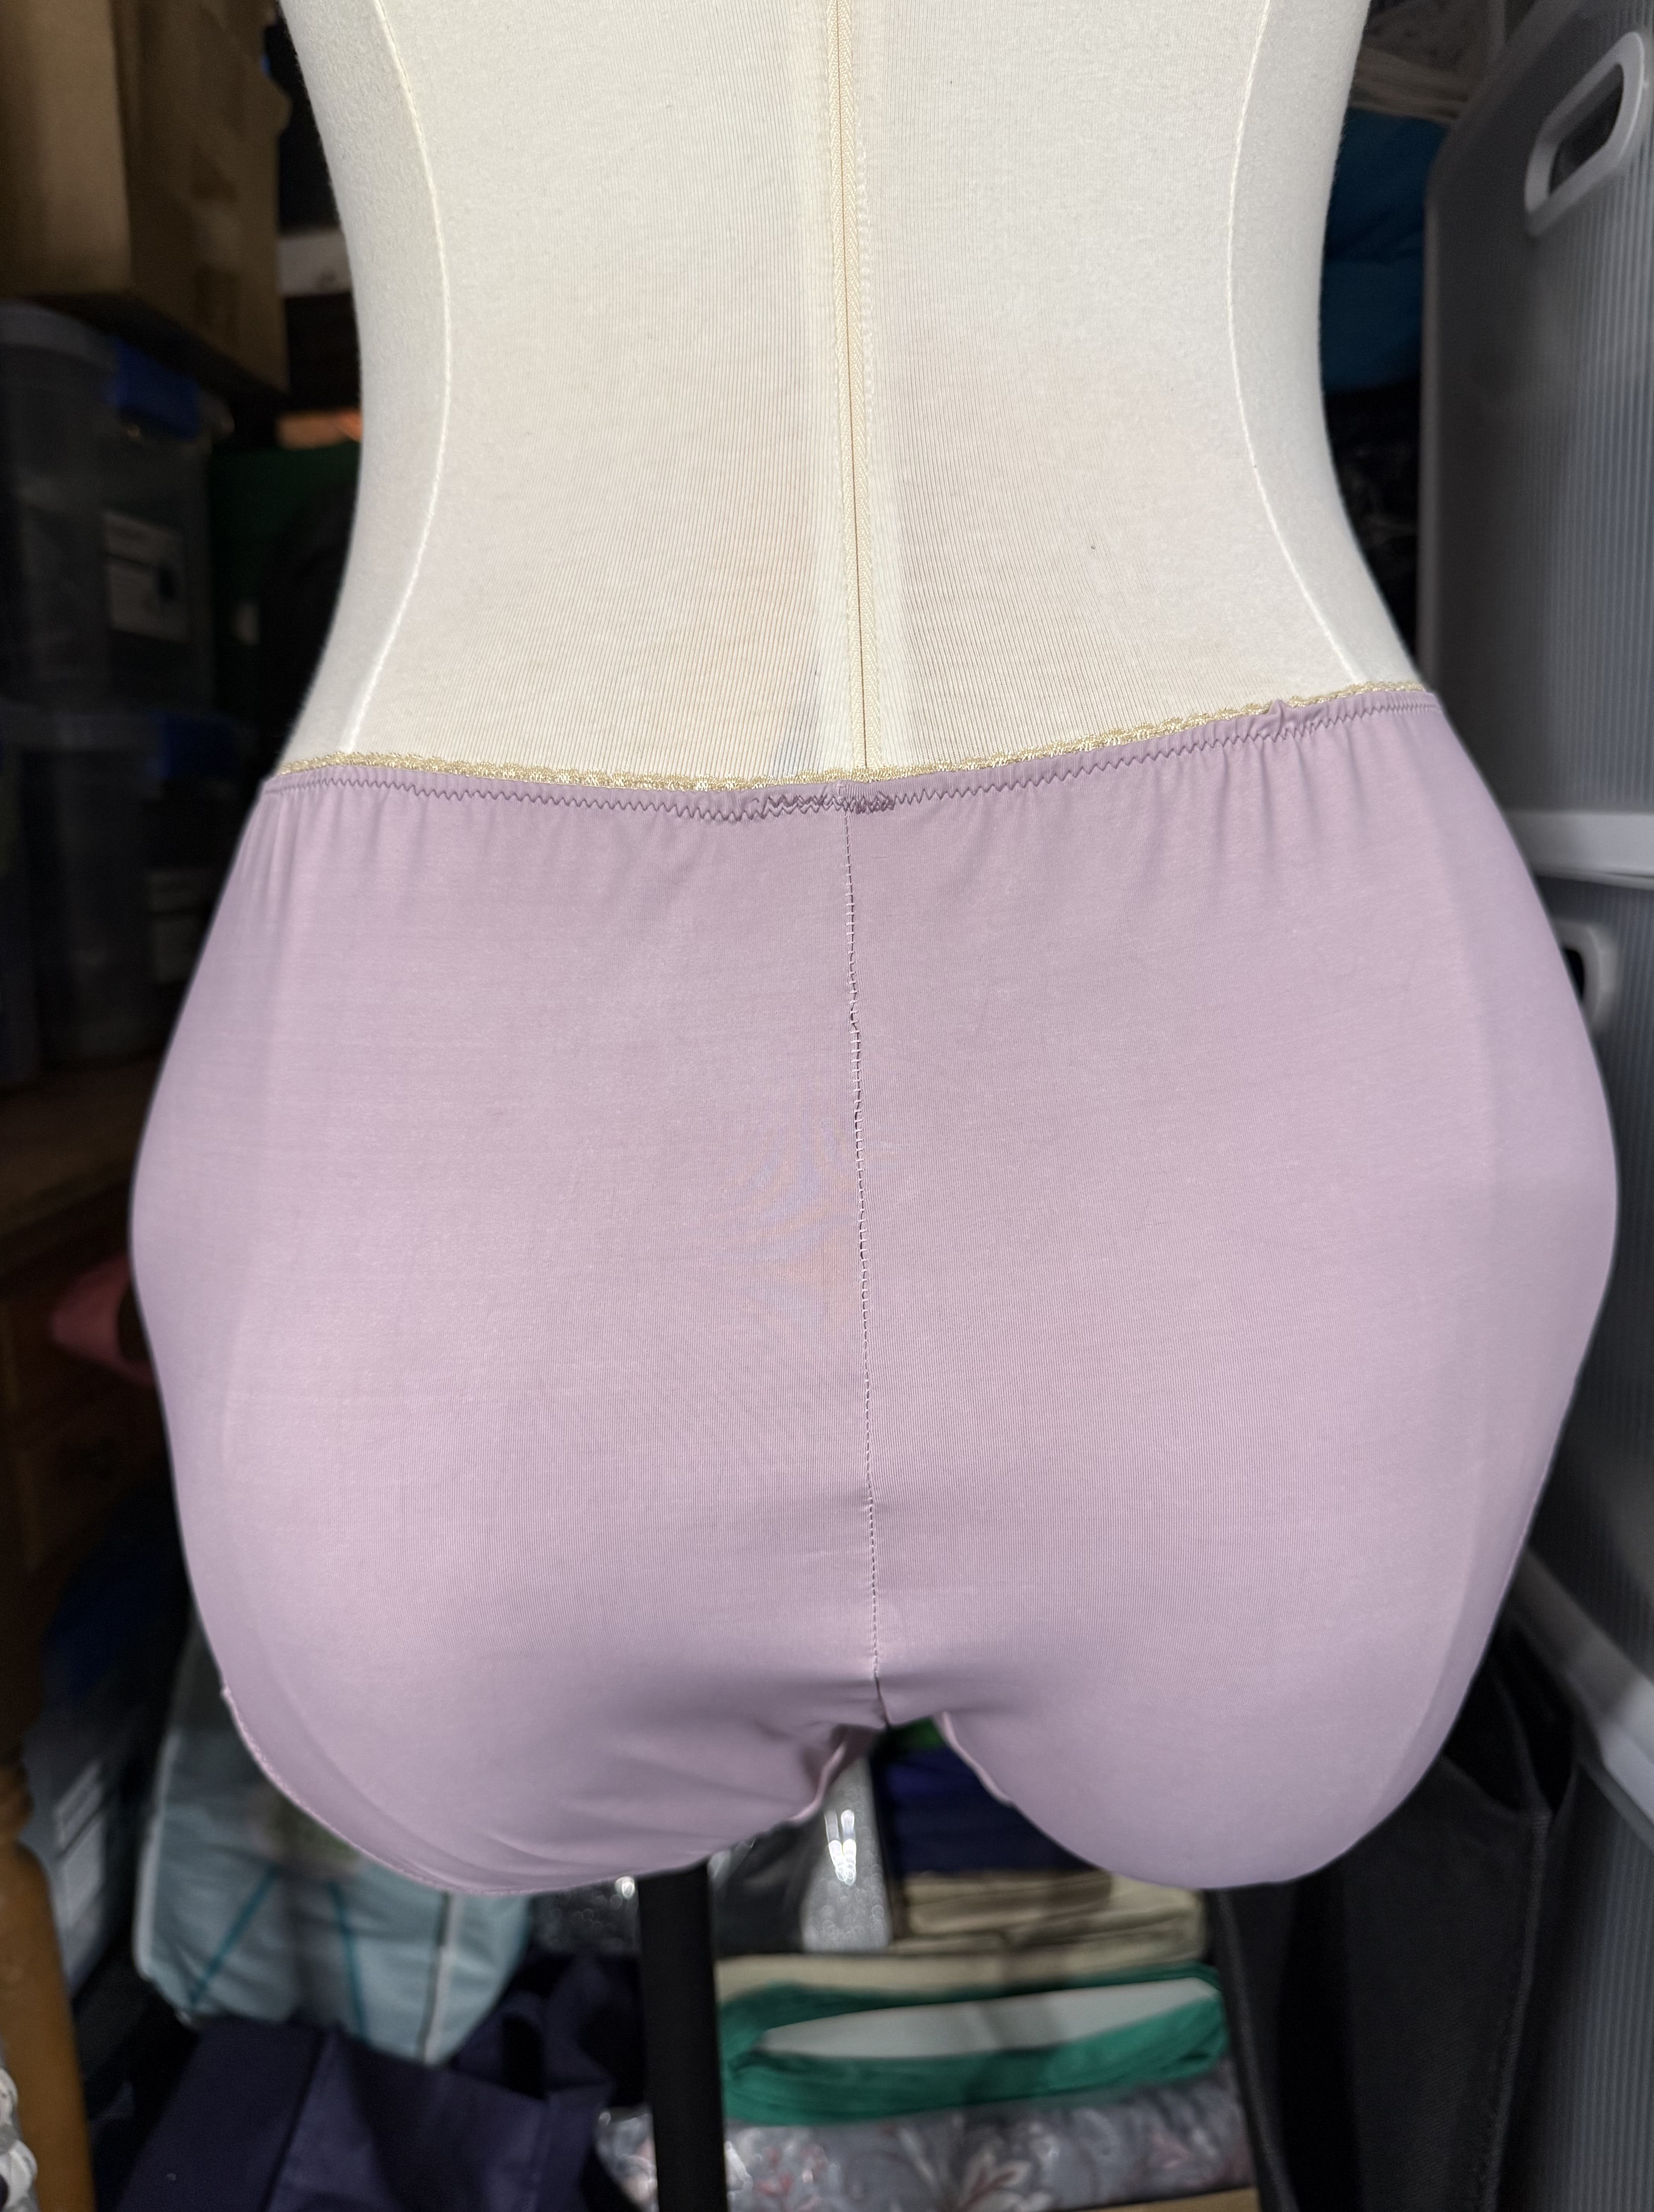
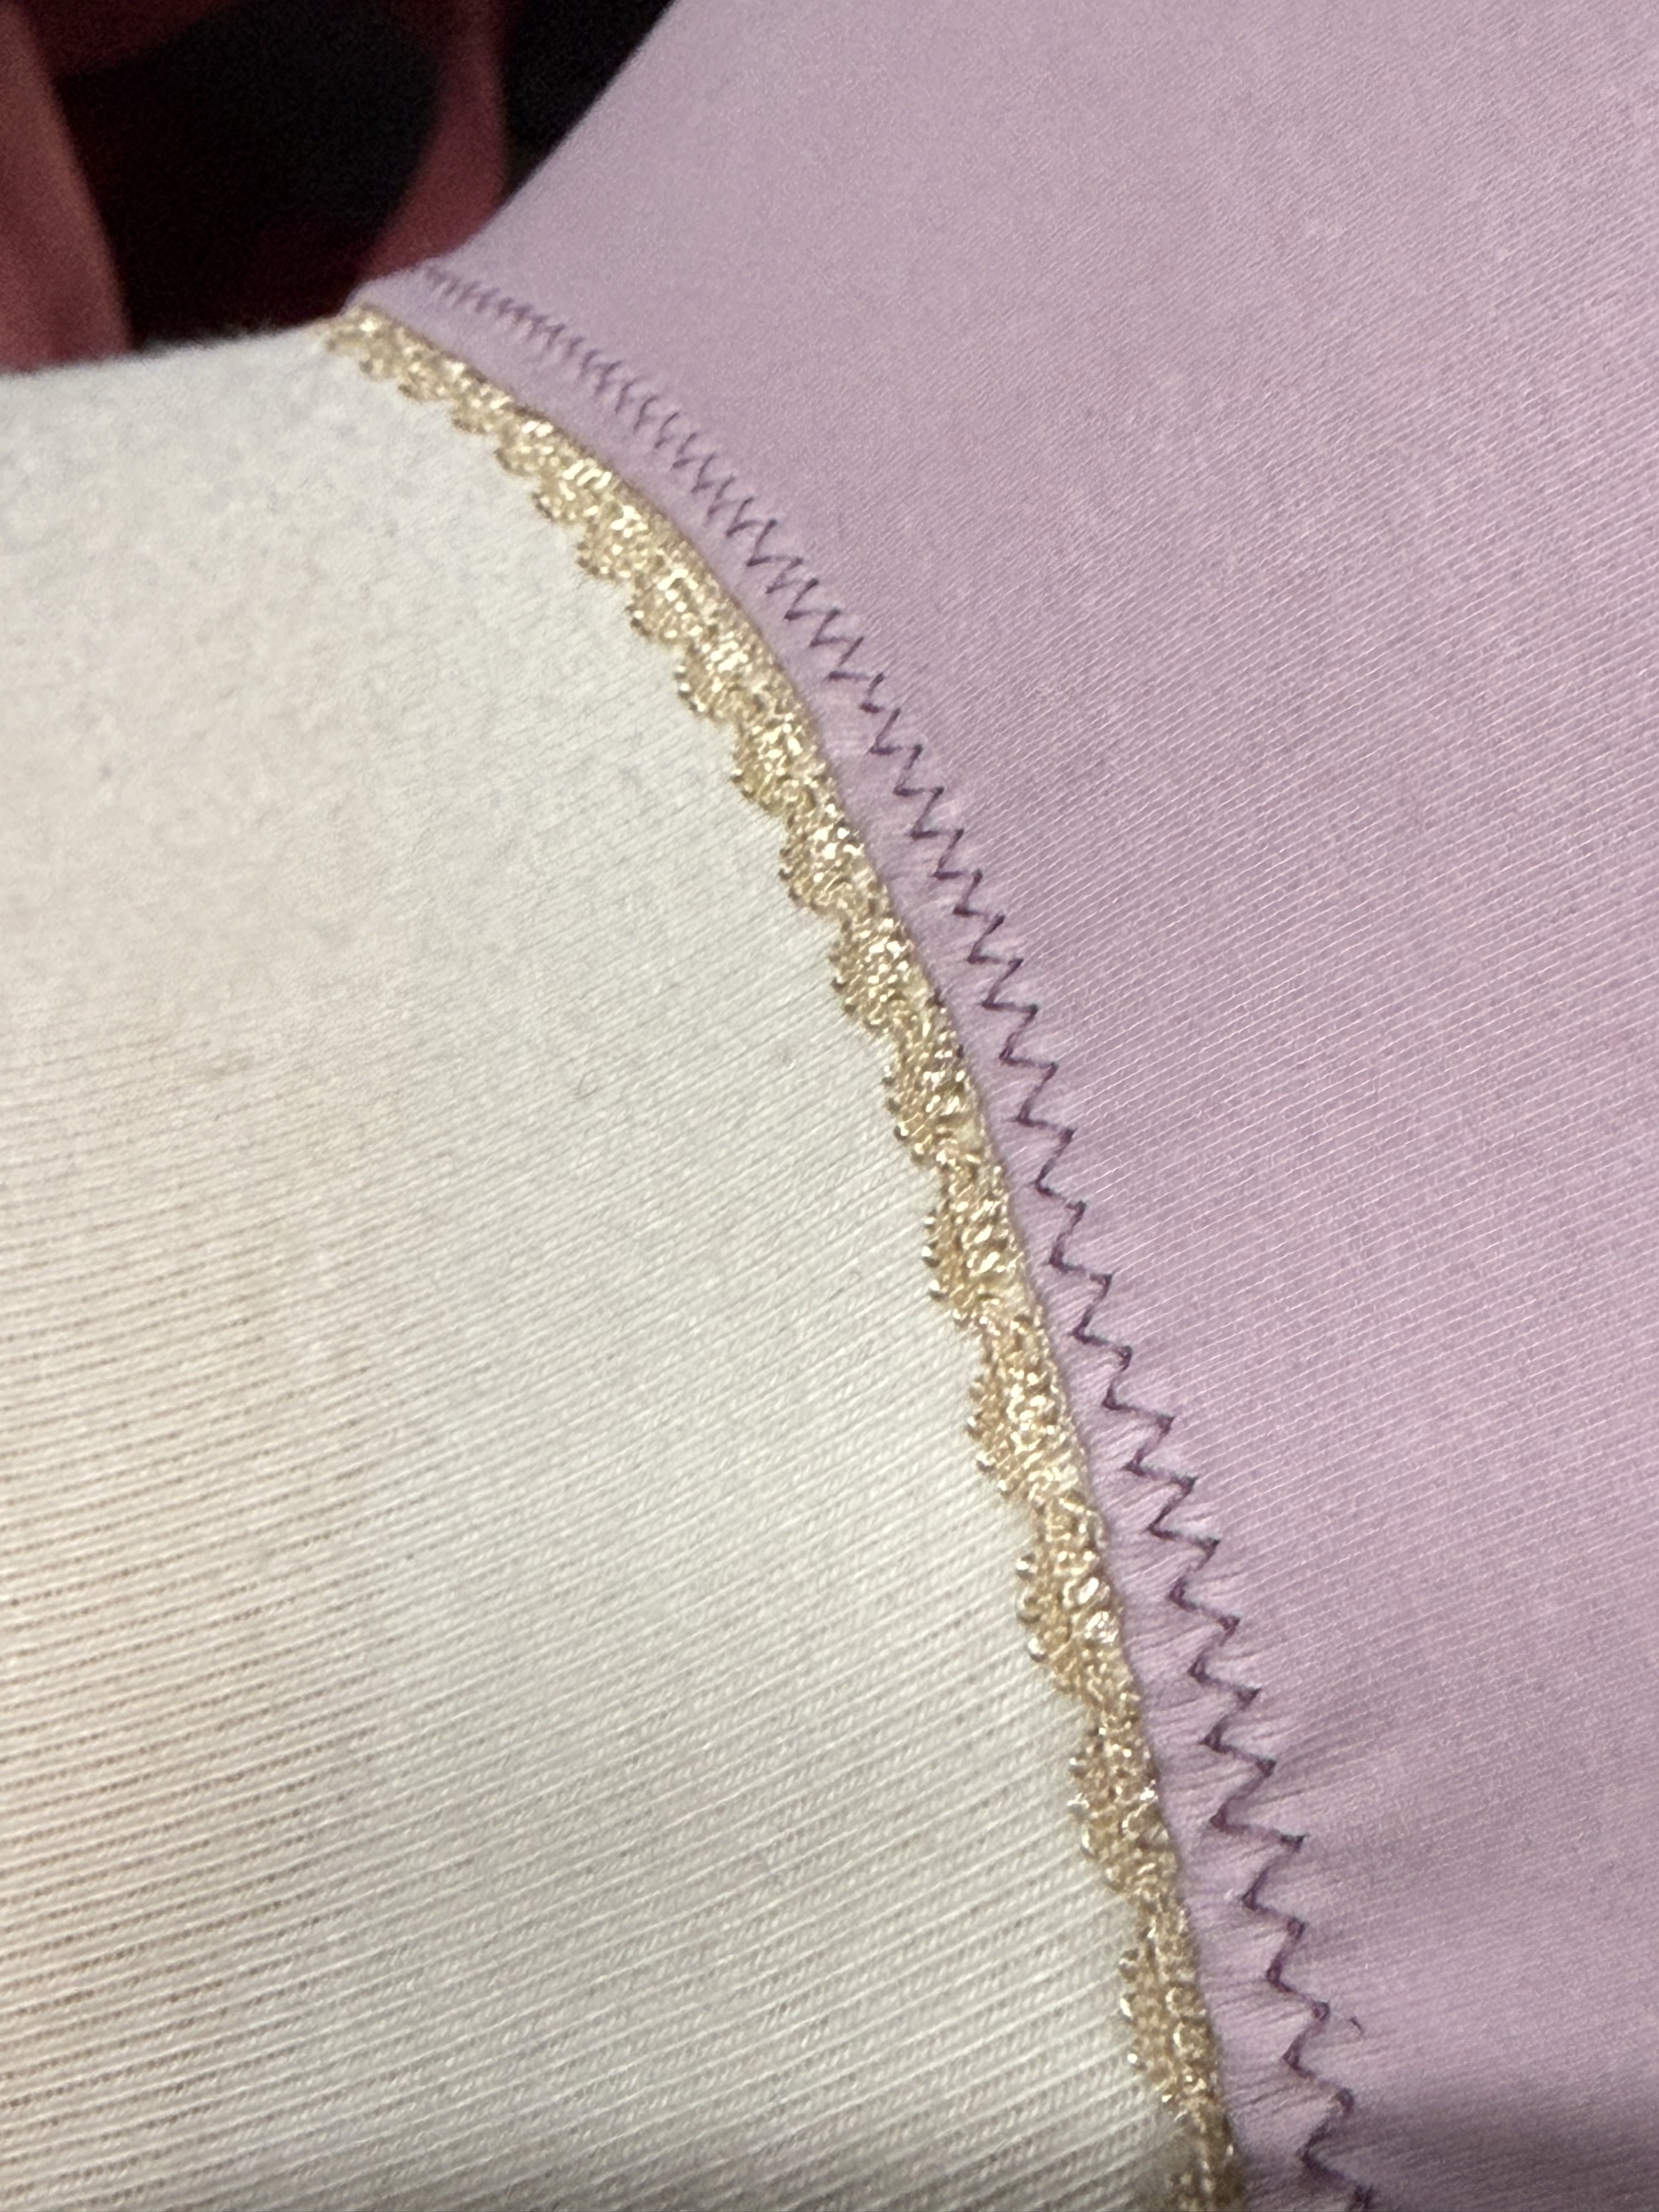
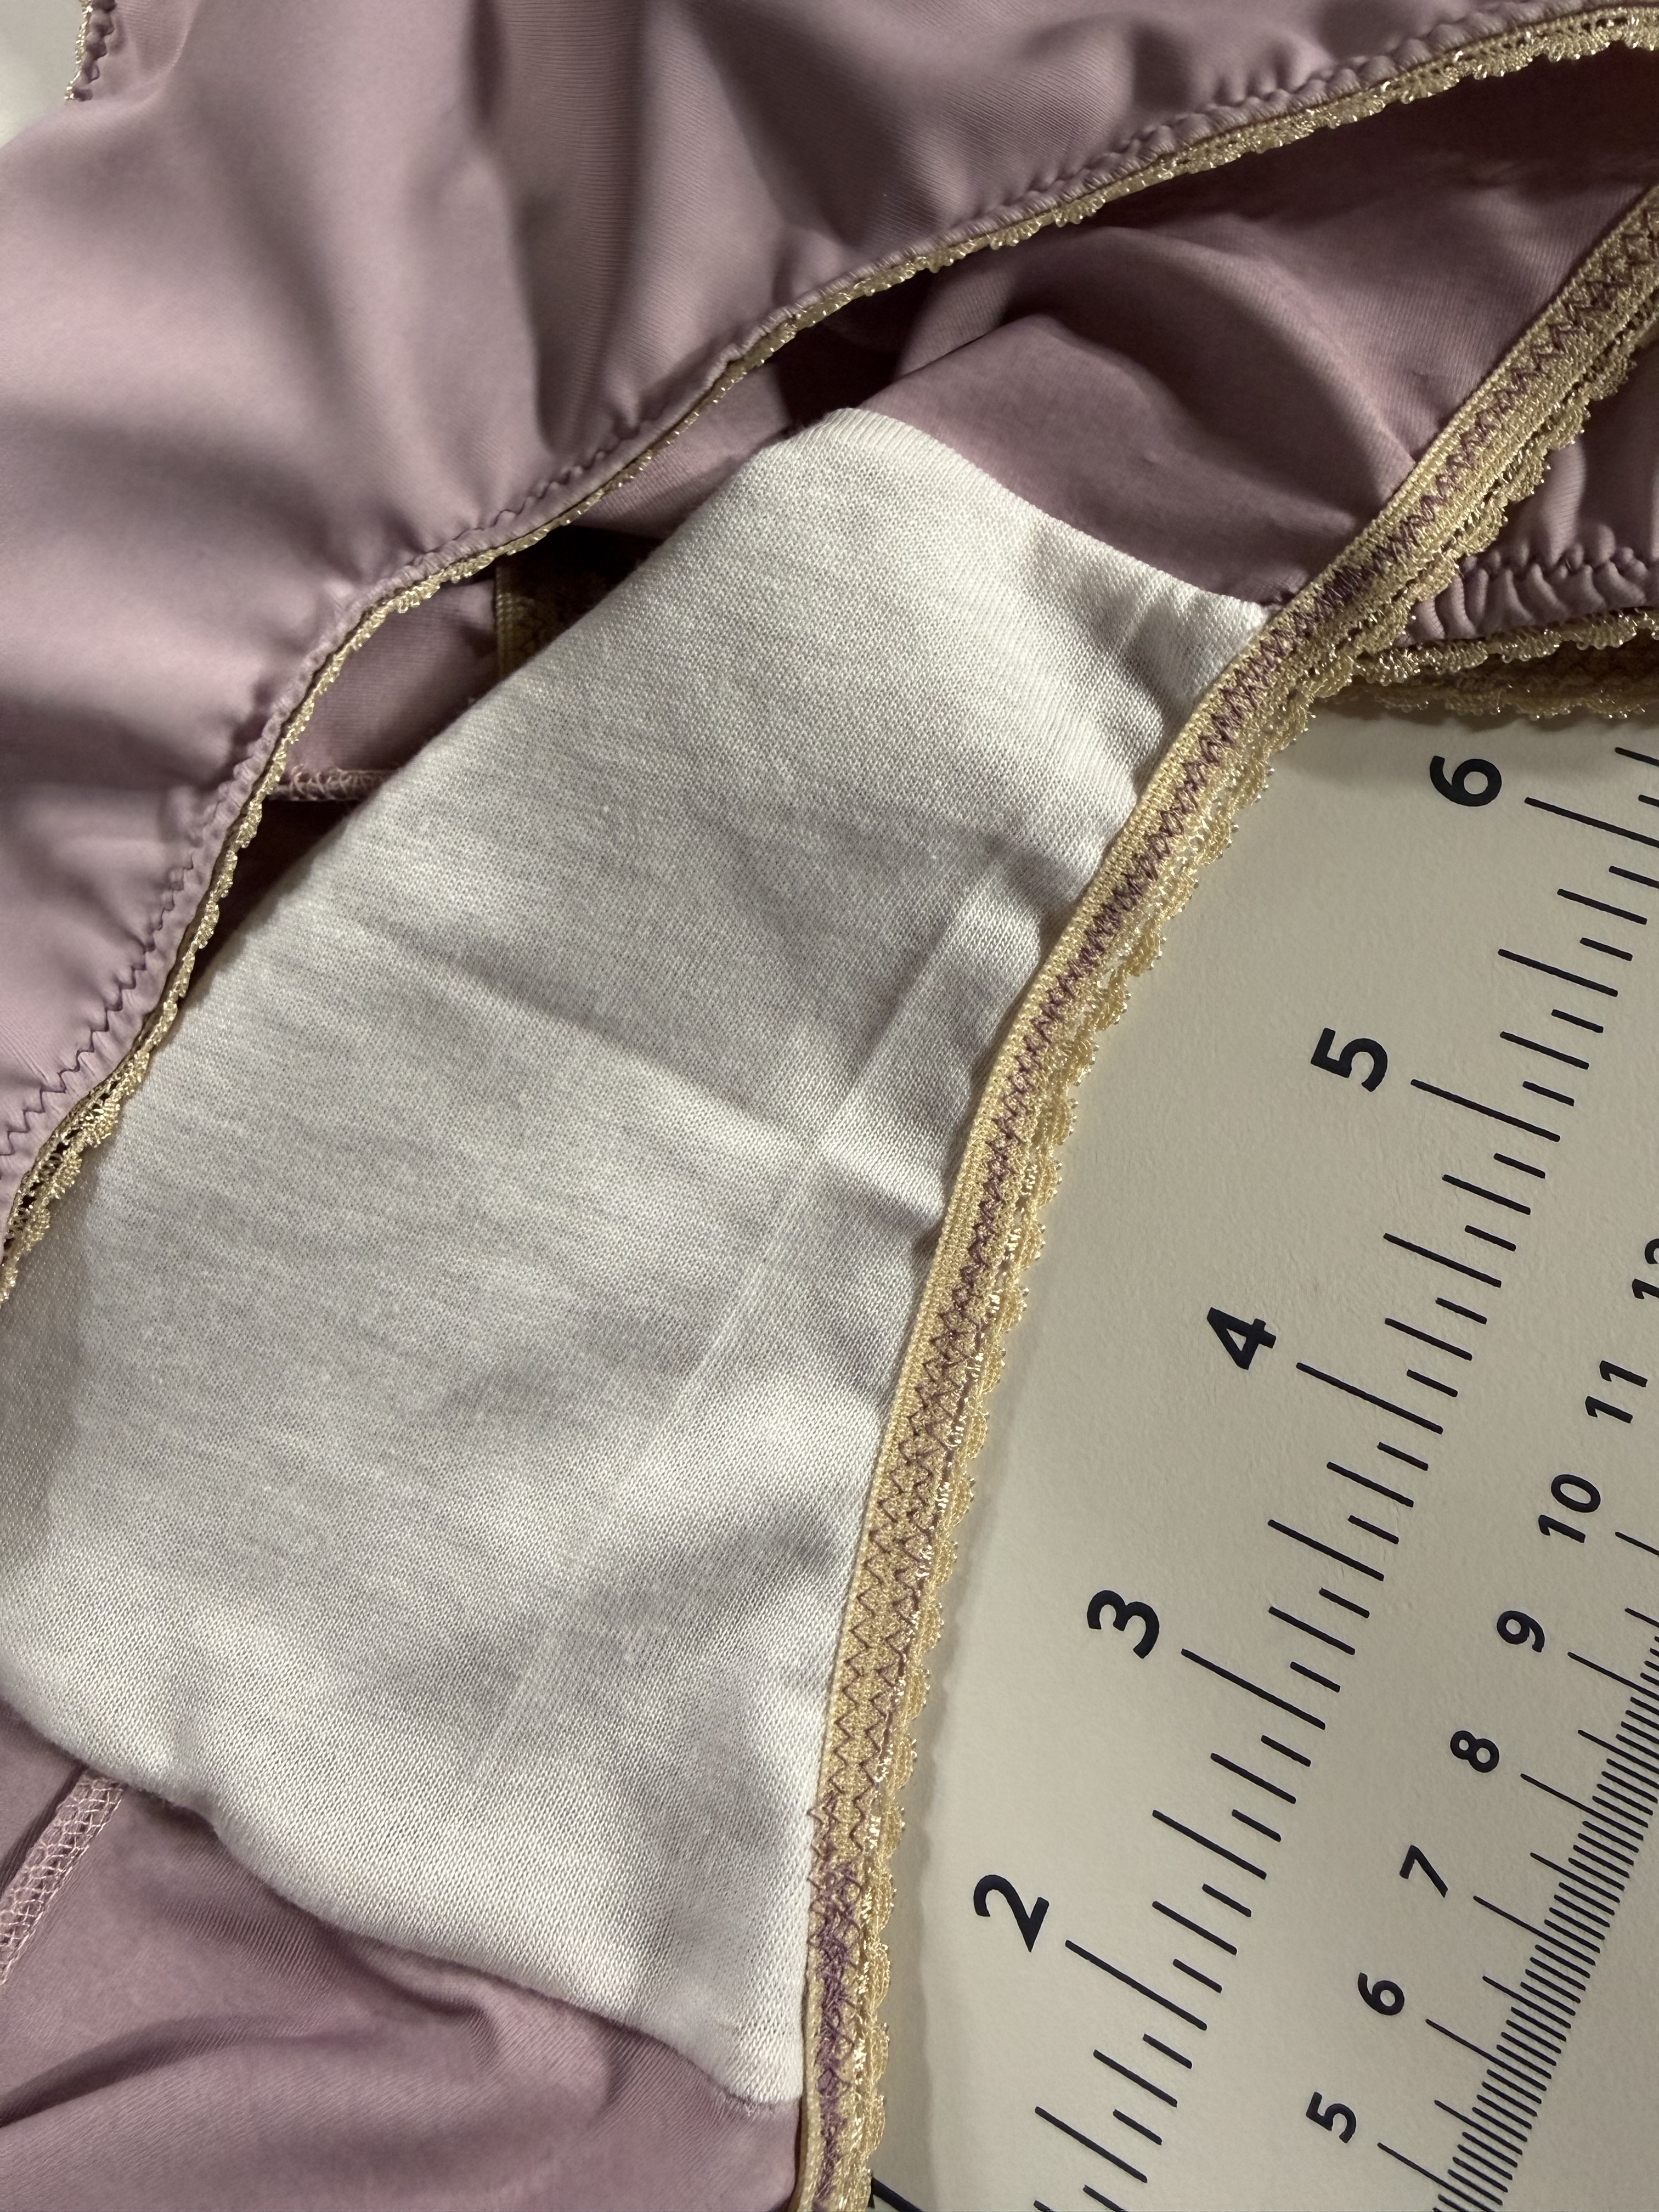
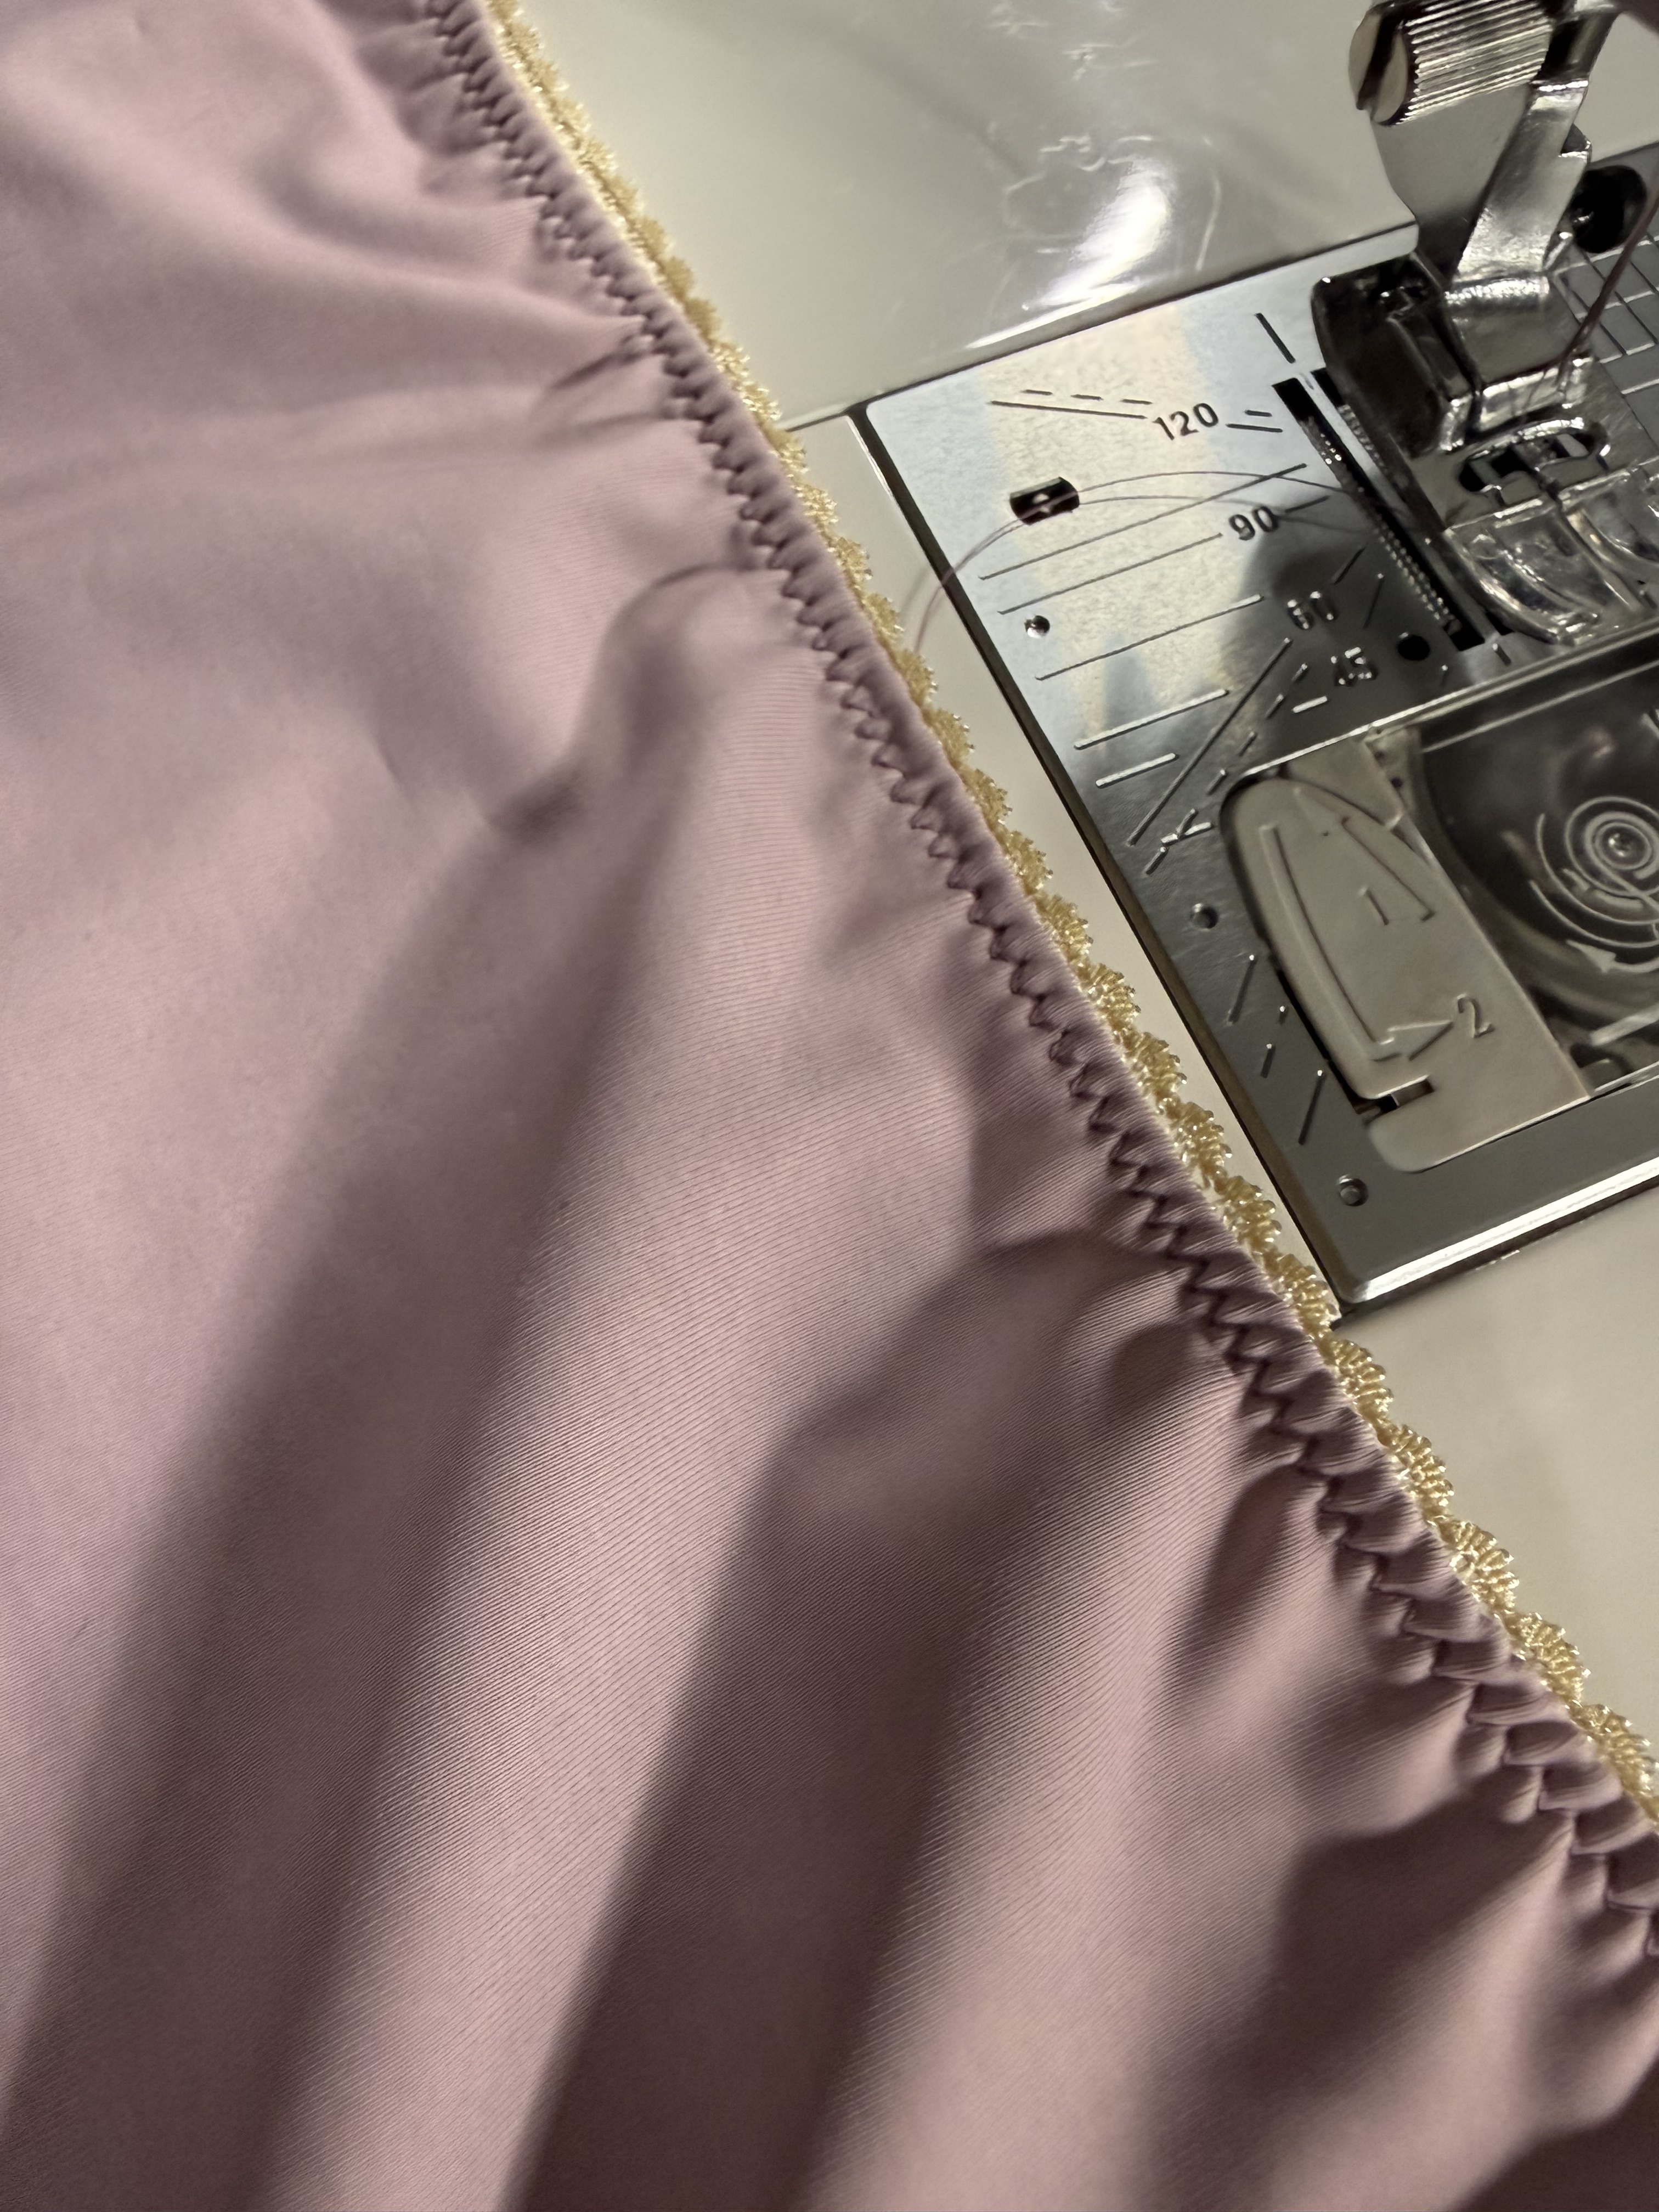
Now, the more eagle-eyed among you might notice that the seams of this Kisa are, ahem, not the best. You can see them pulling apart and the laddering of the threads is visible. I did re-thread my serger to color match the fabric, because I knew that long term I’d be happier with overlocked seams in matching thread compared to sewn seams, but my overlocker really didn’t want to go along with this plan. This particular machine has always been a bit funky with the tension, but I’ve never fought with it as much as I did trying to set up the stitches for these five tiny seams. I tried everything, and it was all still catawampus. At a certain point I was like fluff it and just decided it was as good as I was going to get and sewed it up. Yeah, that was a mistake, because all of the seams now have those fun ladder stitches all through them (I mean, if I was going for that as a design feature, sure. But I wasn’t). It was bad enough that I spent most of the next day trying to find legitimate serger reviews that wasn’t just something that an AI generated slop channel could put together by scraping product descriptions from company websites. Do I want to be buying a new machine right now? No, not really. But see my previous point about tariff issues messing with supply chains and prices to understand why I might be considering it sooner than later if things were truly dire. Anyway, I was plotting my weekend plans to go to a machine shop and look around but I decided to take a breath, reset back to the beginning, and try to fix the tension one more time. And apparently all it takes is looking at reviews for a replacement for things to behave because the tension settled into place beautifully and was the most balanced I’ve ever seen it on this machine. Why? I have no idea. Presumably because it knew it was real close to going to the naughty corner. But suffice to say that there (hopefully) won’t be any new machine reviews here anytime soon.
So, despite the fact that I’ve already written thousands of words in this post, there’s actually not much to say about the finished garment. It fits amazingly well, but that’s kind of it. However, since my goal was to see what I could learn about pattern fit, I do have a few takeaways. One thing I have noticed is it’s slightly wider in the hip than my self drafted underwear, though the rest of the pattern is a really close match in terms of the length and where all the curves fall. Wearing this pattern has been super comfortable, and I think it actually works better for microlycra than my self draft because of the added room around the hips. I tend to like my self draft best in fabrics with a good amount of drape, like cotton, rayon, or bamboo jersey, whereas the versions I’ve made in nylon fabrics have been ok, but never end up being my favorites. I think using the Kisa with synthetic fabrics that maybe don’t mold or drape quite as much as a jersey will be a great use for this pattern, and I can rely on my TNT self draft for the more pliable fabrics. I also noticed that the LilyPAD patterns have much wider back gussets than most other patterns drafted for the same size range. It really is quite similar to my self-draft, which has so many curves that are unlike any other commercial patterns I’ve tried that I’ve started to think I’m quite weird, but apparently no. So I’m really glad I made this pattern because not only do I no longer think I’m weird, I think this is a great pattern deserving of more hype. Objectively it doesn’t look like there’s a lot going on, but I think LilyPAD patterns really understand how to fit people who need larger pattern sizes, and where curves (even subtle ones) need to be in a pattern for it to work, and I really appreciate seeing that kind of drafting in a commercially available pattern.
Pattern Review
Pattern Description: This is a fairly standard brief style underwear pattern, with options for a standard gusset or a seamless front, as well as lots of seamlines and options to adjust the fit. From the designer: “The Kisa Knicker is a modular underwear pattern with options! This versatile knicker features various gusset widths for different hip shapes, multiple waist circumference options for each hip size, and is ideal for stretch laces. Great for beginner and intermediate sewists.” I wanted to try the seamless front, but due to fabric shortage, I went with the option for the standard enclosed gusset.
Pattern Sizing: The pattern is sized for hips 30” – 66”, which is one of the largest size ranges I’ve seen on the market. The sizes are numbered based on the hip measurement, which also makes it really easy to pick a starting size. I used a size 50, and it was a really great fit with minimal adjustments.
Were the instructions easy to follow? The instructions were very straightforward. I deviated when it came time to put in the elastic because experience has taught me that I will be happier with the end result if I put the elastic in the legs and waistband in the round, but the pattern recommends it is put in the legs while it is flat. Is putting it in round much more time consuming and really annoying if you are using fiddly underwear elastic? Yes, yes it is. But I also think it gives a much cleaner end result. One thing I did not like about the instructions was that there wasn’t any suggested elastic lengths. While I agree with the pattern that the amount of elastic needed is going to be dependent on the type of elastic and it’s stretch and recovery properties, I think that at least having a starting point and saying what sort of stretch percentage it’s calculated for would help (especially since a stretch percent guide is included). That way at least you could determine if you wanted to size the elastic up or down and get in the ballpark. I ended up going back to my elastic measurements from my self drafted pattern, which I think end up with slightly more tension/gathering on this pattern, but worked pretty well overall.
Did it look like the photo/drawing when you were done with it? Yes, it definitely looks like the line drawing!
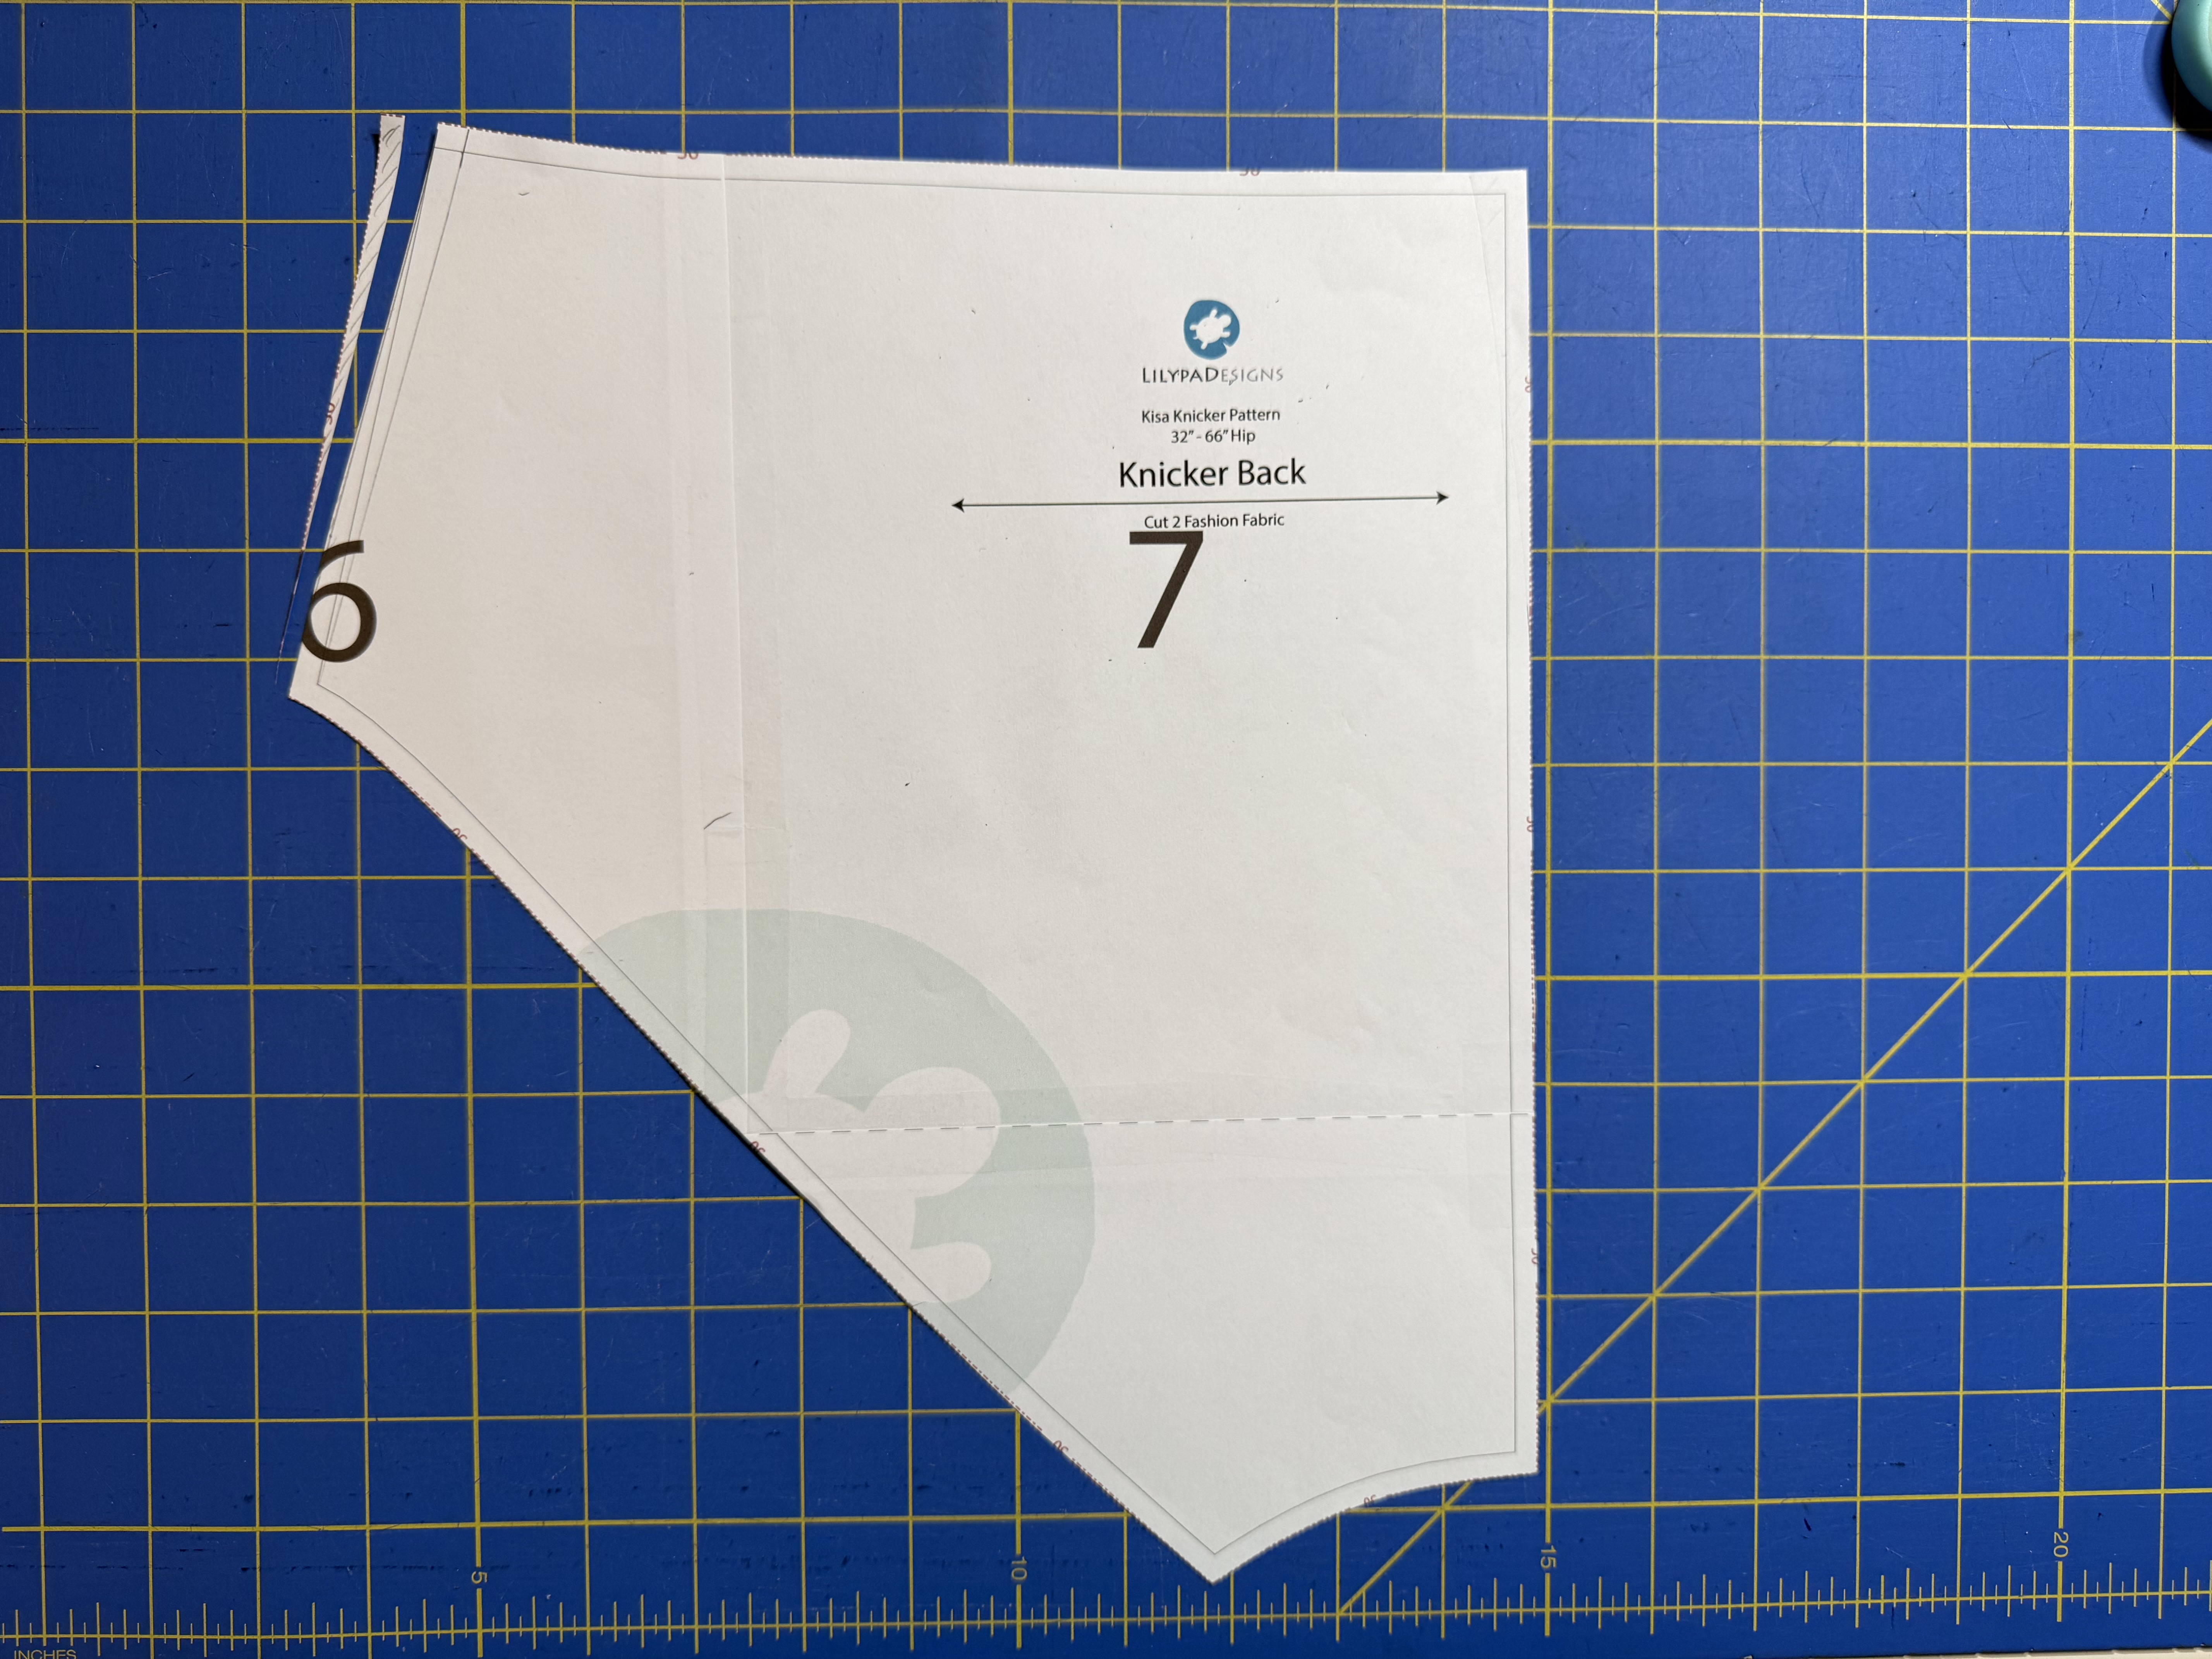
What did you particularly like/dislike about the pattern? I really love the shaping and drafting of this pattern. It’s really designed for coverage and with lots of seams to provide places to adjust the fit. I also love that it comes drafted with multiple gusset widths, which is not common, but super useful. I appreciate that the pattern widens the gusset quite a bit as it goes to the back; I find most patterns don’t do this, and I’m often left doing quite a bit of pattern drafting and alteration to get the kind of fit that is included with the Kisa. I also like that the pattern has options for a seamless front or a front with a gusset seam, however, I do wish the seamline for the fully enclosed gusset was indicated on the pattern. On the plus side, the instructions do go into a lot of depth about how to adjust the pattern for fit, and also how to make style changes as well. I think this pattern is really intended to be a blank canvas that can be modified by the user to create fun and innovative styles. There are a few marks to indicate where style alteration seamlines might go, but I don’t know if this is made clear in the instructions, and could be confusing for newer sewists. Of all of this commercial underwear patterns I have tried, this was the best fit straight from the pattern, so the basic design is completely offset by the marvelous fit. I only have a few dislikes, and they are minor and can be fixed in the next version. I have decided I’m not a huge fan of the center back seam for underwear; it’s rather annoying if you have to sit a lot for work. I was using leftover fabric from another project, so I didn’t have enough fabric to cut on a fold anyway, but in the future I will cut on a fold unless I really need to have a seam for design purposes. The center back seam is drafted as a straight line, with the idea you can change it to a curved seam if needed for fit, but I was able to get all my shaping from adjusting the side seams, so this will be an easy modification for me. One other dislike is how far back the front gusset seam sits; I find it really uncomfortable to sit on all day and would like to make the gusset piece longer so the seamline moves forward a bit. I’m sure this won’t really help as much with the “seamless” front look, but, who’s looking that close there anyway? One other minor dislike is that I wish the pattern had the front piece drafted on the fold (less paper printing and easier to adjust symmetrically), and that the continuous front pattern piece is much harder to cut fabric economically. But these are minor issues and it’s easy enough to re-draw the pattern in a way that does or doesn’t include personal preferences with regard to the pattern layout.
Fabric used: I used leftover microlycra from a Bra Builders kit, and lingerie elastic from Wawak. I wanted to test this elastic so I figured a first version of this pattern was as good a place as anywhere to use it. I really like the contrast with the color of the microlycra and I think it looks pretty good! I was going to try the seamless front gusset and also considered doing the back piece on a fold, but I didn’t have enough fabric to do either of those options, so I went for the version I made which had the standard two seam gusset and the seam on the center back.
Pattern alterations or design changes you made: I only needed to make a few fit alterations on this pattern. I removed 1/4” from the top of the back side seam to narrow the waist, and I narrowed the front of the gusset slightly more than the narrowest version included in the pattern, and raised the front leg opening a bit to continue that more narrow curve. Next time I am going to lengthen the front of the gusset piece (shift the seam forward) and cut the back on a fold (fabric amount permitting). I may also shift some of the other seamlines to make one of the style variations suggested by the pattern. Overall these changes are pretty minimal for a great fit, and I think this pattern is going to rival my TNT self-drafted pattern for supremacy in my underwear draw moving forward.
Would you sew this again? Would you recommend it to others? Yes and yes! This is the best fit I’ve gotten from a commercial underwear pattern, and I will definitely be making it again. I really love how it turned out and I think it’s a great deal because it includes so many sizes. Highly recommended to anyone looking for a basic underwear pattern with nice coverage and options to adjust for great shaping.
Conclusion: Overall I’m very pleased with this pattern and how it fits. The drafting is great and I love that this pattern is really focused on getting a well fitting base that you can modify for fun designs later. I do want to make some small adjustments before my next version, but overall I’m very pleased with how this turned out and plan to make this pattern a lot in the future.
Don’t be surprised to see more versions of the Kisa pop up soon; I’ve got a few more finished objects ready to post about, and several other projects in the works. I may even decide to try using the Kisa to mash up with a few other patterns I’ve been eyeing to get the design/fit combination I am hoping to achieve. I am excited to try and use it in the “blank canvas” spirit in which I think it was intended, so we’ll see what I decide to do with it next. And I’ve got even more finished projects to write far too much about, so hopefully more posting about other projects soon!

One thought on “Adventures in Bra Sewing: LilyPADesigns Kisa Knickers Pattern Review”