Even though I have been really enjoying my self-made bras and self-drafted band, I’m still working on getting to the prefect fit. I have achieved a lot of the metrics of good fit – the center front is tacking, the band is in place and generally smooth, the straps stay on, the breast tissue itself isn’t popping out of the cups… But I still have an issue where the bras tend to slide down during the course of a day, especially if I’m sitting a lot or in the car for a long time, which changes the posture quite a bit compared to when I’m standing. From what I’ve gathered by watching a lot of fitting videos and from some of the presentations at this year’s Bra Bee, this means I either (a) have the wrong wire size, (b) don’t have enough tension/spring on the wires, (c) have too small of cups, (d) some other issue I haven’t really identified yet (possibly related to wire and cup rotation…), or (e) some combination of the above. Since the theme of this year’s Bee was “fitting bands” I decided to try a few new patterns to see if I could end up with a better band fit and also so I could play around with wire spring and a few other things to try and get to an even better fitting bra. The pattern for this year’s Sew Along was the Marlborough Bra, but the Orange Lingerie brand has generally been recommended for people who have the opposite shape and fitting needs than I do, so I opted to try two different patterns – the Josey Bra by La Bella Coppia, and the Lusamine by LilyPADesigns. I worked on these in tandem, and wanted to do more in-depth posts about the fitting process, but I’m at the point in the year where I had to make the choice between sewing and blogging, and sewing has been winning out. So instead we get finished project deep dives, which I guess is ok. I’ll focus on the Josey today and look at the Lusamine in an upcoming post.

The Josey Bra is sold as a PDF pattern at Bra Builders in two size ranges – the Josey and the Josey Plus. Although this pattern has rave reviews from a lot of people who’ve made it, it’s size range is a bit limited and focused on the larger wire and cup sizes, so it might not be a pattern I would recommend to everyone. The Josey has you pick a frame based on underwire (UW) size and your underbust band measurement, then use the cups that come with that underwire. The Josey comes in 44UW-52UW with band sizes to fit 27″-42″ and the Josey Plus 54UW-60UW with bands for 29″-46″. For the Josey this anticipates a Horizontal Hemisphere (HH) between 9.25″-12.25″ and a vertical hemisphere (VH) of 8.0″-10.0″ and the Josey Plus expects 12.25″-15.75″ HH and 10.0″-12.25″ VH. Of course, my underwire and frame were the smallest size on the Josey but my cup sizes put me in the Josey Plus. I was hoping I could get away with just using the Josey, so I started with the 44UW frame, 36 band (sizing down), and blended 44/52 cups.

It’s a pretty standard 4-piece cup design, so it’s similar to the Cashmerette Willowdale, Pin-up Girls Shelly, LilyPADesigns Labellum, B,Wear Margareta, and a lot of others similar styles from other brands. Where it differs, really, is the way it sizes the pattern pieces and how it has you select band and cup sizes. My wire went with the smallest cradle for the Josey pattern (44UW and I use a 44 vertical), so I started with that for a fitting band. According to the package I should have used a 38 band, but I went with the 36 because I always end up sizing down my bands and because it was a better match to my self drafted band.
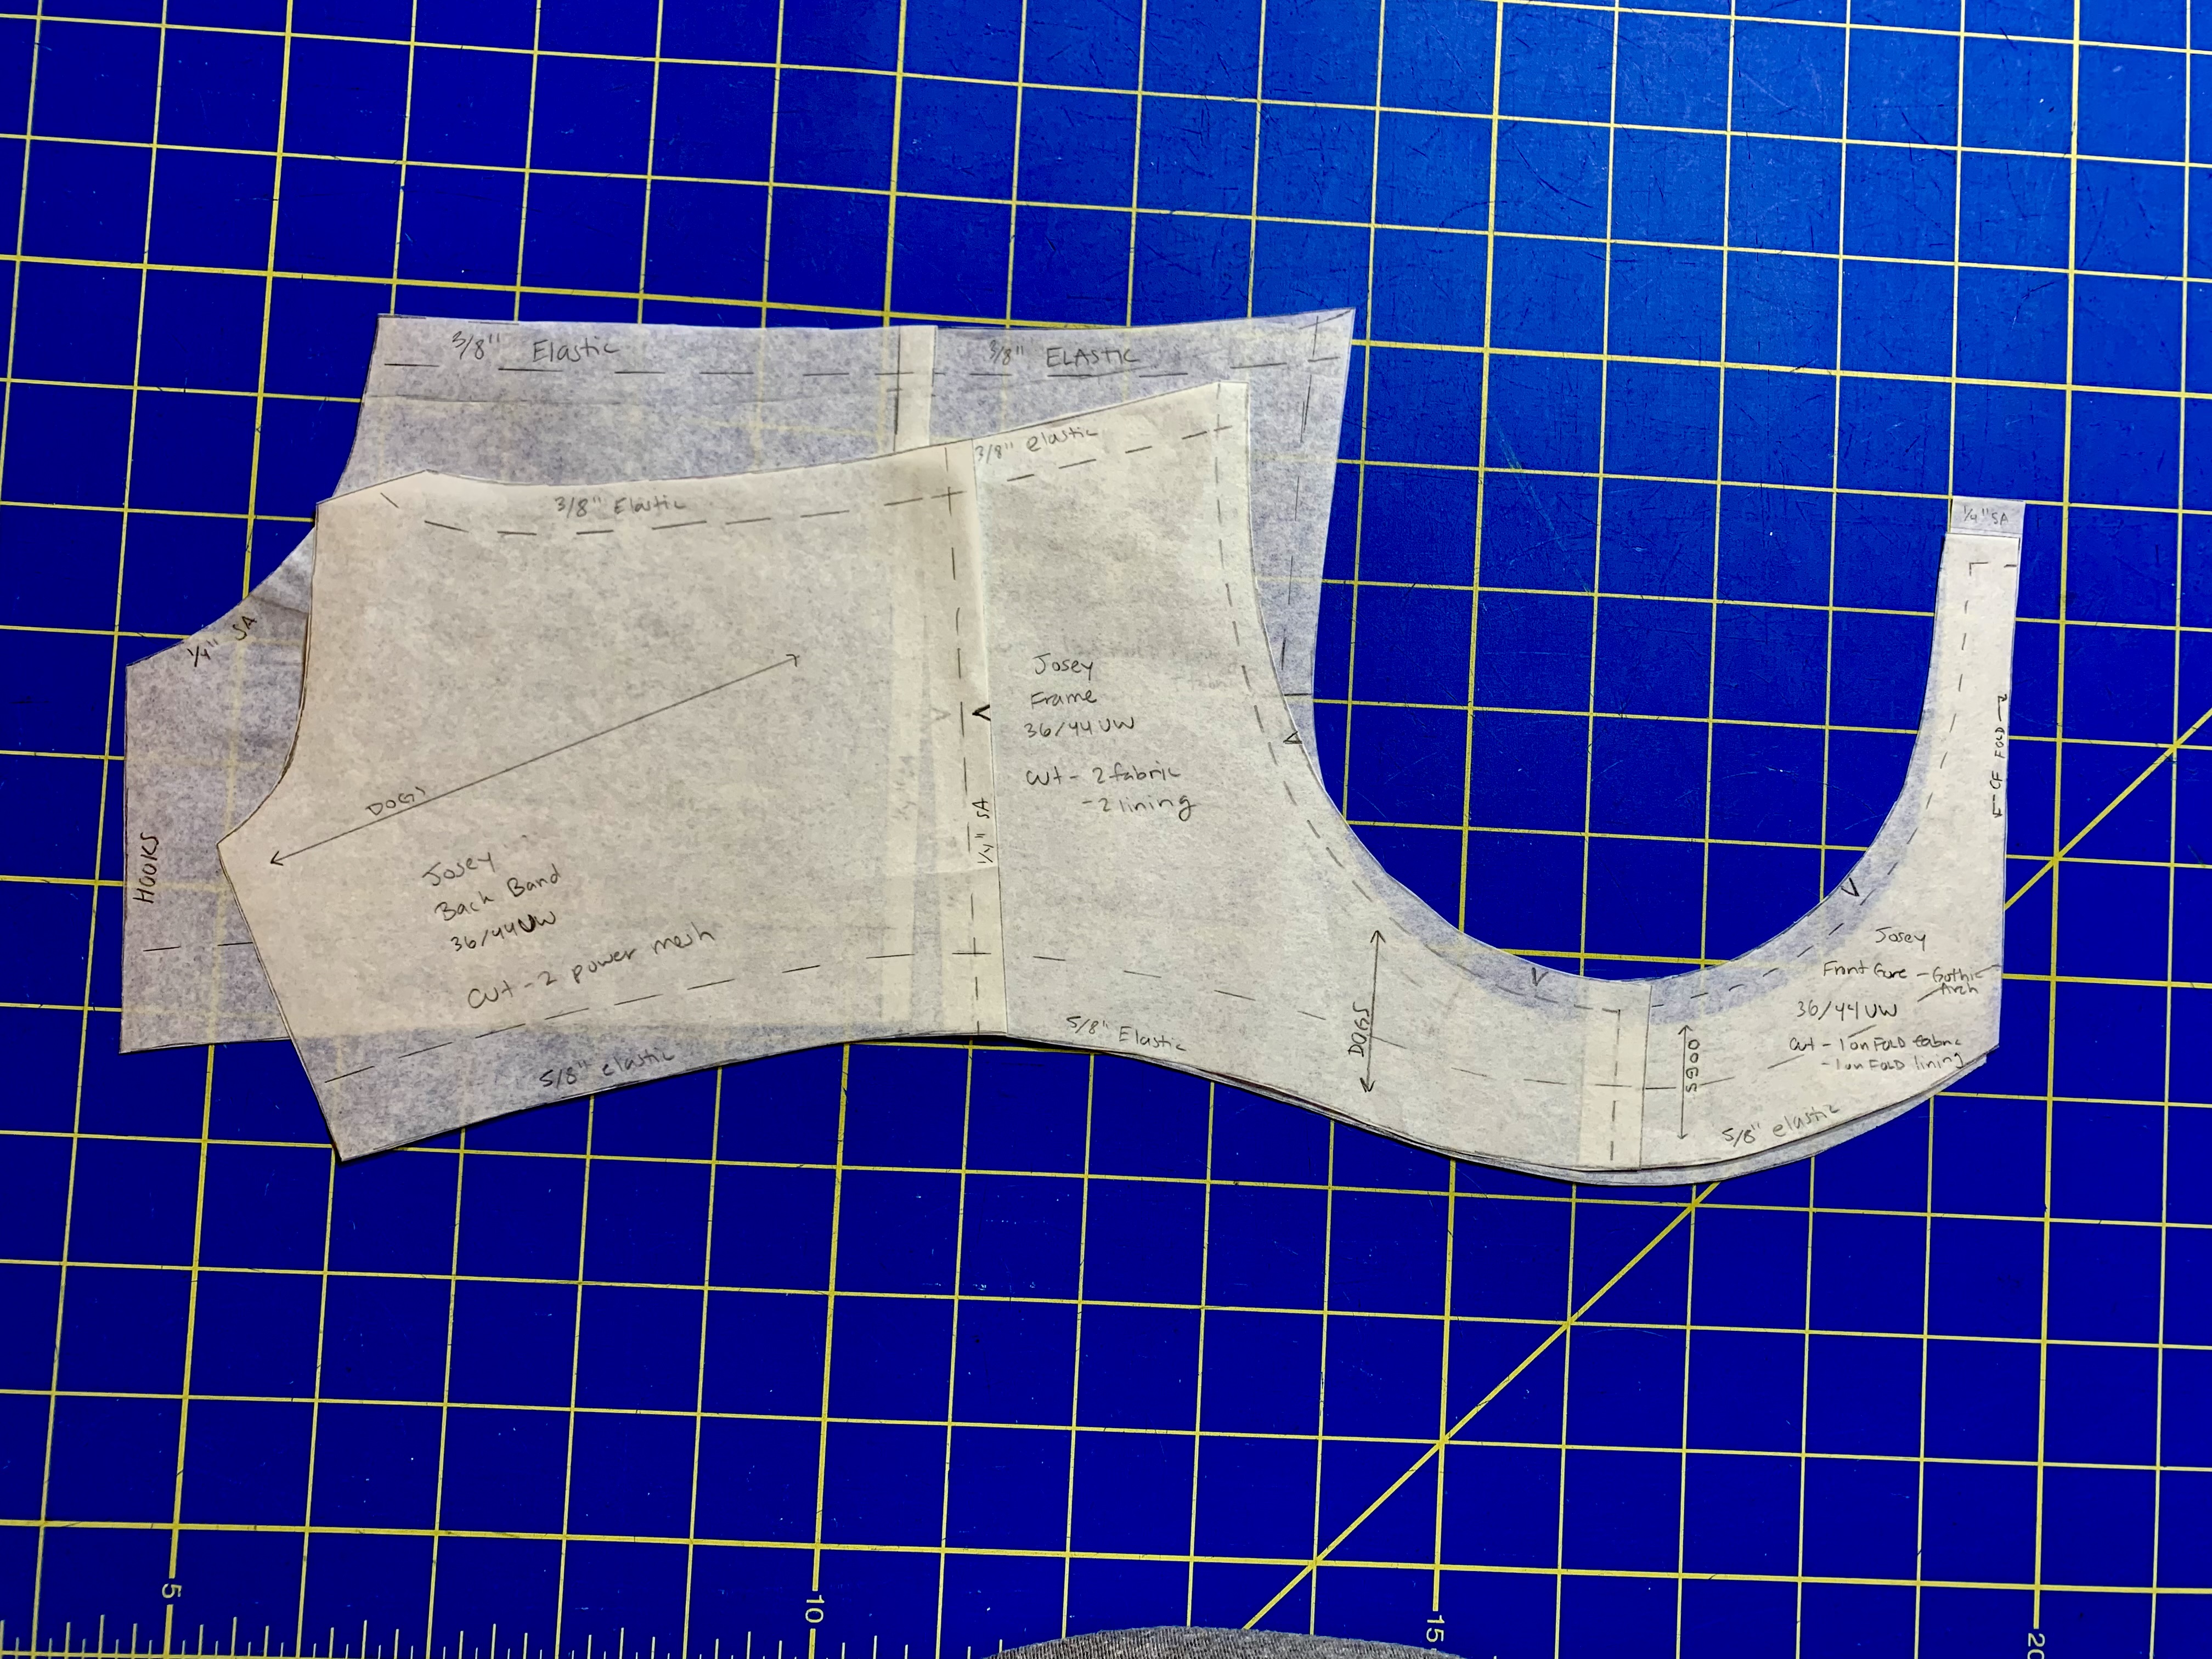
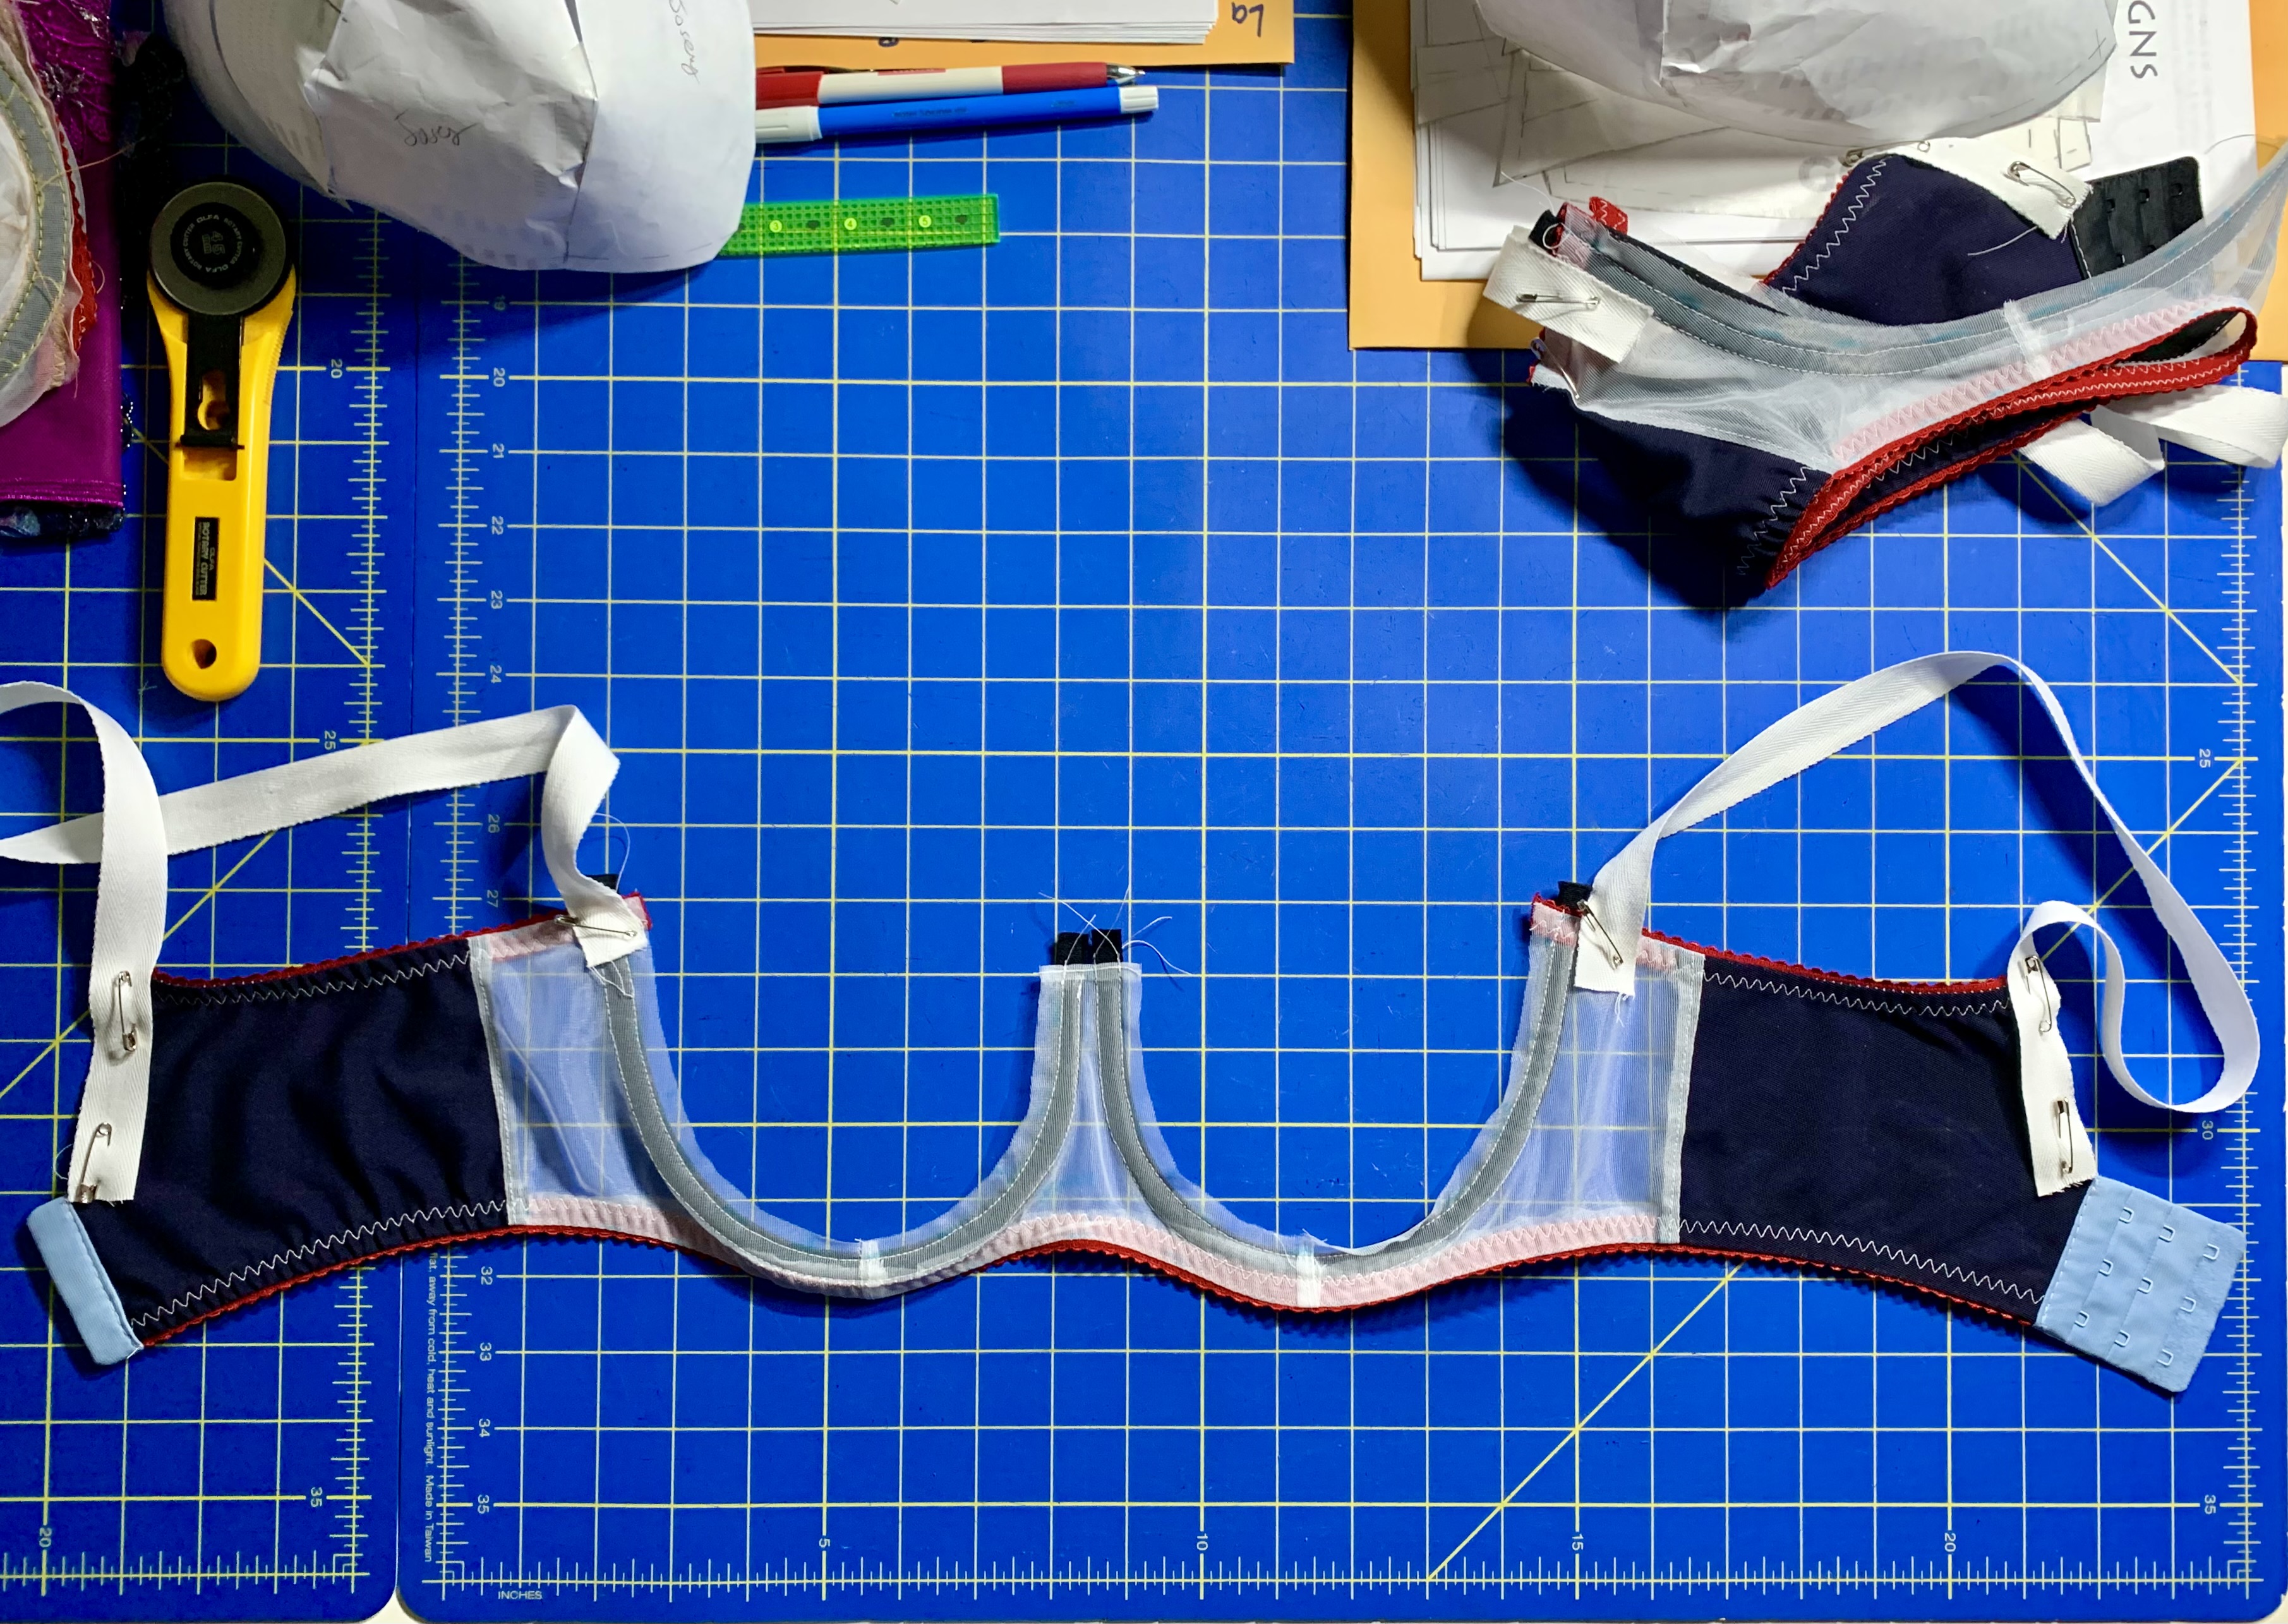
You can see the overall band height is a bit less, and you can see the added wire spring, but otherwise pretty similar, actually! So I made a fitting band to test the fit without the cups.
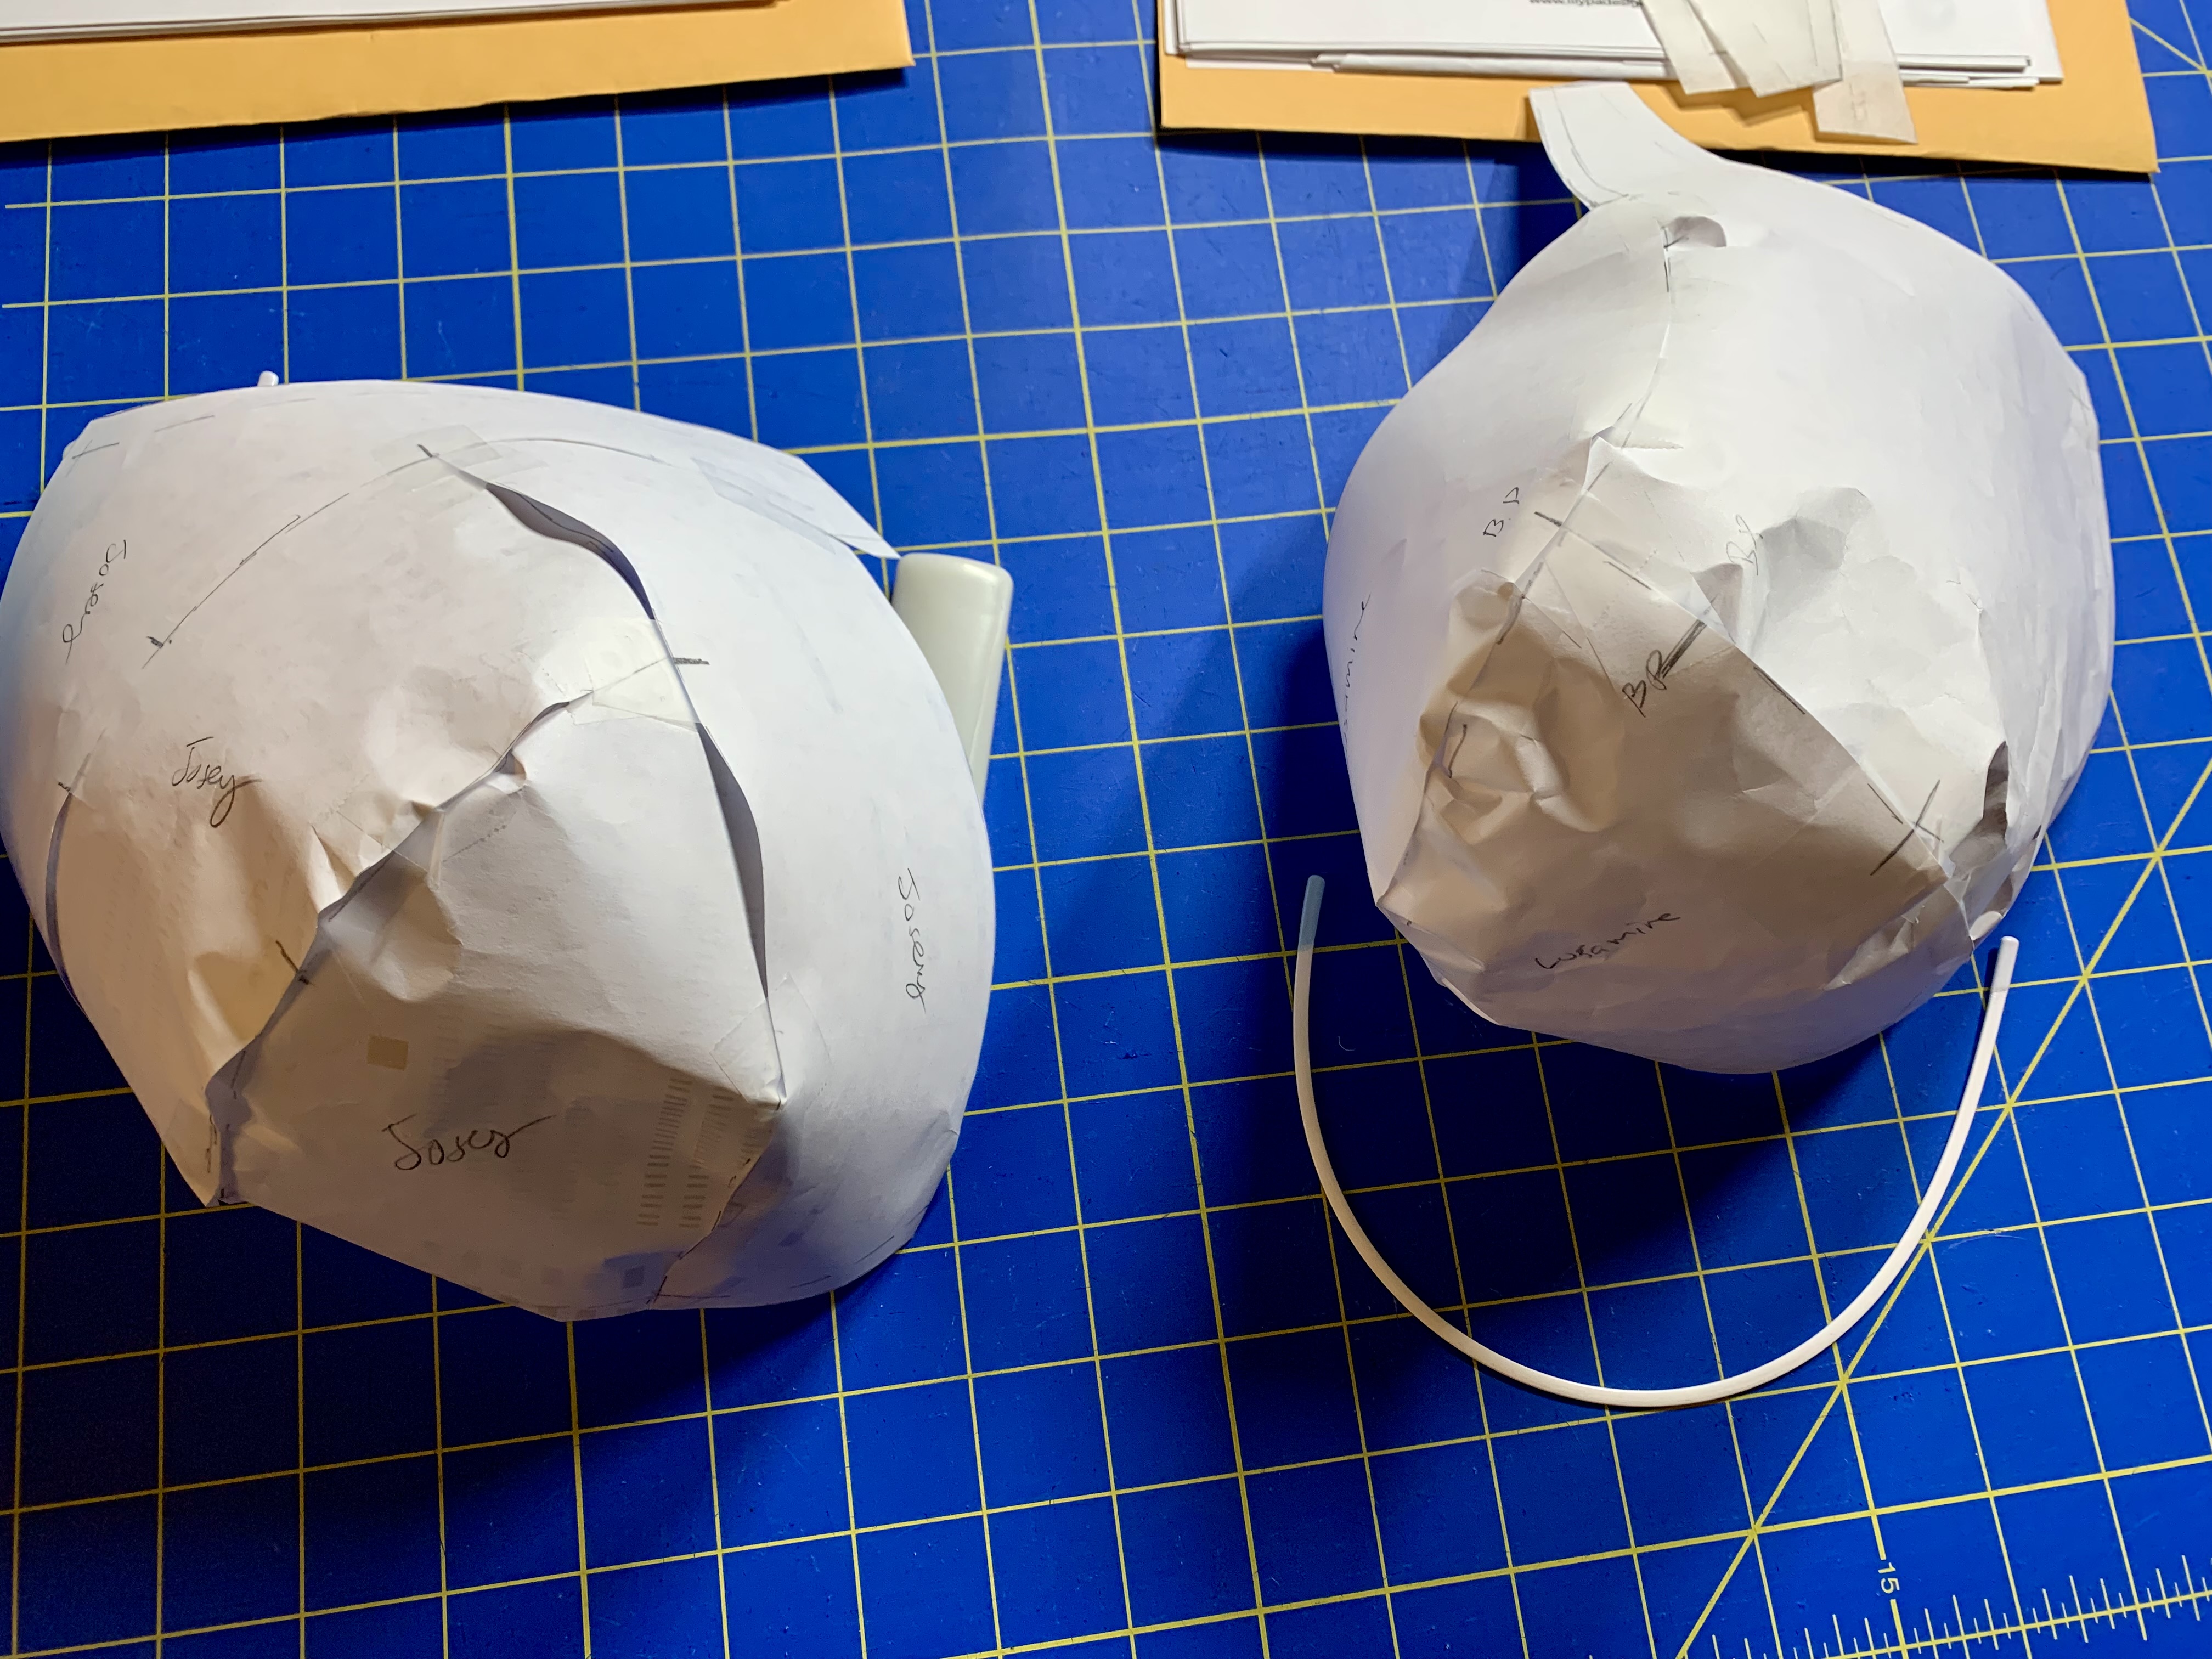
Y’all – I cannot describe how shocked I was by how well the fitting band actually fit. It was literally perfect with no adjustments needed – even better than my self-drafted band! It’s not an exaggeration to say I felt like I was on the road to an easy fitting project and was already convinced this was going to be *the one* that magically fit without any further alterations. I even made up a paper cup (left below) and it seemed like it might be just about right.
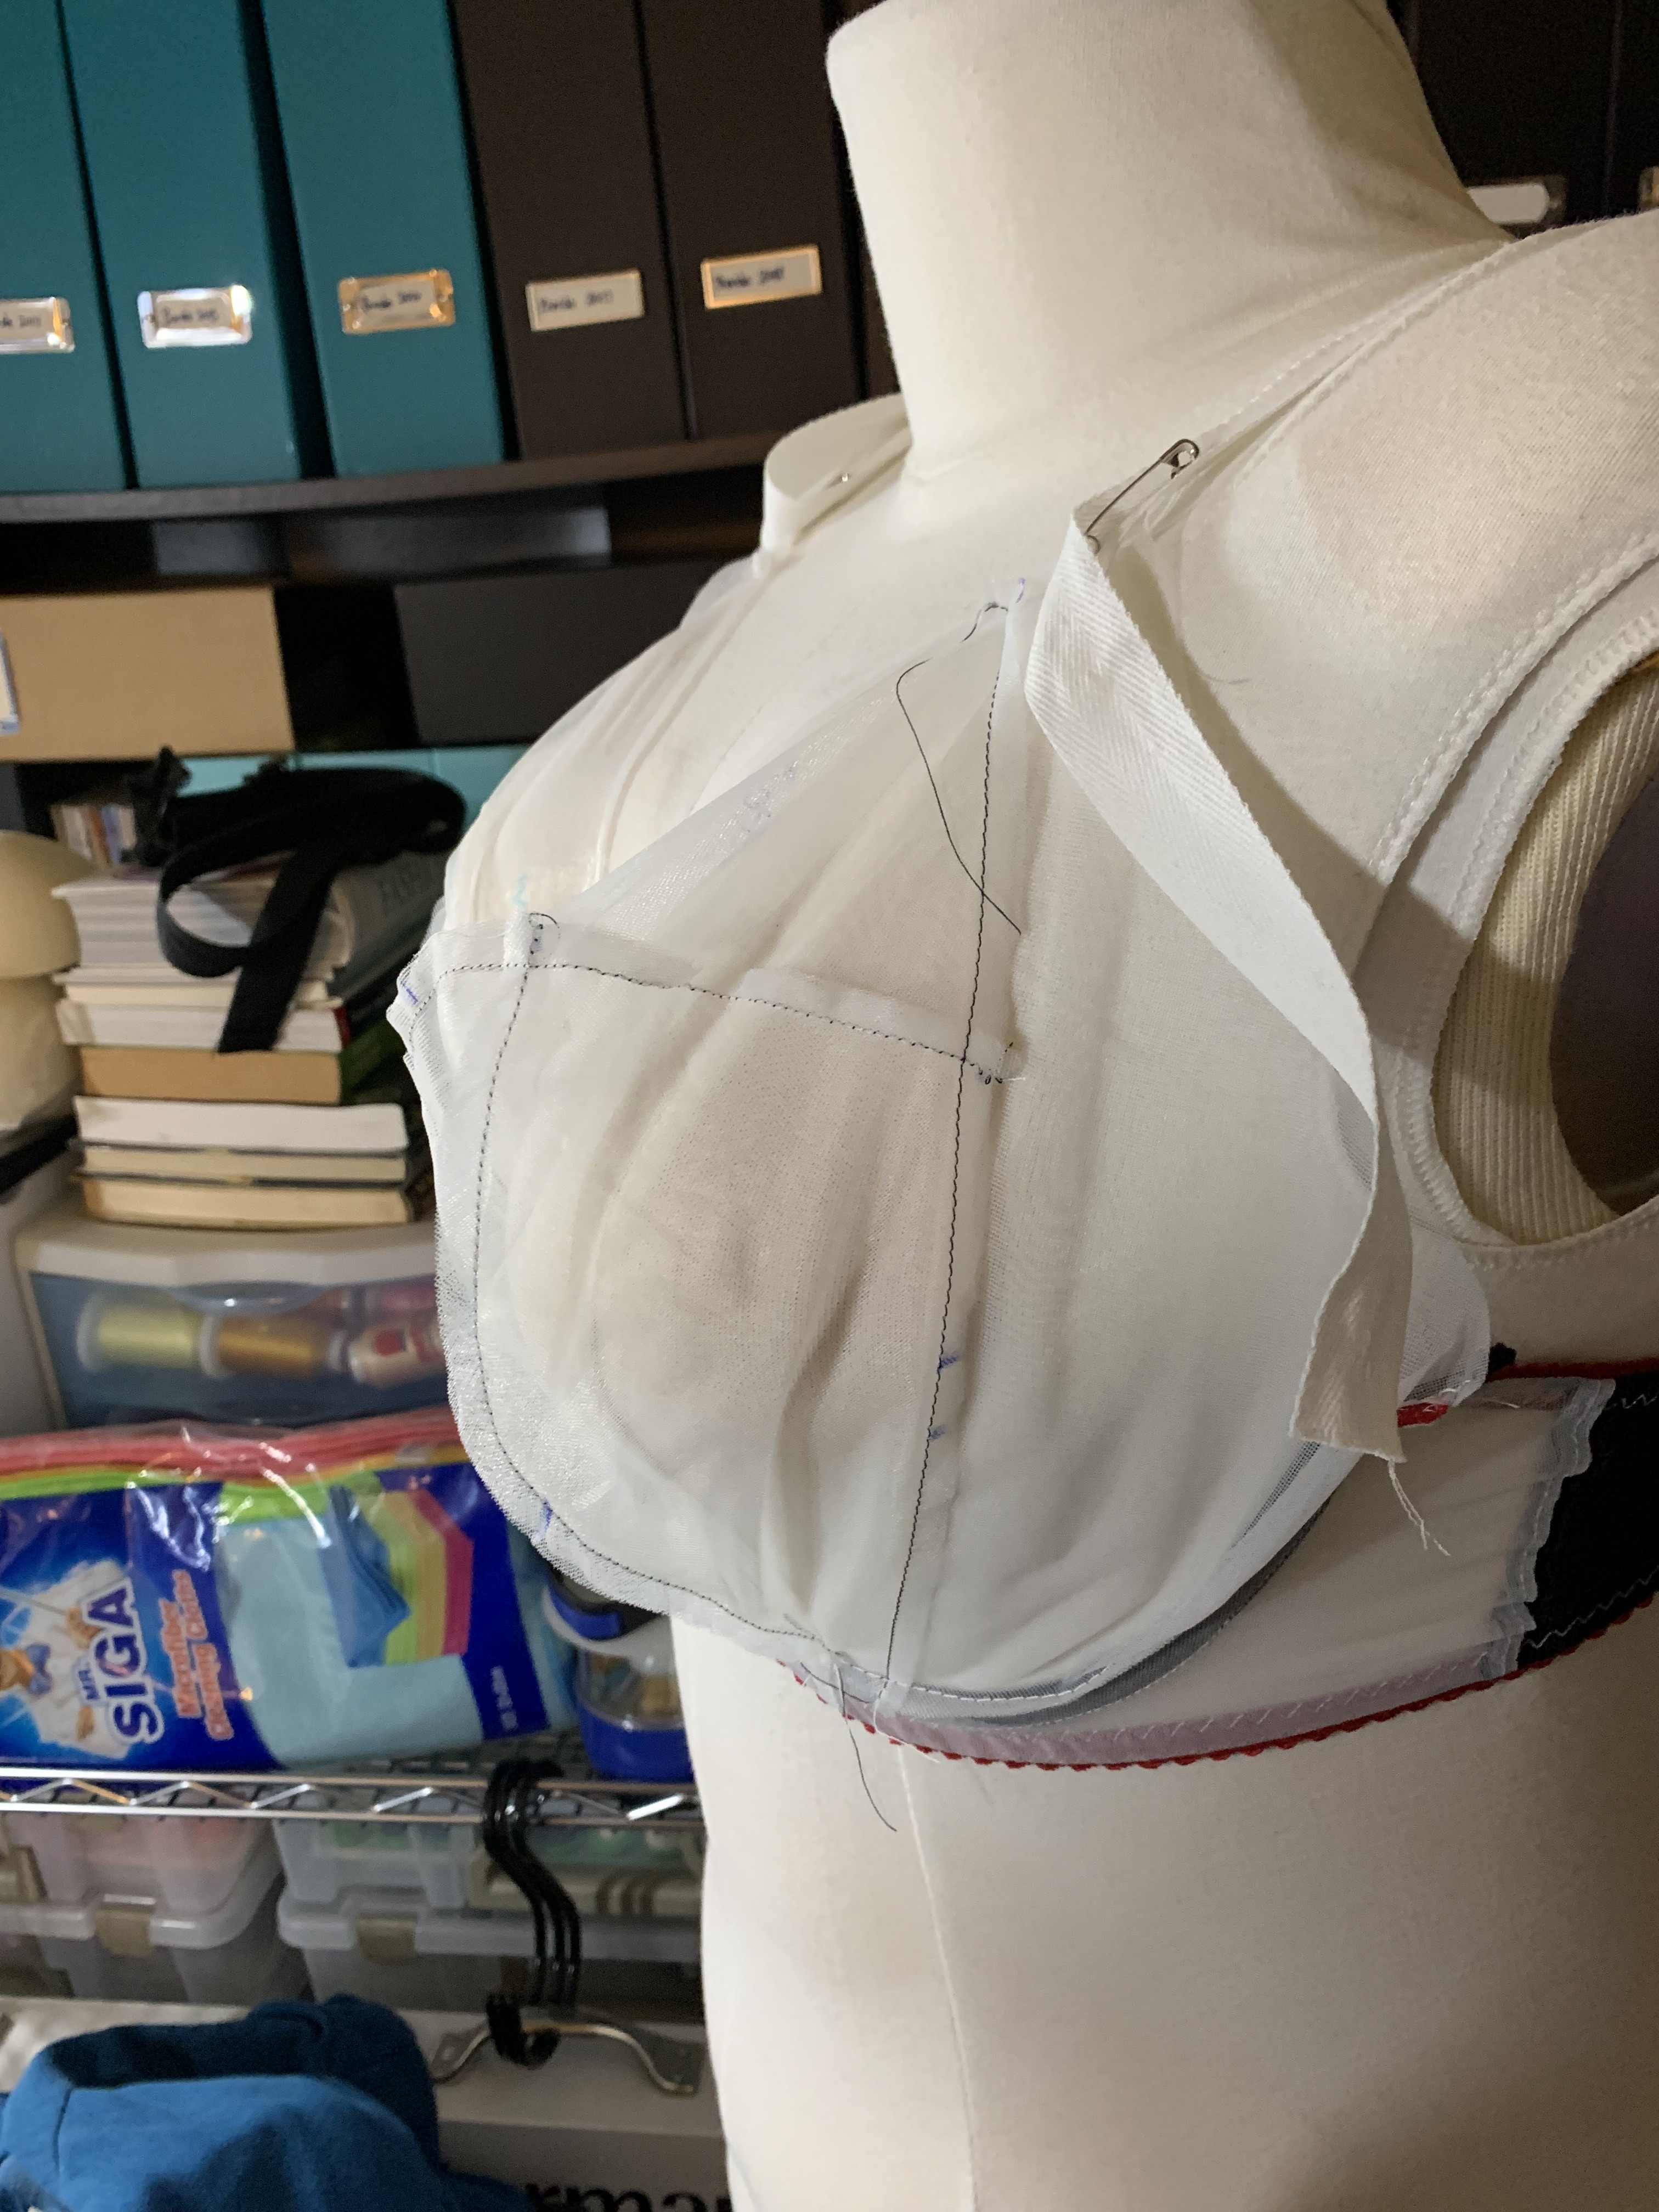
Yeah, no. That’s just not how fitting cups works for me, like, ever. I will say the first cup didn’t have the worst fit but as I had suspected (well, as the pattern literally told me), it was too small. I was getting a double boob along the line of the power bar and the smushed up double fold of the breast tissue in the bottom of the cup. Not great. I mean, it looks fabulous on my dressform, but if it’s fitting my form without needing foam inserts padding the cups, it’s waaaaay too small for me.


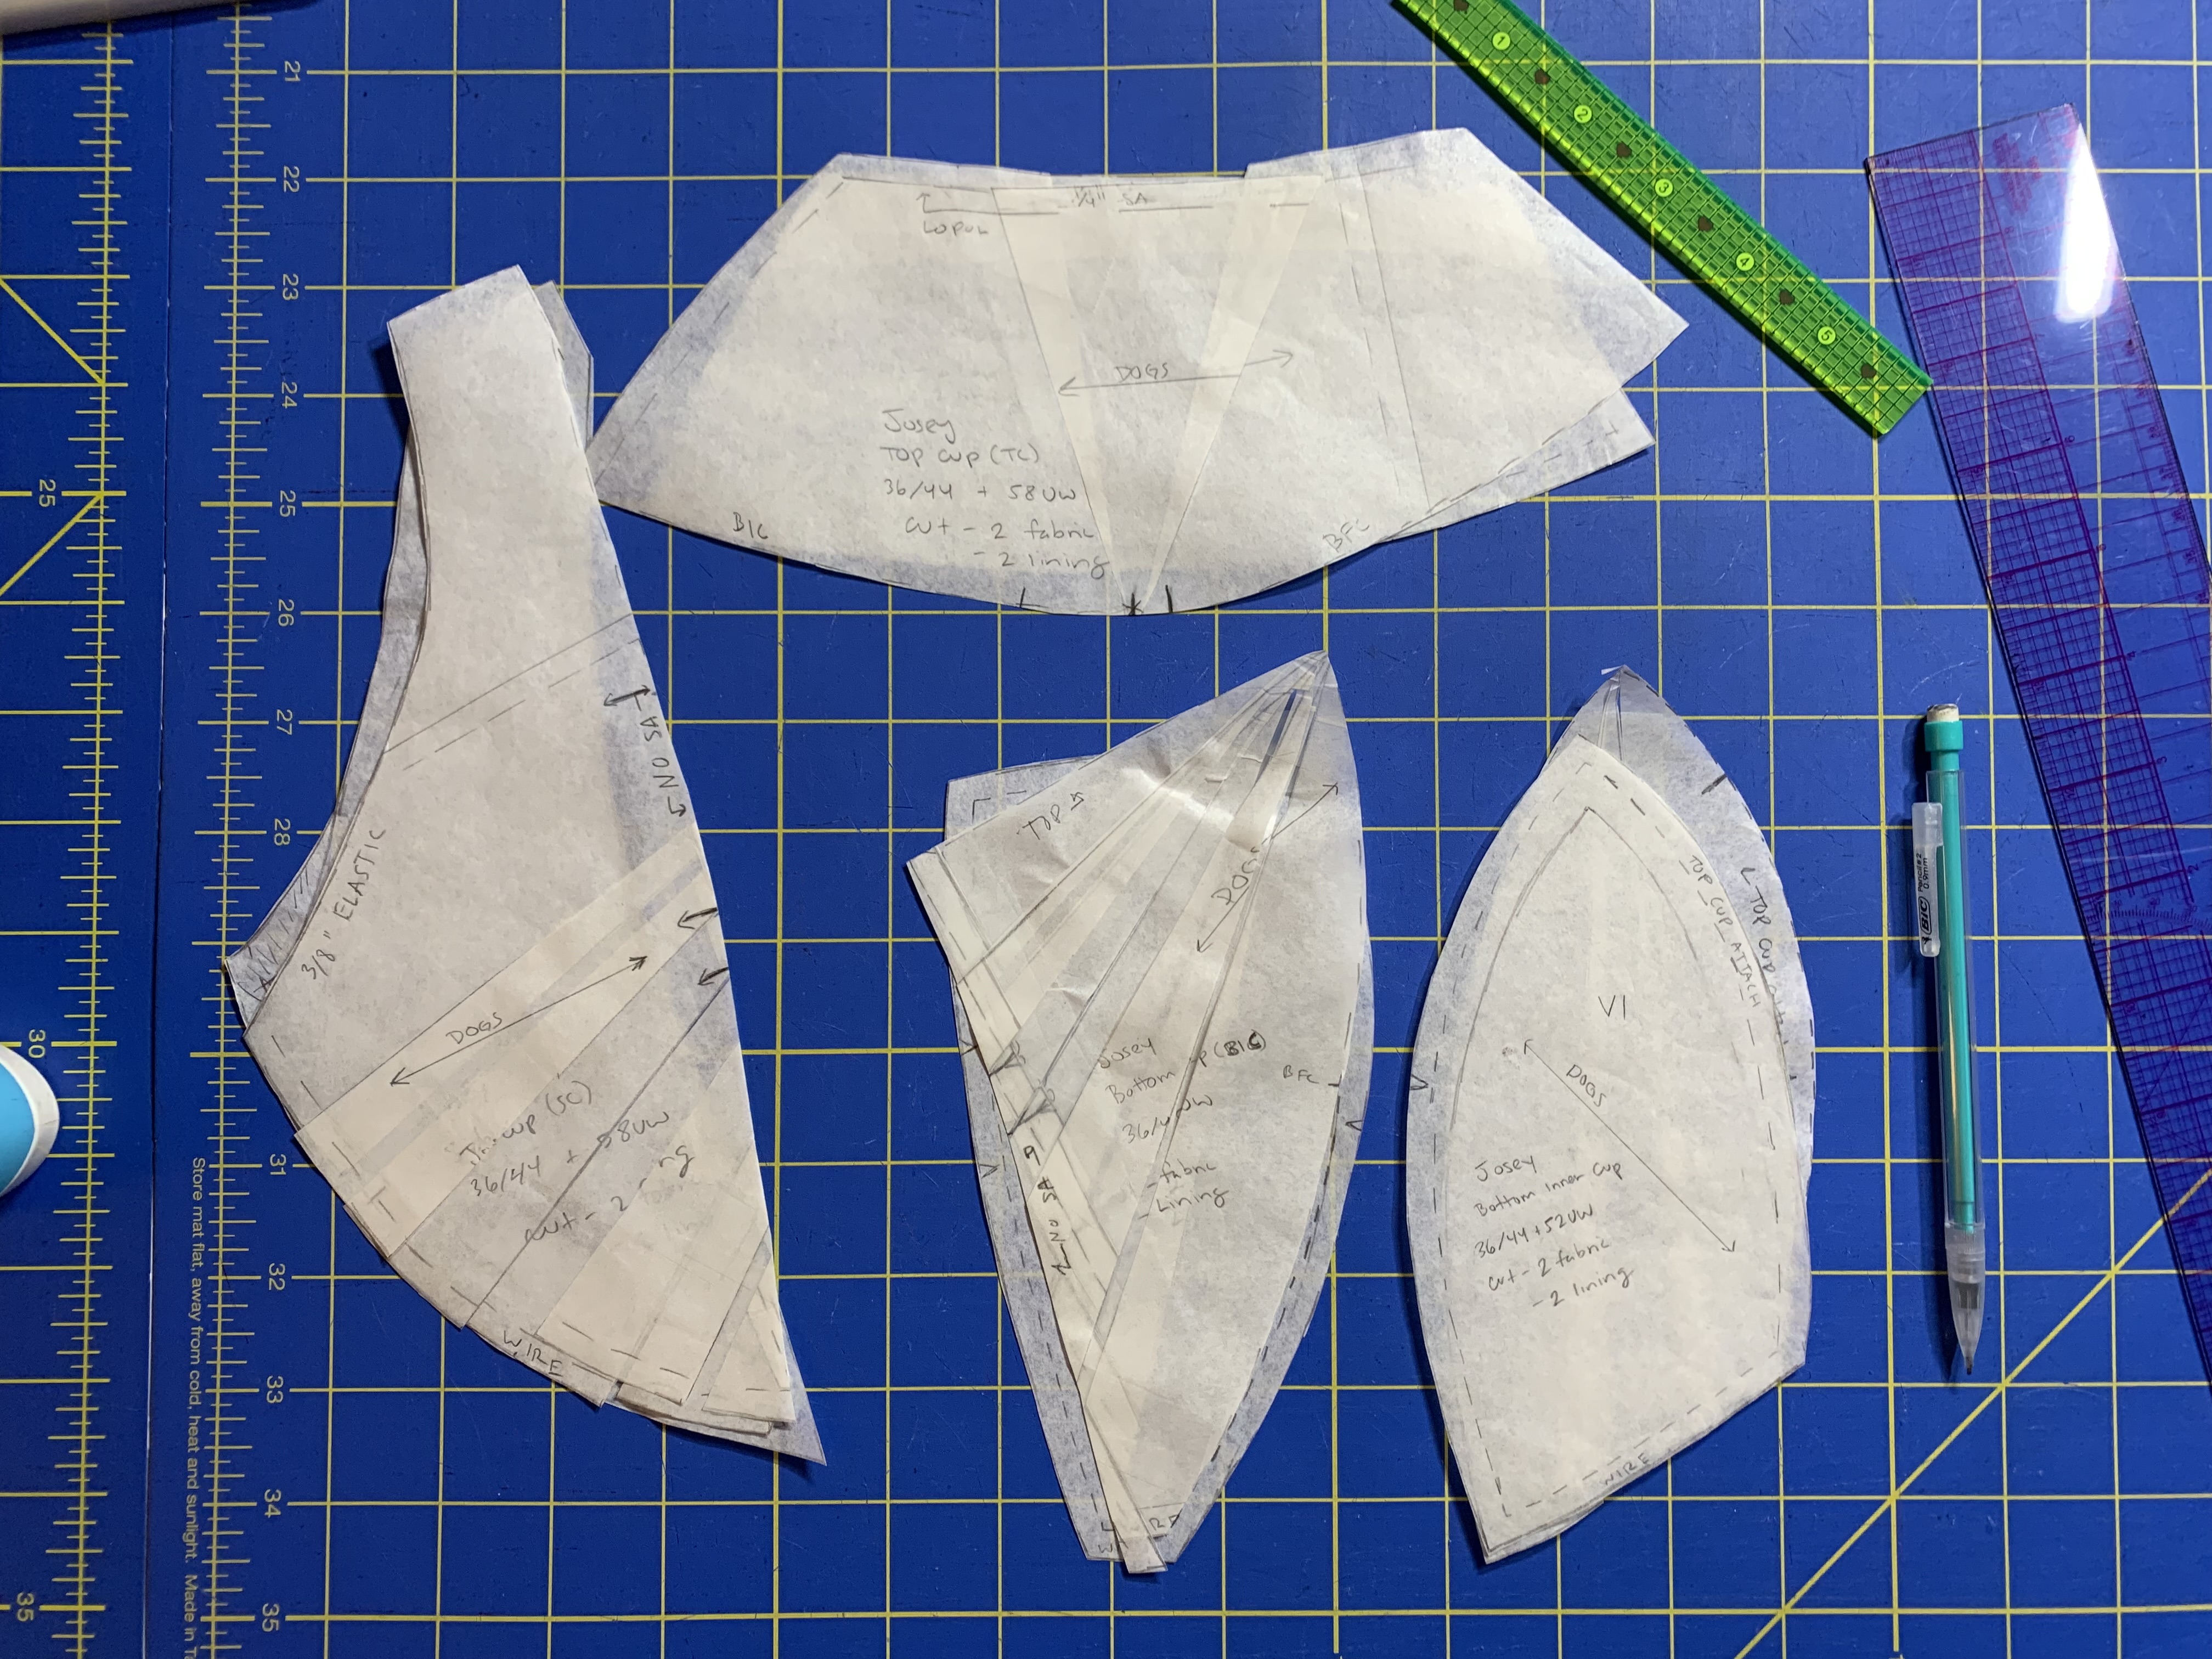
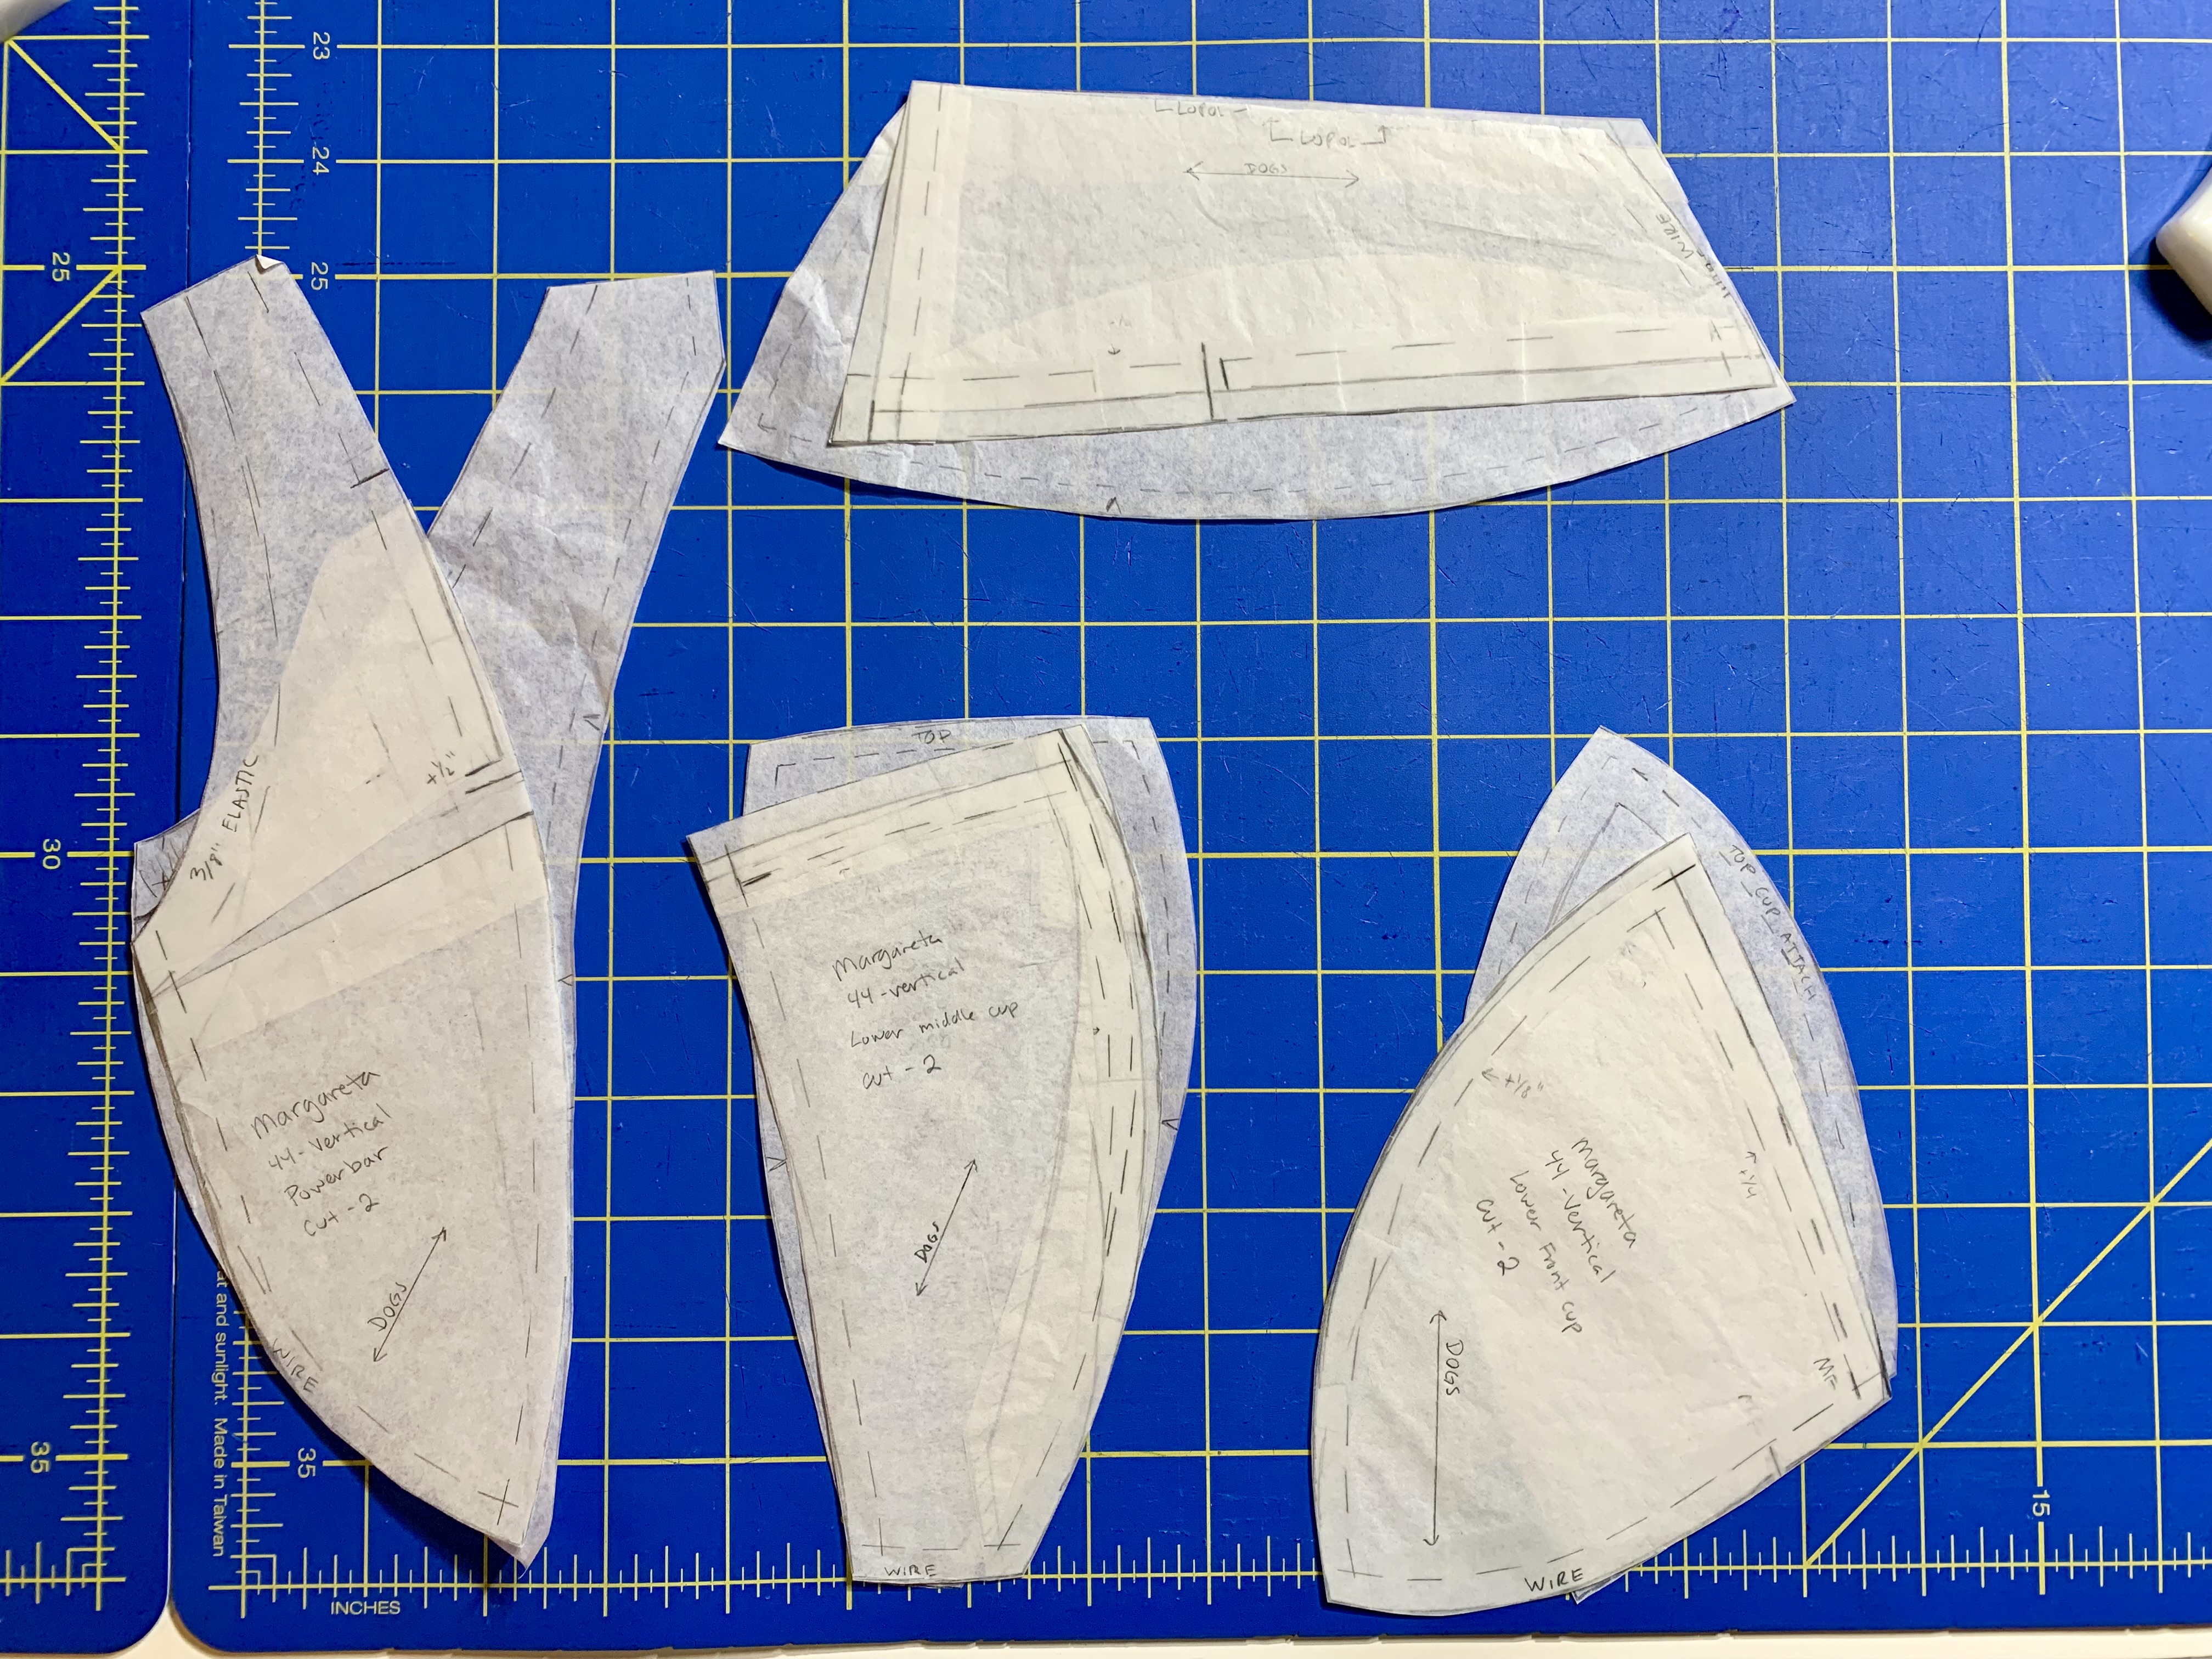
So, in the ultimate battle between time and money, I broke down and bought the Josey Plus pattern to get the larger cup pattern pieces. Looking at the pieces it should have been a bit more obvious to me that the cups get wider as you go up in size, but not a ton more projected, which is what I actually need. Alas, hindsight is clearer than foresight and all of that. At least I made the investment in water soluble thread so popping the test cups in and out was quick. Anyway, I decided to try a new technique for the omega adjustment from Hugs for Your Jugs. It’s a bit of a PITA compared to just blending sizes together, but I understand why this is probably a better technique. Unfortunately I got a bit too fixated on how many cuts to make per amount of reduction rather than looking at the pattern a bit more holistically. The end result was something I can only describe as “cursed potato.”
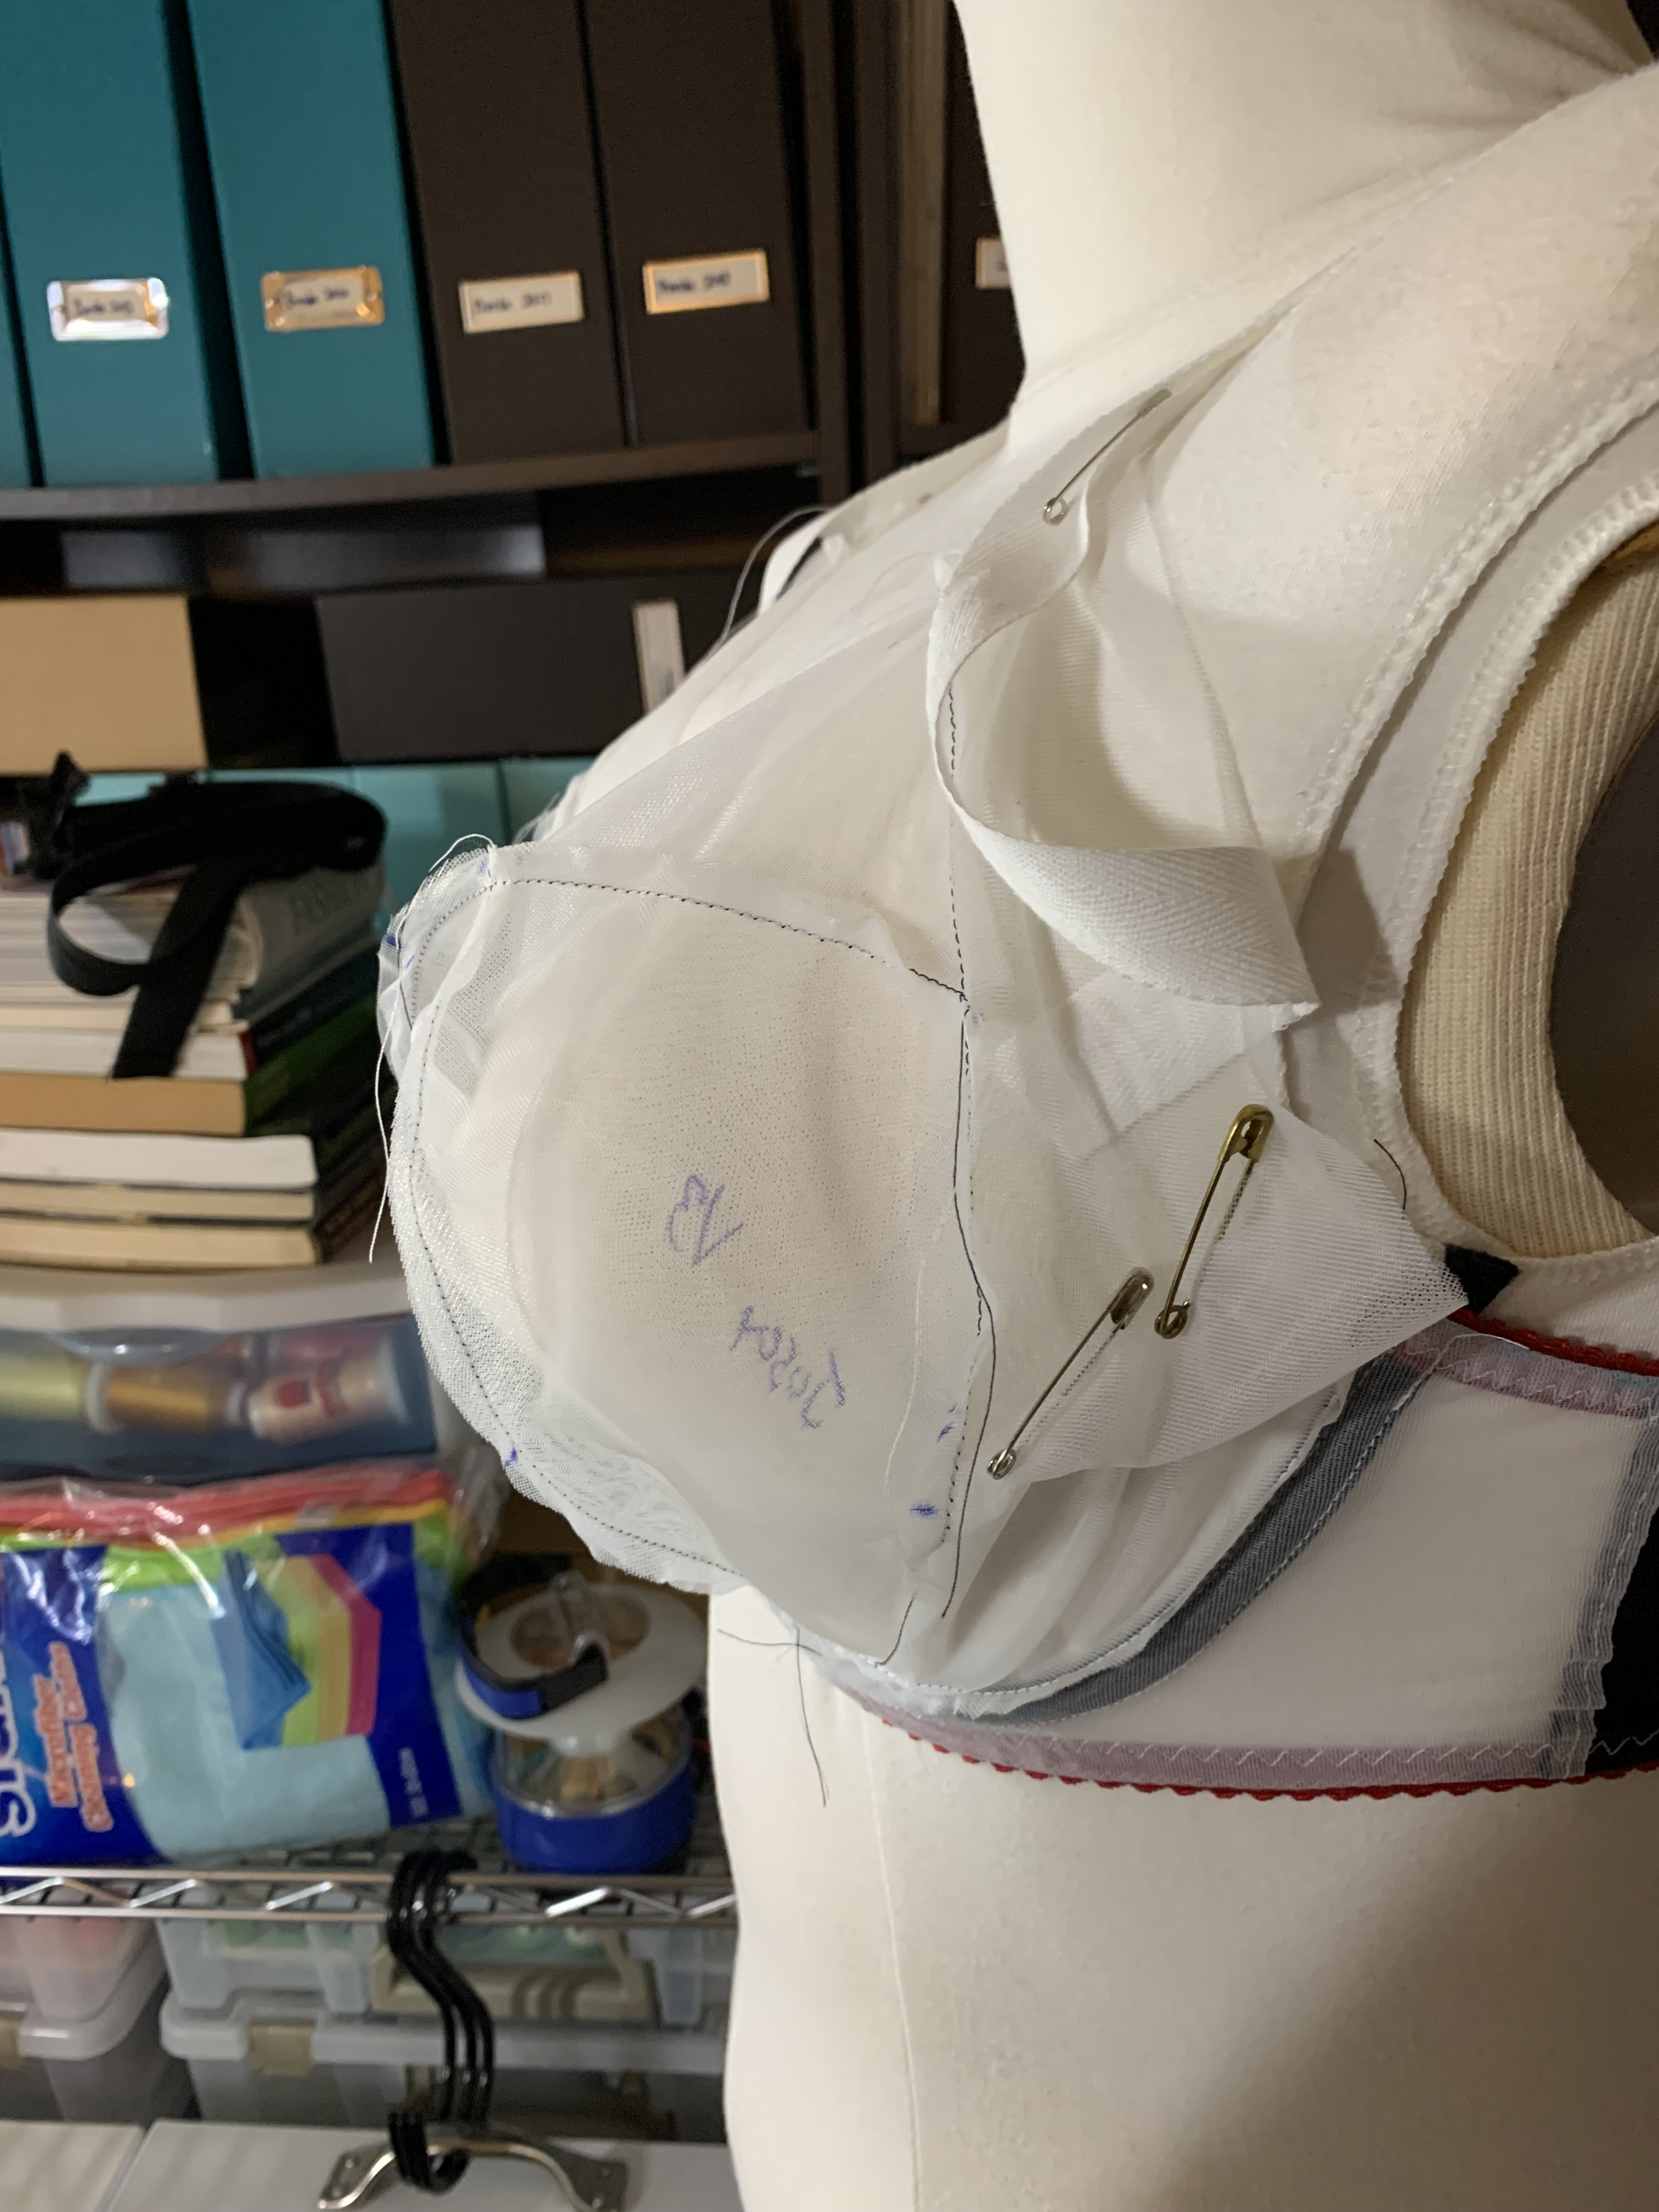
You really can’t tell on the form, but everything that should have been round was flat and everything that should have been flat was lumpy. I don’t think my boob has ever looked so bad in it’s life, which is saying something because it’s been smashed into some very questionable support structures in its day. So I completely aborted that line of reasoning and went back to my standby of blending sizes together. Unfortunately, because the cups tend to get wider instead of more projected as the sizes go up, version three of the cup was still pretty bad. It’s not the clearest, but if you look at the dressform photos you can see that the cup isn’t really getting larger out front but more saggy on the side of the cup, which I just re-darted out with safety pins anyway.

So I pulled out some of my more TNT patterns to compare between the Josey, the Willowdale, and the Margareta. The overall volume looked ok by the time I got to version 3, but the Josey definitely had a more concave powerbar seam whereas the other patterns were more convex.

I decided to give it one more go before admitting defeat and popping in some other cup patterns into the frame. Even though the first version of the cup was too small, it was still the best looking of the three, so I decided to go back and add to the pattern where it looked like it needed it most. So I added 1/4″ to round out the power bar seam and to the cup seam next to it. It was very unscientific, but adding a full 1/2″ across the HH seemed like a good start. And you know what – it worked! Version 4 popped out into a nice round cup with more space right where I needed it. I think the difference in projection is really noticeable in this image when compared to the other versions.


At this point I was ready to get started on making a proper bra, but after listening to so many fit seminars at this year’s Bee I panicked a bit about the underarm height of the band, so I added an extra 1/2″ of height to get more coverage and more support. I also happened to have a 4×3 hook in my kit instead of a 3×3 so I re-drafted the back band to account for that as well. But then I got to work on the actual Josey bra, and I think it turned out super cute!

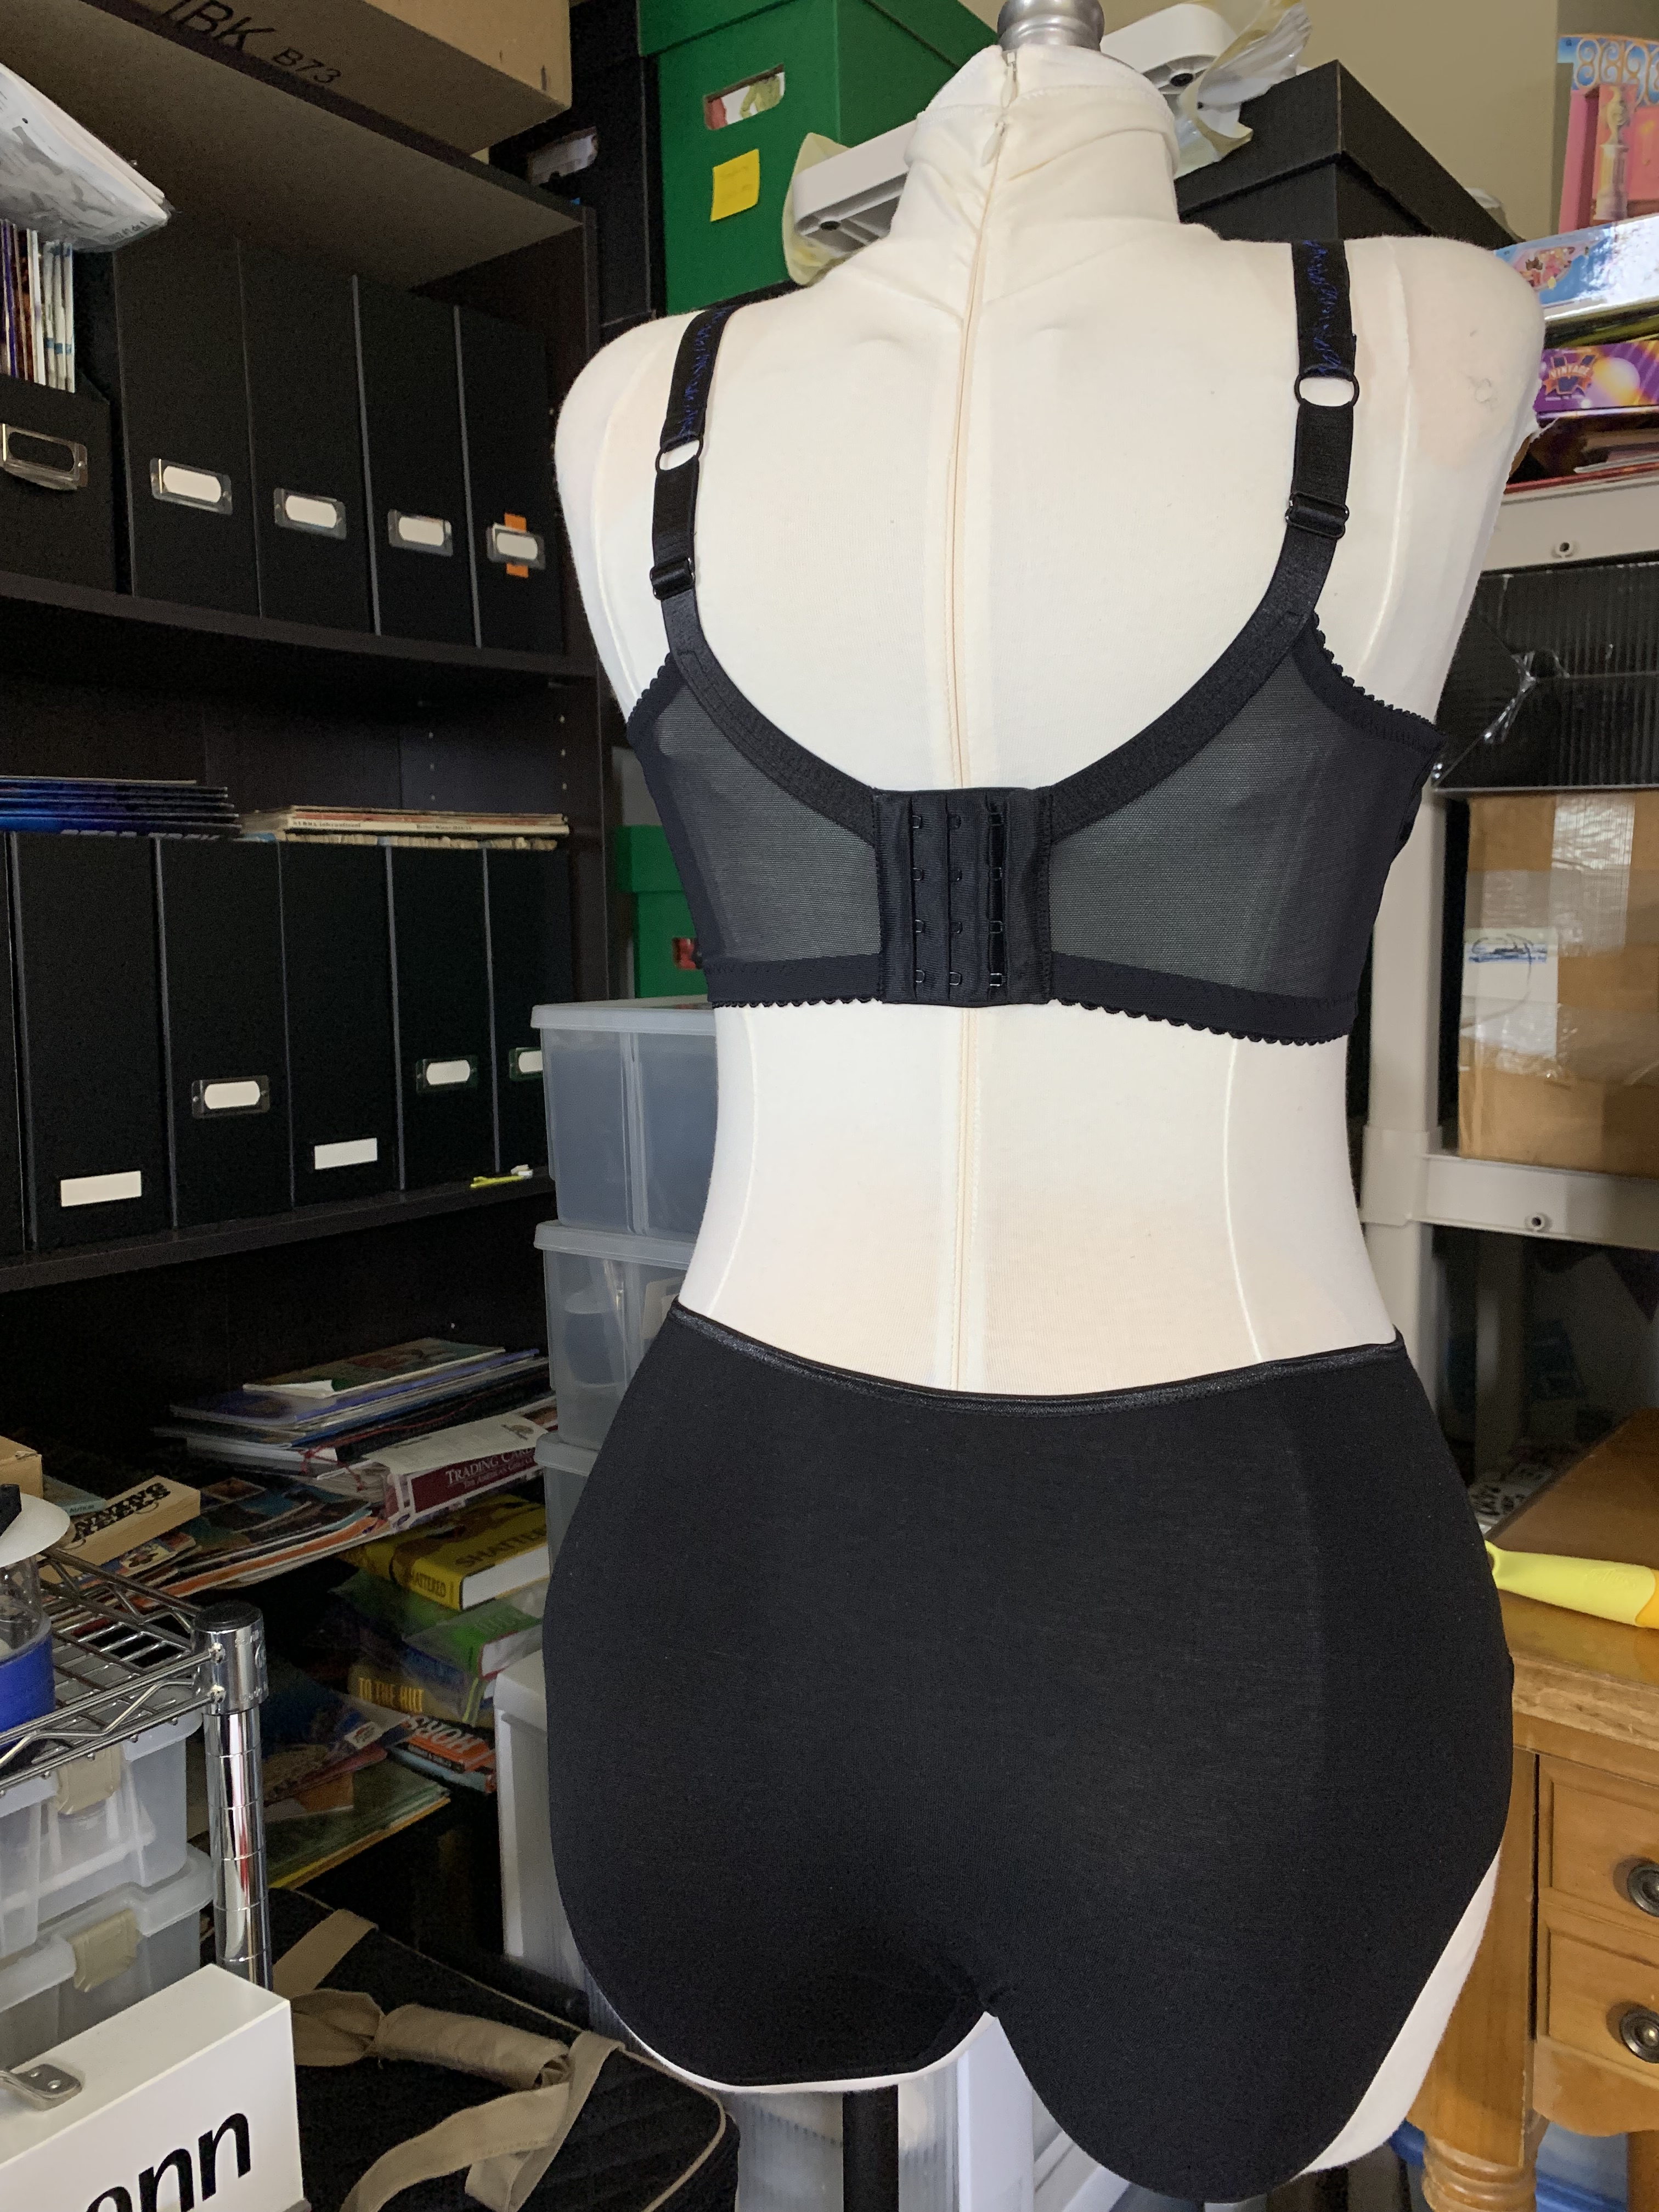
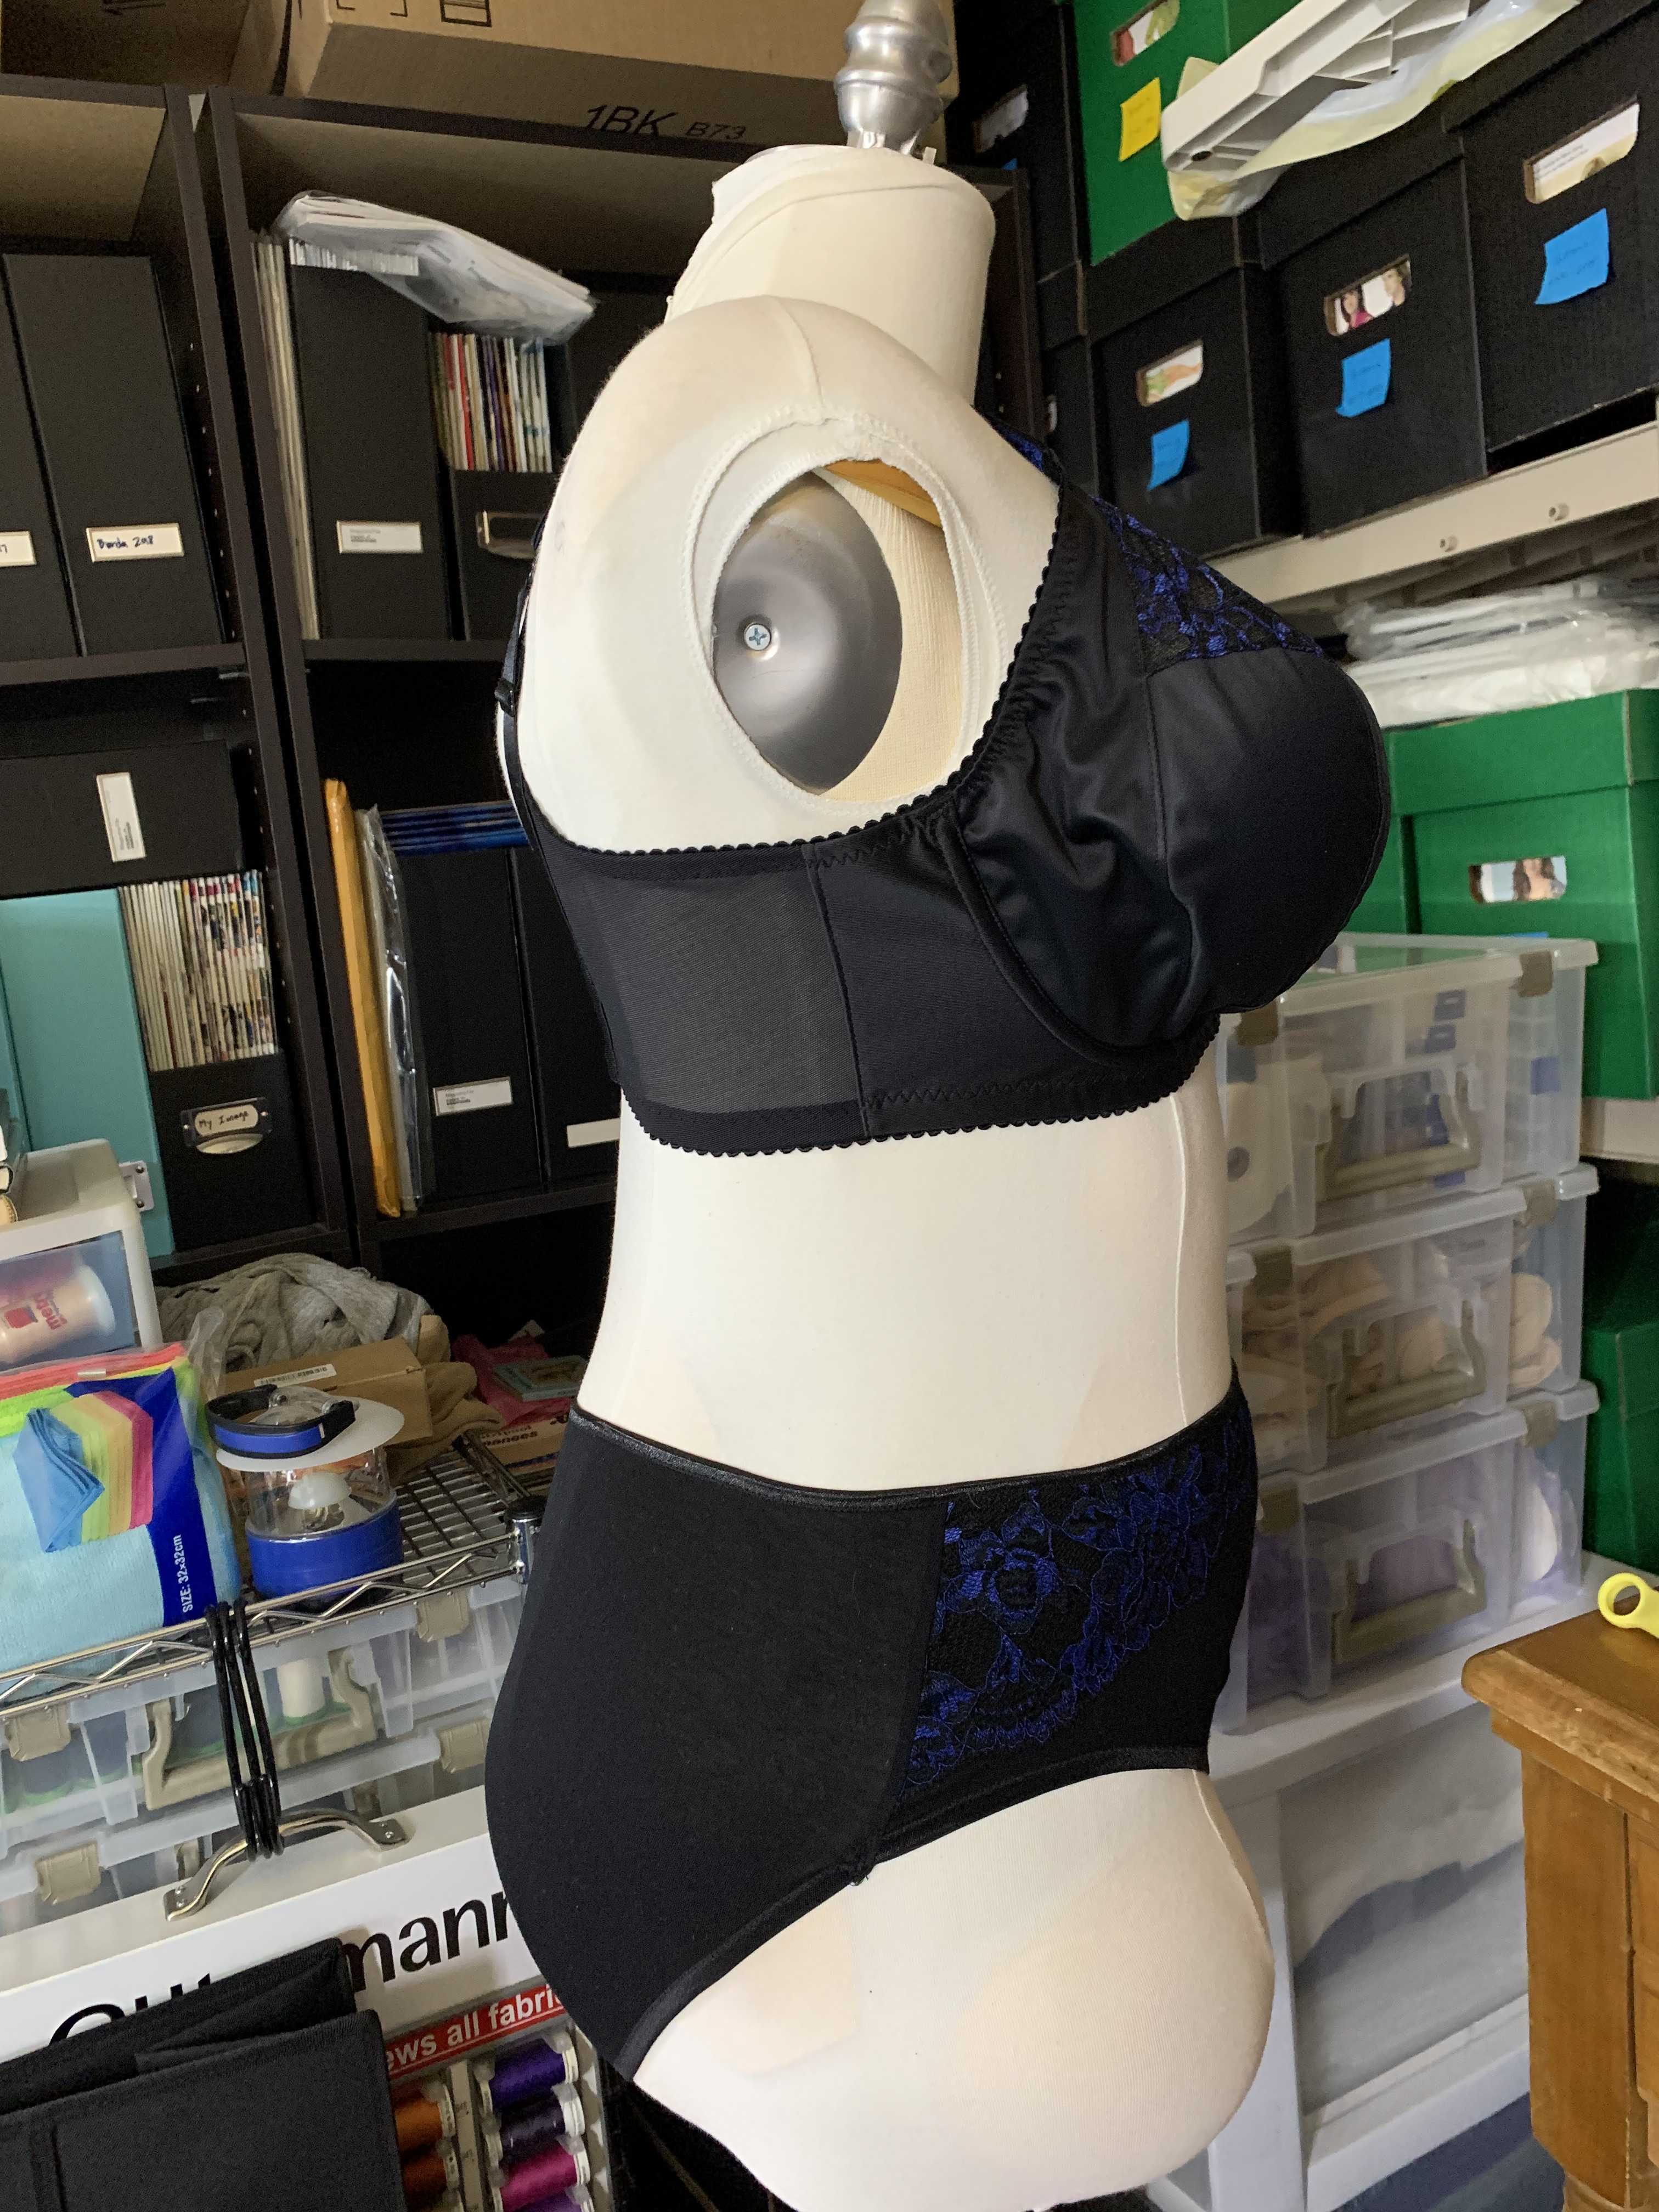
I went with the standard front (without the gothic arch) and changed the back from g-hook adjustable straps to a standard ballet back. I prefer non-stretch straps, so I used the fancy stitches on my machine to attach stabilizer ribbon to the upper bra strap elastics and I added a bit of decorative lace to the bridge to continue the motif. It’s blue on black to match the lace, so it was really hard to photograph, but it’s a nice detail in real life.


To complete the set I made a pair of my self-drafted undies with just a bit of the lace detail along the top:

And, the best part is – I think this might be my best fitting bra yet! The band is perfect, and the wire isn’t slipping down as obviously as my other bras when I wear it. I still need to give it a proper full day wear test, but thus far it’s been quite promising. Even though it was a bit of work to get the fit on the cups (and I bought a whole second pattern I didn’t really need…) I’m really happy where I got in the end!


Official Pattern Review
Pattern Description: The Josey is an underwire bra pattern with 4 piece cup, lace upper cup, and g-hook back straps to allow for crossed straps.
Pattern Sizing: The Josey comes in 2 sizes: the Josey and the Josey Plus. The Josey has you pick a frame based on underwire (UW) size and your underbust band measurement, then use the cups that come with that underwire. The Josey comes in 44UW-52UW with band sizes to fit 27″-42″ and the Josey Plus 54UW-60UW with bands for 29″-46″. For the Josey this anticipates a Horizontal Hemisphere (HH) between 9.25″-12.25″ and a vertical hemisphere (VH) of 8.0″-10.0″ and the Josey Plus expects 12.25″-15.75″ HH and 10.0″-12.25″ VH. I started with the 44UW frame and 36 band, and blended 44UW wire line with the 52UW cups.
Were the instructions easy to follow? The instructions for this pattern were really good. The instruction manual is very detailed and includes lots of helpful instructions, diagrams, and tips to get a better result. I think the instructions on fitting might be a bit overwhelming if you’ve never sewn a bra before, and I don’t think the single cup size per wire line necessarily gives the best fit because it assumes a lot about wireline-bust ratios that might not be apparent to someone just starting out sewing bras, but overall the information in the instructions is really helpful and worth taking the time to read and review. Fitting aside, if you’ve never constructed a bra before I think you could make something quite successful just following these instructions.
Did it look like the photo/drawing when you were done with it? Yes – it looks like the line drawing!
What did you particularly like/dislike about the pattern? I really like the fit of the band – it’s the best fitting band I’ve made from a commercial pattern and I’m planning to re-fit all of my other cup patterns into this band because I like it so much. I also really like the style of the cup, even though it’s pretty standard, it gives quite a lot of space on the upper cup to showcase a nice lace motif. It’s a bit unfortunate that the size options are so limited in this pattern, but if you are on the larger sizes and can fit into the range it’s a really good pattern style to try. My only dislike was the way the cups are sized per wire, and that I had to print the cup pieces out separately to blend sizes I needed to get a better starting point, rather than having nested sizes on one piece of paper.
Fabric used: I bought one of the Bra Builders Bee kits for the 2024 Bra Bee, which came with a slightly stretchy lace, microduoplex, sheer cup lining, firm power net, and the standard bra findings.
Pattern alterations or design changes you made: I started with a 36 band and 44UW frame, which fit great. I sized down in the band length to my actual measurements (36) instead of the recommended starting size (38), as I find I’m often taking in the back bands on patterns. For the cups I started with a 44UW blended with a 52UW, which was too small (which I suspected based on the stated pattern measurements). I bought the Josey Plus and tried a different technique to blend the 58UW with the 44UW wireline, but this resulted in a very odd lumpy cup shape. I went back and tried blending the 56UW with the 44UW wire line, but this also resulted in a wide, flat cup and not the forward projection I actually needed. So I finally went to my first cup and added about 1/2” across the horizontal seams, and focused on rounding them forward instead of keeping them as flat, and this worked really well to get the extra volume in the cup where I needed it. In terms of style changes, I changed the back from using G-hooks to attach the straps and give cross-strap options into a standard ballet back design and increased the hook to a 4-high instead of a 3-high based on the materials I had in my kit. I also stabilized the upper strap with ribbon because I prefer non-stretch straps.
Would you sew this again? Would you recommend it to others? Yes, I will definitely sew this again! I need to make some modifications before the next version (I’m planning to add an additional 1/4” of wire play to the wire line, take out 1/4” dart in the power bar at the side cup, and take out a 1/8” dart at the band side seam upper edge), but I expect this pattern will be in use again sometime soon. I also want to try fitting some of the cups from my other patterns into this band because I really prefer the fit of this band to my previous band styles. I would recommend this pattern to others if you fit into the size range. I think if you are very projected or omega, you may need to make alterations that are not as straightforward as some other patterns I’ve tried, but the resulting shape is really good and I think was worth the effort.
Conclusion: I really love how the final bra fits and I am very excited to turn this into my new TNT band pattern. I’d love to make a few more Joseys to really nail down the fit and get some more great fitting bras into my wardrobe!
Is this garment a “Triumph of Individual Style”? Yes, I think so! I’m loving the blue and black combo of the lace, and the fit is really what I like in a bra in terms of both shape and support. There are a few small things I can still tweak, but I’m very happy with the result of this project!
When I compare it to similar patterns I’ve made, I find the Josey offers a bit more lift than the Margareta or Willowdale, though I’m curious if that might just be an effect of the band fitting better. I feel like the Margareta is more of a “natural” shape and the Willowdale is the roundest of the three. I really want to test both of these cups (and maybe also the LilyPADesigns Labellum?) in the same band for a real “battle of the brands” showdown analysis to get a really fair comparison between the fit of the different patterns, even thought they are similar styles. I really pushed to get this sewn during the Bee this year, and I’m quite busy the next few months so I think there won’t be a ton of sewing time, but these will definitely be high on my list of upcoming projects when I have more time to sew!

What a shame the Josey is one of those patterns that just get wider instead of more projected. But then again, I guess we need patterns for the plus size community, too.
I only ever made the Josey in a 34J (what should really have been a 32K, but I can still shorten the band), so luckily I didn’t stumble across your problems. But I agree on the lift: the Josey really delivers on its promise of a “Custom Uplift Bra” (for those that wonder: the Josey was originally drafted by a woman making bespoke bras). Shame we will likely never get the one ultimate bra pattern that just fits a lot of people right away.
Thanks for sharing your perspective and giving a more in-depth and critical review than just the usual stuff.
LikeLiked by 1 person
That black and blue color combo is to die for. I’m beginning to think you’re a fit masochist 🙂 The band difference looks like it basically amounts to a V-shaped torso adjustment? Your previous one is more square, and this one assumes a bigger underbust-to-waist difference.
LikeLiked by 1 person
Yes, I think I need to have a slightly less v-shape but I also might need to play with the front gore a tiny bit. I have had wires slide down my chest my entire life and I am *so* close to cracking this thing because they are half staying in the IMF with this bra that I’m determined to make it happen! And then I will just keep using the same band forever and just try different cups for entertainment or something is what I keep telling myself 🤣
LikeLiked by 1 person