Because I’m me, I tend to be a bit impatient and stubbornly try to do what I want to do, when I want to do it. Of course, I eventually come around to the fact that all of the advice I ignored while being stubborn was probably correct, and had I heeded such advice, I’d have saved myself quite a bit of time in the long run. In this case, said advice was that bras should be fit in fabric before moving on to making the patterns in foam. Of course, being me, I made my first few bras with foam. With time and experience, it was clear that none of them really fit that well, so I backtracked and went through the process of actually fitting several patterns in fabric. Finally, now that I have several well fitting patterns, I am going back to experimenting with foam cups.
After all of my bra fitting adventures of last year, my two favorite patterns have ended up being the Cashmerette Willowdale and the B, Wear Angie’s Twin, so I decided to do a head-to-head comparison of how both of these patterns worked using cut-and-sew foam. When I very first started on this bra making adventure, my goal was to make perfectly seamless covered foam cups to replicate my favorite t-shirt bras from RTW. This was my first fail. I’ve ordered the largest size I could find from Bra Builders way back at the start of all of this, but I have come to recognize that it is still too small for me. So that leaves me with cut-and-sew foam as my only real option at this point.
Converting a fabric pattern into a foam pattern is pretty easy – you just trim off all the seam allowances except along the wire line, then butt the foam together and sew the seams that way. It’s really satisfying to have the foam puff into shape as you go. Since I’ve sewn foam before this wasn’t a new or challenging step; though previously I didn’t have to do the work of making the foam pattern because the Ruby Bra is designed to be used with foam and comes with both pattern options. I made the foam patterns for the Willowdale and the Angie’s Twin. Both of these cups actually are pretty similar since they’ve been fit to me already; the main differences come from the style lines. I do think that already the Willowdale is looking a bit better – the seamlines give a bit smoother cup since the foam is forced to curve a bit more.


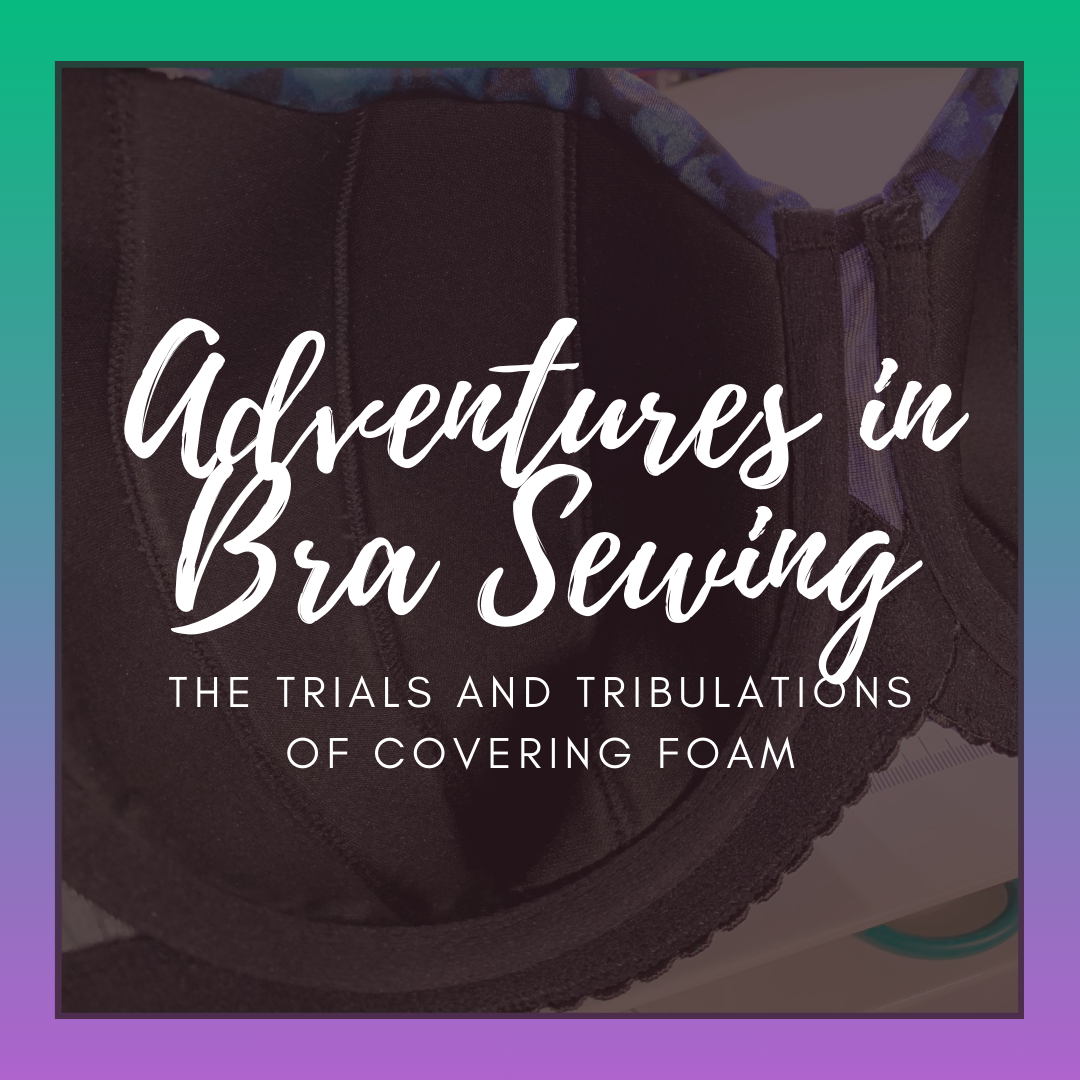
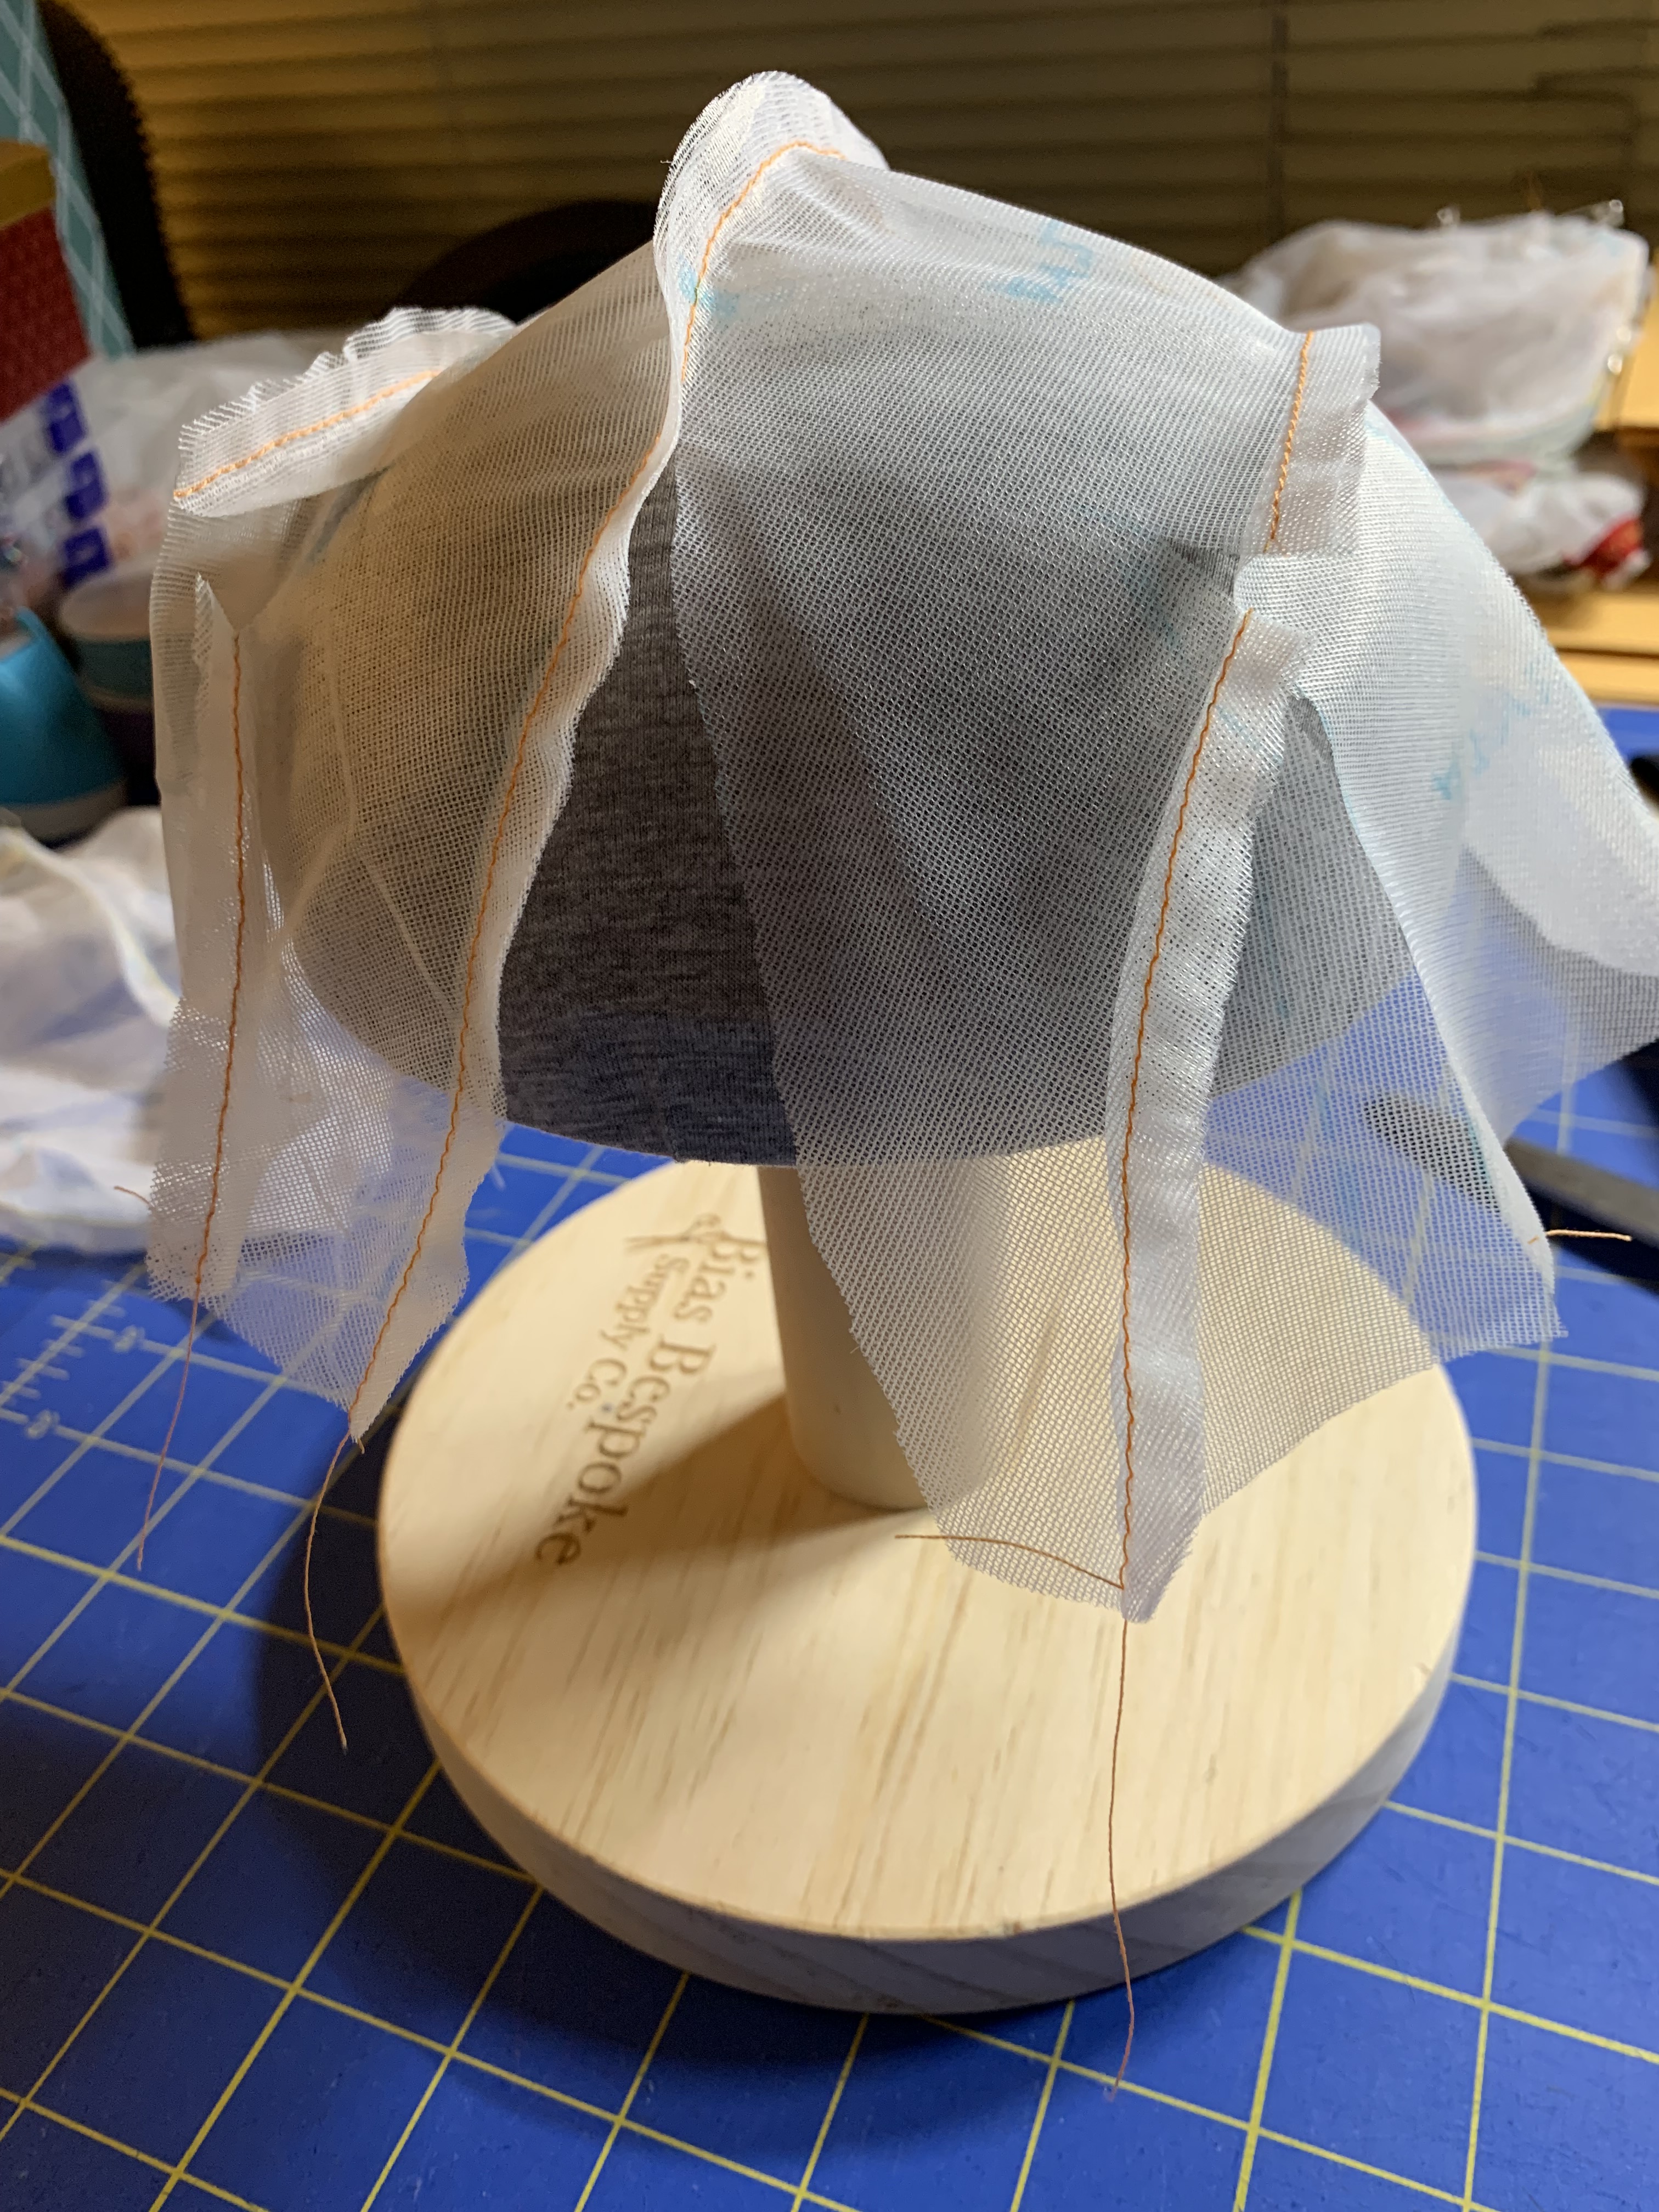
The next thing I wanted to do was cover these cups with a stretch fabric. My goal was to see if I could replicate a seamless look by stretching the fabric to cover the cups. In all of my previous foam bras, I covered the cups with duoplex, so I used the same seams to make the cover as the foam cup, but I would have a bit more flexibility with the cover in a stretch fabric (pun intended). I went back to my old faithful reference of Beverly Johnson’s Craftsy classes to review covering a foam cup. However, during my re-watch Beverly delivered news I didn’t want to hear – she said that doing a seamless cover would require a molded foam cup and not to use it with cut and sew foam. Of course, being me, I went back to stubborn and decided to try it anyway.
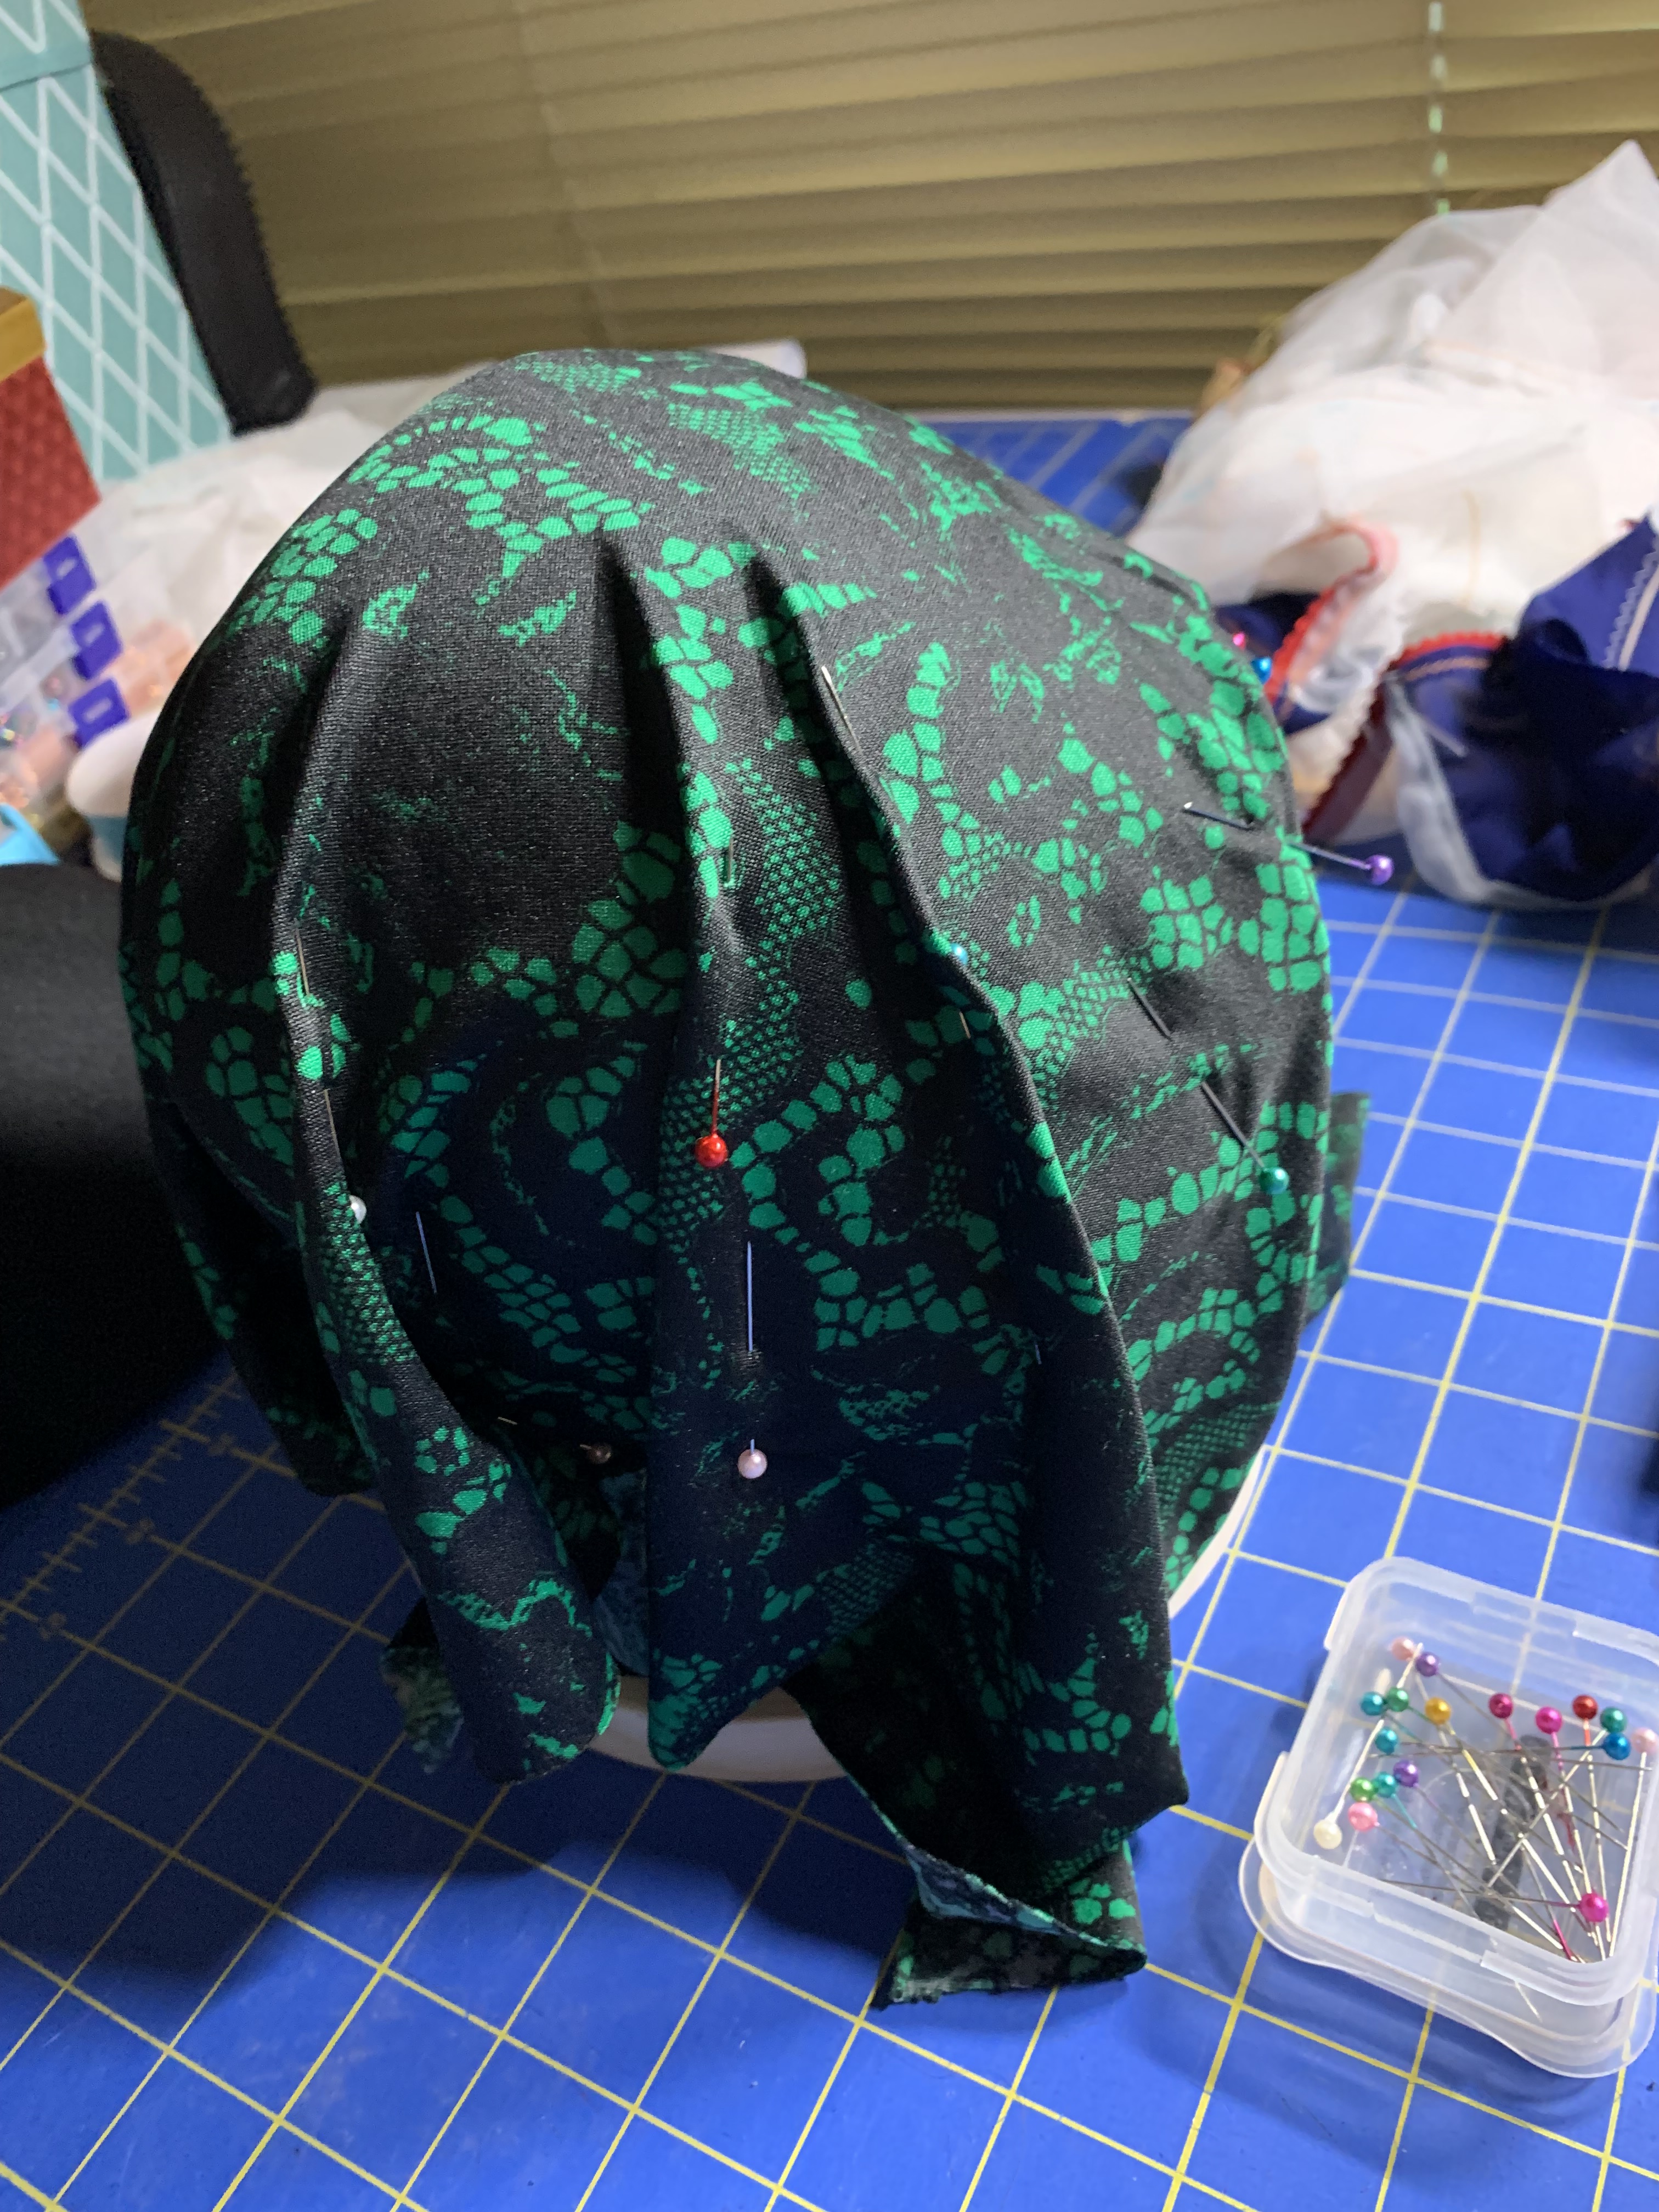

This decidedly did not work. I had two issues working against me. The first, as pointed out by Beverly Johnson, is that the vertical seams in the cut and sew foam actually do weaken the structural integrity of the foam. Interestingly, it’s sort of a converse principle to fabric, where vertical seams add support and lift. However, when I tried to “chase away the wrinkles” it just caused the dreaded cup collapse, which is where the foam bubbles inward because the cover is too tight. The other, and possibly more impactful issue is that because of my omega shape, the projection of my cups is a lot. So no matter how much I played with it, the cover was never going to not need darts. It’s just not possible to make a flat piece of fabric get this round, even if it is stretchy.
Ok, so, back to the drawing board… kind of. At the 2023 Bra Sewing Bee, one of the sew-alongs was about doing a darted fabric covered foam Willowdale with Monica of Bravo Bella Bras. Happily, because I had the foresight to get year-long access to last year’s bee, I went back and re-watched that class too. Monica’s technique was quite different from Beverly’s, as she went into the process planning to make a darted cover and not a seamless cover. This process involved using a sample cup to cut apart and use to make a pattern for the cover. Probably I should have made new cups to cut up, but I sacrificed my previous cup fit samples because I was feeling bold and lazy. What I ended up with looked quite a bit like jellyfish…


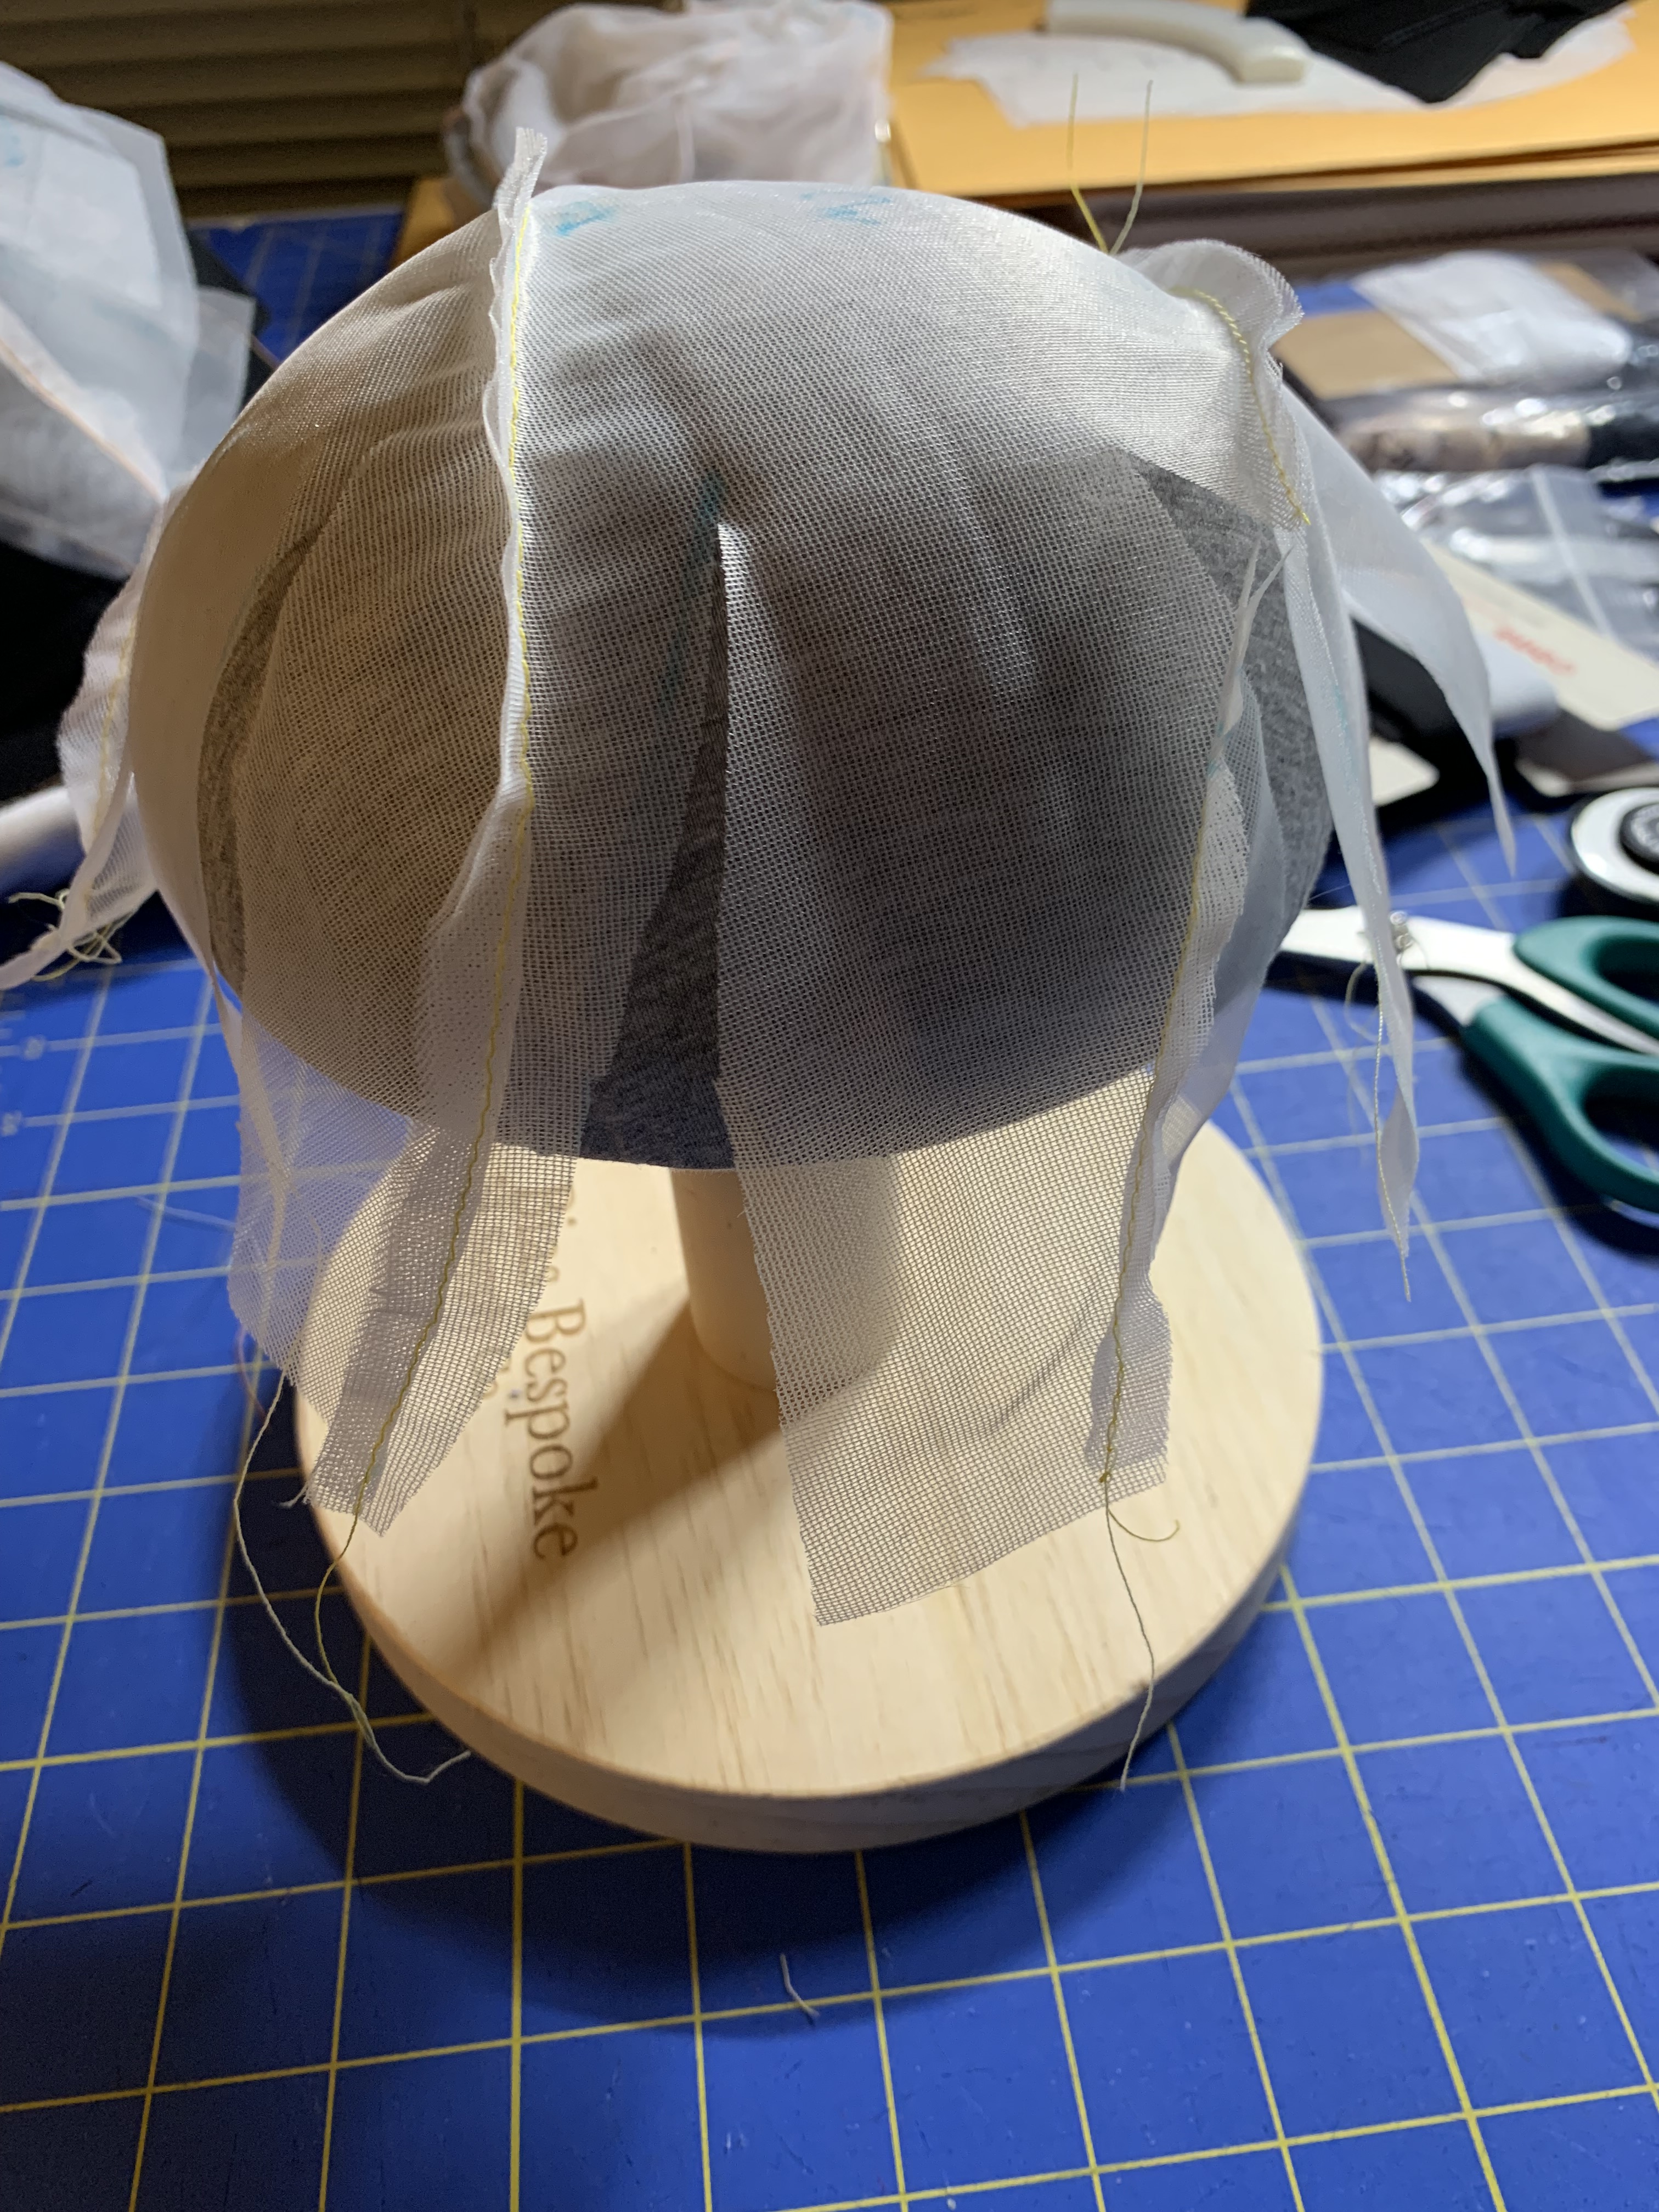
Laying these out flat I ended up with some very round cover patterns:


There wasn’t much difference between the cover patterns on the Willowdale and the Angie’s Twin except for the different necklines. The size and distribution of the darts was also a bit different. One thing I did do a bit differently from either set of instructions at this point was to increase the allowance around the edge of the pattern – I added 5/8″ on each side. I wanted to try a rolled top on the Angie’s Twin, and my testing demonstrated that even though Beverly said not to worry about turn of cloth in the course because of the fabric stretch, it actually did eat up more fabric than would be expected. As for the lower edge – I figured that having more wouldn’t be an issue because I would just trim off extra after the covering process. I’m glad I had the foresight to do this; after sewing the bottom dart the cup barely fit over the central apex point in both patterns, though there was plenty of excess fabric on the sides.
After spending an eternity sewing many tiny darts and more effort than would be expected trying to get the fabric to lay over the foam cup, I had cups! Covered with fabric!
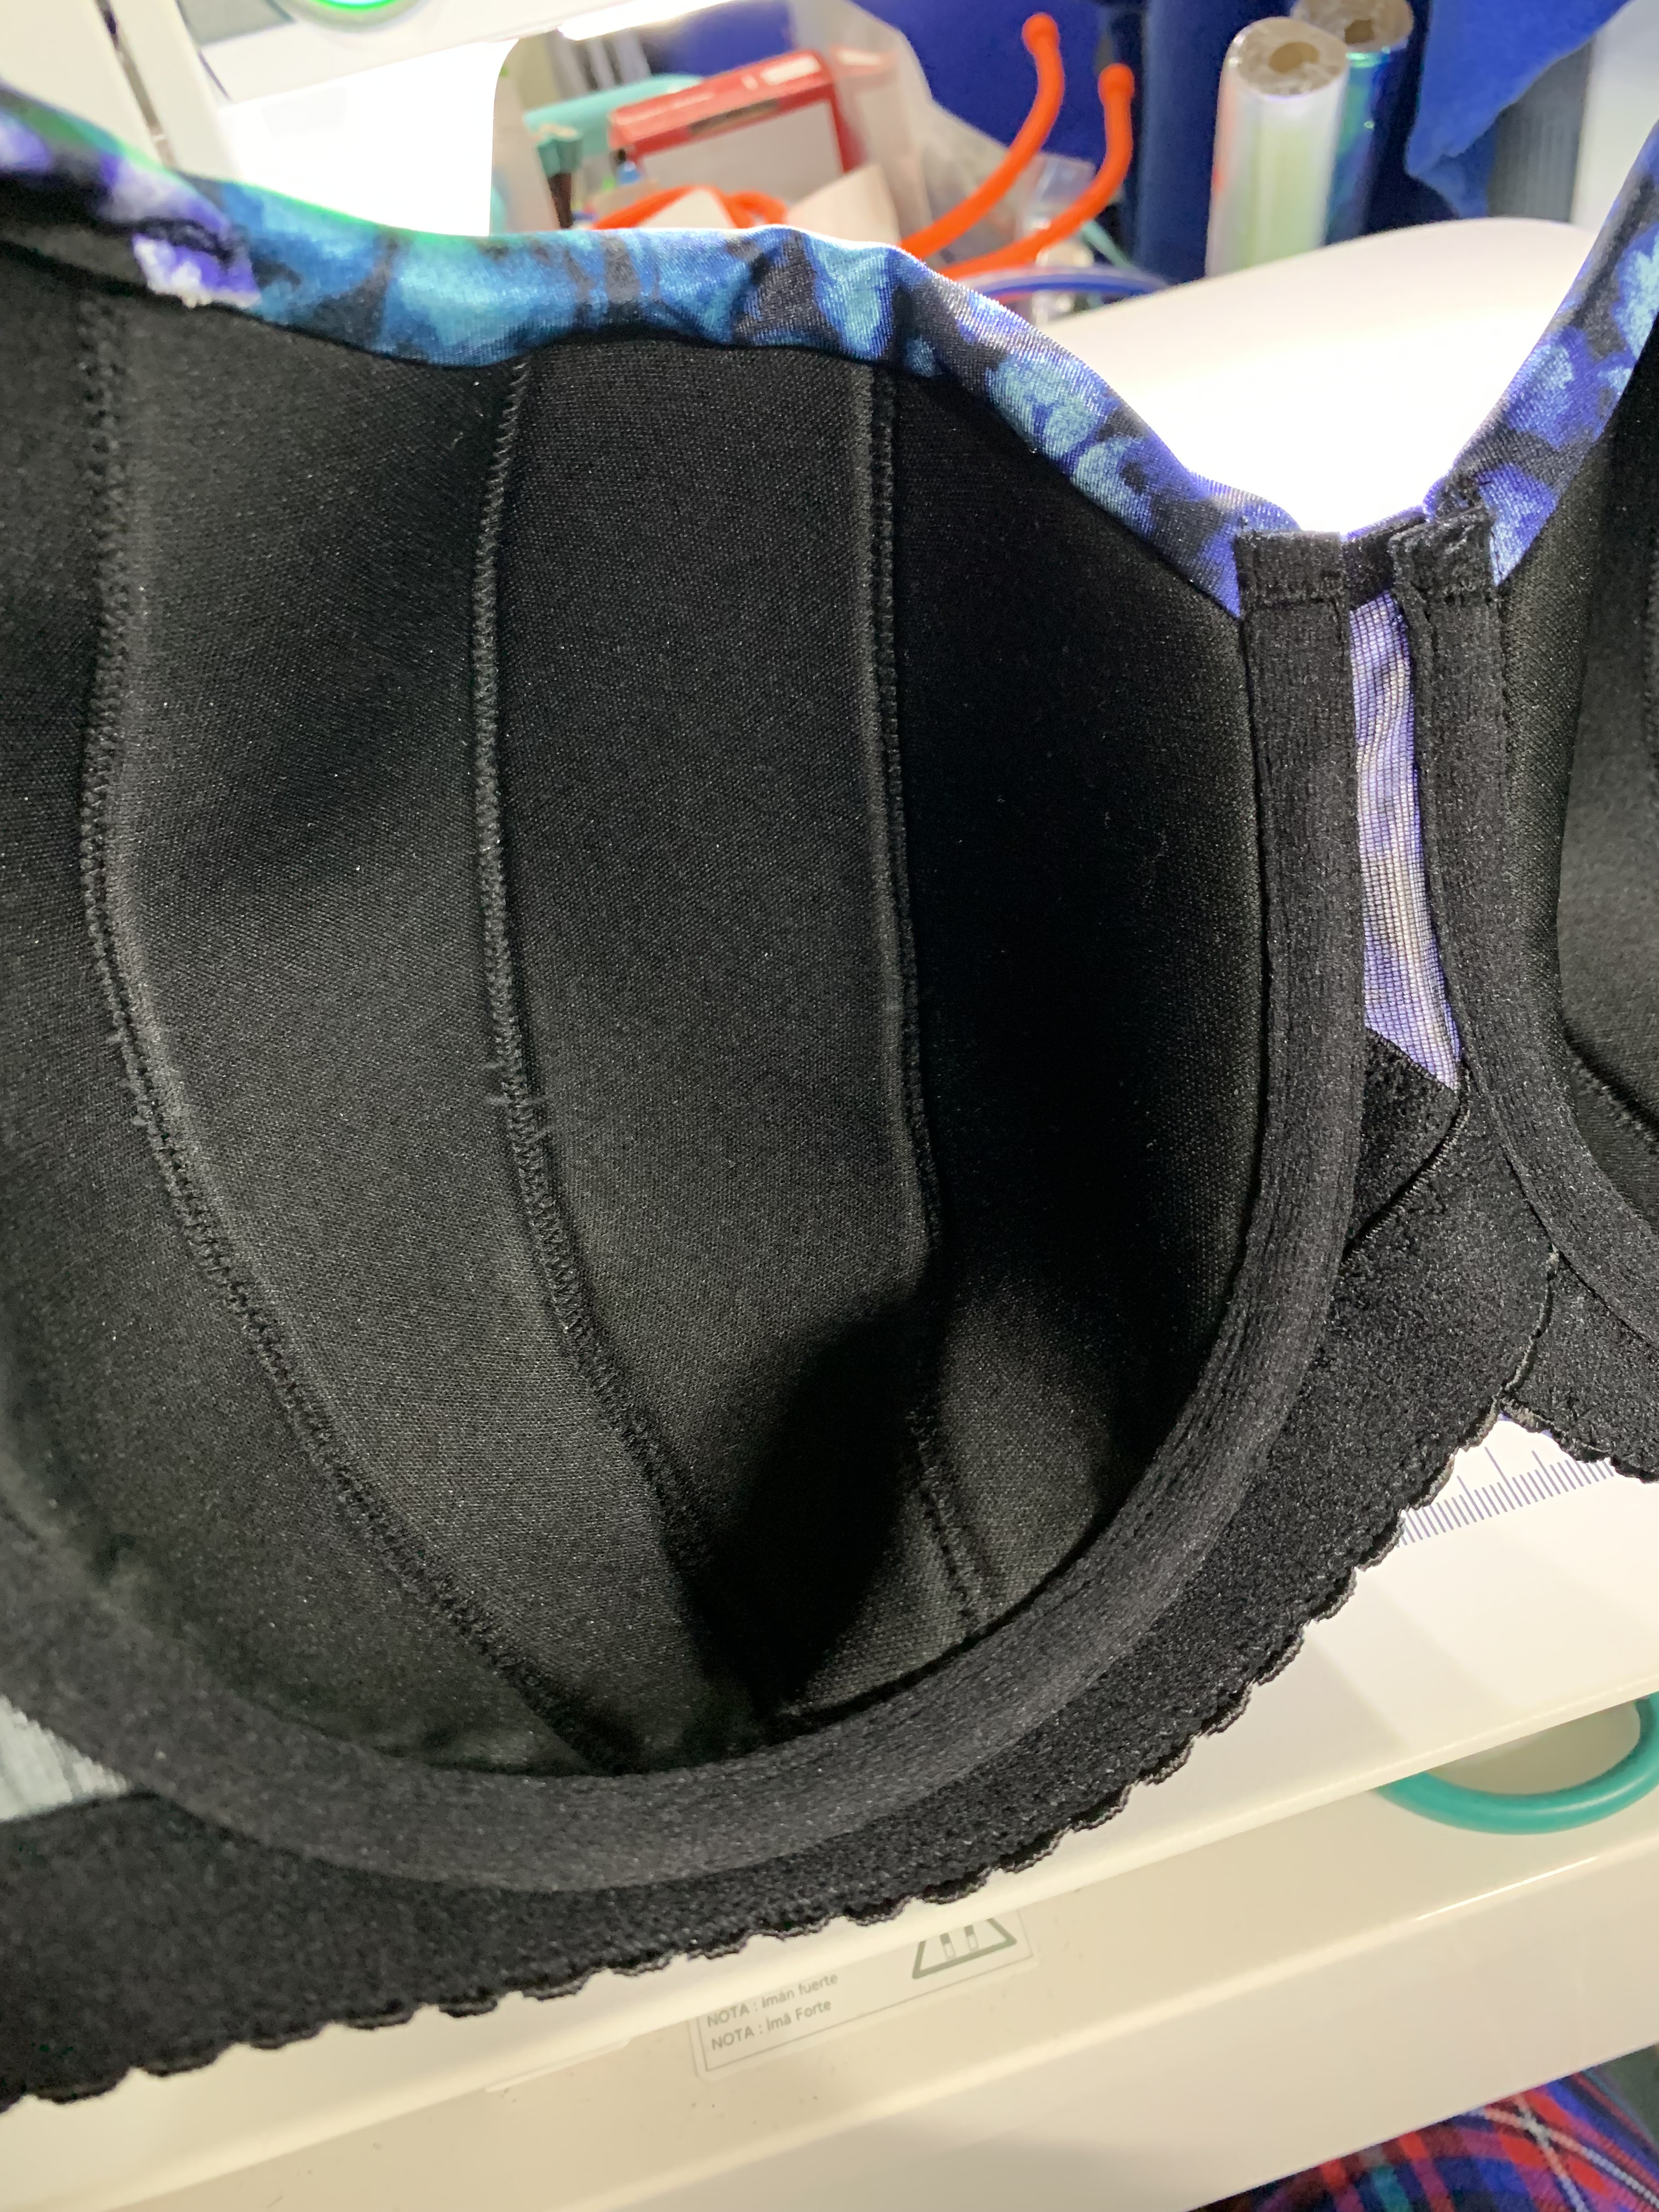
I would like to say the rest of the bra-making process was smooth, but I actually had more issues than I would have expected. In none of my previous foam-sewing adventures did I have any issue with the stitching down of the channeling, yet for some reason with this particular foam, the stitching was pushed towards the center, the opening became too narrow, and getting the wires into the channeling was a PITA. Some strategic unpicking occurred, but it was not a fun process. I’ve done a Gothic Arch before, and a narrow band, but doing them together with the foam was an added new challenge. Getting it all to fit under the presser foot and sew neatly was asking a lot. As Beverly Johnson would say, this is perhaps not my “very best work.”
But, you know, it’s good enough. And at the end of it all, I’ve got 2 brand new foam bra sets!


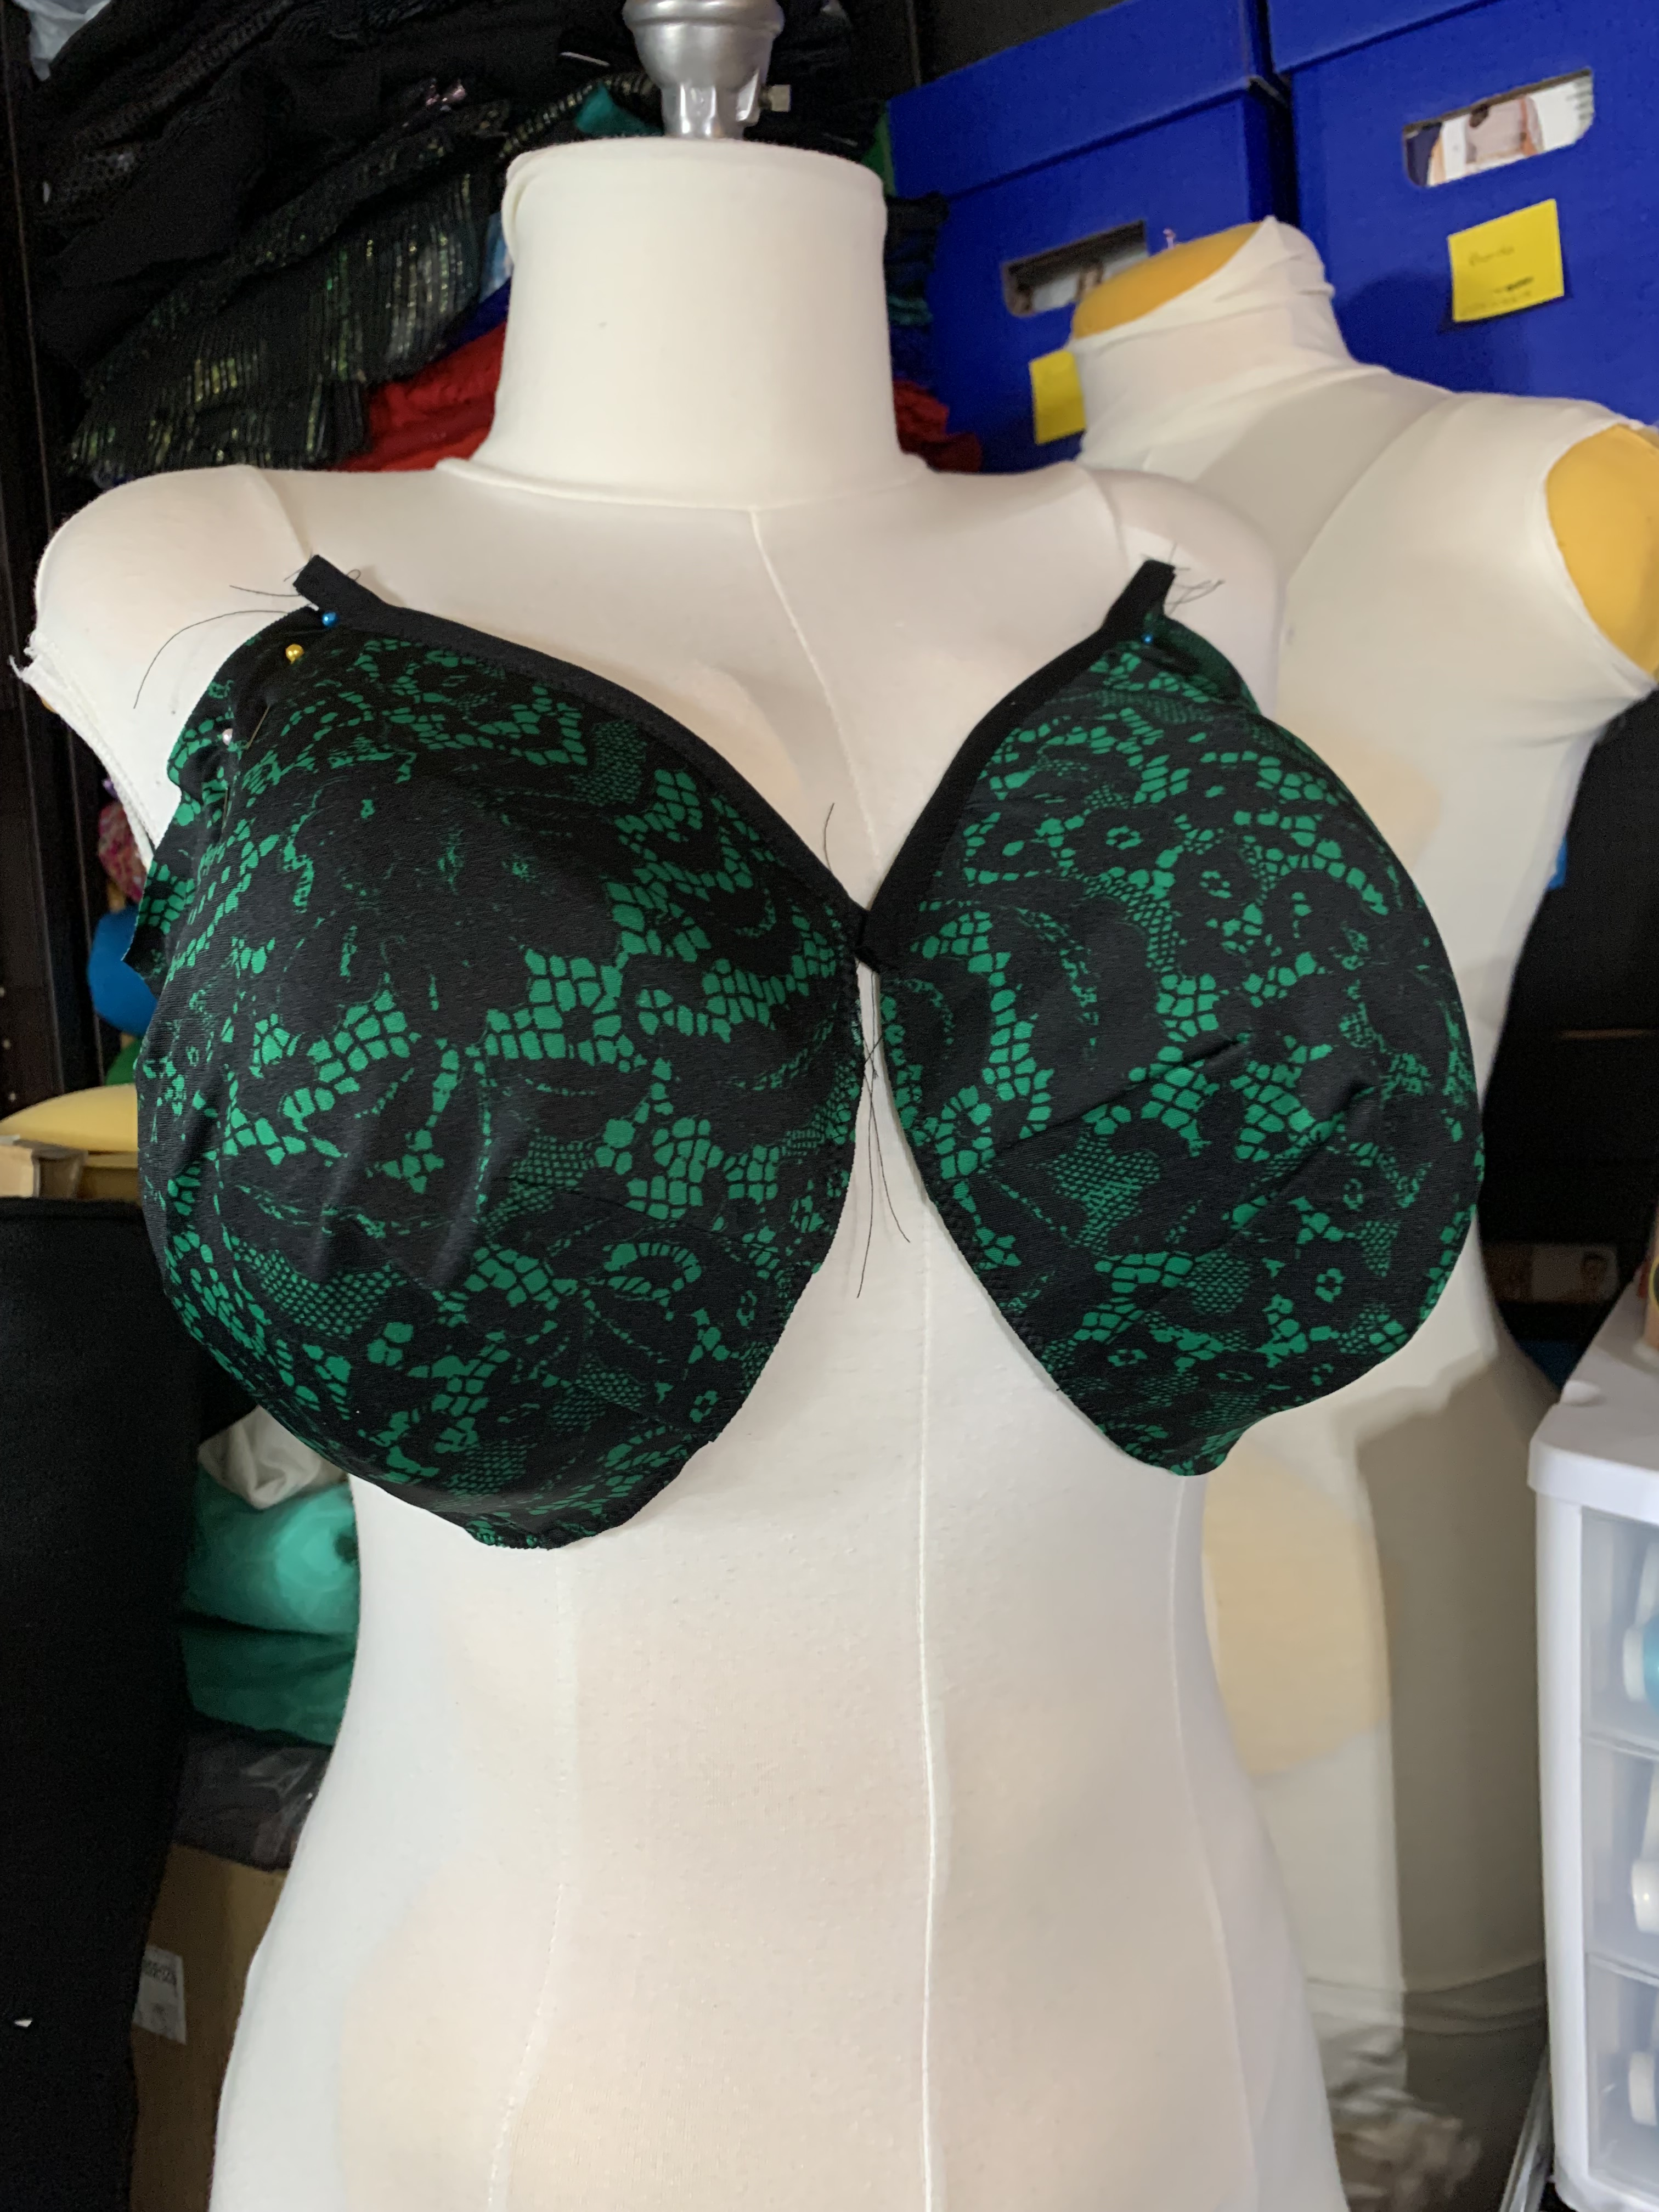
I used different finishing techniques for each of these, so let’s take a look at way too many pictures of what I made…
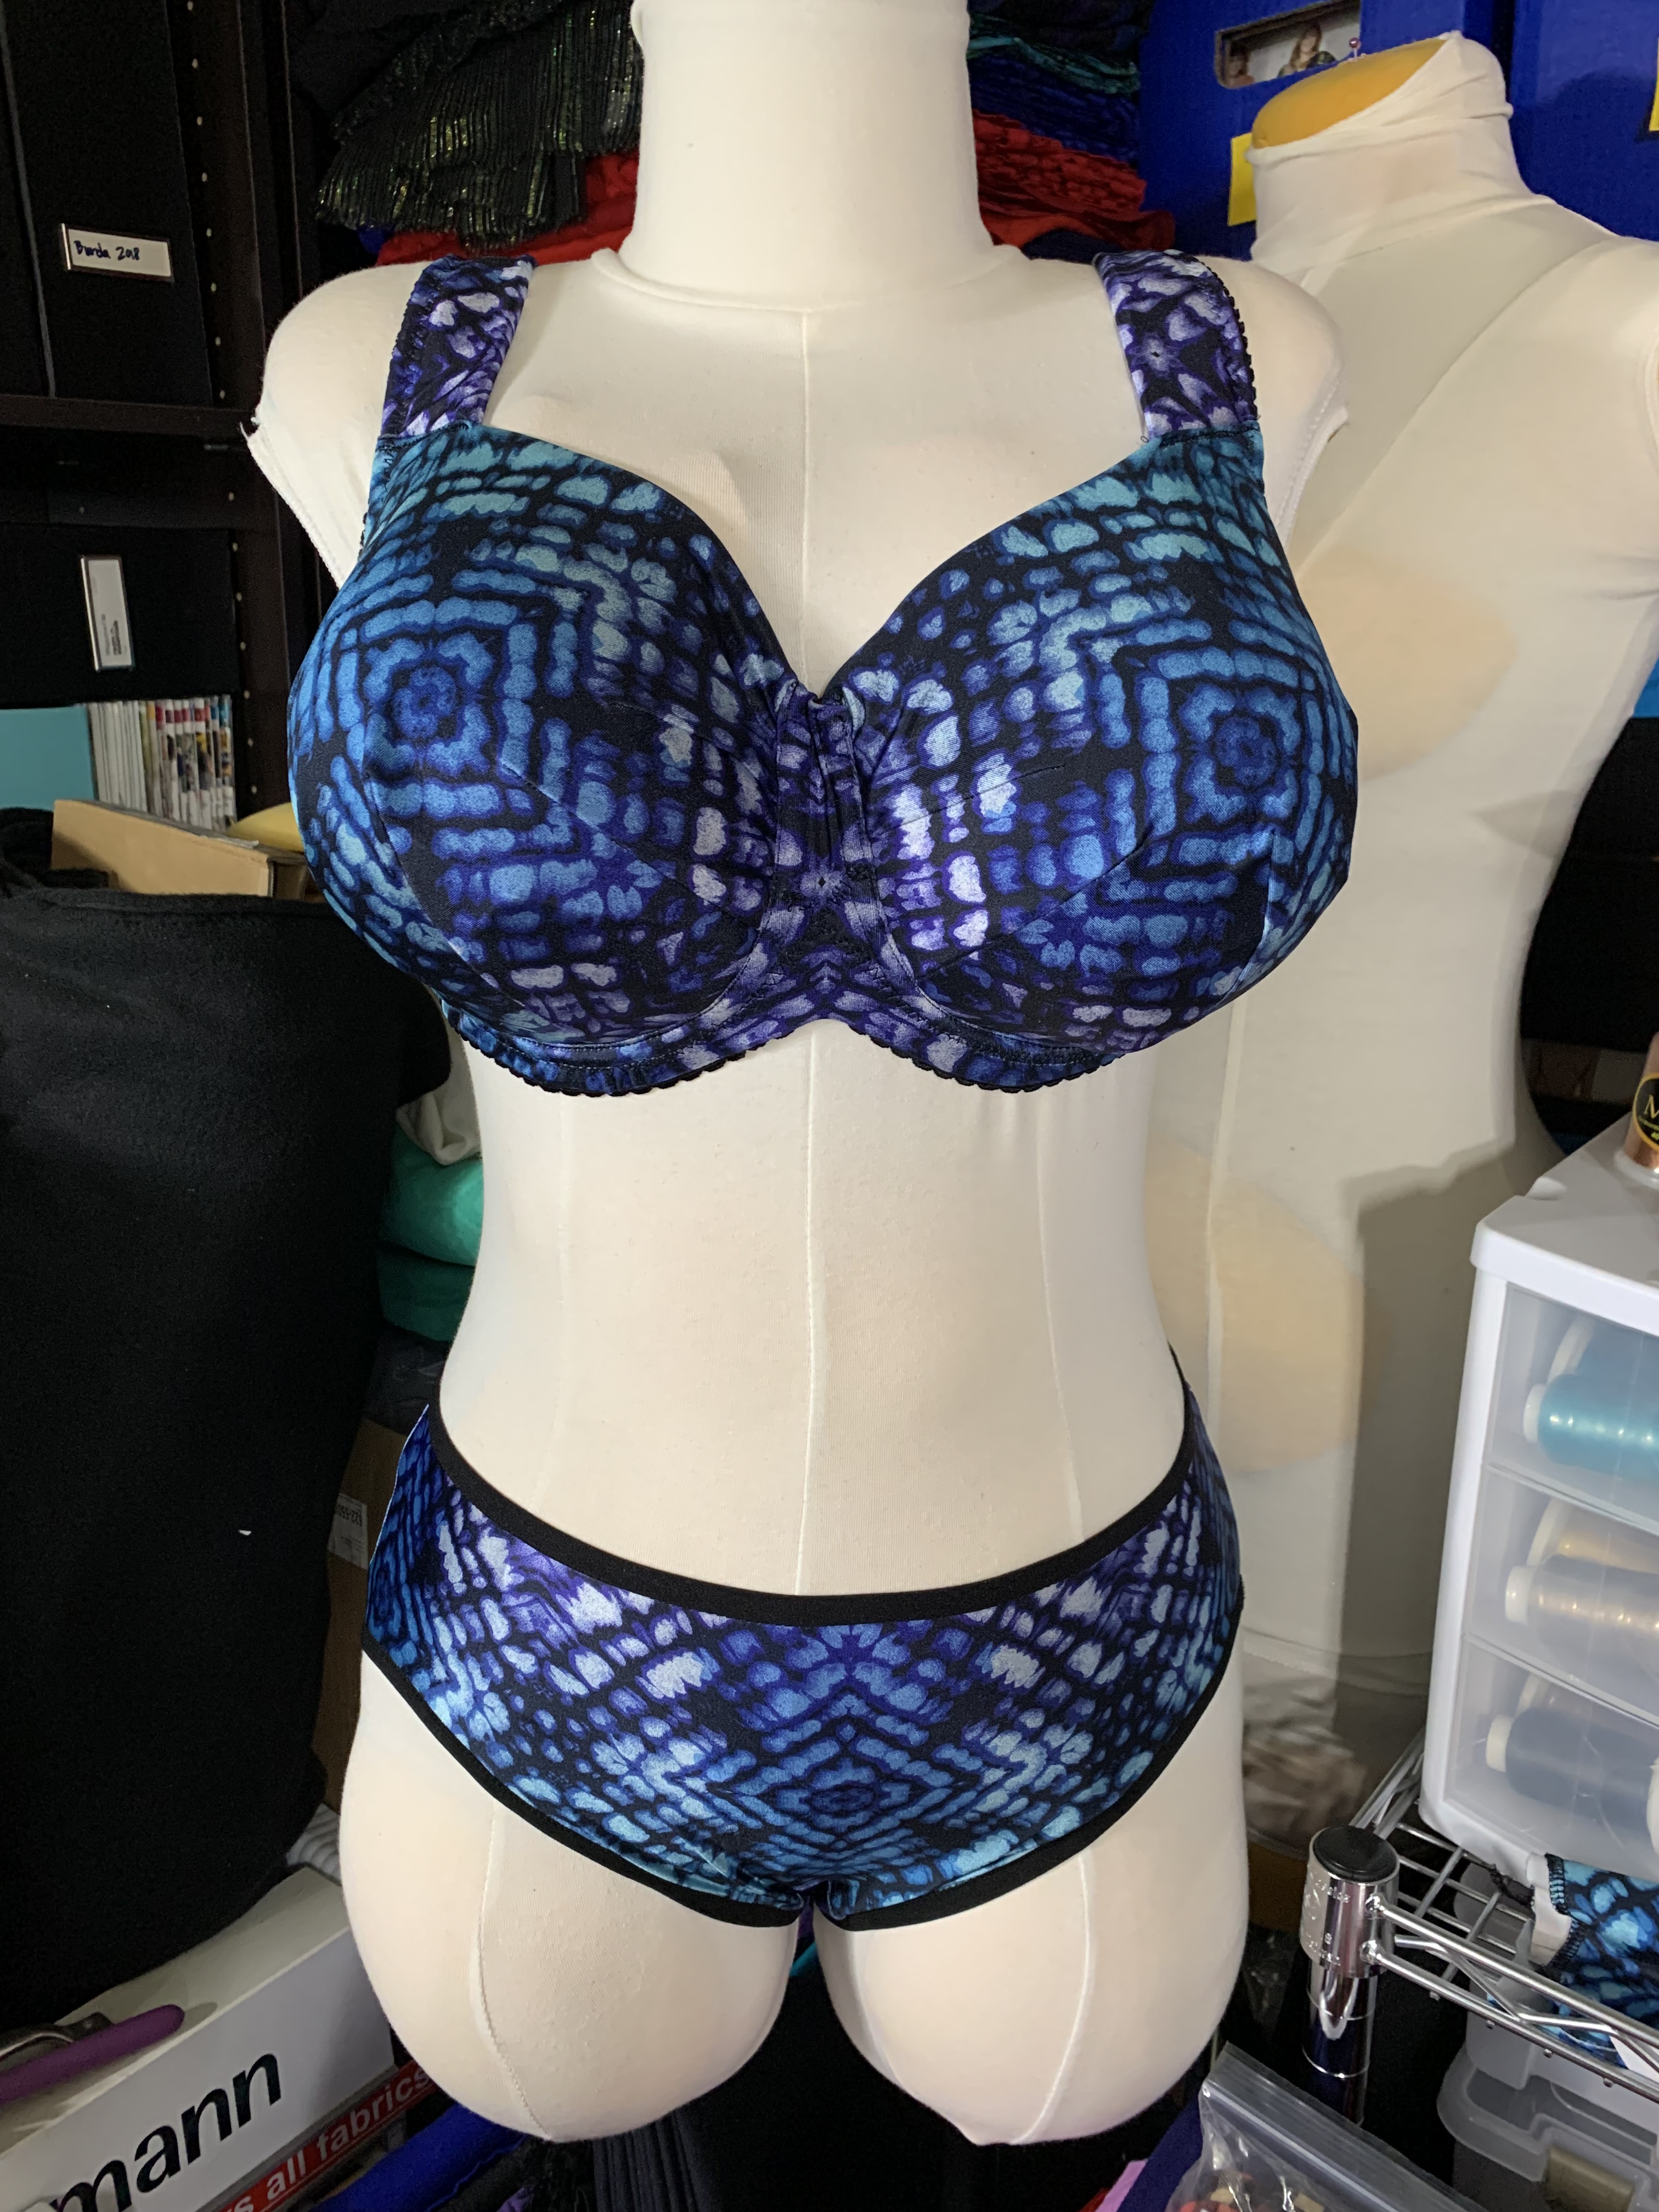
First, here’s a look at the Angie’s Twin. I covered it with a swimsuit lycra from Jo-Ann’s from 5000 years ago (ok, it was maybe from 2016, but at this point that feels like 5000 years ago). It’s leftover from a skating shirt I made on commission, and I was happy to use up the random leftovers that were in my fabric stash. For this version, I wanted to try the rolled top to give a clean edge, and also use a triangular foam strap.
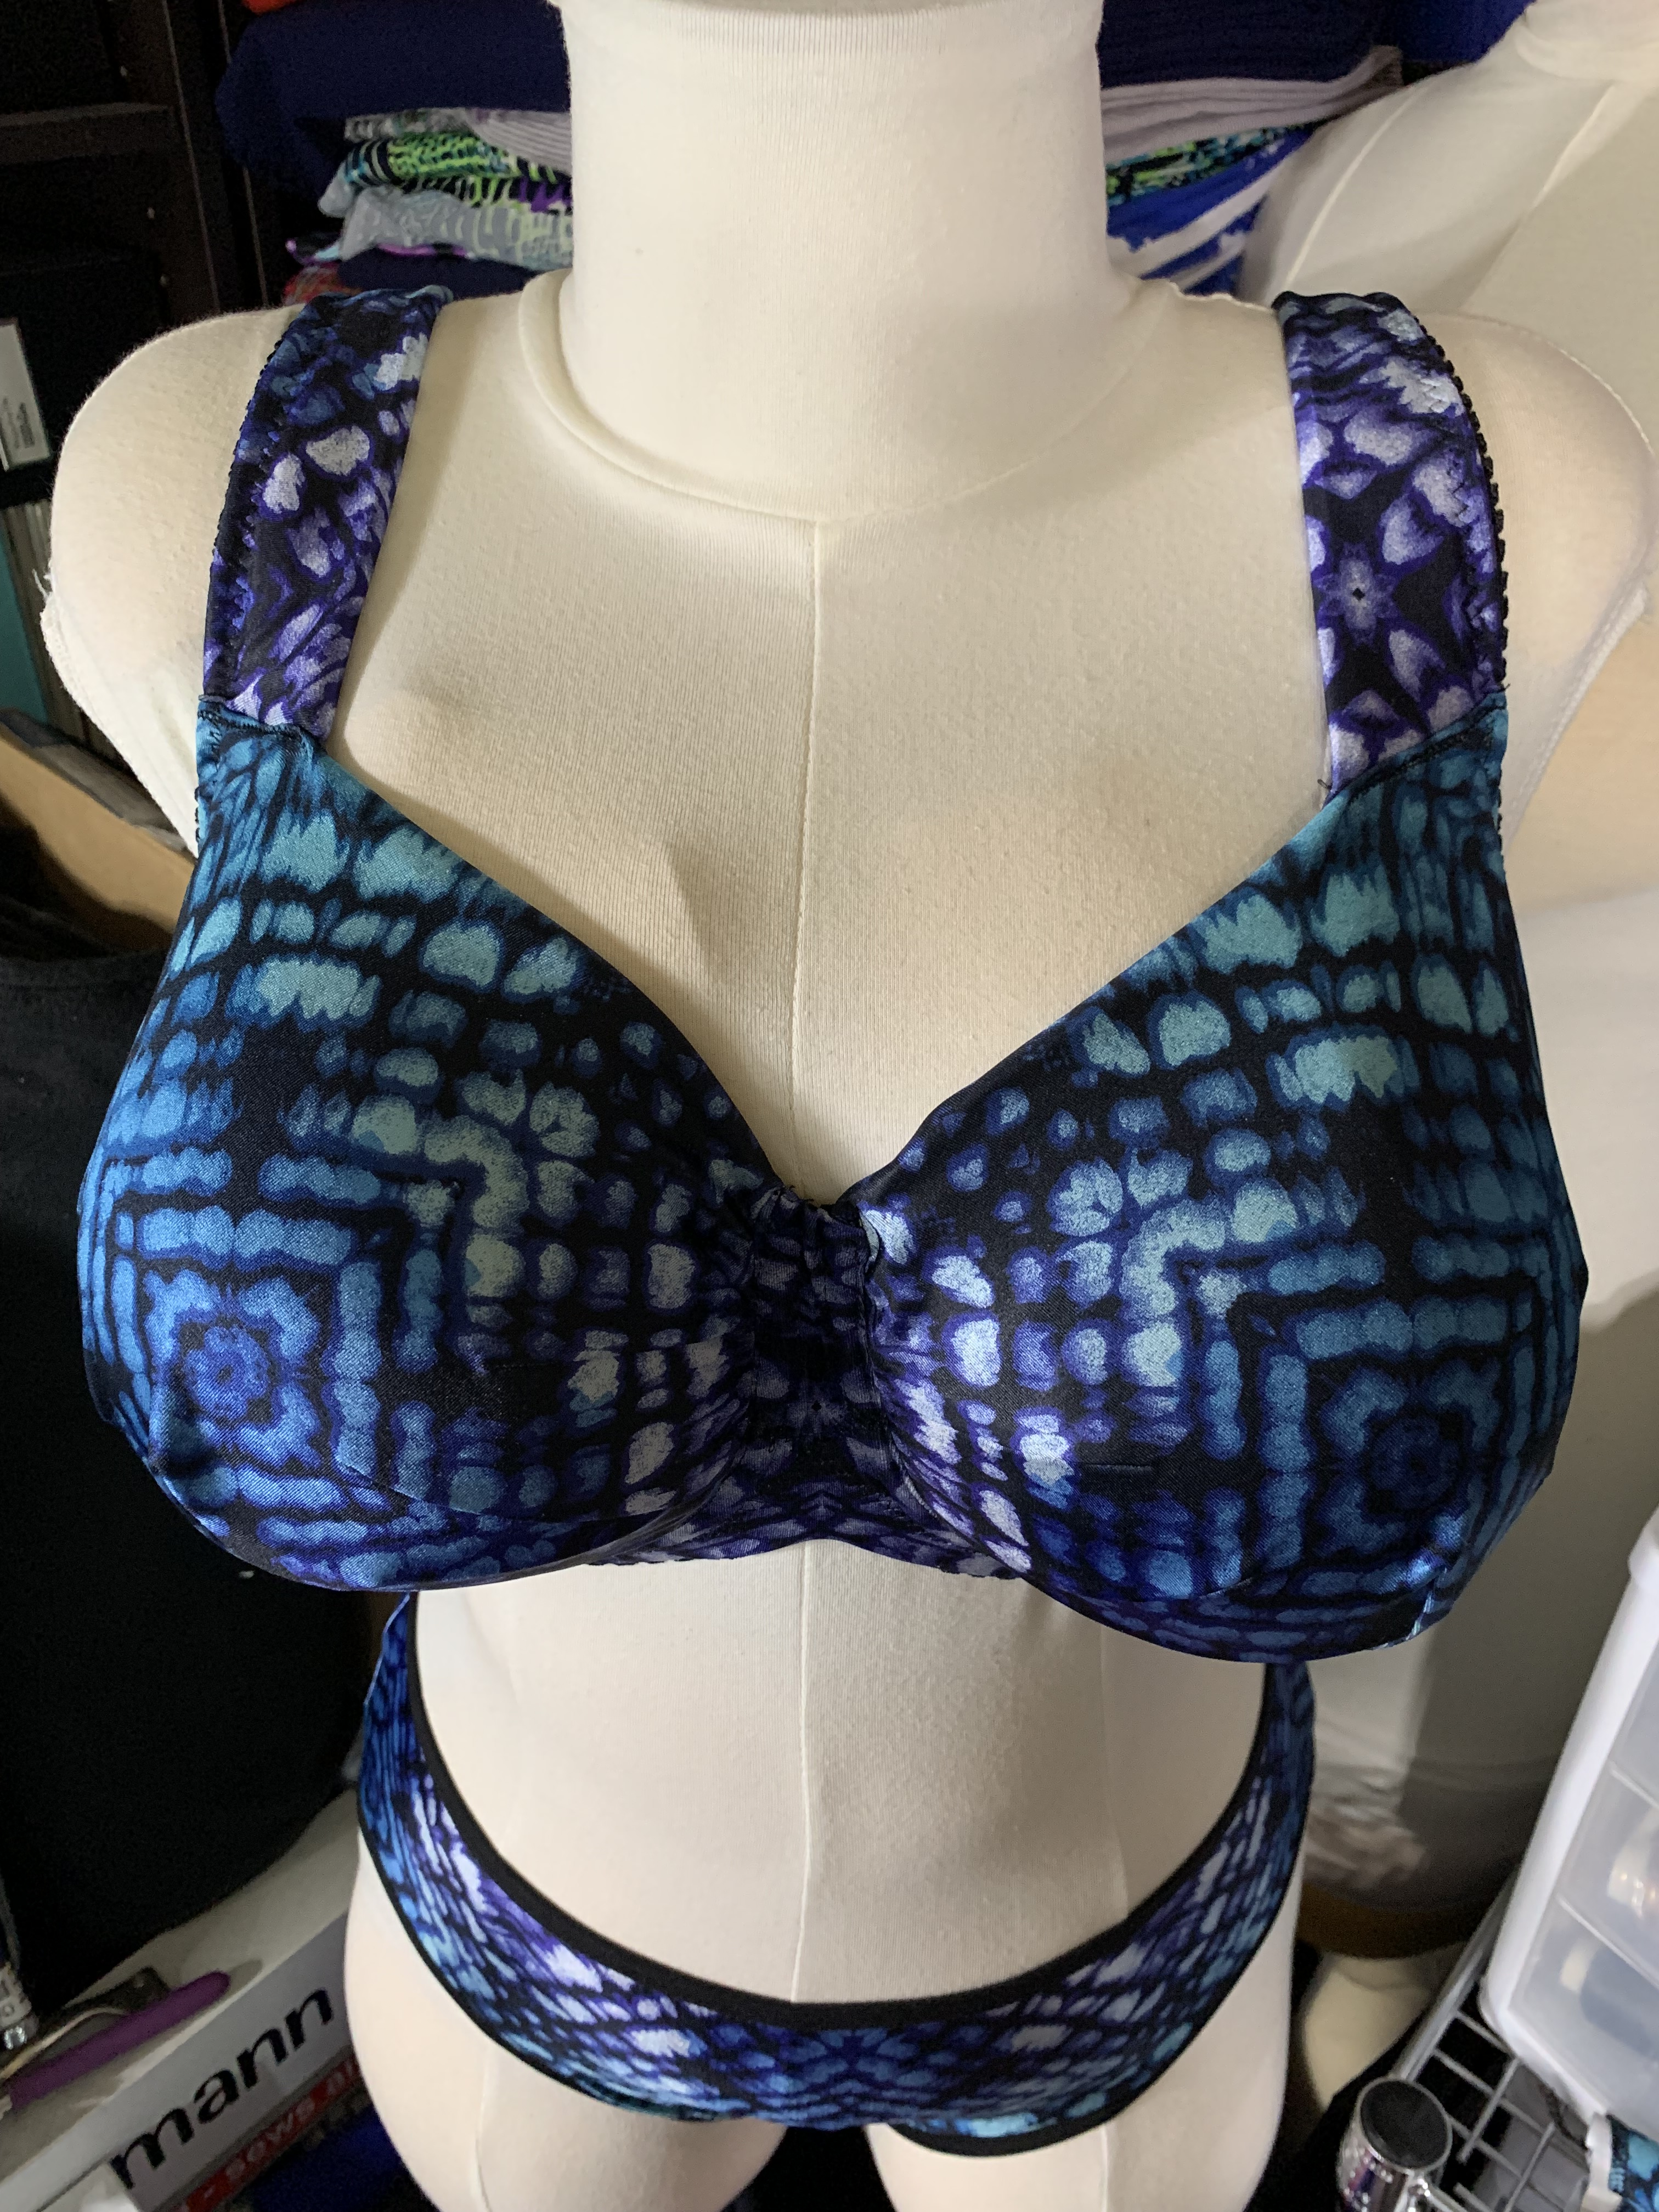

From the outside I think it looks pretty good, though I couldn’t quite get the fabric smooth over the apex, which is the most important point. I think the bottom dart might be just a bit too big; I probably need to re-distribute some of that to the other smaller darts. From the inside… the roll is a bit uneven and less taught than I would like (ignore the smushed foam… it doesn’t like sitting on the table at this angle):

I stabilized the neck edge, but this meant having a wider roll than would have been ideal. Next time I will stabilize on the outside of the cup, so the roll can be as tiny as I want. I am very happy with the shape of the Gothic Arch feature though – it looks good inside and out:
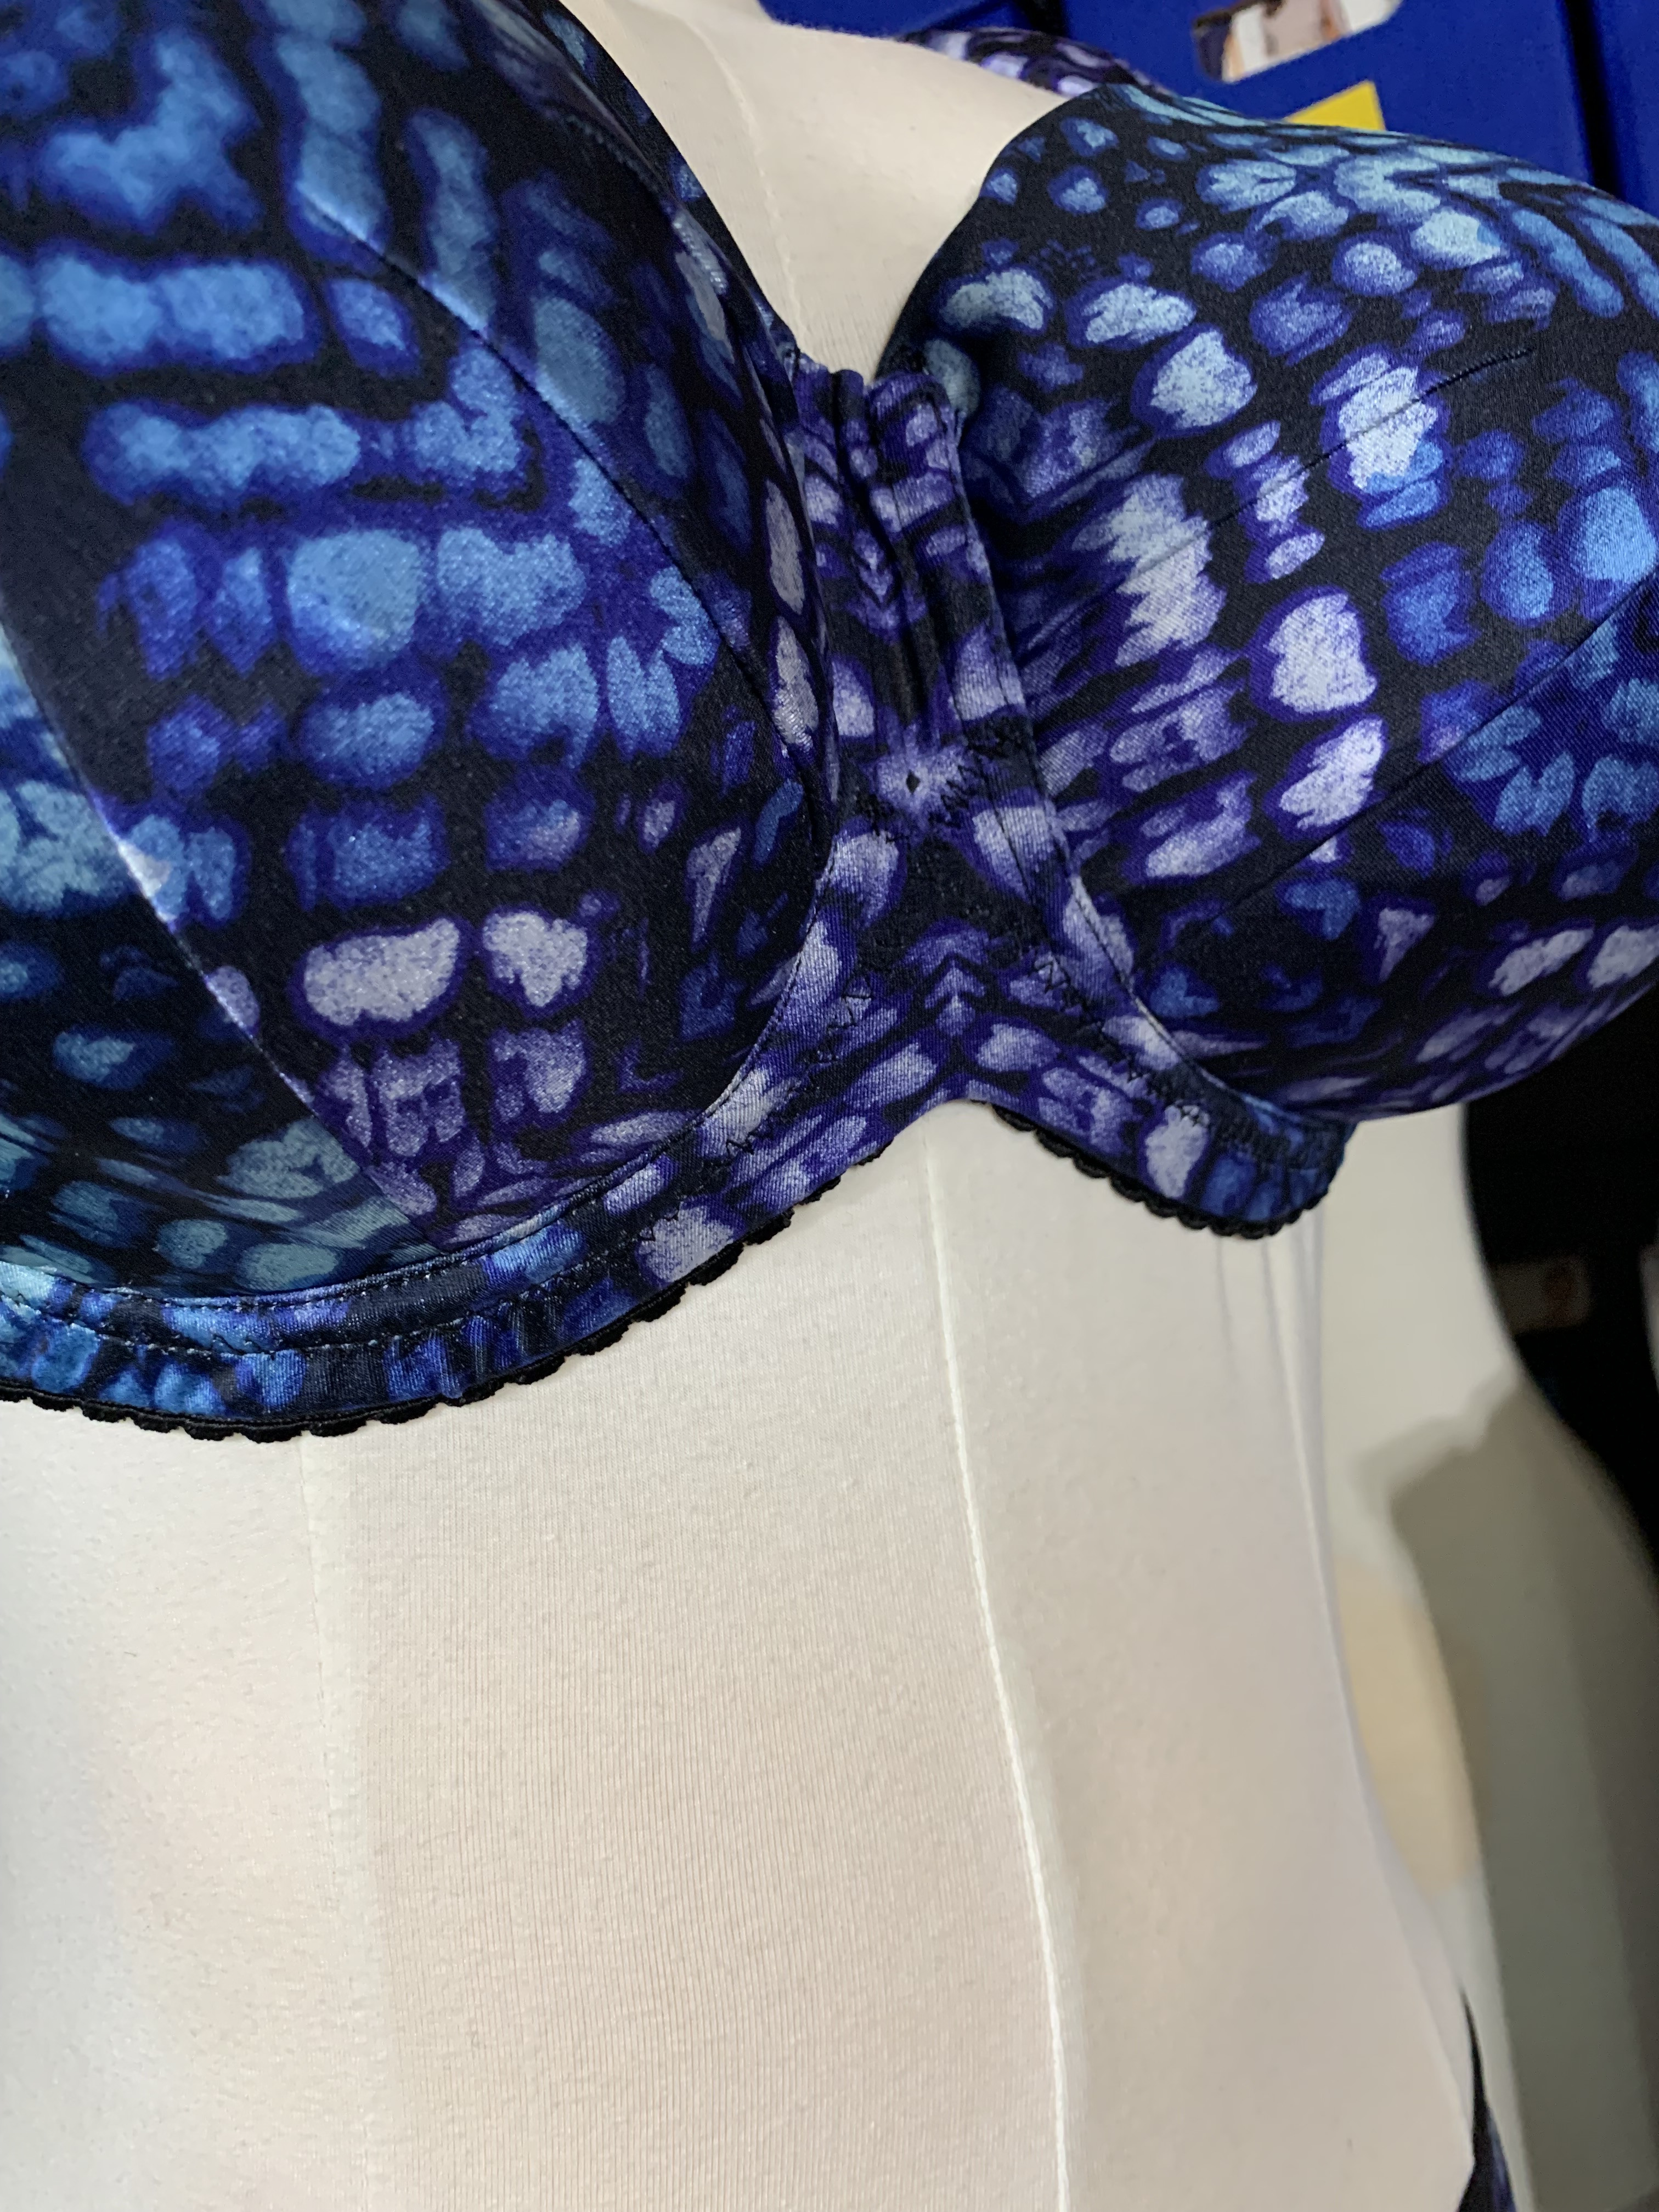
With this fabric I was determined at the outset to not create design features on the nipples! Too many times you end up with boobs just looking at you. However, despite my best efforts, we have this:
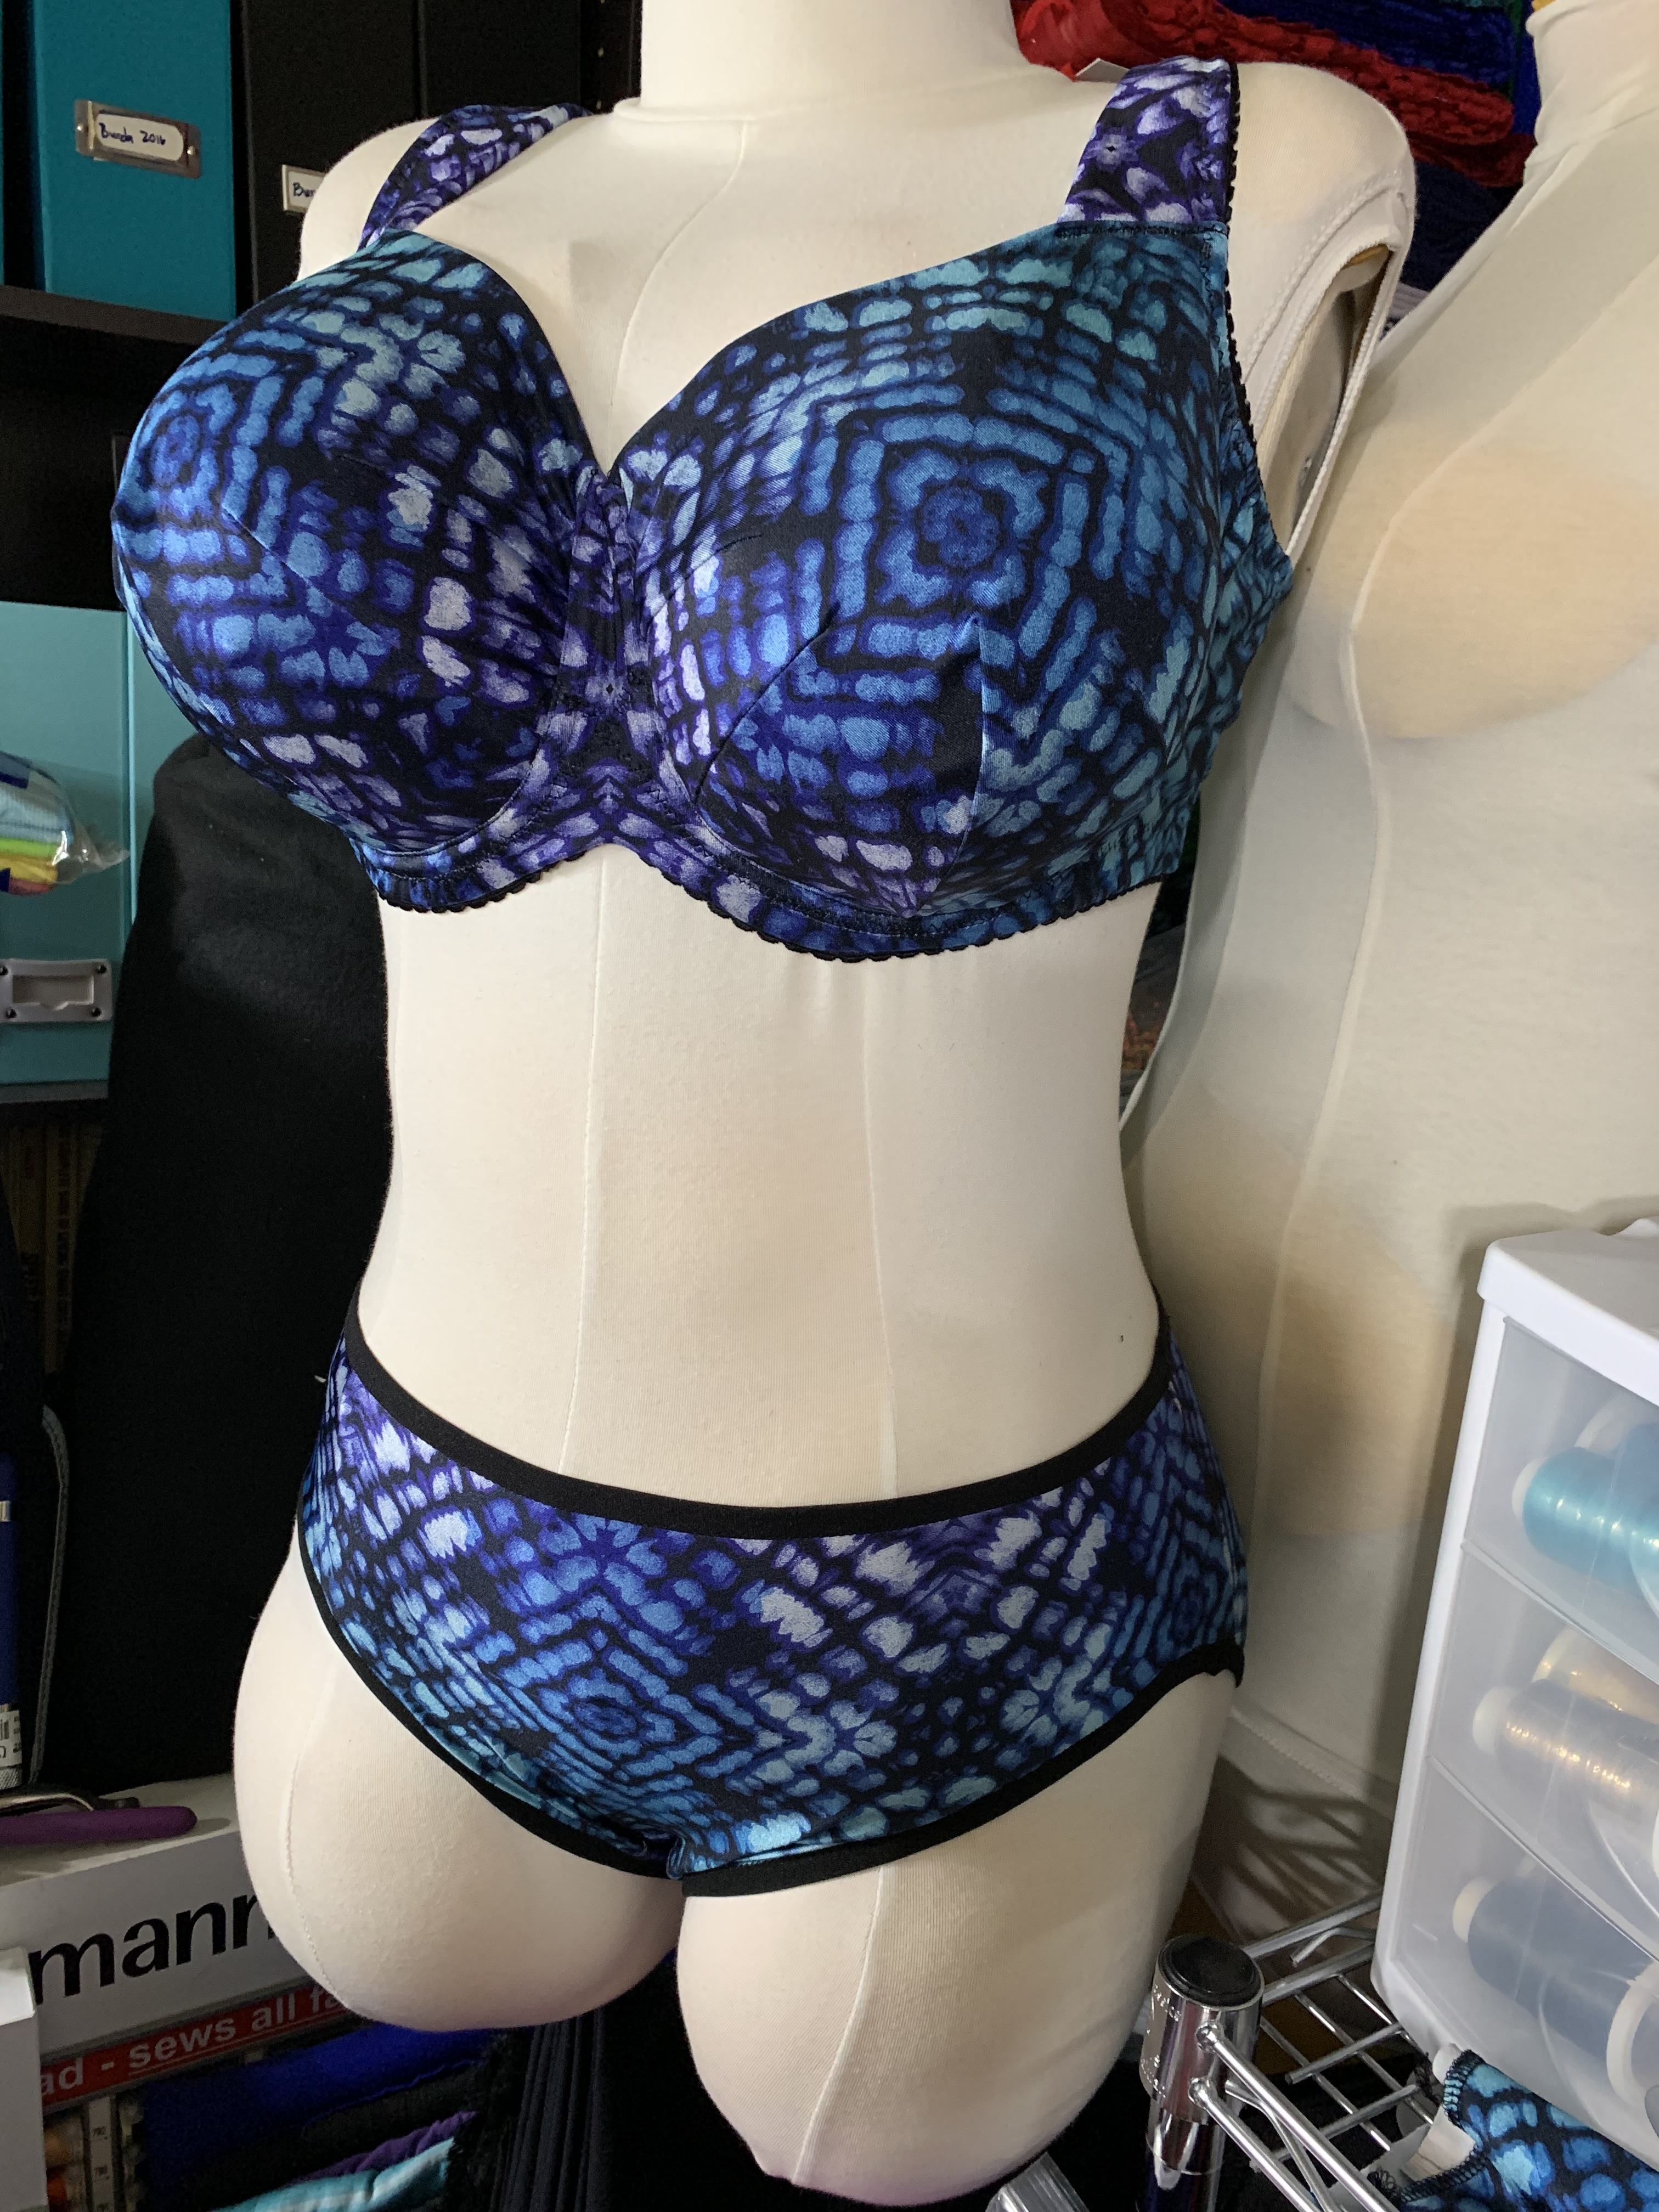

Yeah. So, the problem with this fabric is it has a repeating geometric design. And this repeating geometric design is perfectly sized to match my foam cover pattern. So, it sort of didn’t matter where I moved the pattern… you ended up with a bullseye right on the apex. And when you moved it of of the apex, it just looked like you messed up the placement. Alas. I gave into the whims of the fabric. It’s a bra… so it’s not like people are really going to see it. But! I did get the color gradient of the fabric to go from the deepest purple/indigo at the center front out towards the teal color on the band! It’s not much of a win, but I’ll take it.
The rest of the bra was finished in what I would consider to be my “standard” method at this point:


The one extra design feature is probably the back band; I covered the power net with the fashion fabric for a continuous look, from the inside it looks the same as usual:

I had similar pattern placement conundrums with the bottoms, but, you know, sometimes you just have to go with what the fabric wants and center major design elements. And I did manage to avoid having the double bullseye on the buttocks, so I’ll take that as another win. And! I had the best fold over elastic finish to date on the bottom legs:

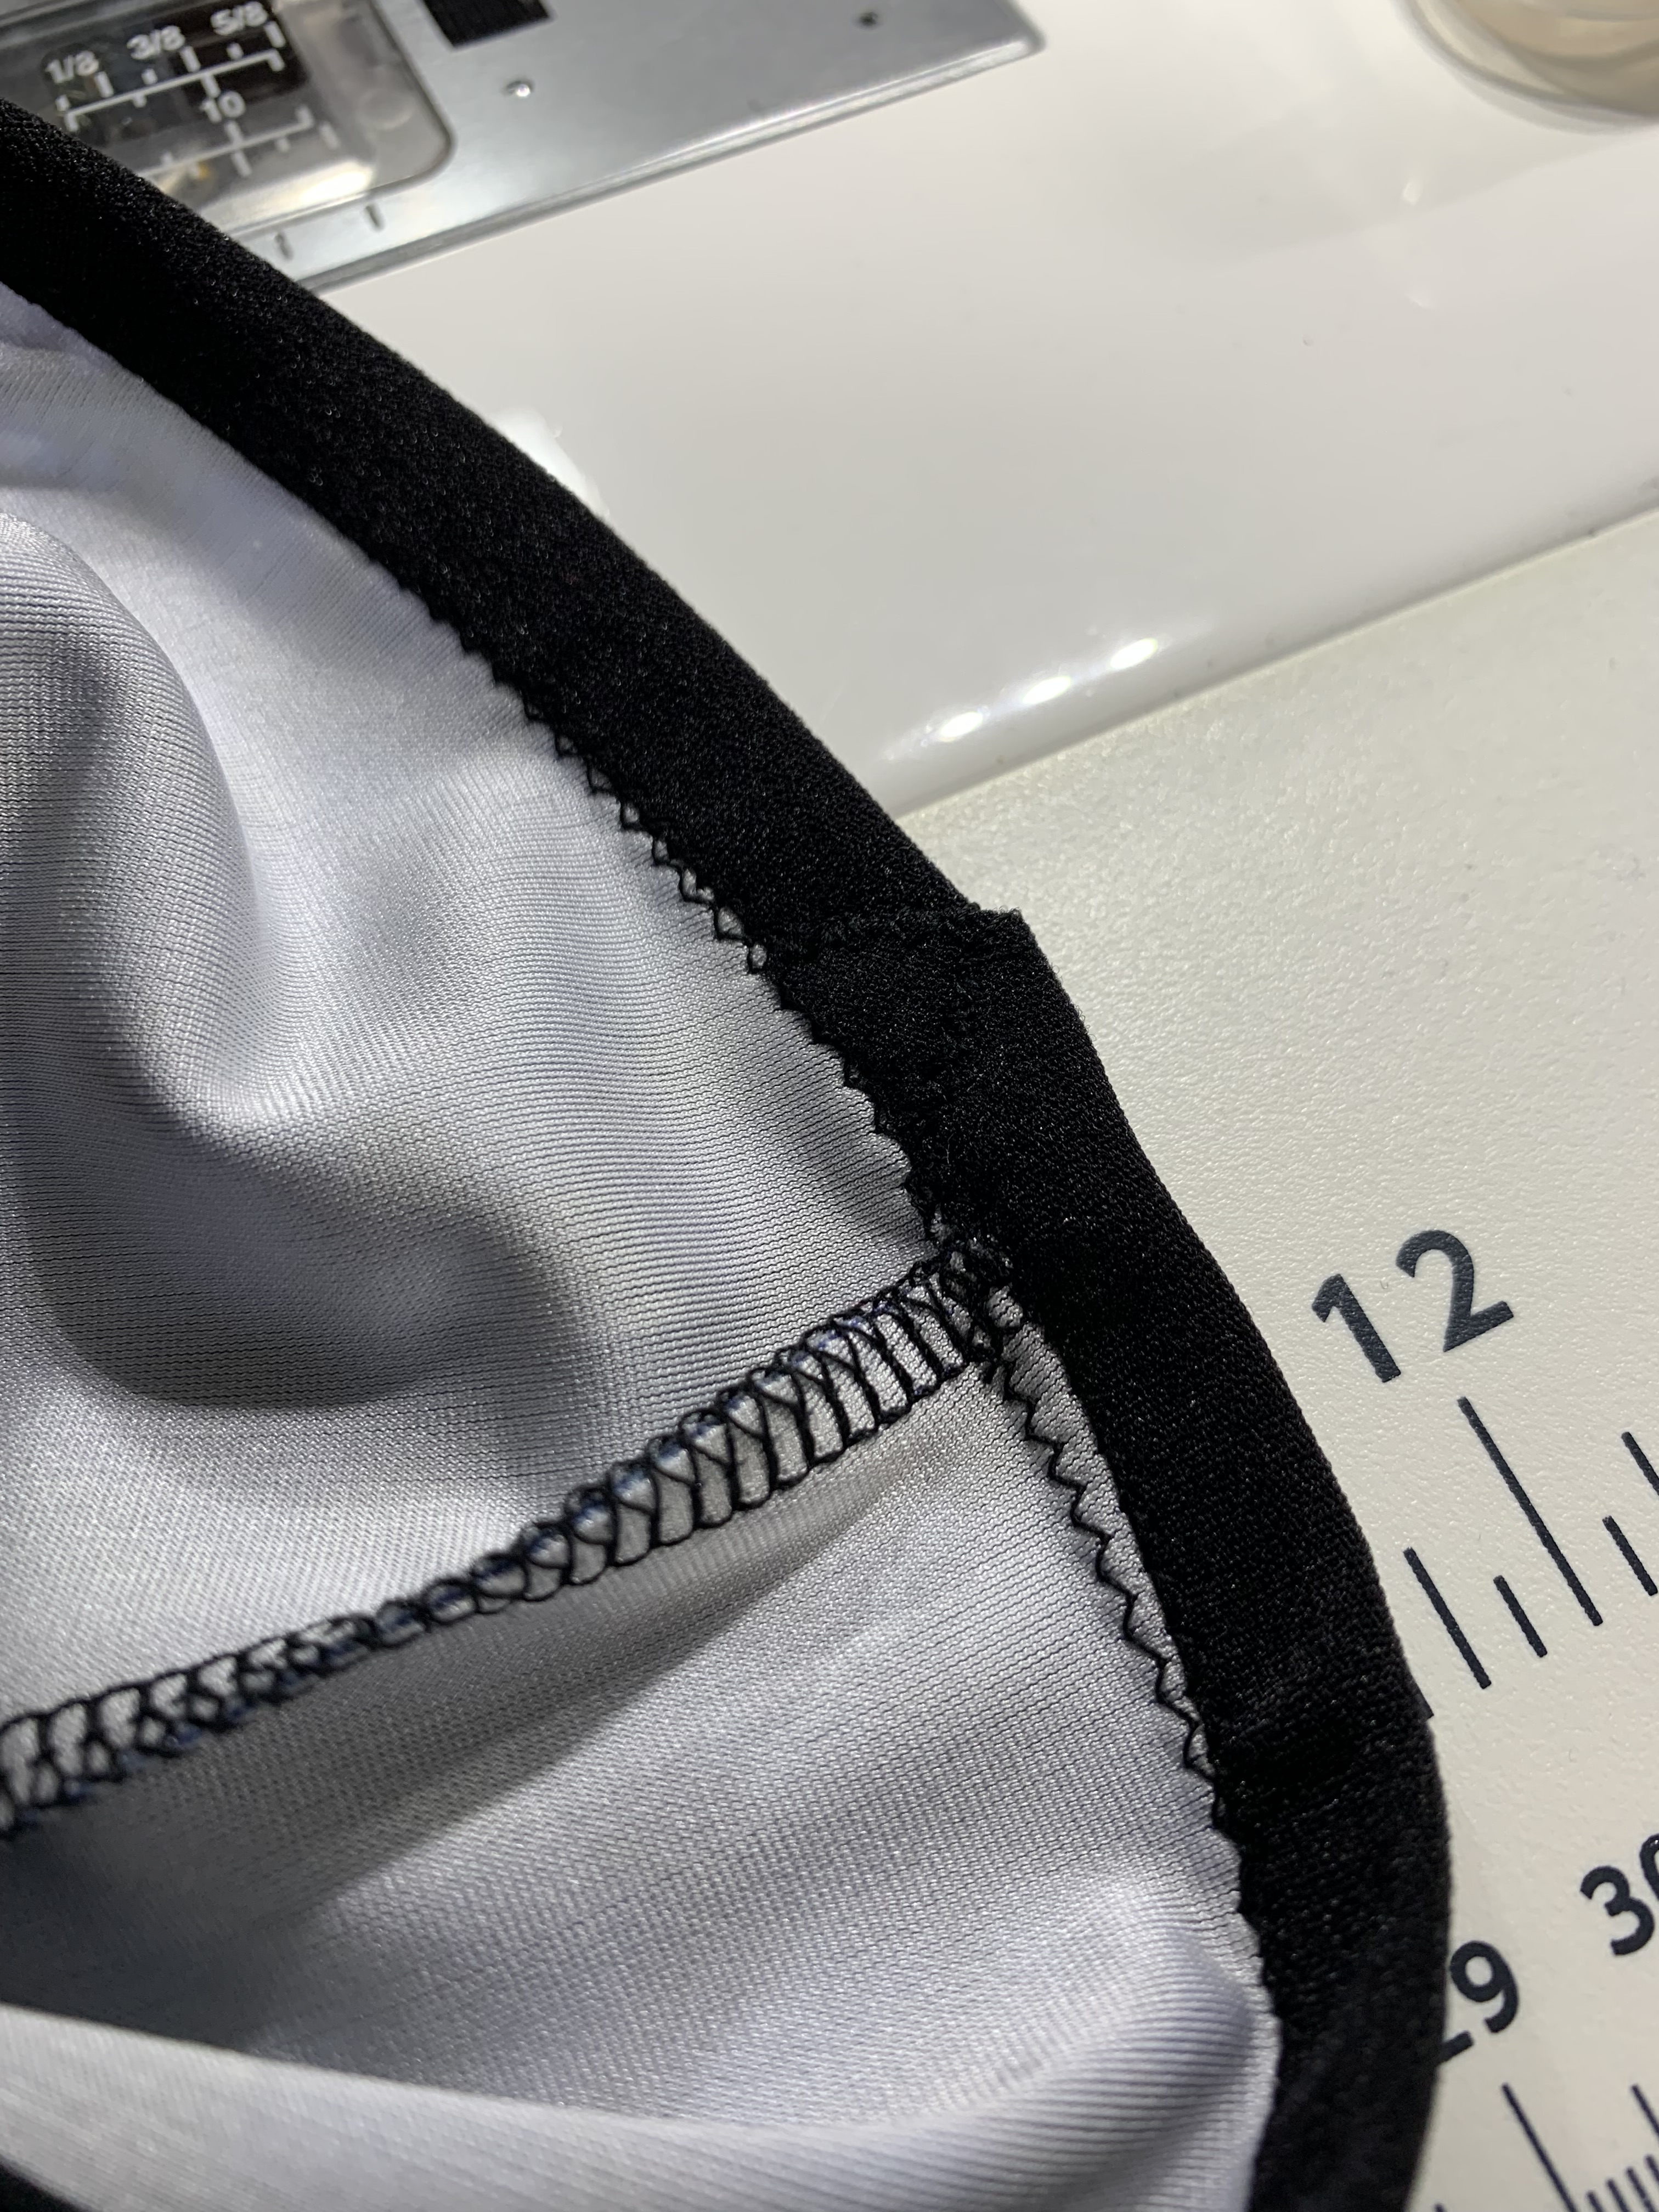
How clean is that? You can barely see the overlap of the finished elastic.
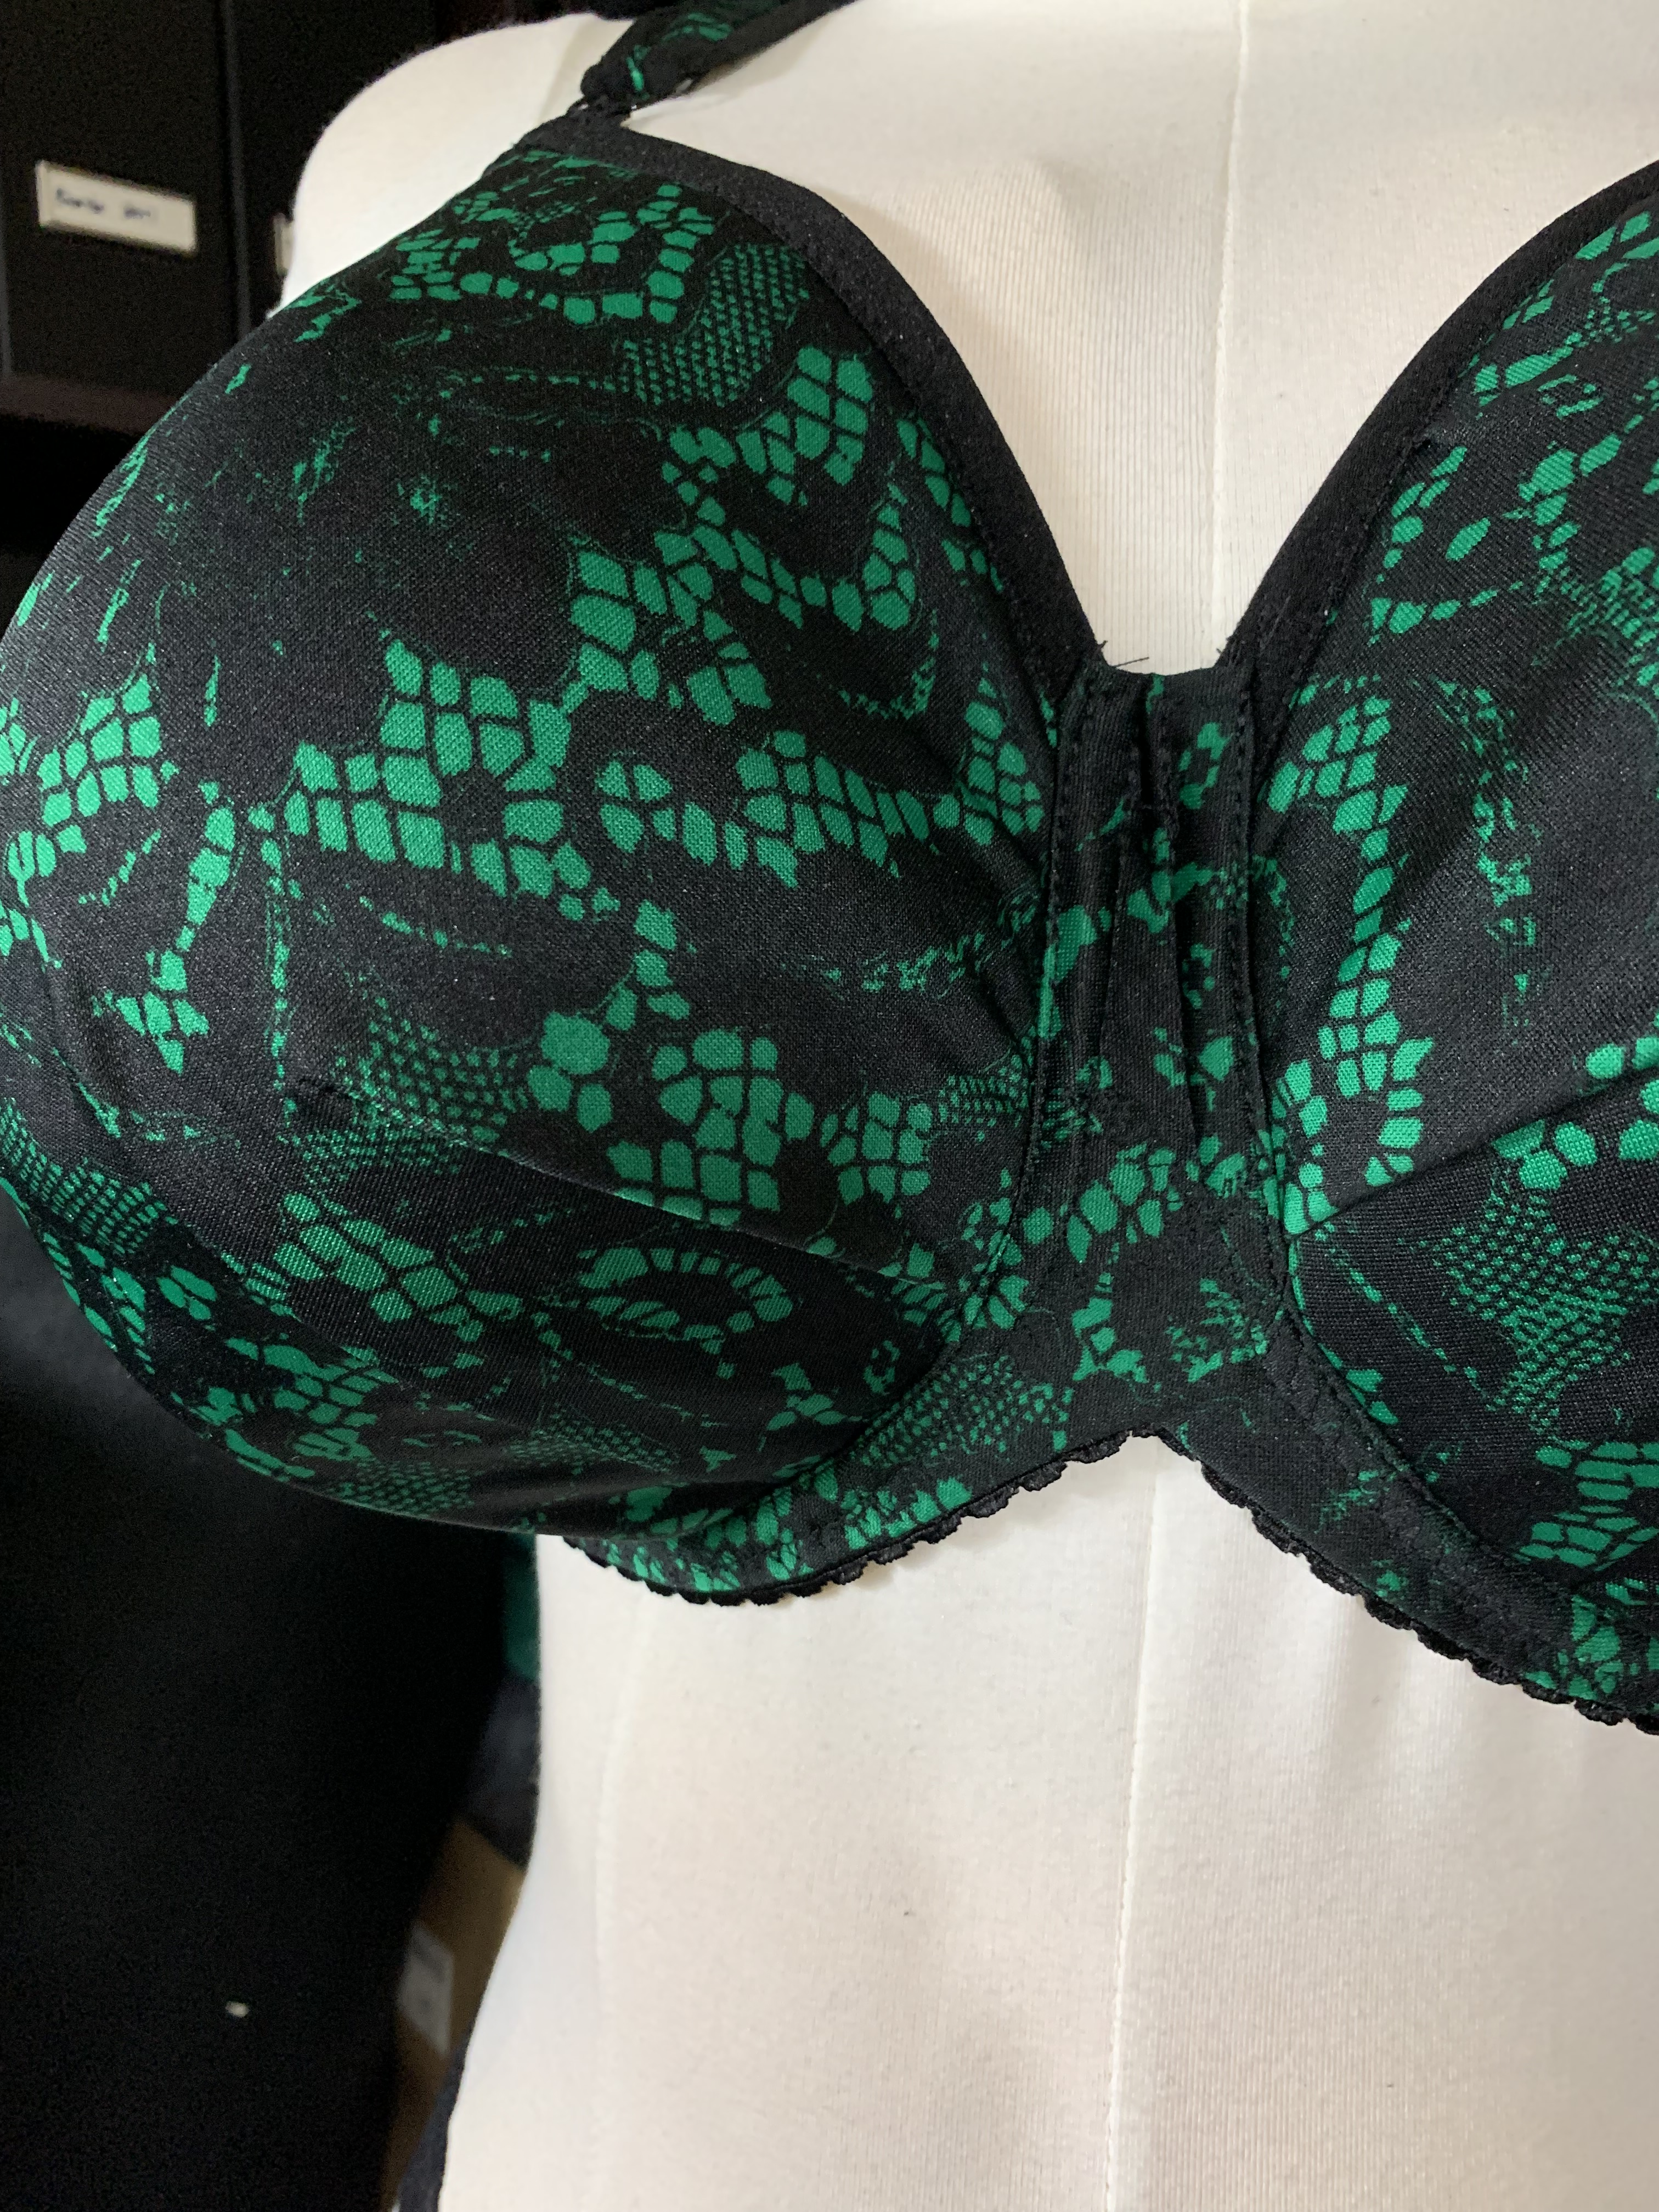
Next, here’s a look at my Cashmerette Willowdale. I covered this in leftover ITY knit from my gown that I made a few years back. Happily, this pattern worked much better to cover the foam cups:

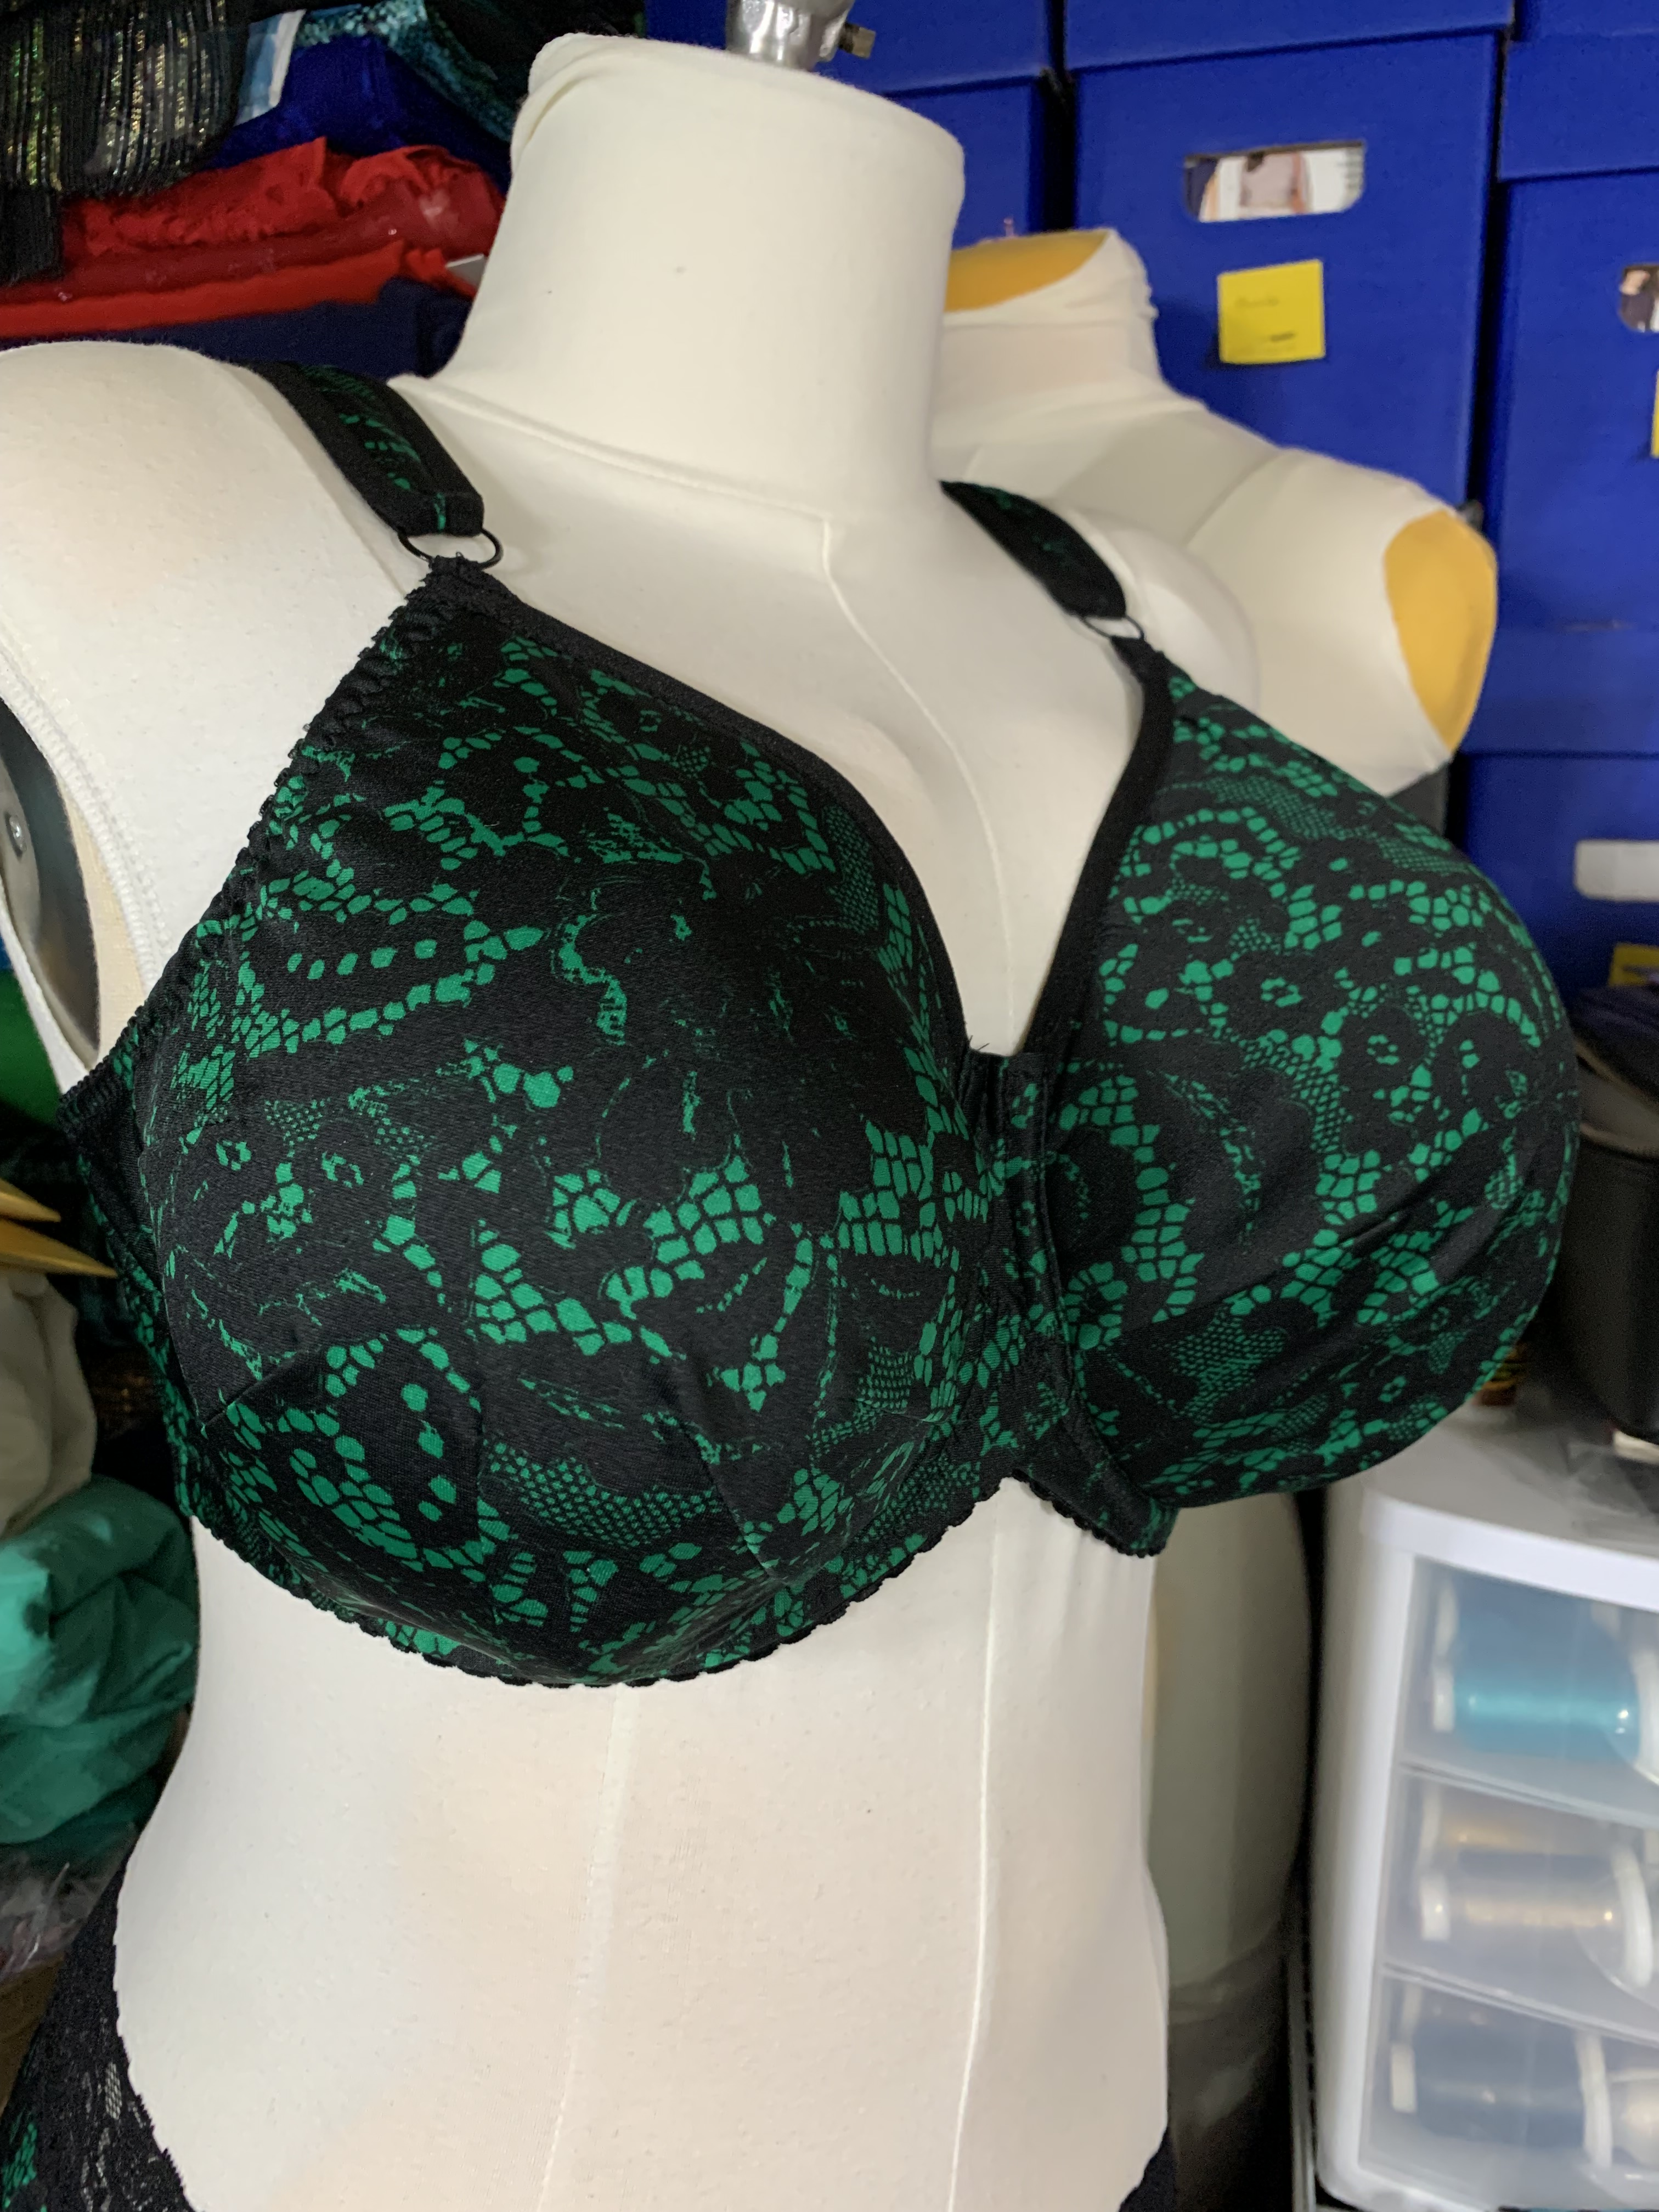
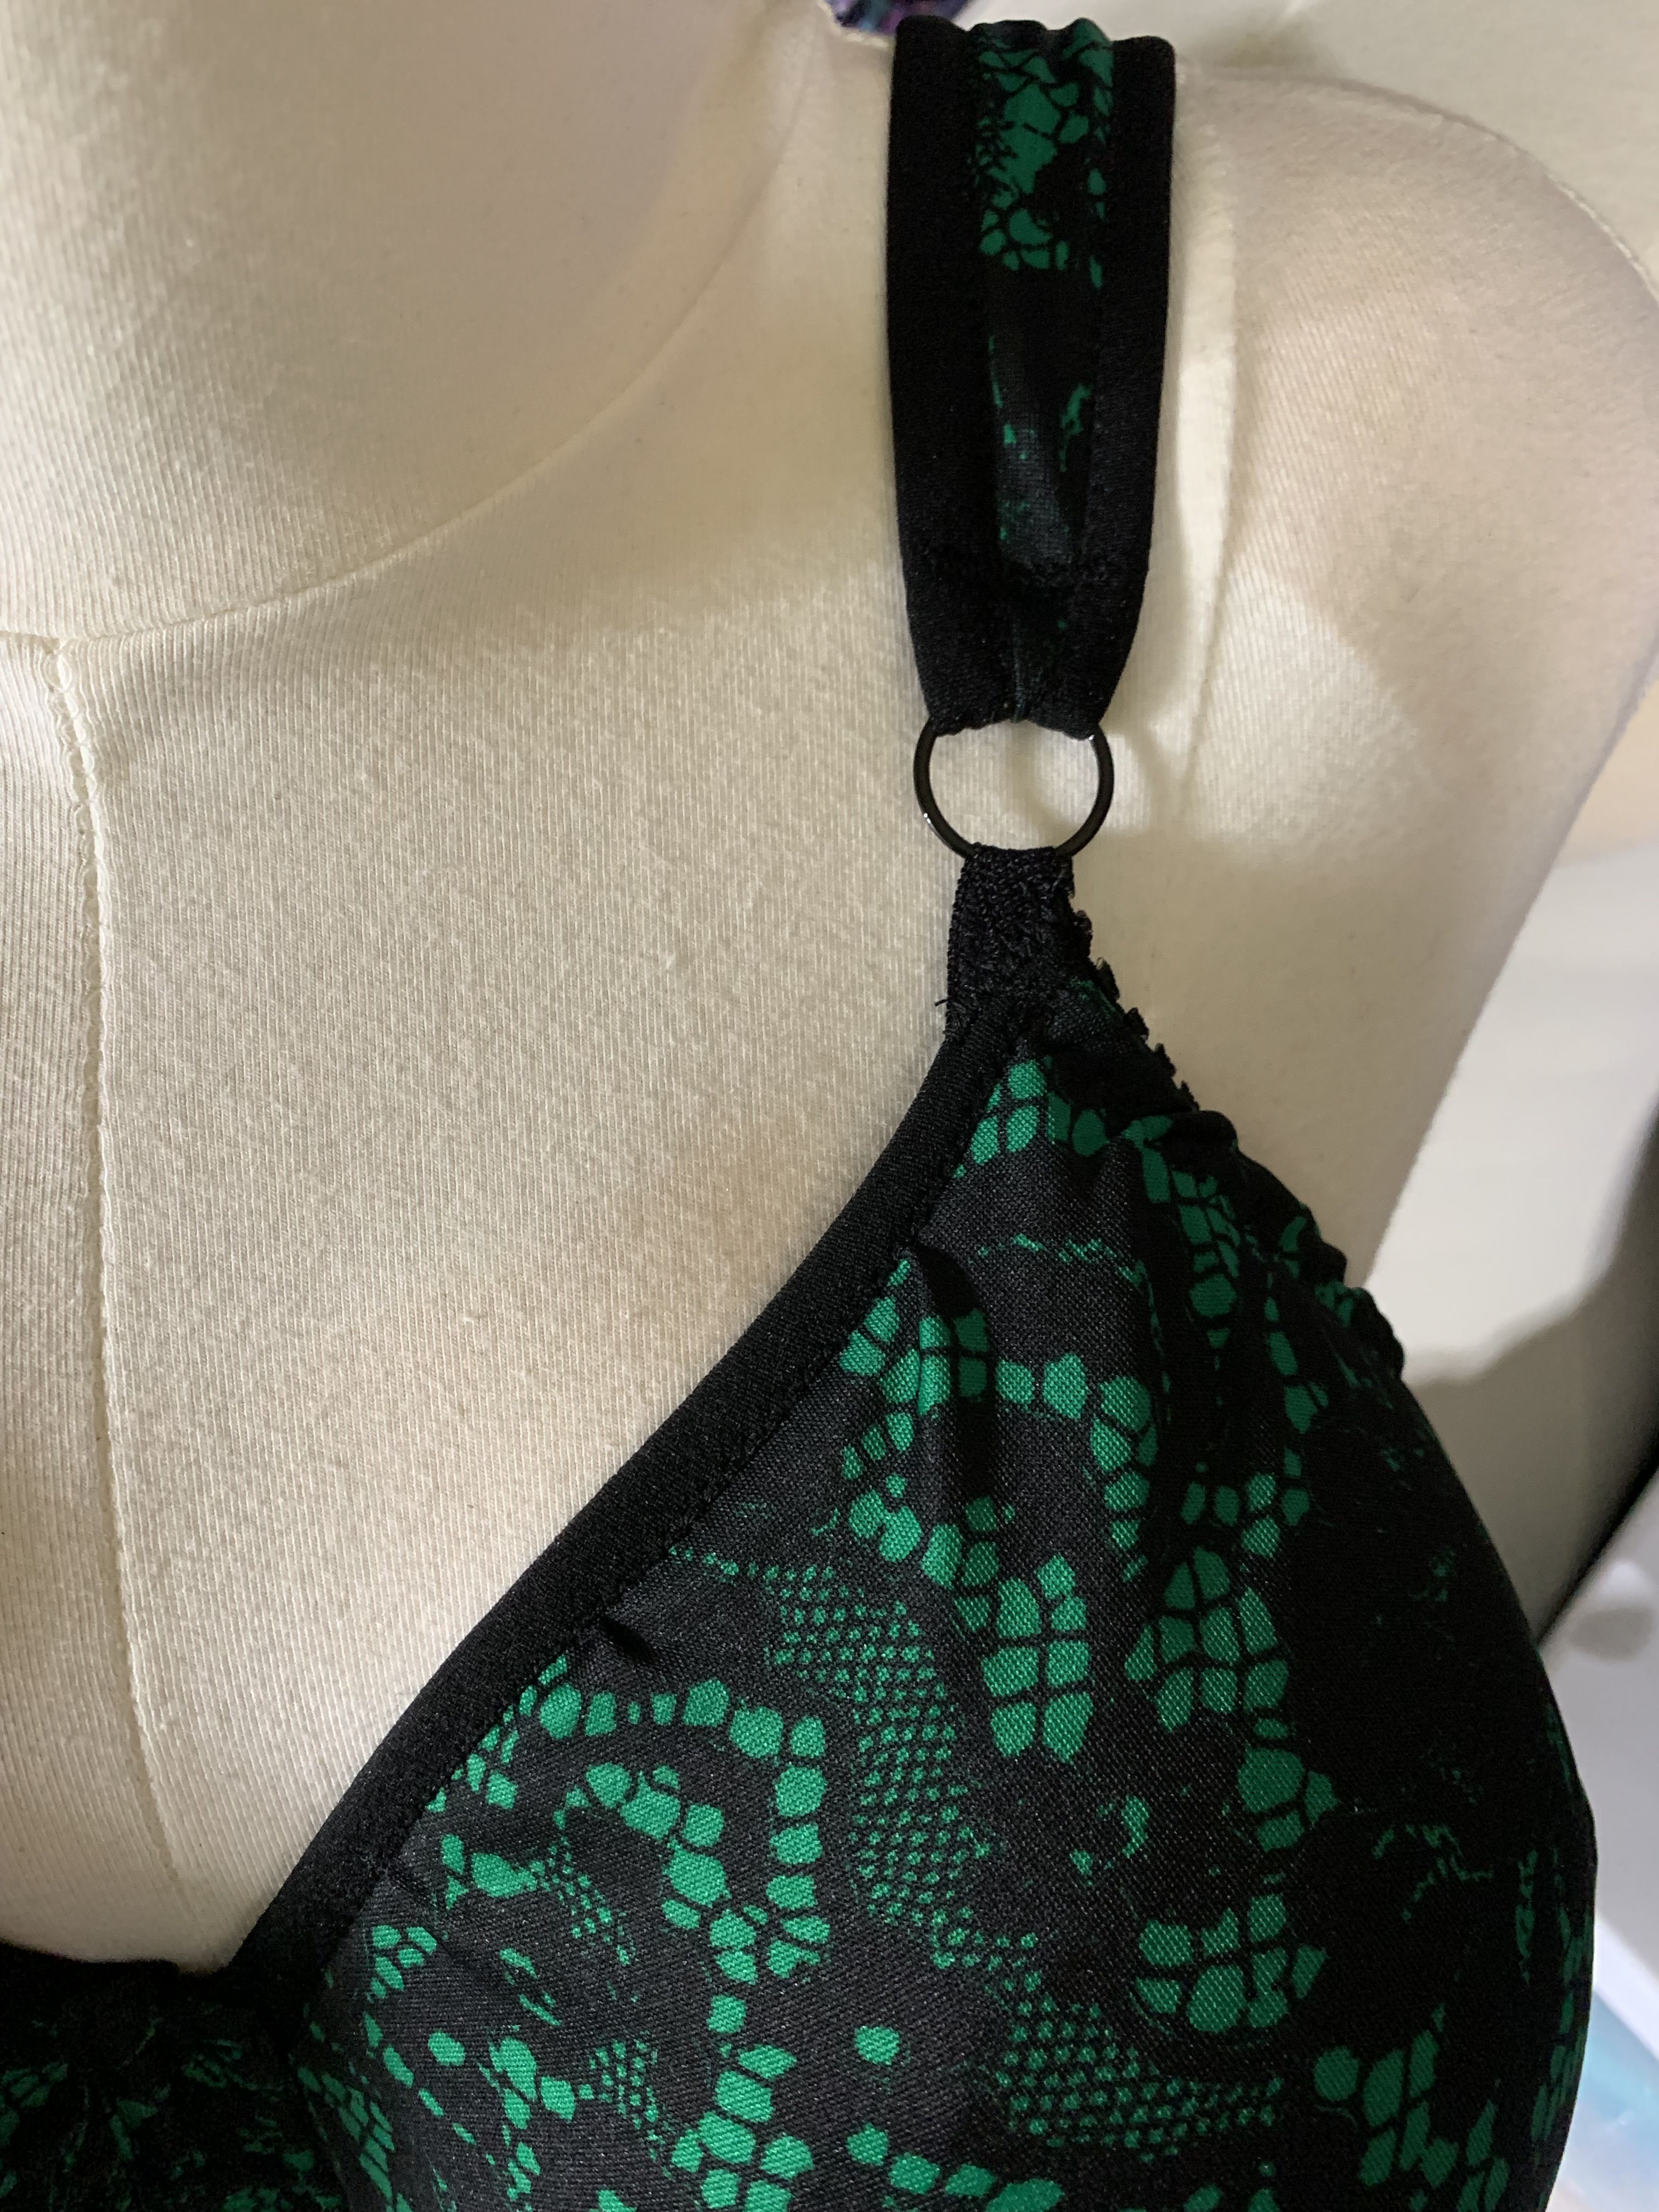
I used different finishing techniques on this pattern – I used fold over elastic to bind the neckline edge, and used shaped foam straps attached by rings. I took an idea I saw on an Instagram bra, where the underarm elastic came up and folded through the ring for a very tidy finish. It was my first time trying it, and I really like it. The rest of this bra was similar to how I’ve finished the Angie’s Twin, using the narrow band, Gothic Arch, and covered back bands:
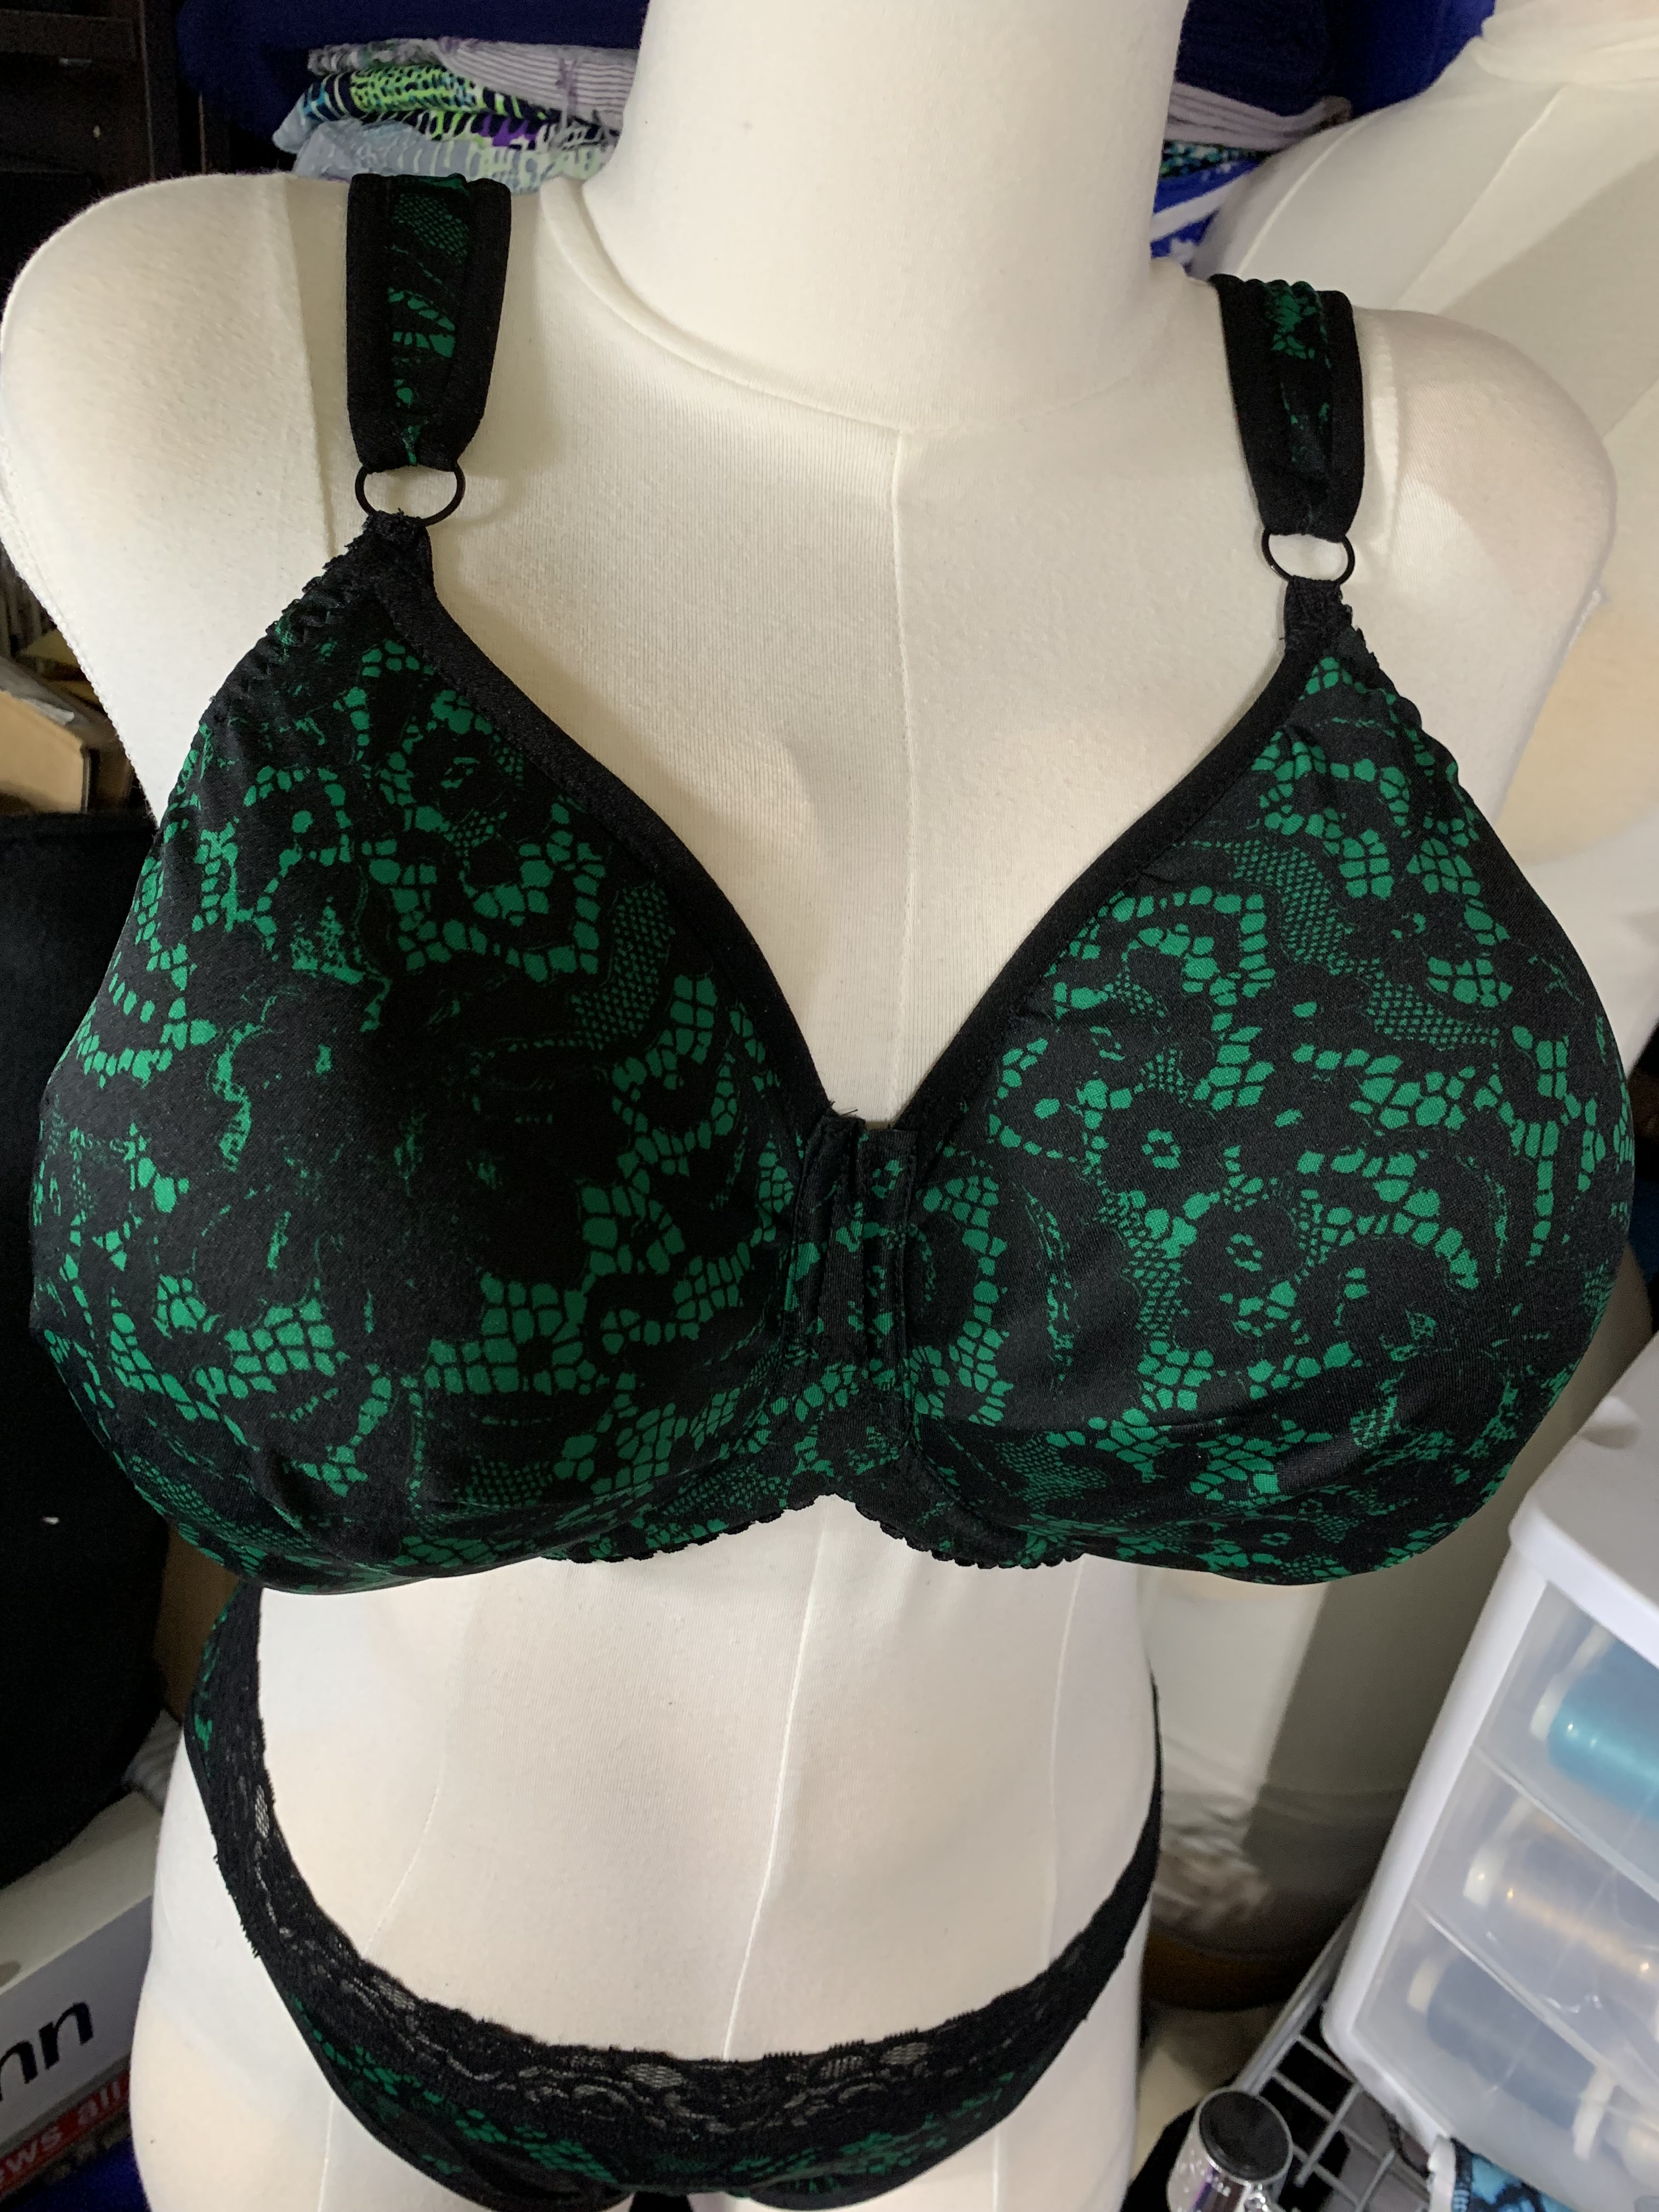


I think this set turned out pretty cute:
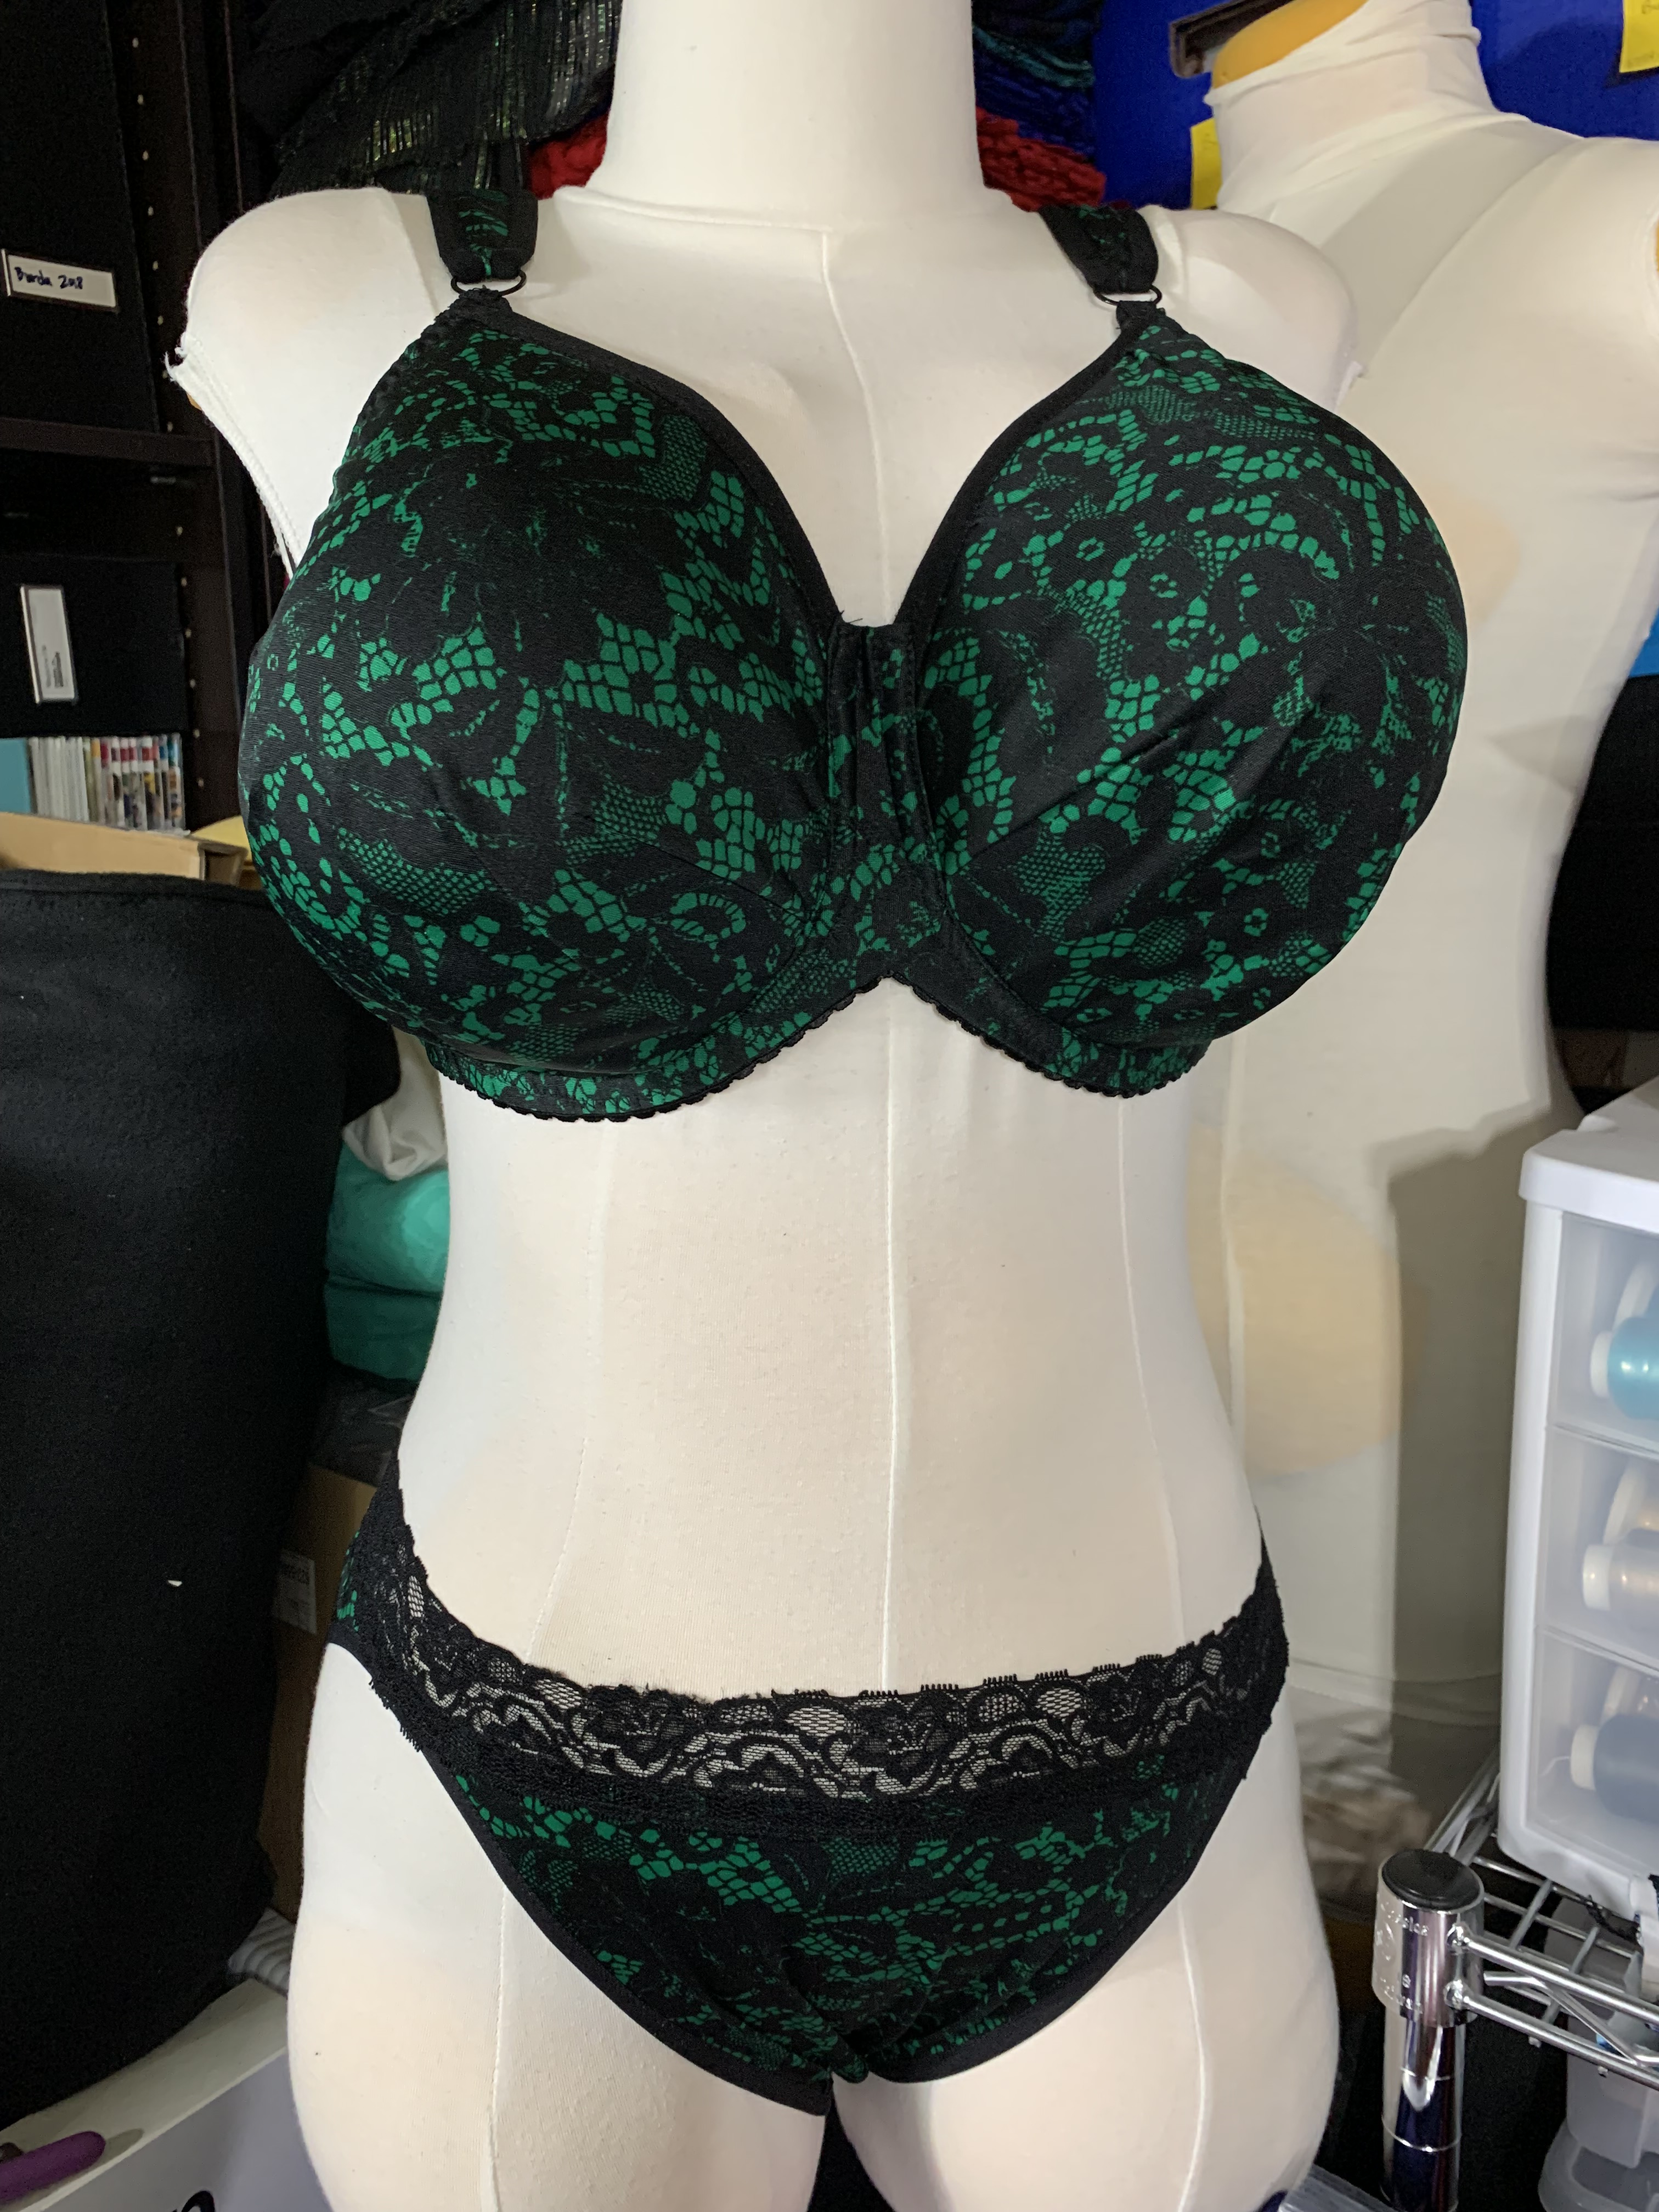


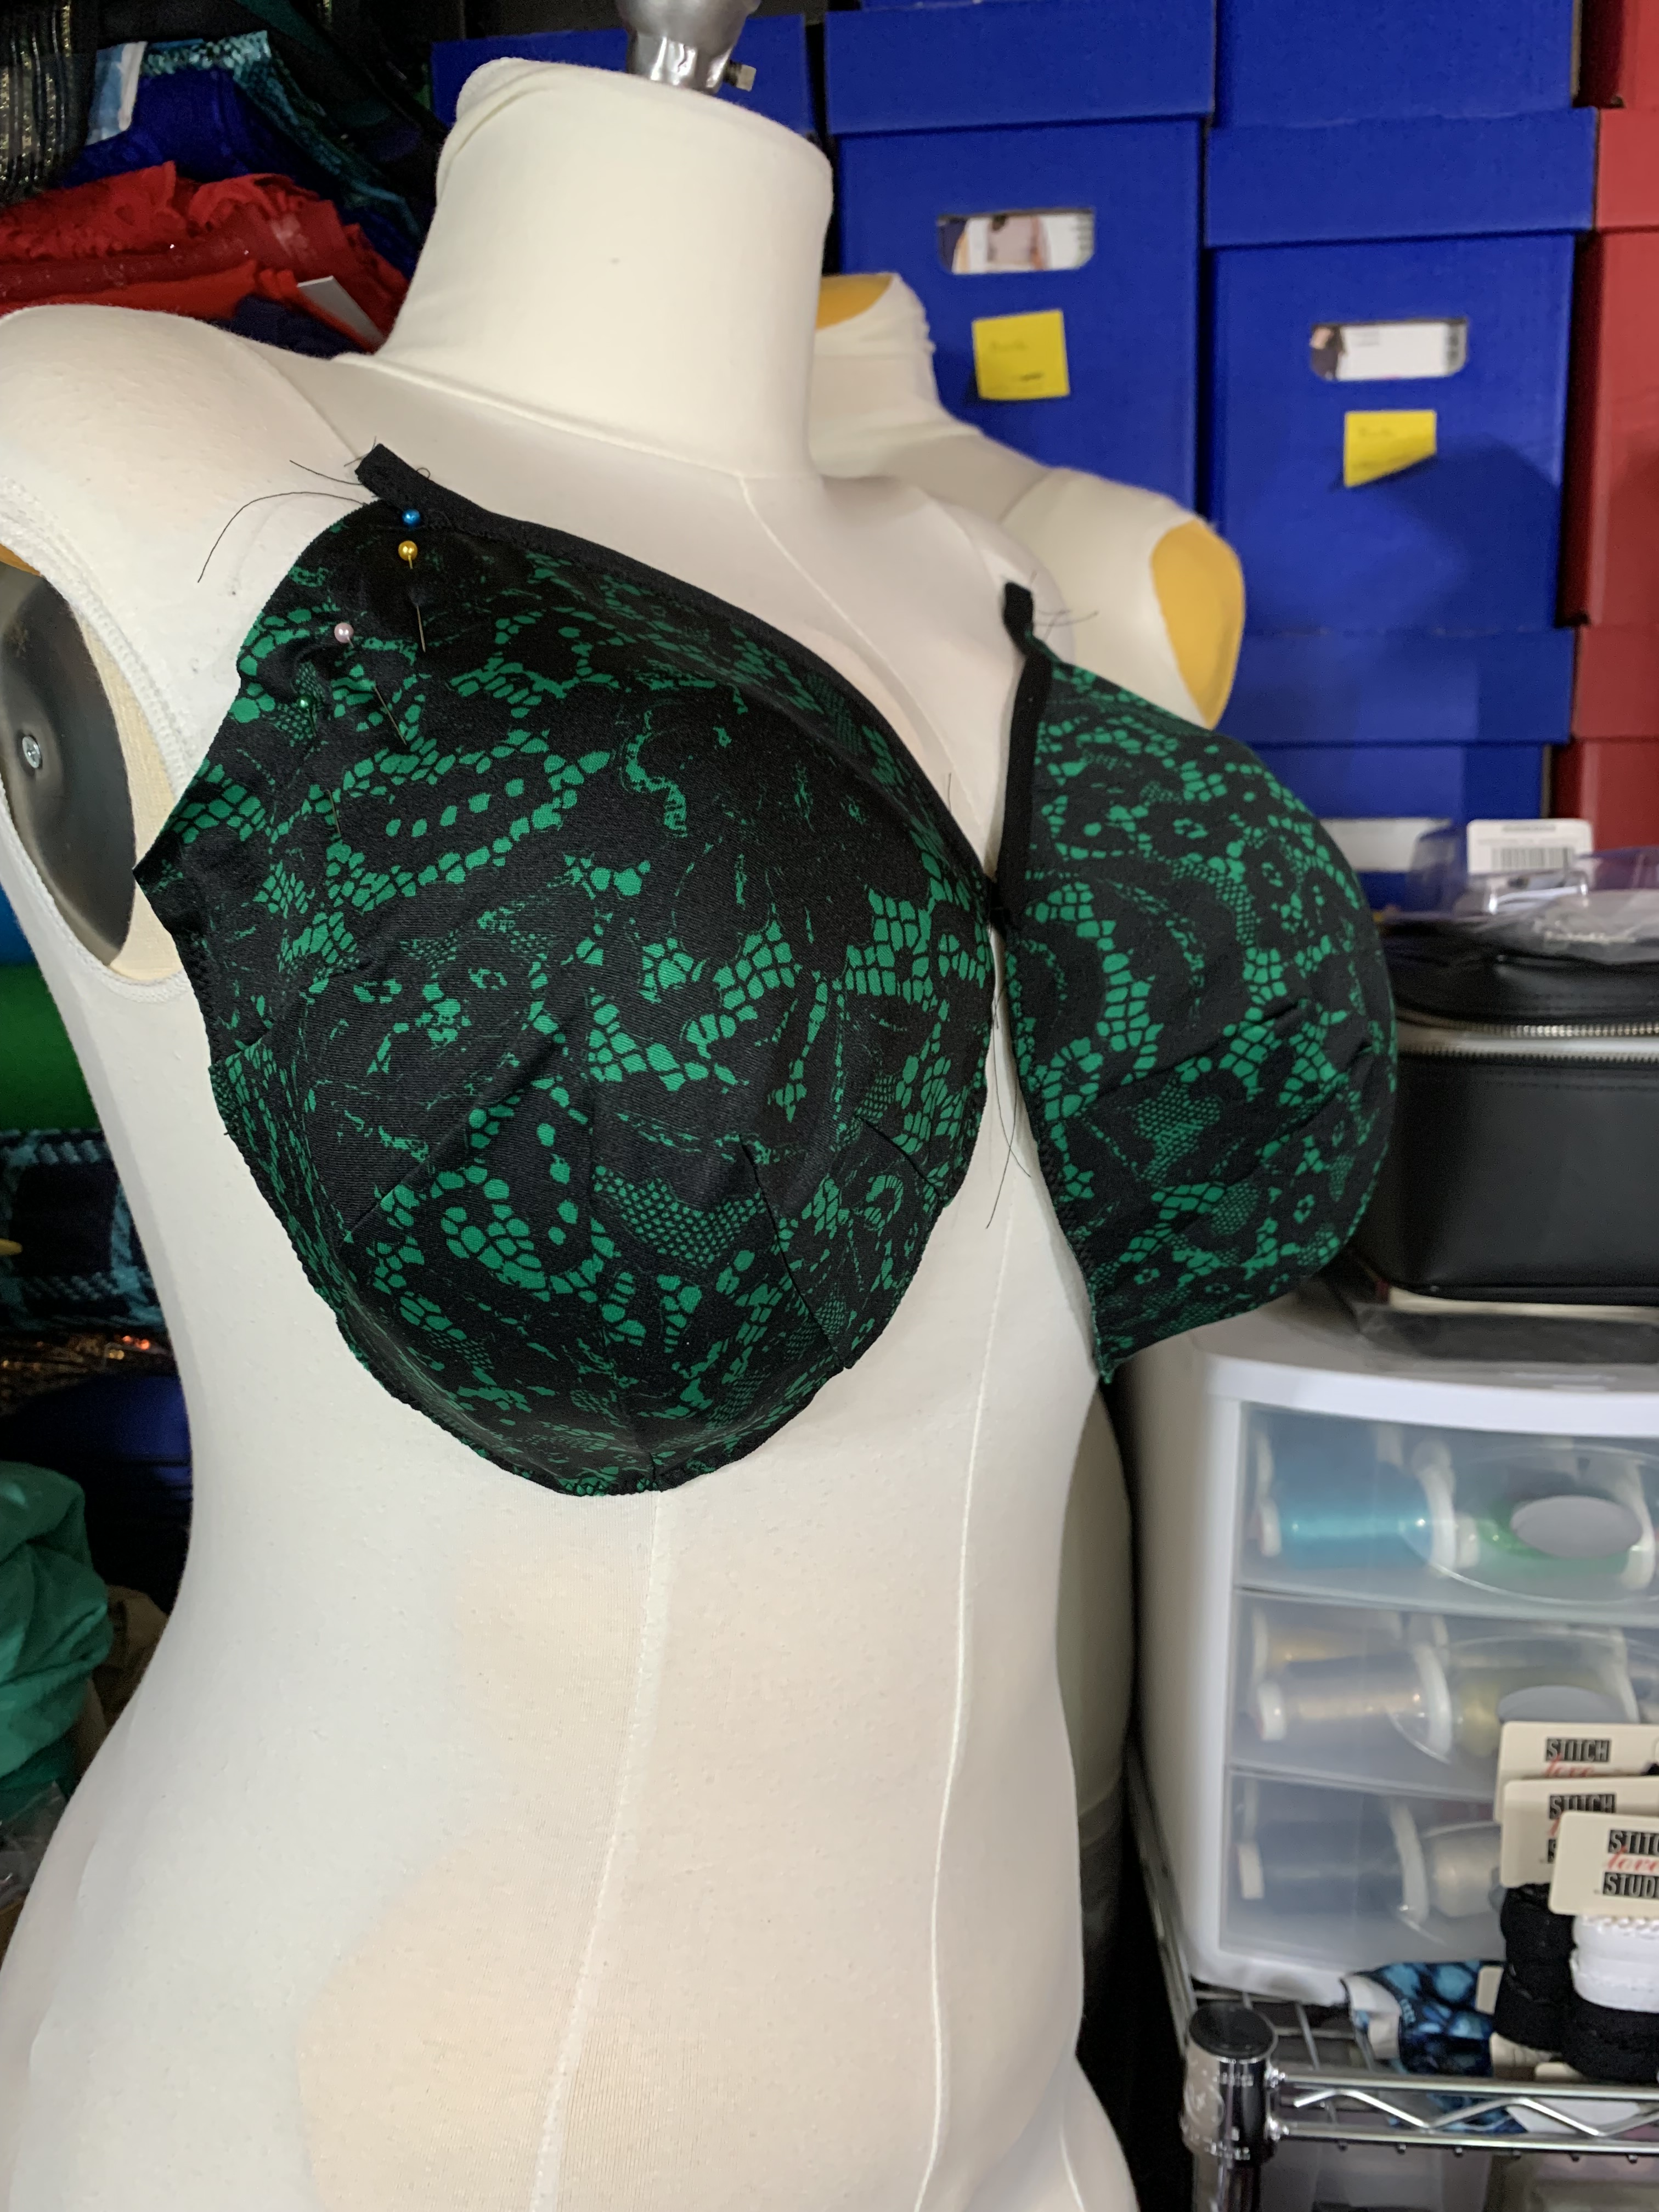
Now for a bit of comparison between the patterns. In both cases, I think the fabric patterns visually hide the darts quite a bit:

However, I will say that, when wearing these under clothes, the darts aren’t totally invisible. The Angie’s Twin blue lycra fabric is a bit thicker and springier, and because of the shaping of the cup with the vertical seams, the cover didn’t lie quite as smoothly over the foam cup, so it’s still not the perfect pattern to wear under a thin t-shirt. I have also found that the fit of the Angie’s Twin, while very good, still isn’t quite perfect yet. By contrast, the Willowdale cup is a bit rounder, the fabric cover is a bit smoother, and you have to pull a shirt much tighter to see the darts at the sides of the bra. The Willowdale also just fits better. The center gore tacking is absolute perfection. There is absolutely zero space between my chest wall and the bra, but it doesn’t dig in or press on the breast tissue at all. I think that one reason for this could actually be the back band. On all of the B, Wear patterns I’ve been using modified versions of their back bands, which have downward hikes as part of the draft, but on the Willowdale I am using my fully self-drafted band, which doesn’t include this feature. Turns out, I probably don’t need this feature. So on my next B, Wear pattern I think I’m going to try just using my self drafted back band piece. One thing I’m thinking about adding to all of my patterns is raising the underarm seam height just a bit. It’s fine as it is now, but I think I could increase the support by raising it a bit to add more coverage of the band. Otherwise I am very happy with how these fit. I think they might be my new go-to bras, at least in terms of comfort. The foam straps are a revelation, and I might be using that detail on a lot of patterns moving forward.
This was a bigger project than I expected and I have several (somewhat unexpected) takeaways. First: I’m maybe not as in love with foam bras as I thought I was. I know; I’m shocked too. I was so certain I wanted nothing but foam bras because that is what I was used to, but now that I’ve had several months of fabric bras, I can see some of the benefits, and I definitely don’t hate it as much as I thought I did when I started all of this. I don’t think this means I’m totally done with foam – I would like to try some other patterns as a foam bra (I’m looking at the Olivia, but also I want to go back to the Ruby and try to re-fit the cups now that I have a better idea about the band and wires I want to use). I also want to try some different foam covering techniques with laces too. So, I’m not done with foam, but maybe every bra I make going forward doesn’t need a foam cup. Second: it’s good to have backup plans when trying something new. My first plan was to attempt a seamless cover, which failed. My second option was the darted cover, which I went with, but the third option was going to be sewing a fully seamed cover and giving up on the seamless look. I’m happy I didn’t have to get to that point, but actually listening to the advice about not doing a seamless cover on a cut and sew foam cup prepared me to pivot, and probably saved me a lot of headache had I stubbornly pressed on with attempting the foamless cover that just wasn’t going to work. Third: I still have things to consider about fit, even on some of my favorite patterns. The Willowdale continues to be my ultimate TNT, and the fit is really so, so good. However, I now want to reconsider the back band pieces I’m using on the B, Wear patterns and how everything is fitting at the underarm seam. These are all minor tweaks, but I think it’s interesting how the closer you get to a perfect fit, the more you find to fix. I suppose that is true with all things, but even more so with such close fitting garments as lingerie. Fourth: Maybe I should stock bra bows in some additional colors. I was so against the bra bows when I started this, but now I find that I think a black bow would look really nice on the green and black Willowdale. Or, if not a bow, some sort of charm or decoration. I can always add this later, though, I suppose. Finally: I need to just buy the good waistband elastic. I used cheap stretch lace for the green underpants and came snagged and fraying. I should just buy the good stuff because it holds up a lot better. I do want to use what I have, but moving forward when it comes to purchasing I will avoid the siren song of the inexpensive, at least when it comes to elastics.
It took a lot more effort for me to get to this point of finishing these foam covered bras than I would have expected at the start of this project, but I learned a lot along the way. I’m also happy I did a bit of a head-to-head comparison; I think it revealed a lot more about my patterns and future fit adjustments than I was expecting. I’m going to wear these for a bit before I decide what I want to work on next, but I’m sure the next bit of sewing will still be part of my bra sewing adventures!

Great results. I’ve learned a lot from your adventures as well!
LikeLiked by 1 person
Obviously the test of a t-shirt compatible bra is in the wearing, but I’d say these look pretty convincing to me! I agree about falling out of love with foam, though. Now that I have foamless bras down, I find they do everything I need from a bra, and are more enjoyable to sew because you’re not stitching through a pillow (especially the underwire channeling part!!). I think we all got to used to foam because the RTW bras are ubiquitous and tend to mask bad fit better, same reason why so many non-sewers wear knits rather than wovens.
LikeLiked by 1 person
Yes! Exactly this. And interestingly the fabric cups with the seams still look pretty good under all but the tightest knit tops. Which is an issue I have, but it really says more about my shirt being too tight than anything else, I think. I’ve definitely hit the “my underwear fits but I have no clothes to wear over them” side of the spectrum at this point, and I’m pulling out some waaaay too small knit t-shirts because they look good under cardigans on Zoom meetings, but I would *never* wear them out in real life. But, anyway, yes. I think we’ve gotten so far away from having clothes that fit as a society, that we all have our minds blown a bit when we find out that the way RTW does things isn’t necessarily the only way (or even the best way) to do them.
LikeLiked by 1 person
Interesting that you find you need foam less now you’ve got the fit perfected. It makes a lot of sense. When did foam bras become a thing anyway? I don’t remember them being around when I was a teen. Perhaps the late 90s when t shirts went really tiny and tight?
LikeLiked by 1 person
I think your timeline on this is probably correct – foam was certainly ubiquitous by the time I was wearing proper (non-sports style) bras as a teenager in the early 2000s. Of course, when you consider the types of clothes that younger people were wearing in the early 2000s, it was all extremely tight fitting and mostly knit garments. And I think the fashions of the day and the undergarment styles for under them always go hand in hand… if people are wearing knits, then they want undergarments that look good under knits… which end up being the seamless foam undergarments. There has been a lot of internet analysis about how bad the “fashions” of the 2000s were (objectively and psychologically), and also how, historically, undergarments were used to create shape and structure of a fashionable silhouette and clothes were built on top of them, whereas today the body is expected to naturally be the fashionable silhouette and the clothes should show off the body. Other fashion analyses have lamented the fact that there hasn’t really been a silhouette or identifiable fashion since the end of the 80s, and now between fast fashion, blazing fast trend cycles, constant access to everything on the internet, and weirdness introduced by the pandemic, plus the idea that there are multiple different “—cores” existing at any one time, the idea of getting back to a point where garments have to be carefully constructed to fit a body seems almost laughably impossible on a larger scale. But that is, I think, part of why we all sew, and happily we can all use it to our benefit when we want to go against the trends.
LikeLiked by 1 person